
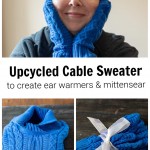
Learn how to make this sweater mitten and ear warmer headband set. Recycle an old cable sweater or pick one up at a thrift store. No sewing machine required.
Recently I started walking outside for exercise. However, it seemed like as soon as I did the weather turned really cold. In my area, we should have several weeks of cool but not frigid weather.
I decided that I needed gloves and a hat if I wanted to continue my morning walks.
Be the first to receive new posts and get access to our Subscribers Only Page.
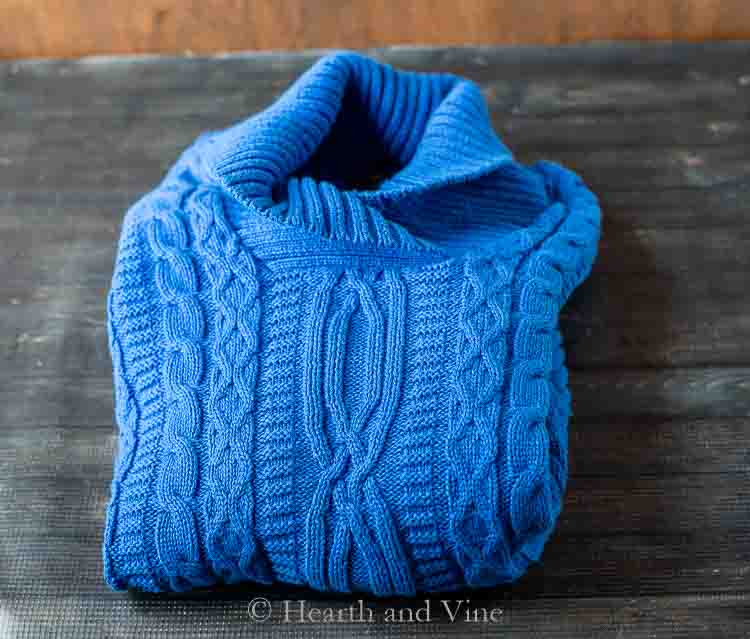
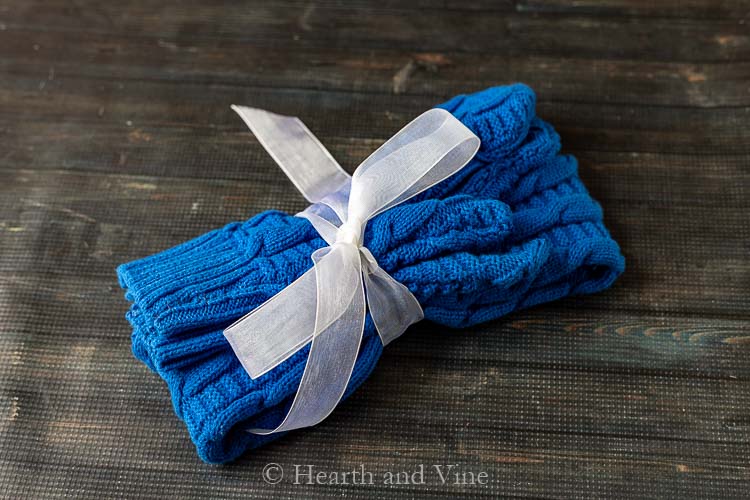
I found this pretty blue cable knit sweater at Goodwill for $5. It's thick and made of cotton and I thought it would make a great sweater mitten and ear warmer headband set.
This would also be a great project for any sweater in your closet that you haven't worn in years. Maybe you have a stain or tear in one that could be repurposed into mittens and a headband.
Even a child's size would work for mittens and you could piece together enough fabric to make a headband, so keep that in mind when you shop or forage through your home.
Making an Ear Warmer Headband and Mittens from a Cable Sweater
You could easily use a sewing machine for this project but, I wanted to show how easy it is to use hand sewing to create this set.
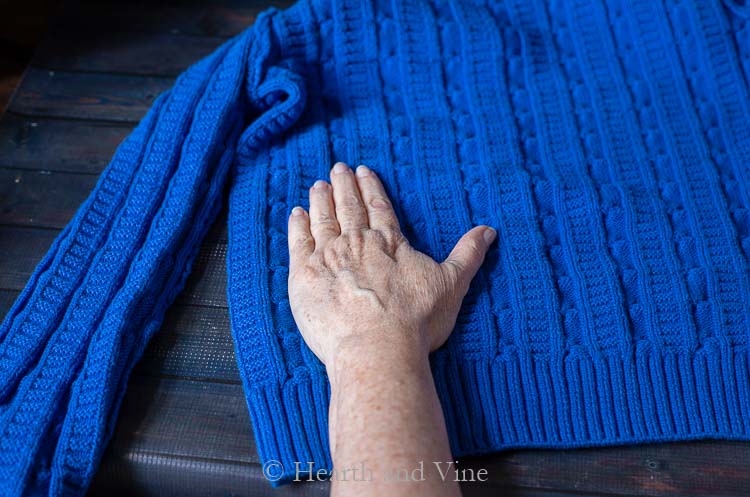
Start by turning the sweater inside out and tracing both hands at the bottom. Place your hands just above the banding so that you can use that part as a cuff.
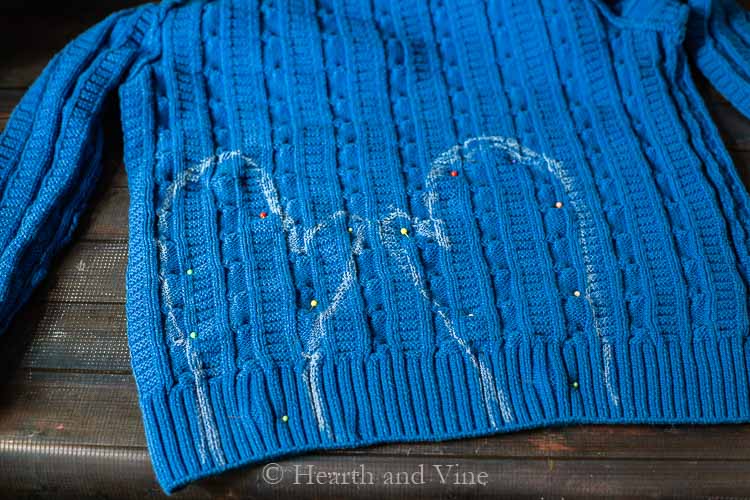
Pin the front and back together to make it easier to cut out and sew.
With right sides together hand sew the mittens. Starting on one side near the cuff, sew up the side to the top. Then down and around to the other side.
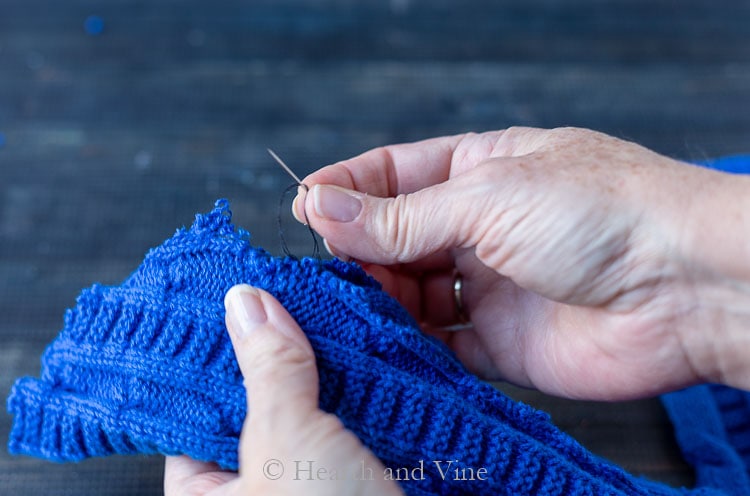
How to Hand Sew
Take a long piece of strong thread in a similar color. Thread the needle and bringing the ends together, make a knot.
I like to use what I think is called a blanket stitch. Do this by placing the needle through both pieces of fabric and pull through until it stops at the knot. Then move about 1/8 - 1/4 inch and place the needle through again. This time, before you pull the thread all the way through, loop the needle under the thread and pull tight. (see image above)
Repeat until you get to the other side. Finish by making a few stitches in the same spot, and also passing the needle through the loop each time.
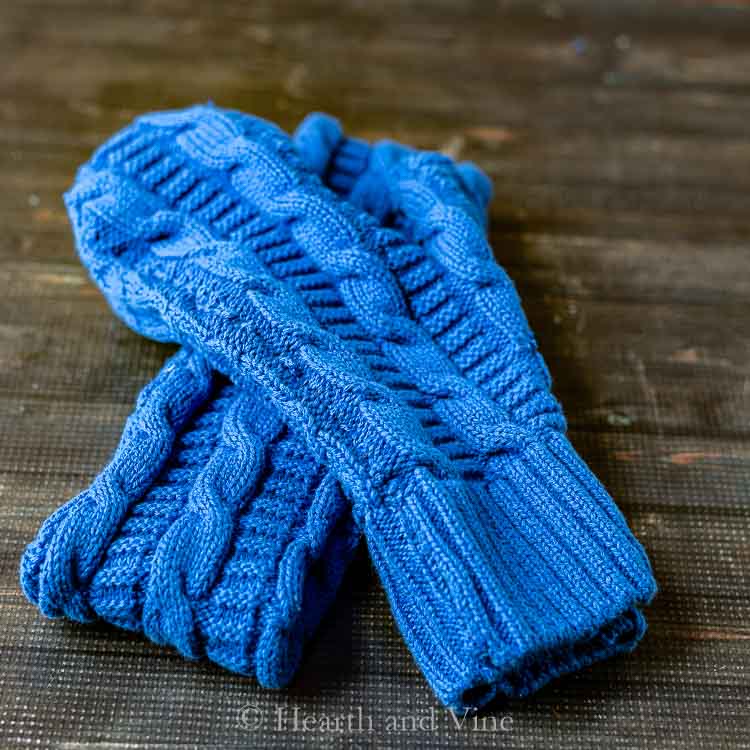
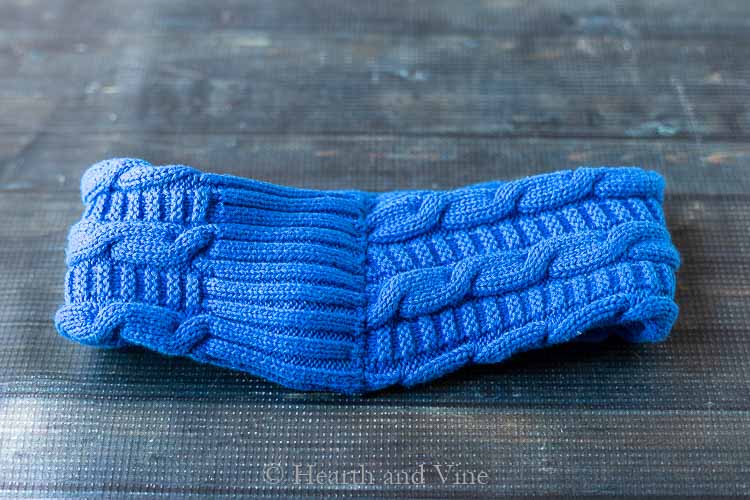
Turn the mittens right side out and wear.

For the headband simply cut off the sleeve. Fit it to your head and cut down if needed at the top.

Slide the top raw edge of the sleeve into the cuff and pin together.
Sew the two pieces together this time using a whipstitch. Start, by placing the needle under on one side and bringing it up through the second piece on the other side. Then back over to the first side and continuing until you meet up with the first stitches. Make a couple of knots and your headband is complete.
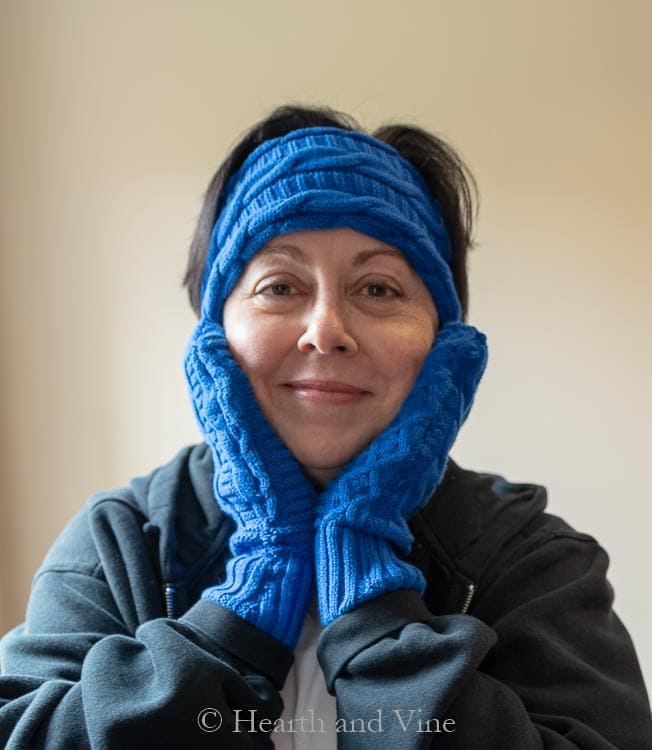
Here I am with the finished products. They are really soft and quite warm.
No more excuses. At least until the snow comes.
Though sizes will vary, I do think this sweater mittens and headband set would make a nice gift.
You could even get fancy and use two different sweaters. Maybe one solid and one stripe? I'd probably try to keep them in the same weight and fabric. But hey, half the fun is being able to to be creative and experimenting on different styles and techniques. So do whatever feels good to you.
More Recycling Projects:


Upcycled Ear Warmer and Mitten Set
Equipment
- Scissors
- Chalk marker
- Needle and thread
Materials
- Cable sweater
Instructions
- Turn the sweater inside out and trace both hands at the bottom
- Place your hands just above the bottom banding so that you can use that part as a cuff.
- Pin the front and back together.
- With right sides together hand sew the mittens.
- Starting on one side near the cuff. Sew up the side to the top, down, and around to the other side.
- Repeat until you get to the other side.
- Finish by making a few stitches in the same spot, and also passing the needle through the loop each time.
- Turn the mittens right side out and wear.
Ear Warmer/Headband- Cut off the sleeve of the sweater.
- Fit it to your head and cut it down if needed at the top.
- Slide the top raw edge of the sleeve into the cuff and pin together.
- Sew the two pieces together this time using a whipstitch.
- Start, by placing the needle under on one side and bringing it up through the second piece on the other side. Then back over to the first side and continuing until you meet up with the first stitches.
- Make a couple of knots and your headband is complete.
Nancy Lallman
Patti,
Thank you for sharing your fabulous creativity with the world!!! I'm going to make your jeans purse and mittens/head warmer. Appreciate your easy-to-follow instructions. Thanks!!
Patti Estep
Nancy, I'm so glad you like them. Have fun and thanks for sharing your thoughts.
Nicole
I was thinking a simple fleece lining for the mittens might be nice, too. Especially for those of us in the cold hands club!
Patti Estep
That's a great idea Nicole. Especially if you were making them for a gift. Thanks for sharing.
MrsSW
You look warm and cozy, Patti.
Sheila
Patti Estep
I'm not the best model. However, my girls have left me so this is what I have to work with. 🙂
Have a great weekend Sheila!
Amanda Lake
I love your mittens and ear warmer and the instructions are great. I’d like to try this. I really enjoy your projects. You always brighten my day.
Patti Estep
Thanks Amanda. This lovely comment made my day!
Carole West
You are so cute - I love this and so glad you showed how to make using hand stitching. Because I can do that. LOL - I'm taking two weeks off in December so this will be a fun project to give a try. Such a great gift idea too. I always say if I have a hat and gloves on I can handle the cold without a problem.
Patti Estep
It's really easy Carole. I hope you get a chance to try it.
Denise
This is such a good idea! You are so creative Patti!
Patti Estep
Thanks Denise. You should try it.