




This DIY ghost garland craft is made with printable templates (below), fall leaves, and a branch from your own backyard.
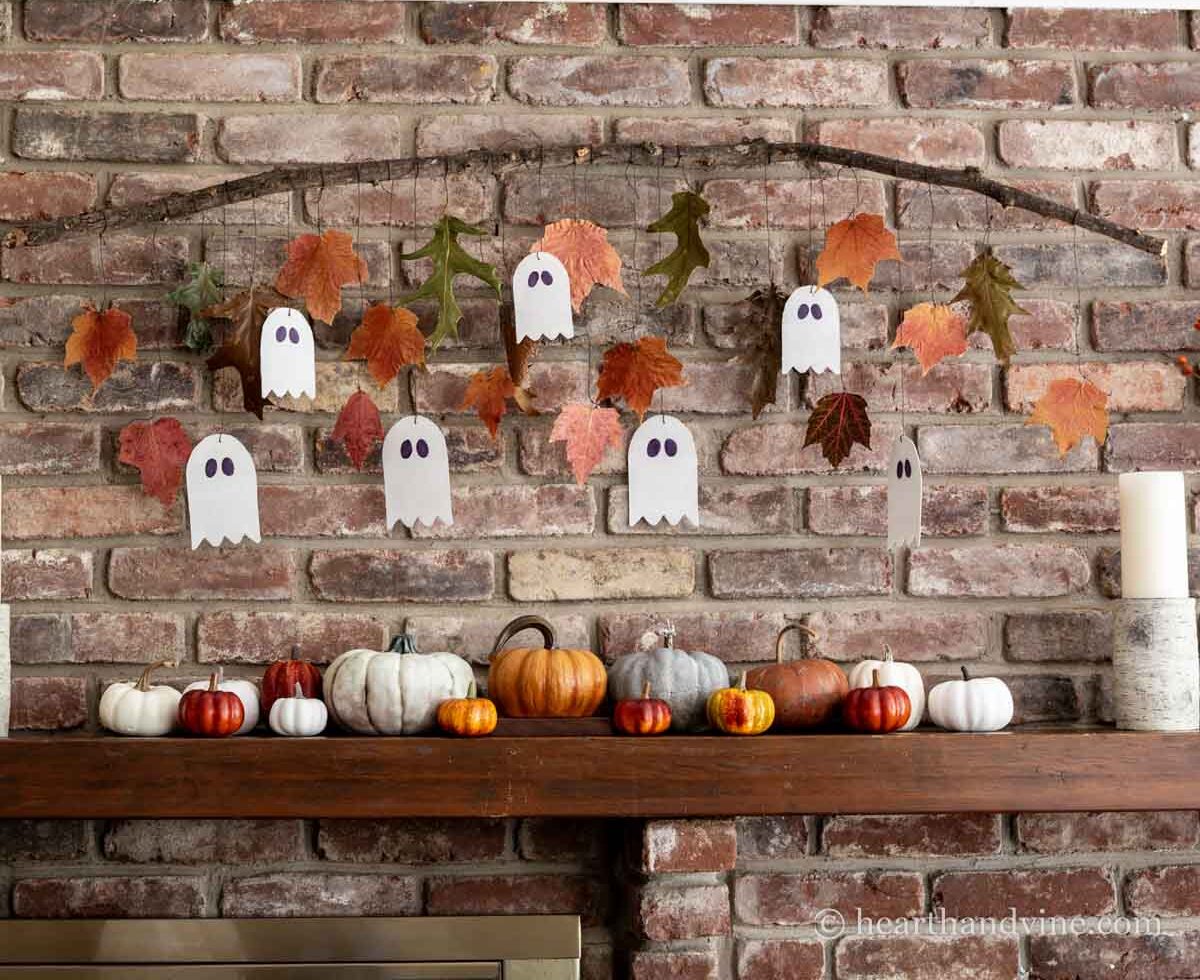
If you love Halloween but don't want to have to change up everything for fall after October 31st, you'll love this craft. The idea is that you create this fall leaf garland with cute little ghosts, then cut off the ghosts after Halloween. This way you'll still have a pretty fall leaf garland throughout November until you are ready to start decorating for Christmas.
More Halloween Decor: Full Moon & Bats....Apple Head Witch Dolls..... Scary Black Birds.....Creepy Potion Bottles.....DIY Witch's Broom
This post contains some affiliate links (that means if you make a purchase after clicking a link, there’s no additional cost to you, but I will earn a very small commission. ) i.e. as an Amazon Associate, I earn from qualifying purchases. Click here to read my full disclosure policy.
Supplies
- Scissors
- Small paper punch
- Pencil
- Thin Cardboard
- White Craft Paint
- Black Permanent Marker
- Transfer Paper, optional
- Waxed Twine
- Clear Fishing Line
DIY Fall Leaf & Ghost Garland
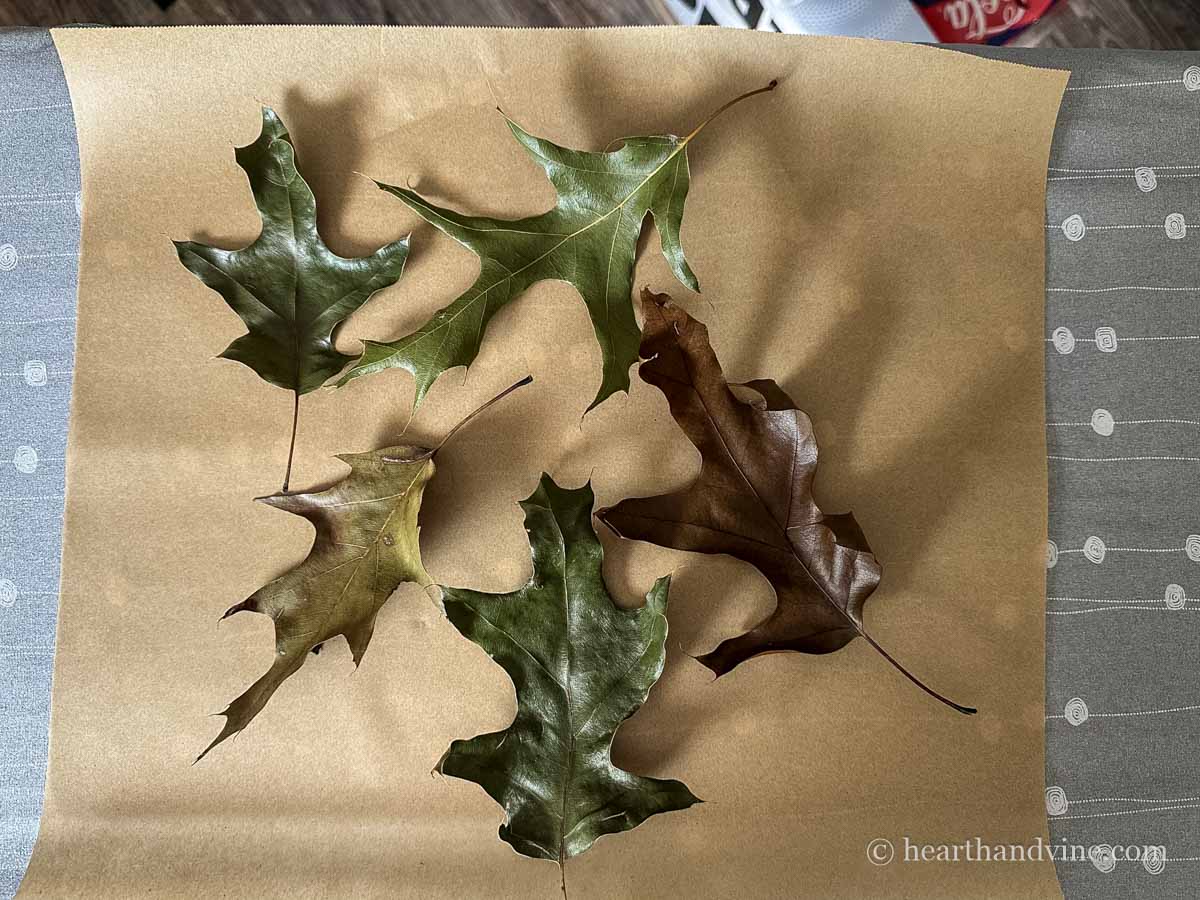
I had some fall leaves that I pressed from last year. However, if you don't, you can use leaves that have fallen before they turned or freshly turned leaves. Artificial leaves from the craft store would work here too.
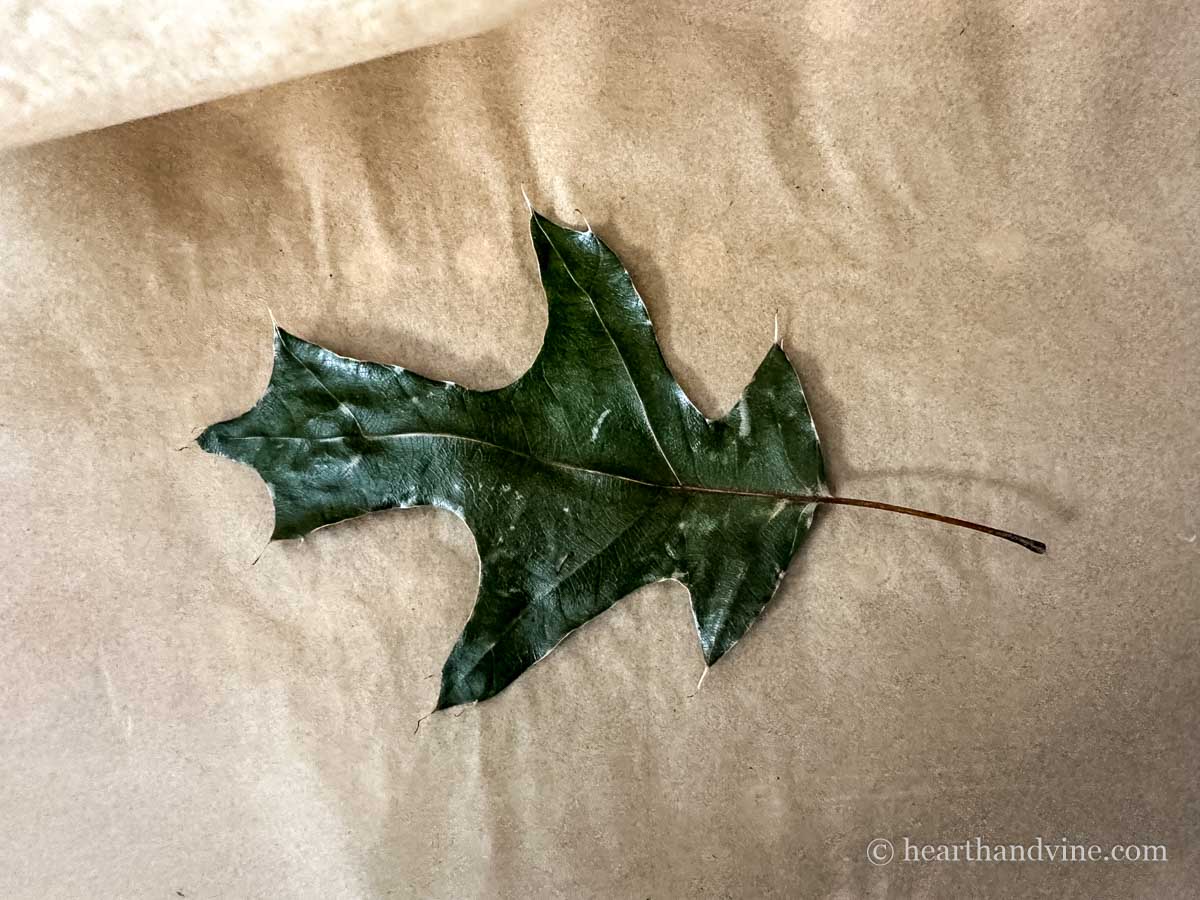
To press leaves quickly, place them between two sheets of parchment paper and use an iron on low to flatten them out.
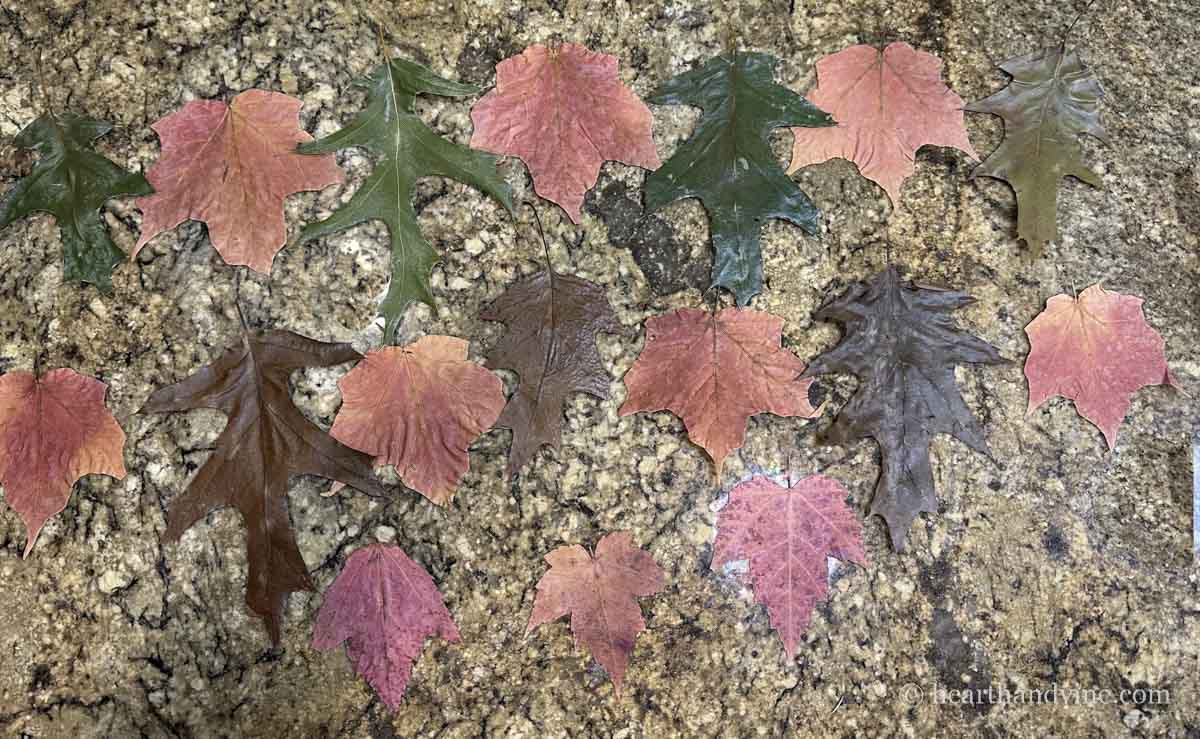
Creating the Ghost and Leaf Garland
Step 1. Lay out a pattern of how you want your leaves to look on your counter, table, or the floor.
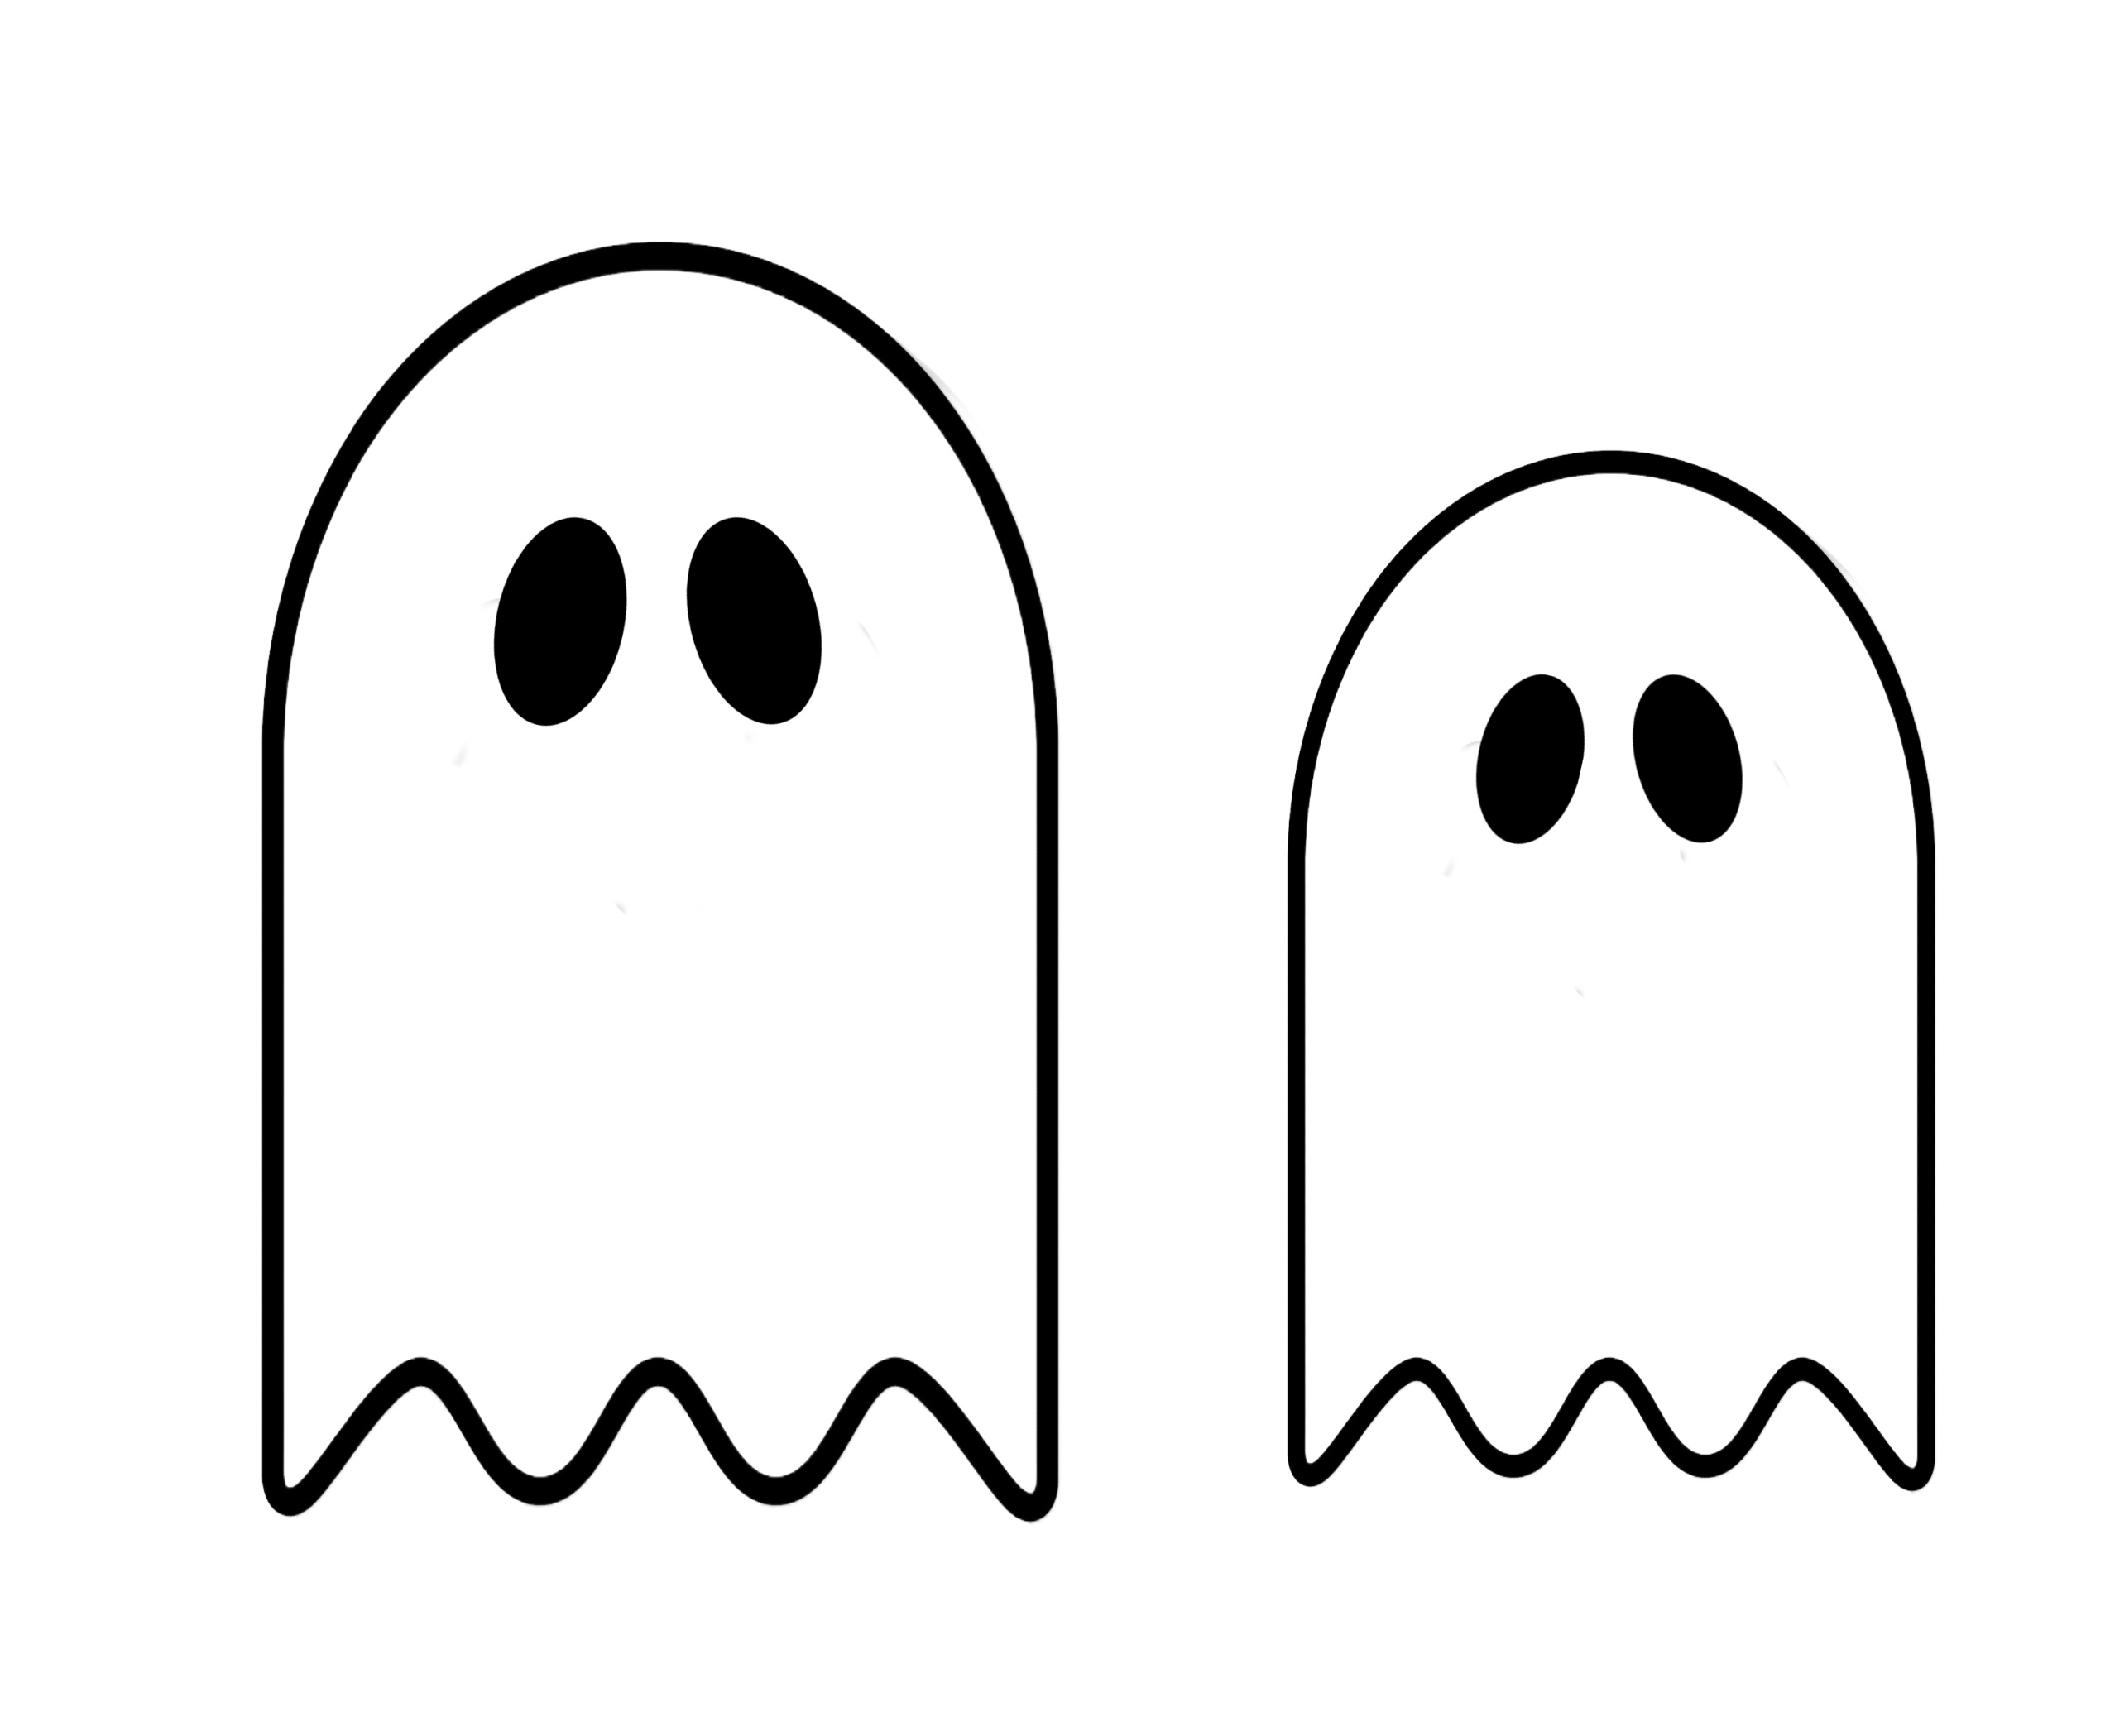
Step 2. Print out the template above (Click the image for a PDF File).
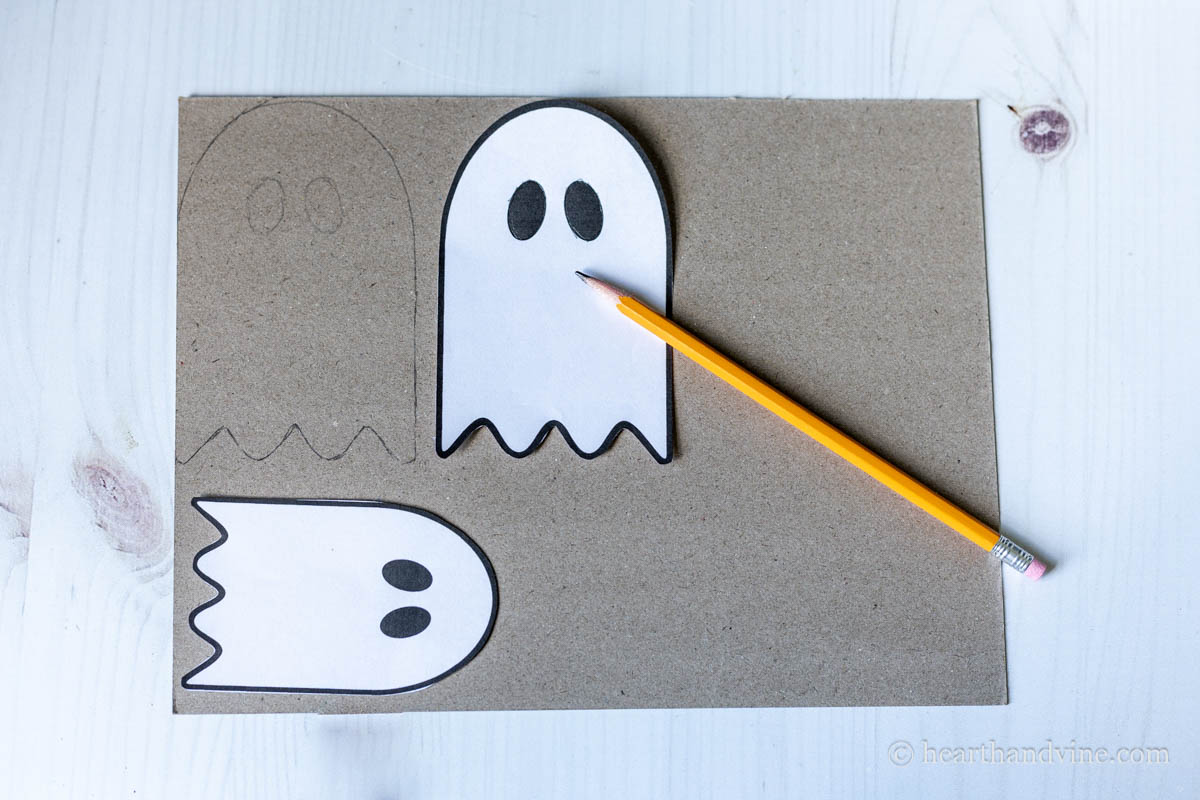
Then cut out each ghost and trace it onto something heavier than printer paper. I used thin cardboard, but you can use anything you have on hand.
Step 3. Cut out the ghosts and paint them white on both sides. Then use some carbon/transfer paper or rub the back of the template with a pencil to trace the eyes. Color the eyes in with a black permanent marker.
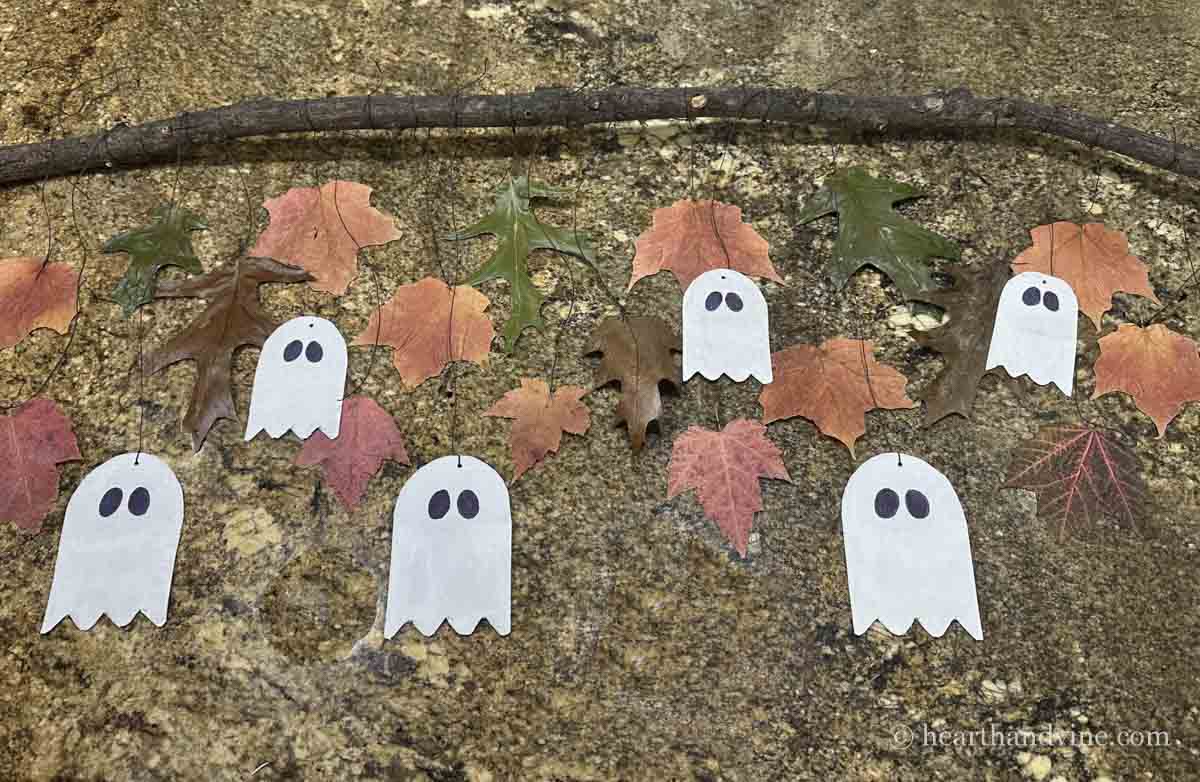
Step 4. Lay your branch on the table and arrange the leaves and ghost in a pattern you like.
Step 5. Tie the leaves onto the branch with waxed twine. The waxed twine is somewhat stiff, making the leaves and ghosts hang well. However, you could use any twine or string for this part of the craft. I also like a dark color that fades into the background, like a shadow.
Step 6. Punch holes in the ghost at the top middle area and use waxed twine to tie them onto your branch.
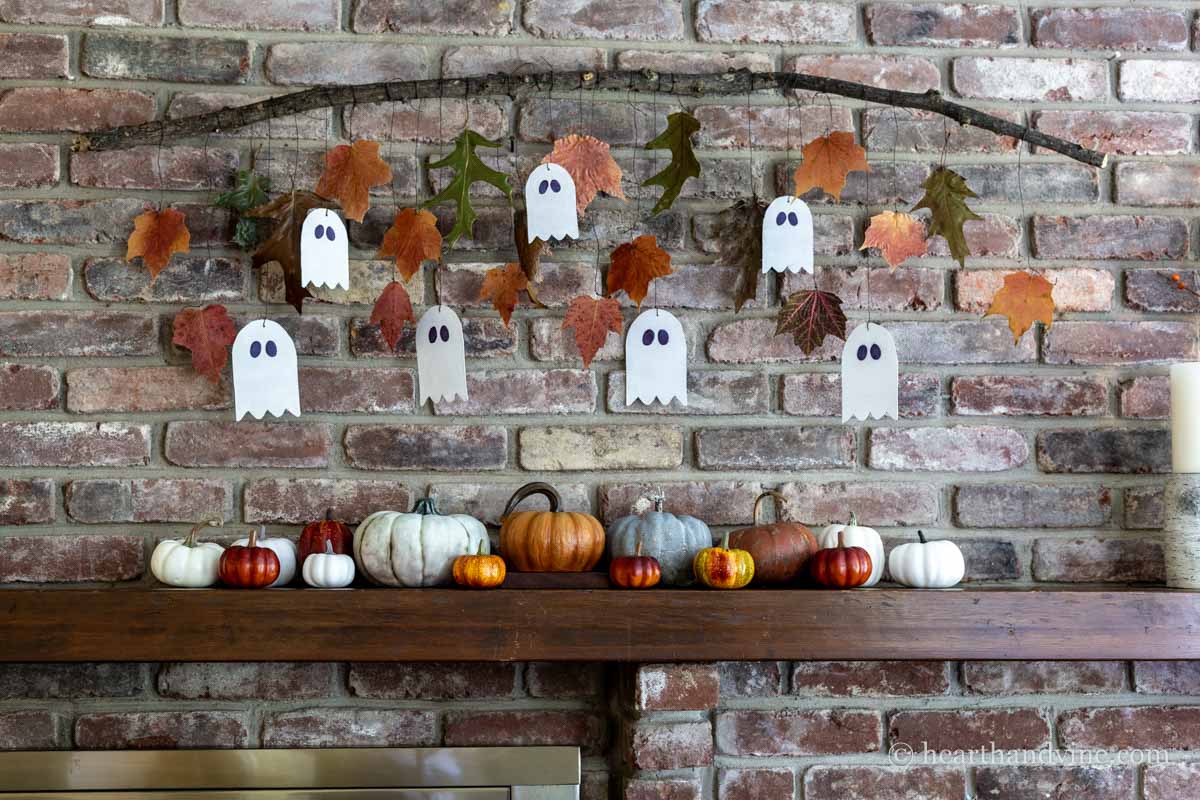
Step 7. Hang the branch using clear fishing line from white nails or clear 3M hooks attached to your ceiling or crown moulding.
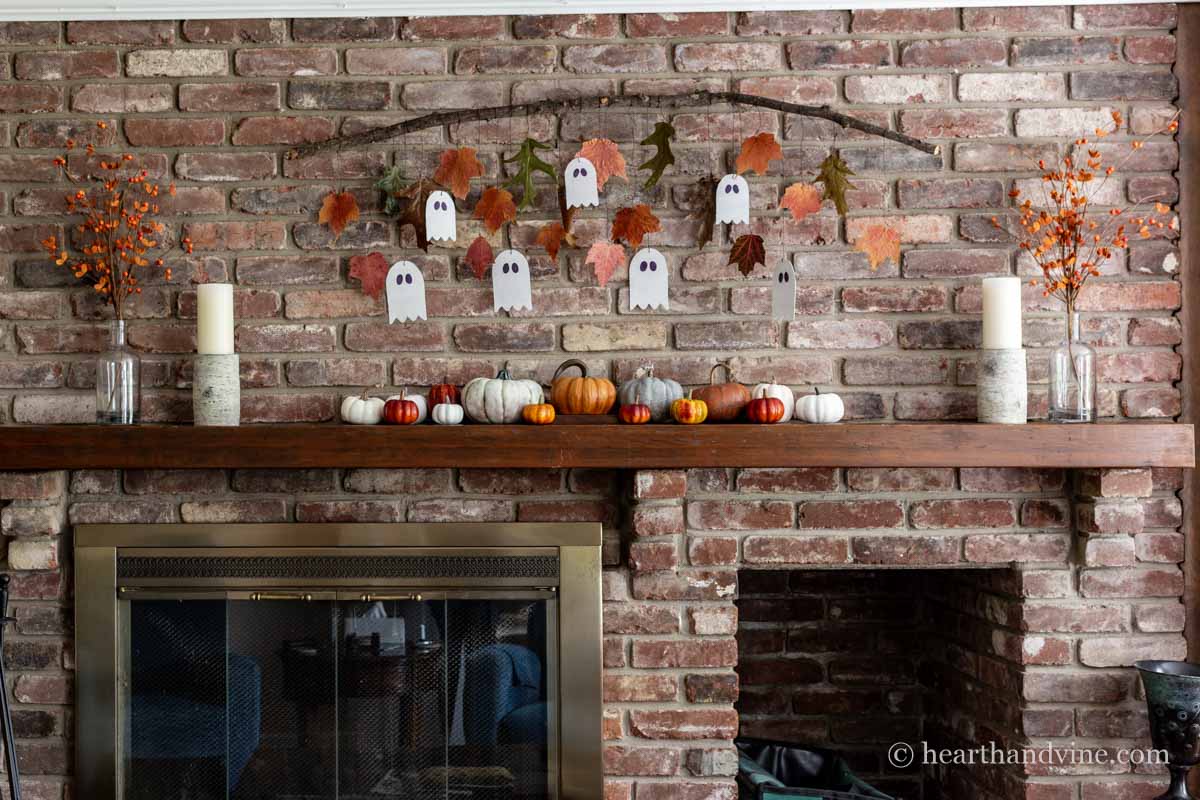
I'm super happy with my fall mantel decor complete with a little Halloween touch. It will be easy to remove the ghosts on November 1st and still have the decorations look nice until after Thanksgiving.


DIY Ghost Garland with Real Fall Leaves
Equipment
- Scissors
- pencil
Materials
- Fall Leaves
- Thin Cardboard
- White Craft Paint
- Black Permanent Marker
- Transfer Paper, optional
- Waxed Twine
- Clear Fishing Line
Instructions
- Gather and press your leaves between parchment using a low heat iron.
- Print out the ghost template and cut out each ghost.
- Trace the ghost onto thin cardboard. Use a pencil rubbing or tracing paper to trace the eyes.
- Cut out the traced ghosts and paint them white on each side.
- Color in the eyes with a black permanent marker.
- Punch holes in the top center of each ghost.
- Use waxed twine to tie the leaves in variable lengths on a large branch.
- Add the ghosts in between using more waxed twine.
- Hang the branch from your crown molding with clear fishing line using small nails or clear command hooks.
Leave a Reply