


Learn how to make Kinusaiga art with fabric. It's a fun way to use scrap fabric to create beautiful art. No sewing required.
Have you ever heard of Kinusaiga art? My sister showed me this from an Instagram artist she follows.
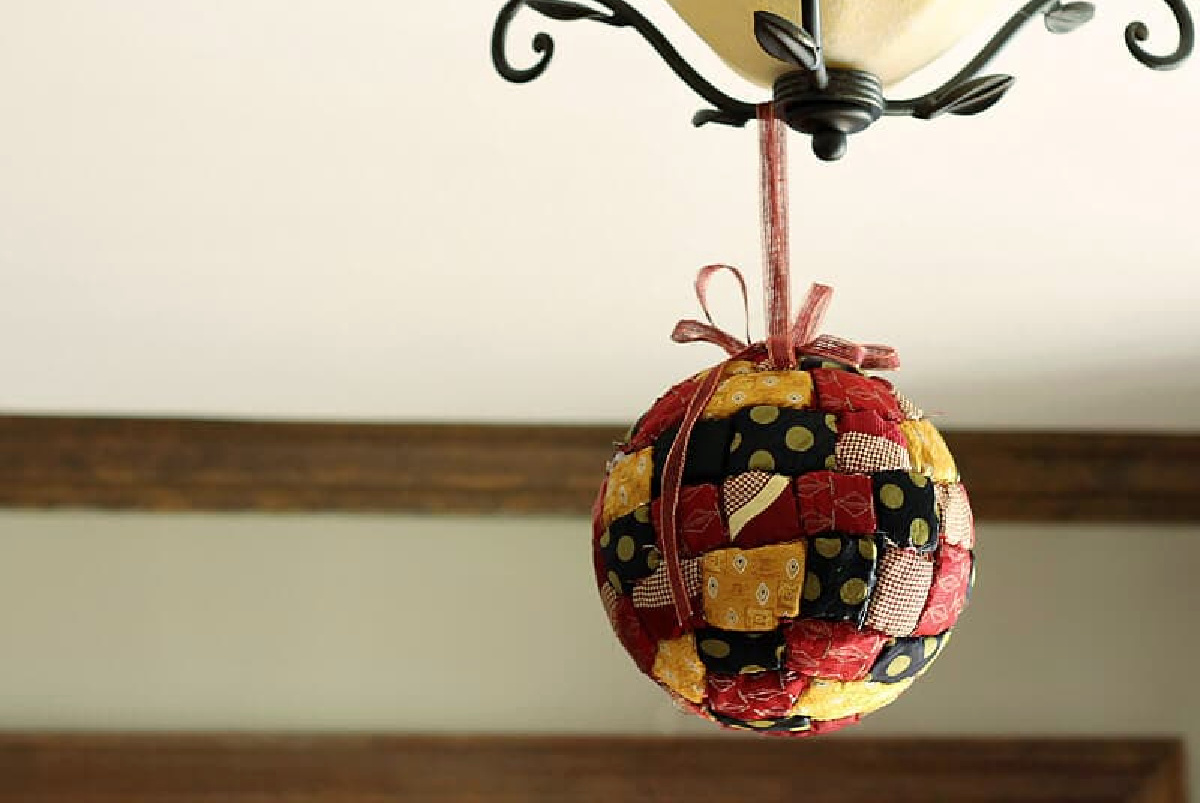
It reminded me of this old craft my friend shared, where you take old ties and cut them up to cover a Styrofoam ball, as shown above. This one was made years ago from my father's ties. He loved shopping for ties, so when he passed, there were tons to choose from.
More No-Sew Fabric Crafts: DIY Fabric Bowls.....Negative Space Leaf Printing.....Fabric Coat Hangers.....Plastic Drawers Makeover
This post contains some affiliate links (that means if you make a purchase after clicking a link, there's no additional cost to you, but I will earn a very small commission. ) i.e. as an Amazon Associate, I earn from qualifying purchases. Click here to read my full disclosure policy.
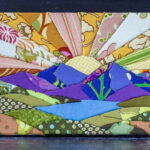
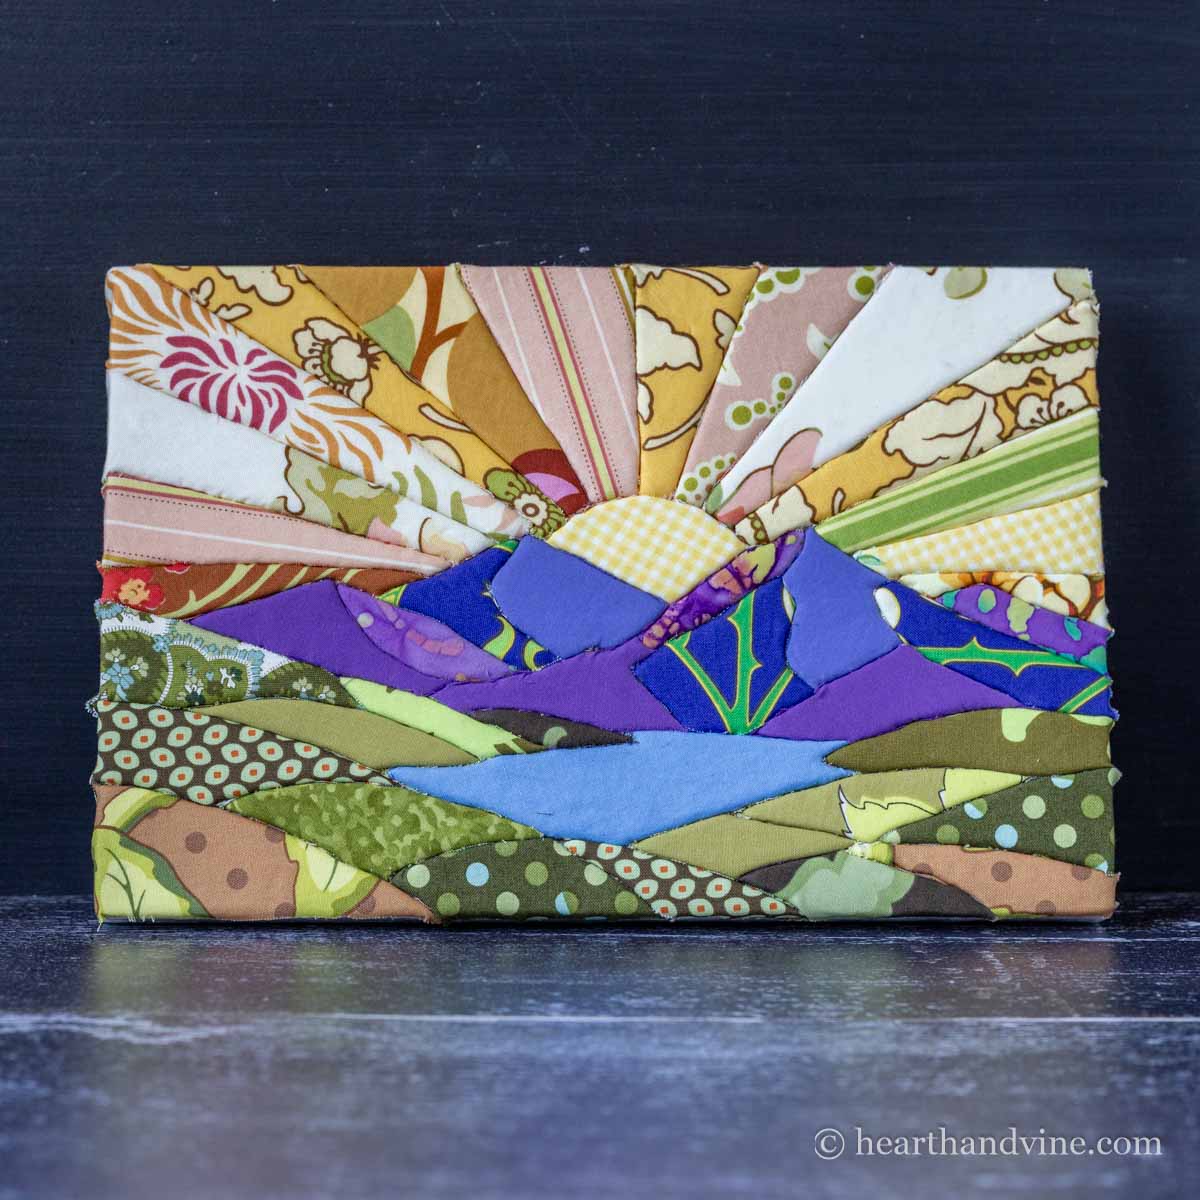
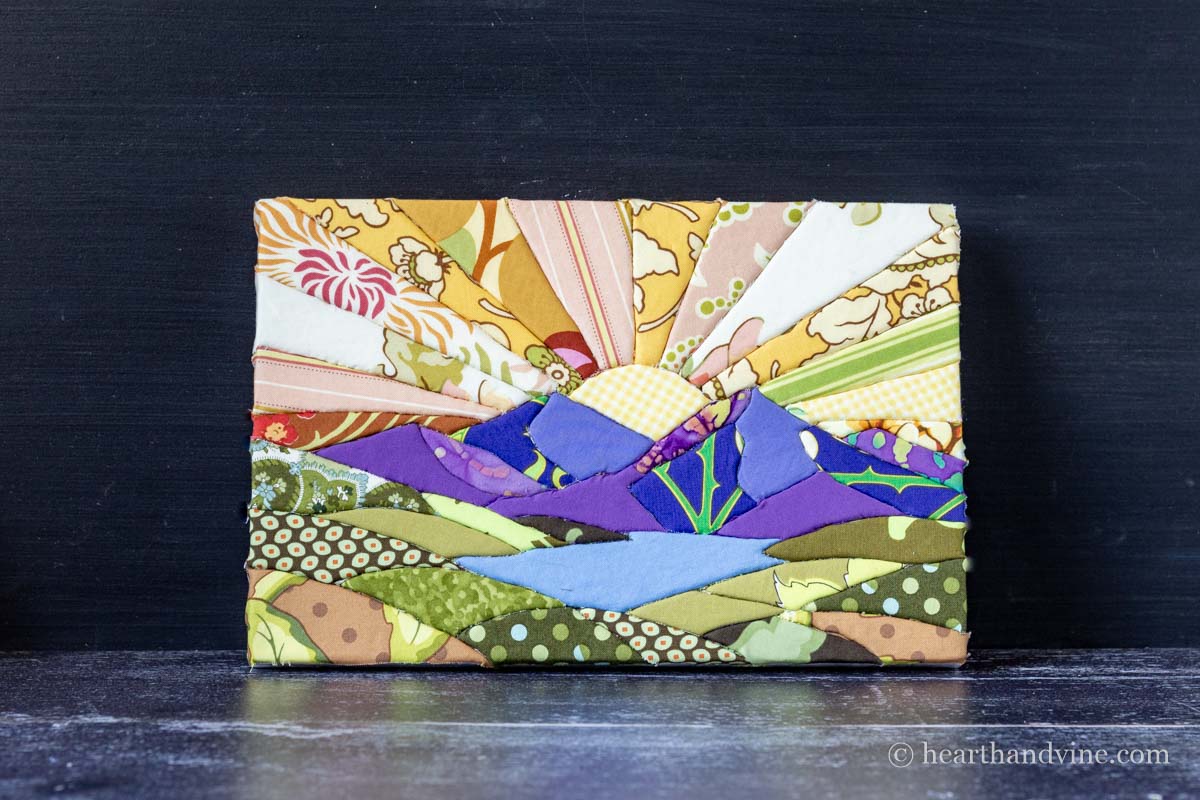
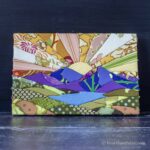
Making a Kinusaiga Art Sunrise
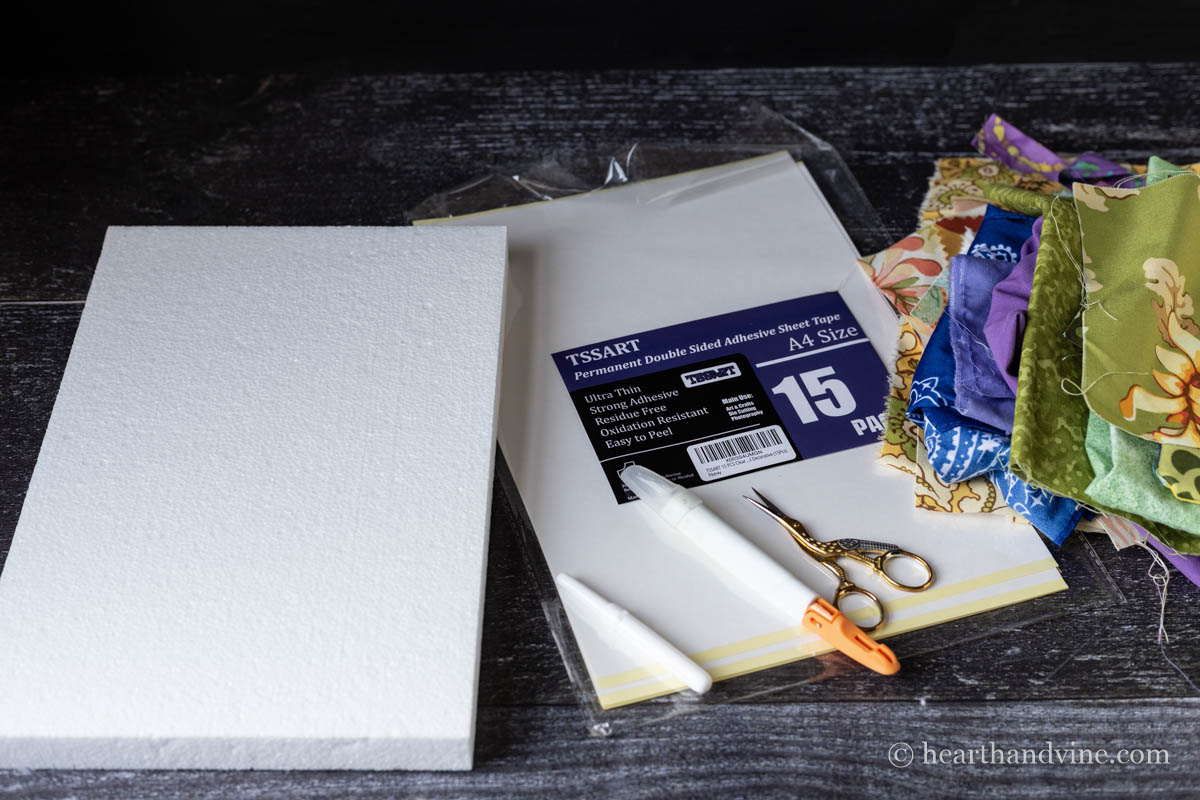
Supplies
- Printer
- Small scissors
- Seam Ripper or Thin Metal Nail File
- Xacto Knife or Craft Knife
- Scrap Fabric
- Foam Blocks
- Double-Sided Adhesive Paper
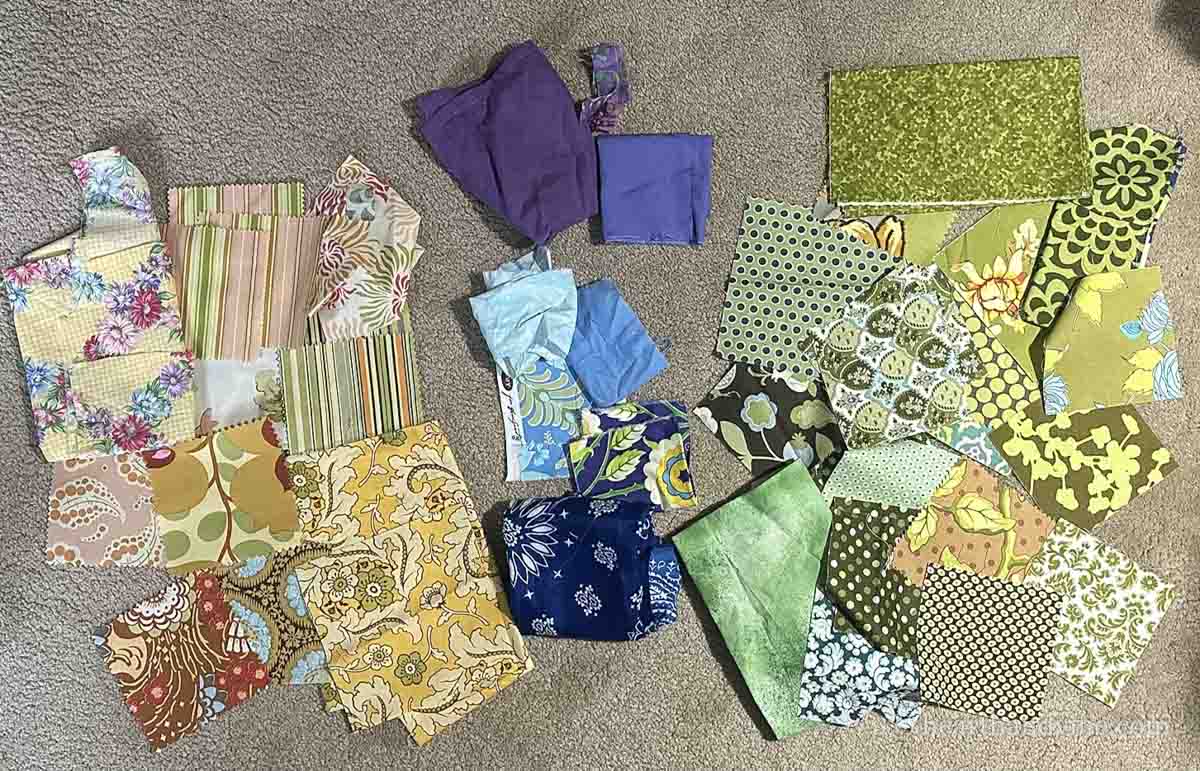
Step 1. Gather scrap fabric and sort it into color groups.

Step 2. Create or download an image that is simple. I think of it as a stained glass style or a children's coloring book image. I created one of a sunrise using ChatGPT.
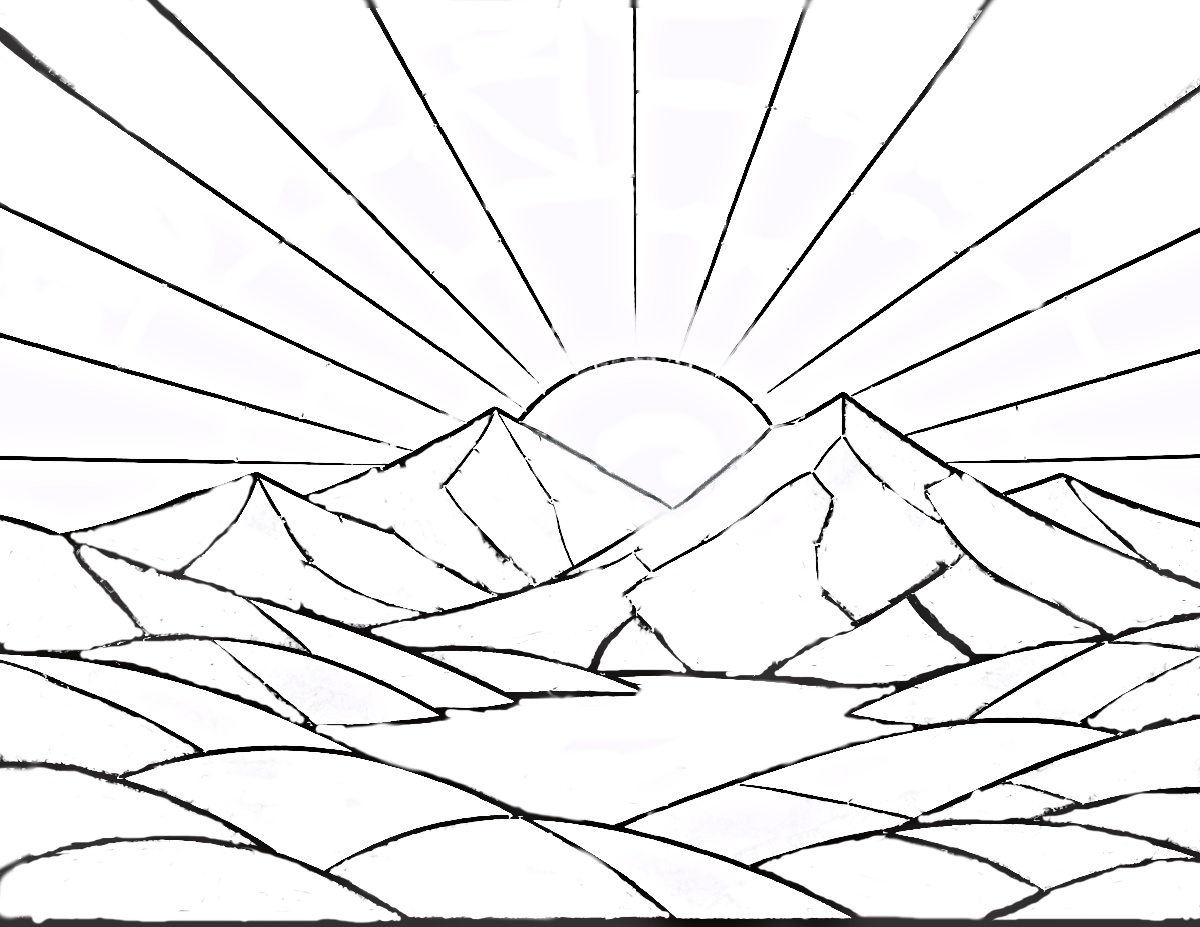
Step 3. Then I edited it to remove the color and made it even less complicated. Feel free to use my template in the link above.
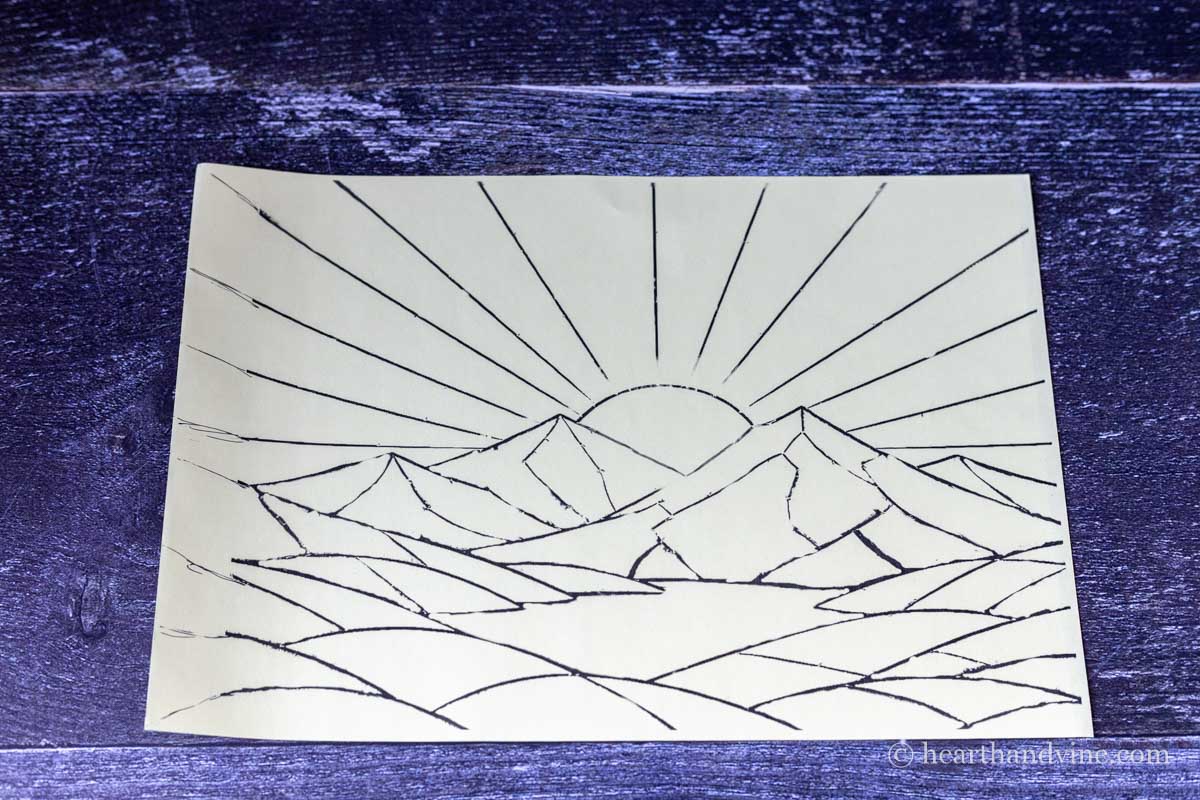
Step 4. Print the template onto double sided adhesive paper.
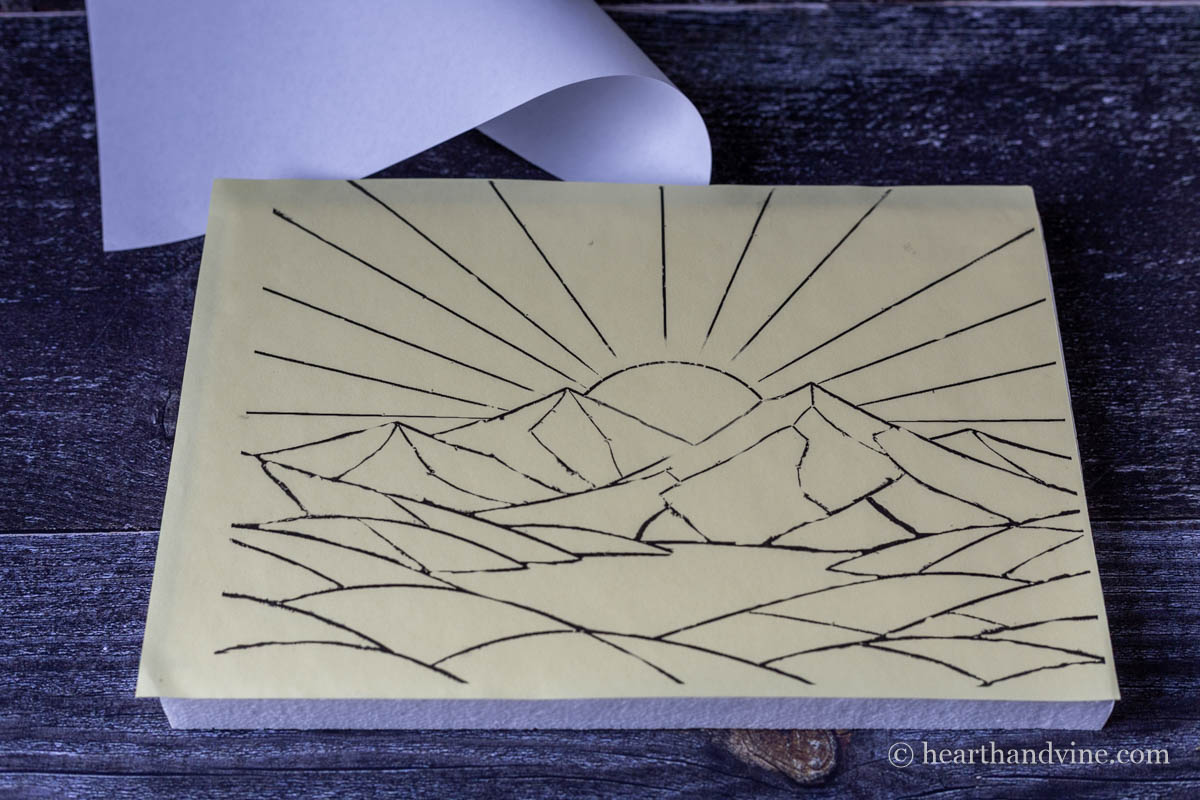
Step 5. Remove the backing and place the printed paper onto a foam block.
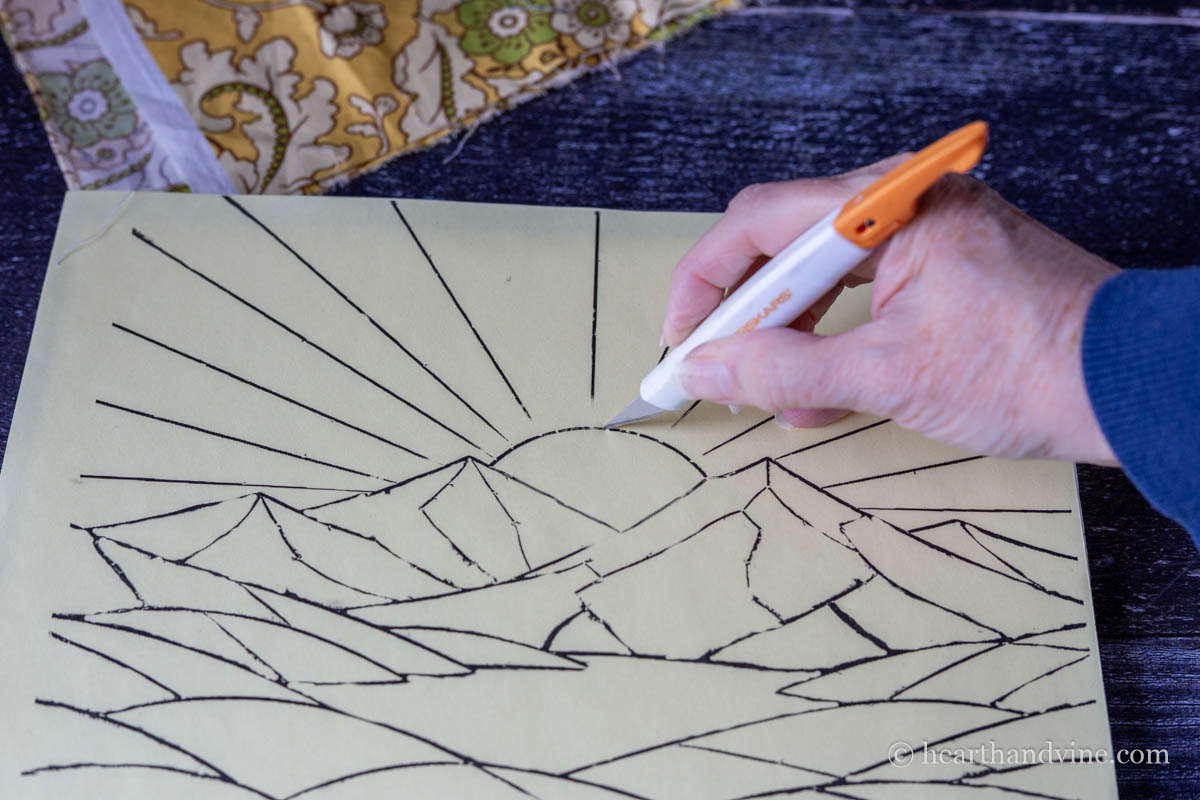
Step 6. Cut out a section with an Xacto knife or a small, sharp knife. Make sure to go into the foam about 1/4 of an inch.
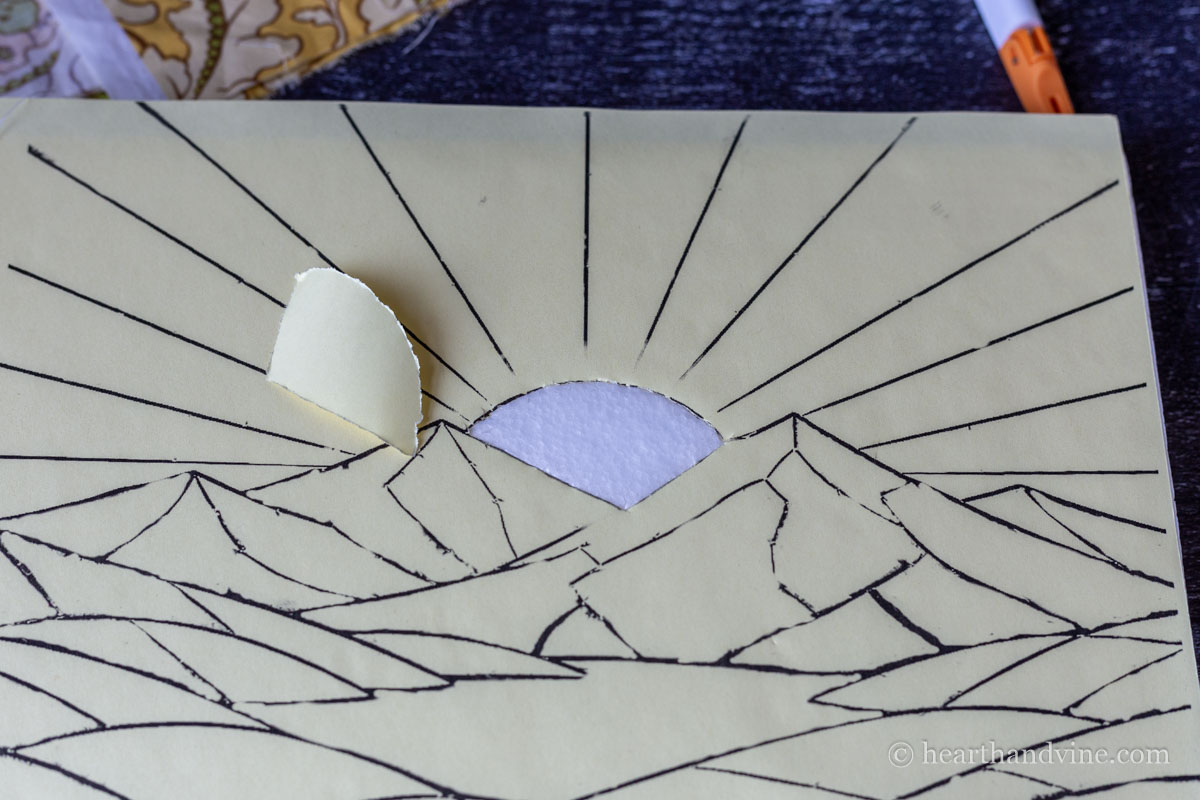
Step 7. Then carefully peel off the top paper, leaving the adhesive behind.
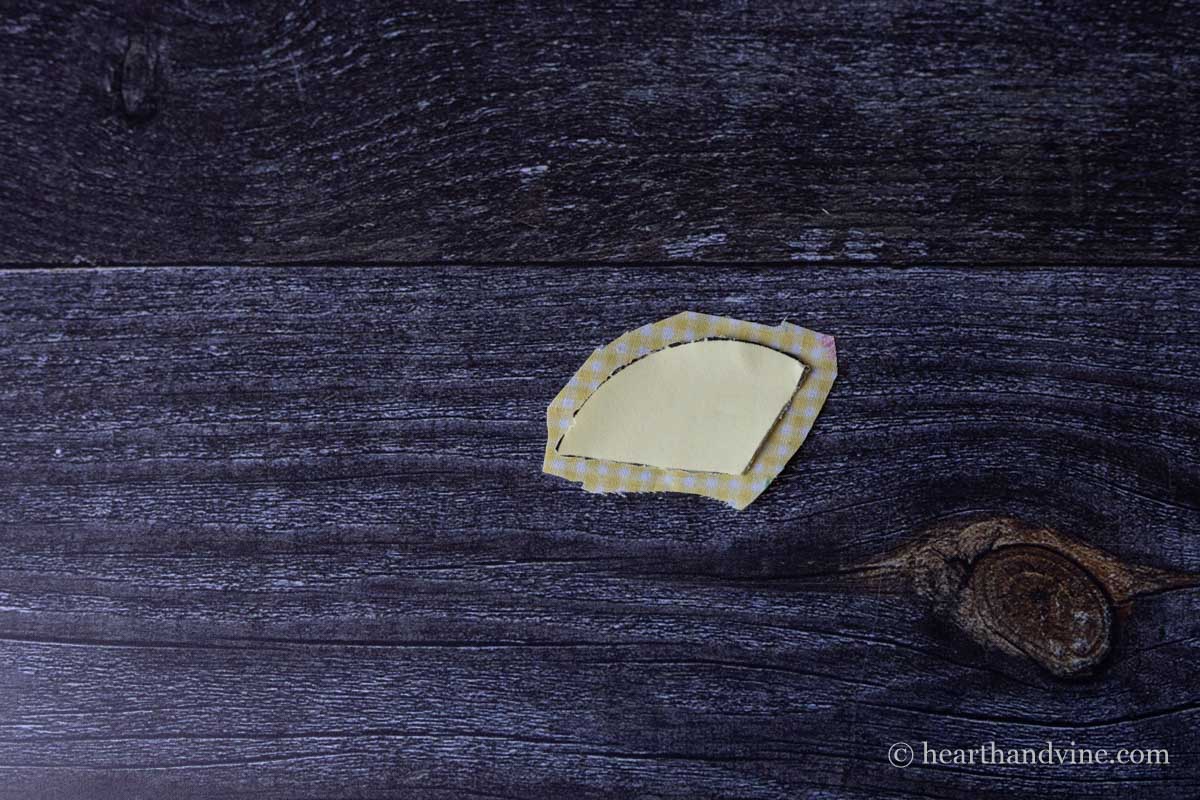
Step 8. Use the cut paper to cut out some fabric, leaving a small border all around.
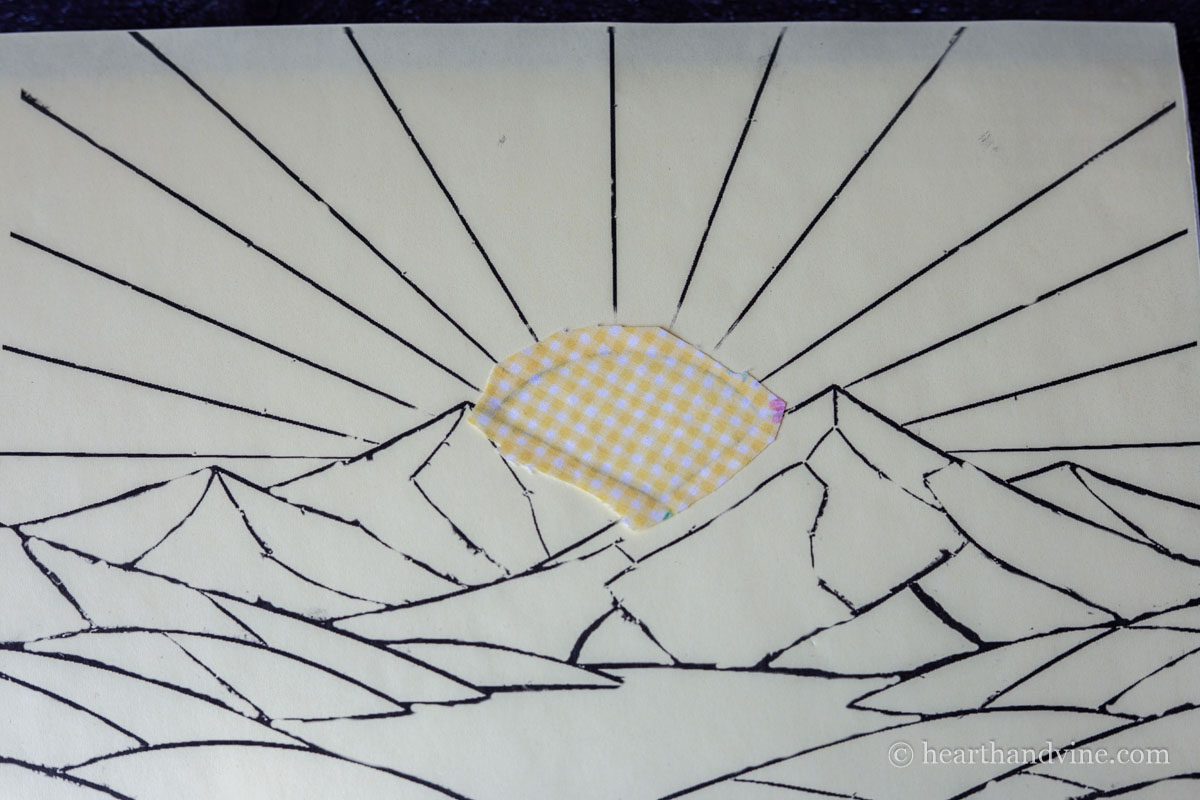
Step 9. Press the cut out piece of fabric onto the adhesive.
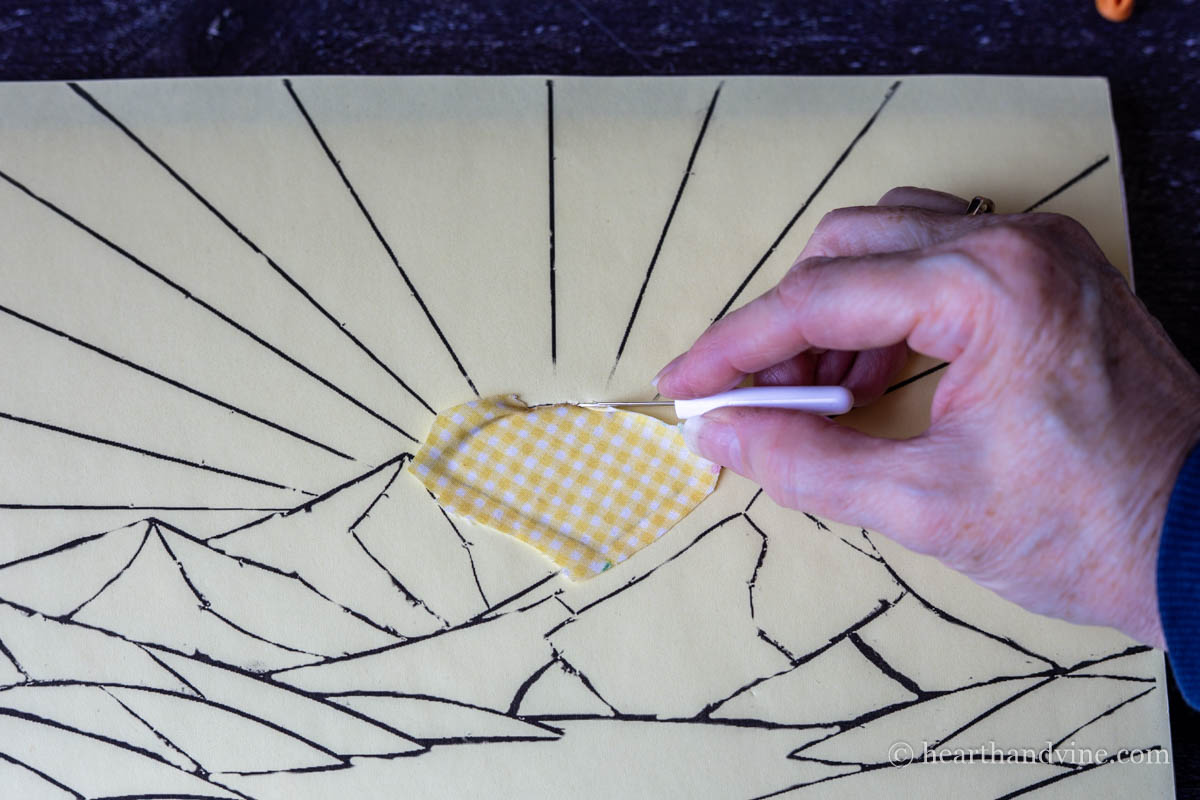
Step 10. Use the back of a seam ripper, a metal nail file, or other thin object to gently coax the fabric into the foam board.
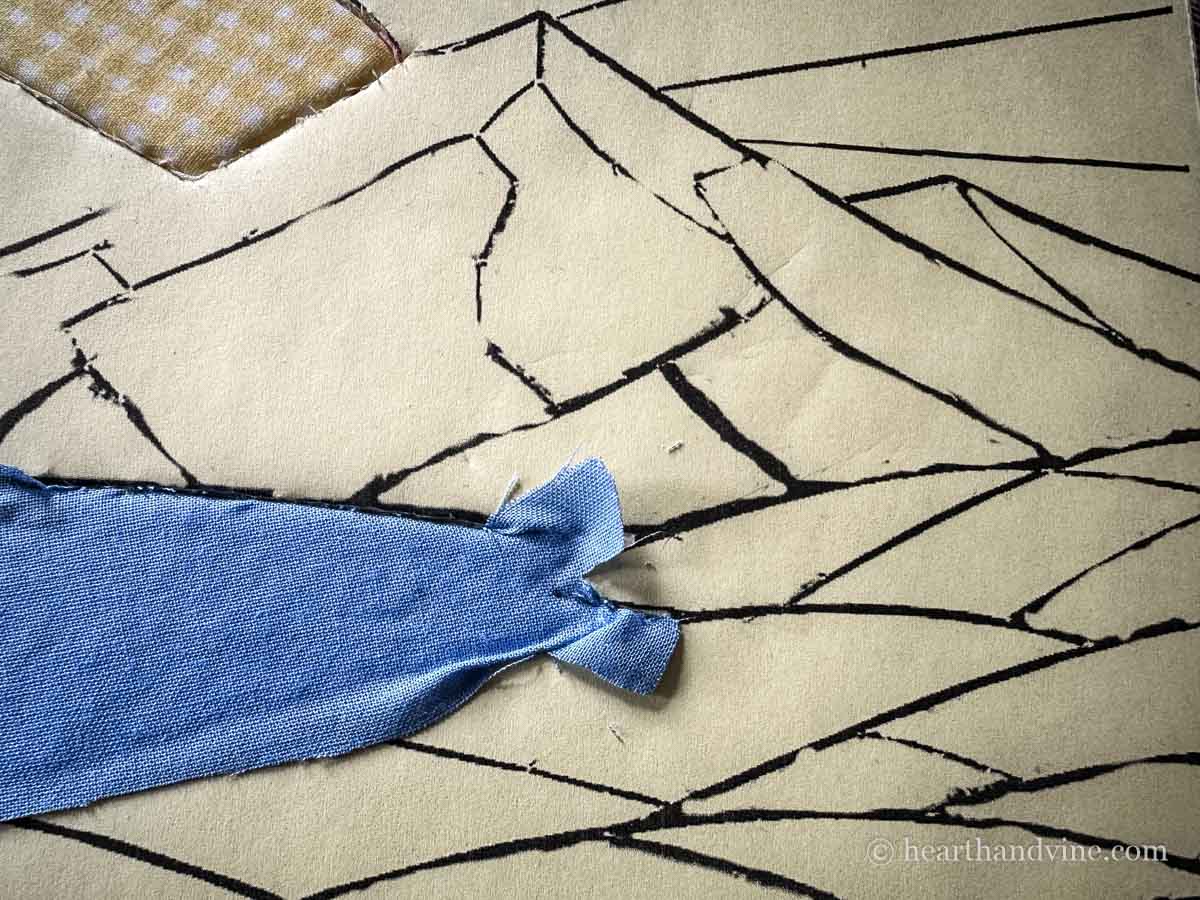
If necessary, you may need to trim the fabric more in tight corners.
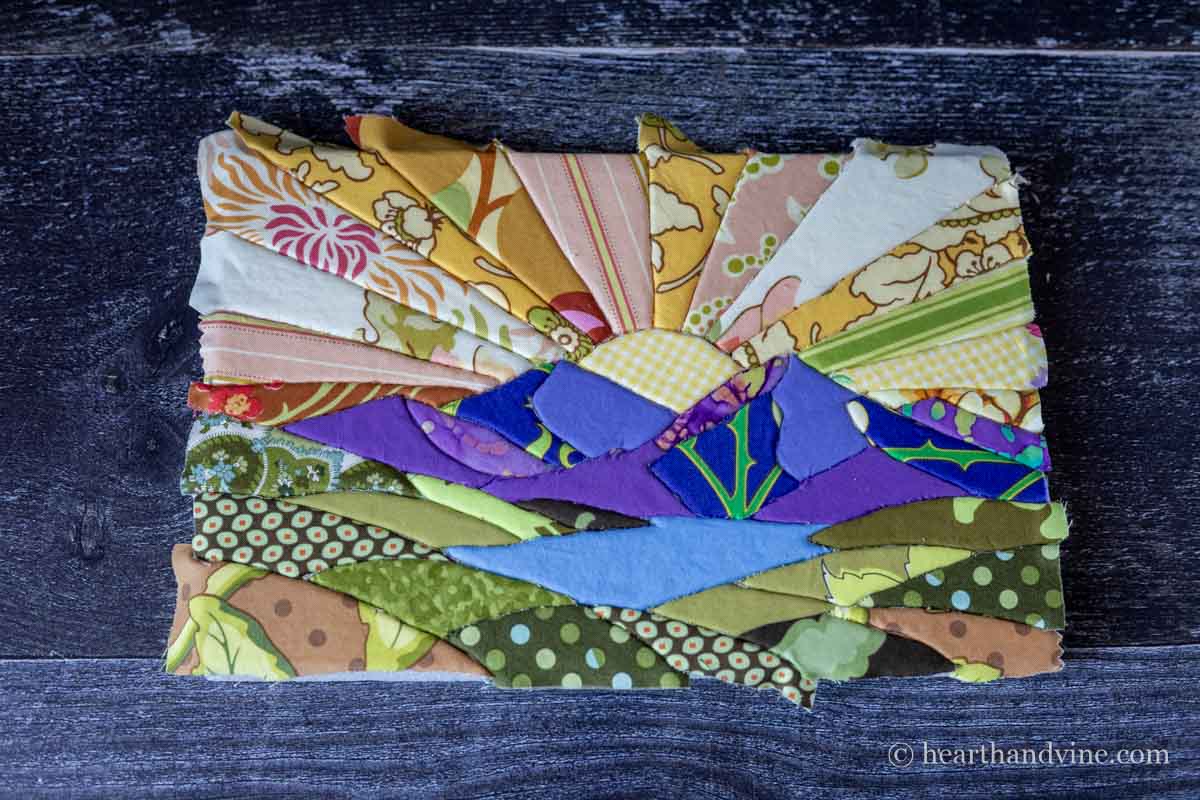
Continue removing sections, cutting fabric, and punching it into the foam until you cover the entire board.
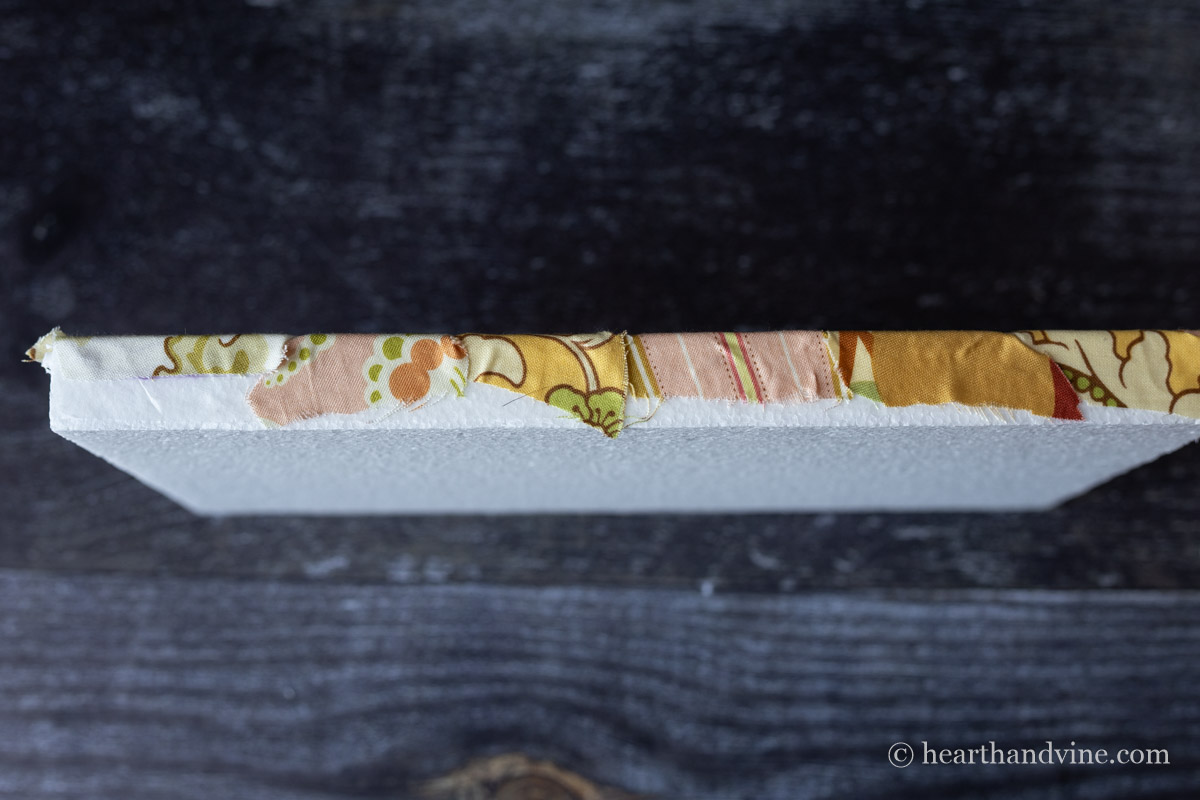
Finish the art by cutting more adhesive to place on the sides of the board and tacking the excess fabric down.
Frame or display your beautiful masterpiece any way you like.

Kinusaiga Art Craft Using Foam and Scrap Fabric
Equipment
- Printer
- small scissors
- Seam Ripper or Thin Metal Nail File
- Xacto Knife or Craft Knife
Materials
- Scrap Fabric
- Foam Blocks
- Double-Sided Adhesive Paper
Instructions
- Organize scrap fabric into color groups.
- Print out the template drawing onto the double-sided adhesive paper.
- Remove the backing from the template drawing and adhere it to the foam block.
- Use an Xacto knife to cut into the foam and then for a section of the drawing. Be sure to cut about 1/4 of an inch deep.
- Remove the top paper part of the section, leaving the adhesive on the foam.
- Use the cut out paper section as a guide to cut out fabric slightly larger.
- Take the cut out fabric and place it on the area where you've removed the paper.
- Press lightly and then use the back side of a seam ripper or a thin metal nail file to punch the fabric into the foam where it was cut.
- Continue cutting out sections, using them to cut fabric, then placing the fabric onto the drawing, punching in the edges until you completely cover the foam block.
- Cut thin sections of more adhesive sheeting to place on the sides and press the excess fabric to finish the edges.
- Frame or display the art as you wish.
Shel
This looks so interesting. The instructions are clear and links to materials needed are also included.
Patti Estep
It was a fun craft. I hope you get a chance to give it a try.