

Enjoy this book page craft that shows you how to decorate pages from a book and turn them into pretty gift bags or envelopes.
Have you tried making anything with old book pages yet? Recently, I saw some envelopes or bags made with bird decoupage on Instagram. There was no link to a blog with instructions, so I just tried to come up with my own version.
This post contains some affiliate links (that means if you make a purchase after clicking a link, there’s no additional cost to you, but I will earn a very small commission. ) i.e. as an Amazon Associate, I earn from qualifying purchases. Click here to read my full disclosure policy.
More Paper Craft Ideas
Thrift stores are great resources for book page crafts. Plus, it's a great way to upcycle an item that might otherwise end up in a landfill. You can use the old book pages to create all kinds of paper crafts, such as paper roses, garlands, or a book page wreath.
Bags and Envelope Book Page Craft Tutorial
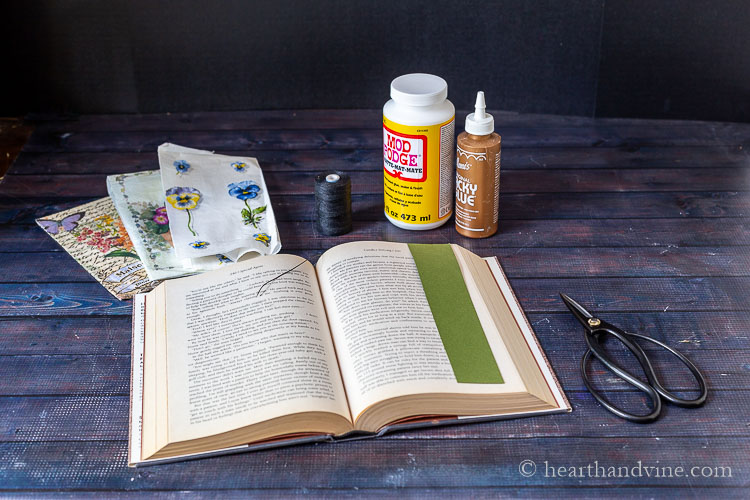
Supplies
Old Book Pages
Mod Podge
White Glue
Waxed Twine or butchers/bakers twine
Pretty Paper Napkins
Card Stock
Adhesive cork circles
Step 1. Cut out some pages from an old book. This one is not particularly old, but I found it at the mission store for $.75. The pages were starting to discolor, and the weight of the paper seemed like it would work well for this project.
Be the first to receive new posts and get access to our Subscribers Only Page.
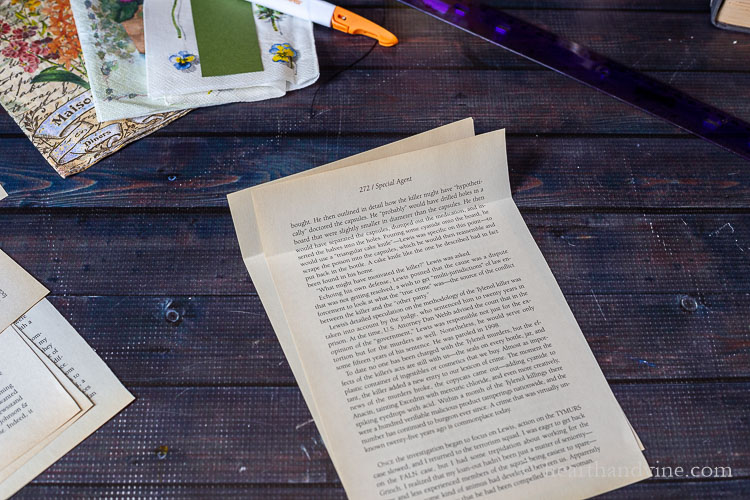
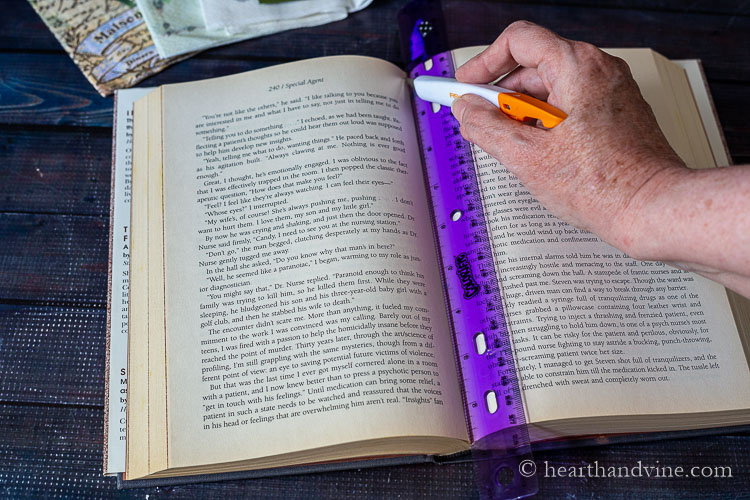
Step 2. Fold over the top of both pages about 1.5 inches from the top.
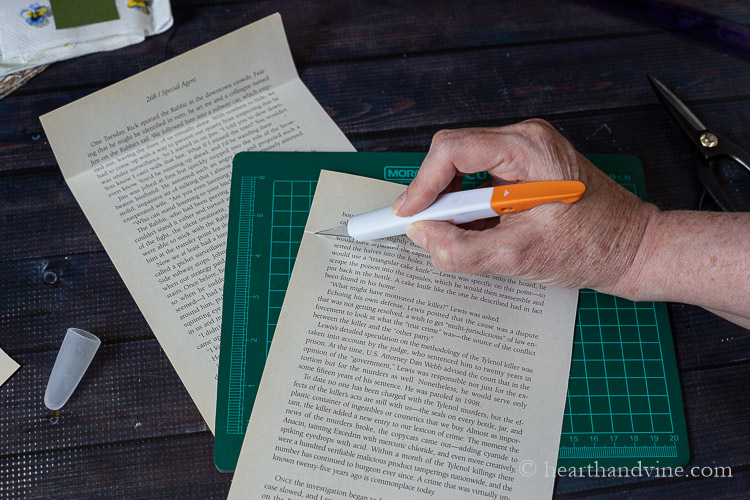
Step 3. Next, use a craft knife or scissors to cut off the top of one page at the fold.
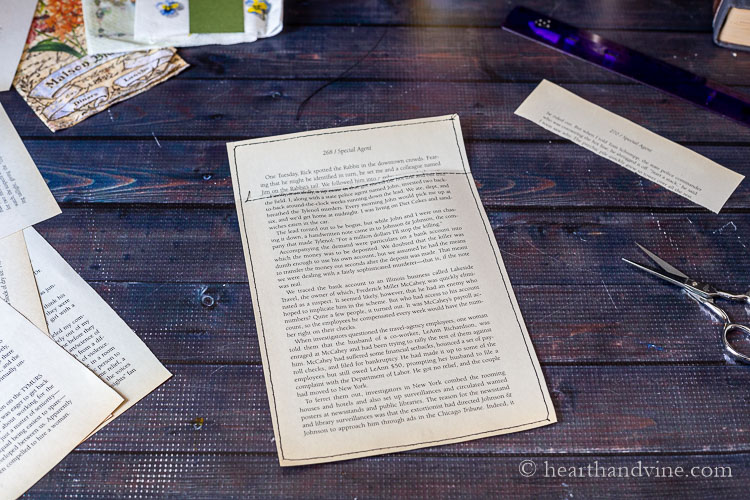
Step 4. Sew a line of stitching along the top of the cut edge first.
Step 5. Then place it on top of the longer page and sew along the perimeter of both pages. You can make the stitches fairly large if you want. Play around to find the look you like on some other pages from the book.
Note: If you don't have a sewing machine, you could definitely use a needle and thread and sew the pages by hand. I used black thread, but you could use any color you like. I think embroidery thread would work well too.
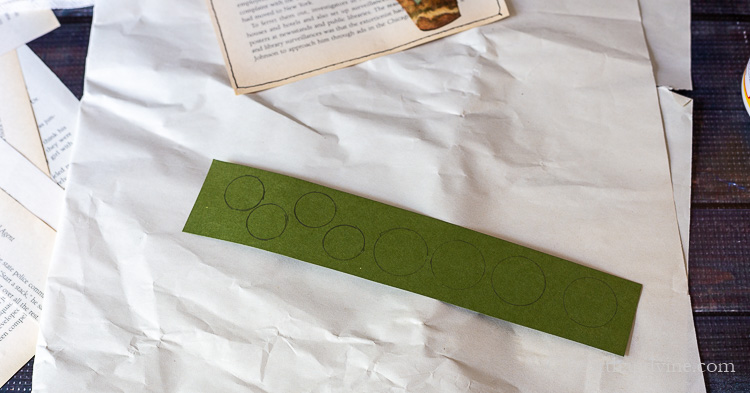
Step 6. Next, make the closures by cutting out eight round circles from cardstock. Four large circles and four smaller circles. (A paper punch would work great here.)
Step 7. Then glue two of each size together so that you are left with two large circles and two small circles.
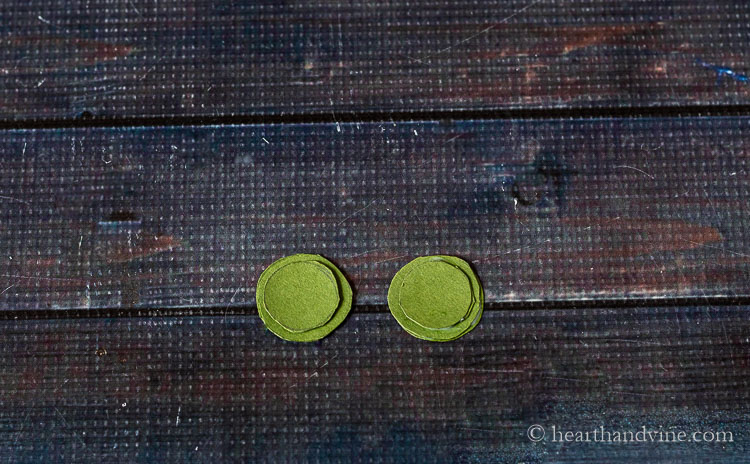
Step 8. Glue one of the sets of small circles to a set of large circles.
They will be glued to the envelope with the large circle on top. The smaller circle will leave room for the twine.
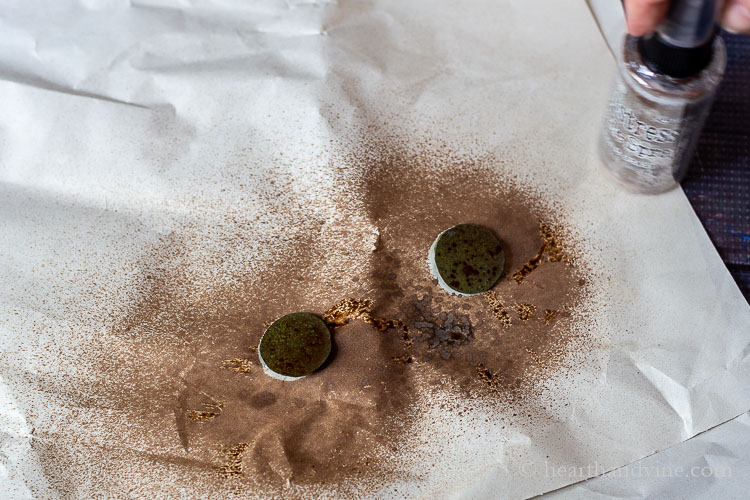
If you want you can further embellish the circle with paint or markers. I used some of my distressed oxide spray in walnut stain for a touch of vintage charm.
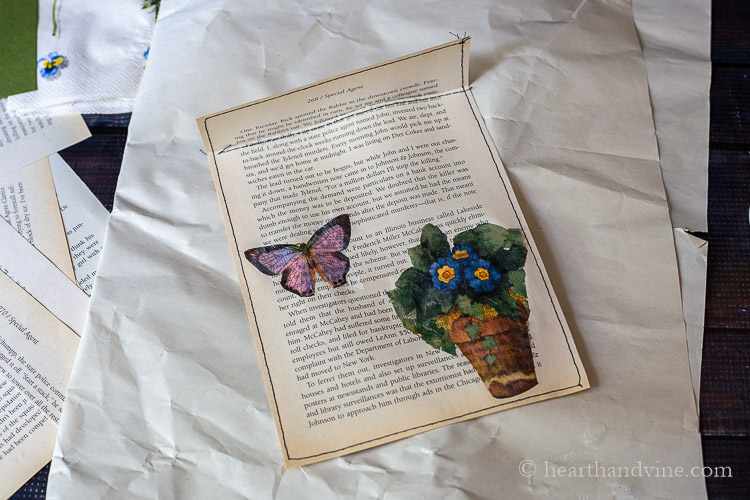
Further embellish the envelope/bag by mod podging pretty napkin cutouts on top. Make sure that you get to the very top layer of the napkin for a more translucent appearance.
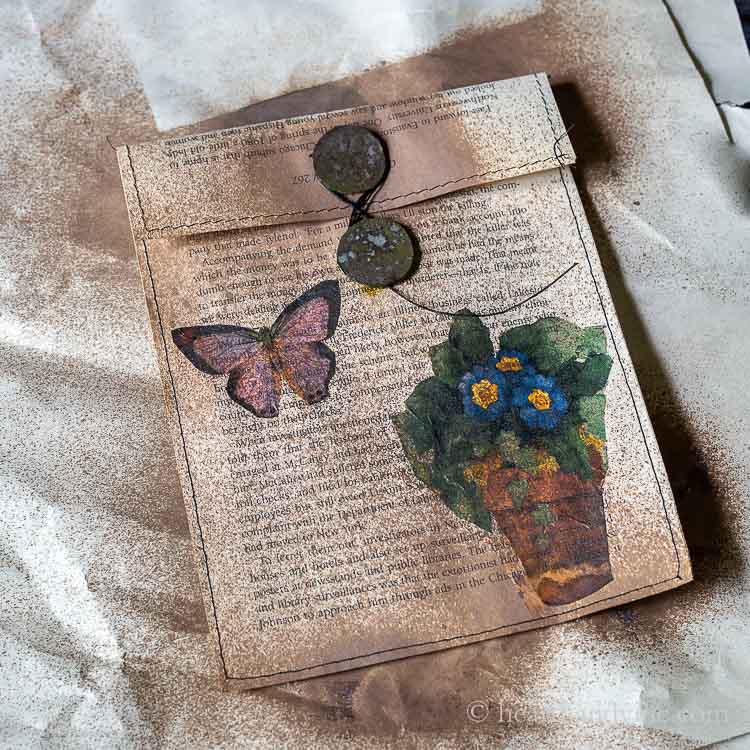
Step 9. Glue the circles with the small side down at the edge of the top fold and one just below.
Step 10. Once dry, add a long piece of waxed thread or baker's string to the top circle and wrap it around the bottom circle to close up the package.
Use your stamps or spray more antiquing medium over the pages to add a more textured look if you wish.
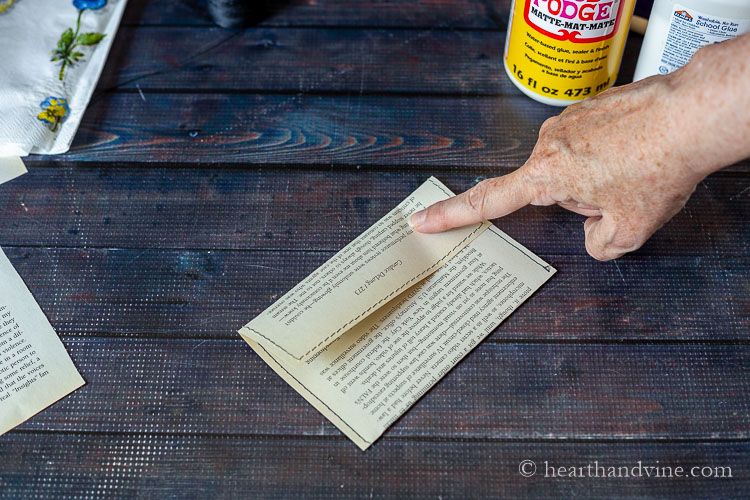
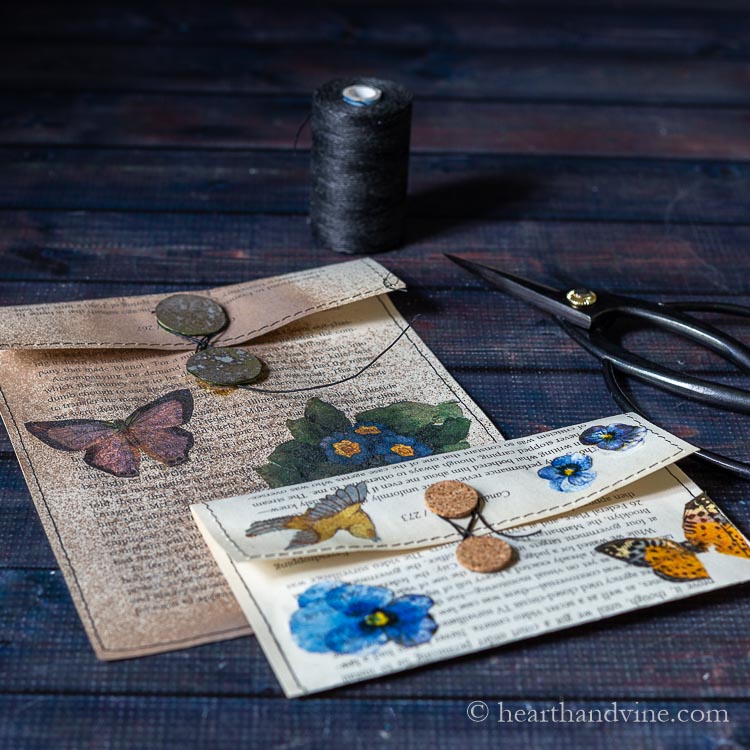
For a smaller envelope, just use one piece of paper folded as shown above. Once folded, open the top and sew along the sides and across the top.
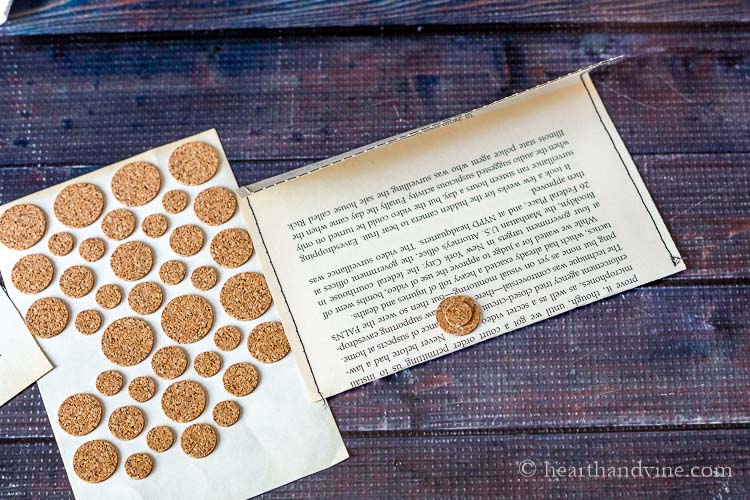
I found some old adhesive backed cork circles to use this time for my closures. Again, I'm using a smaller circle on top of a larger one.
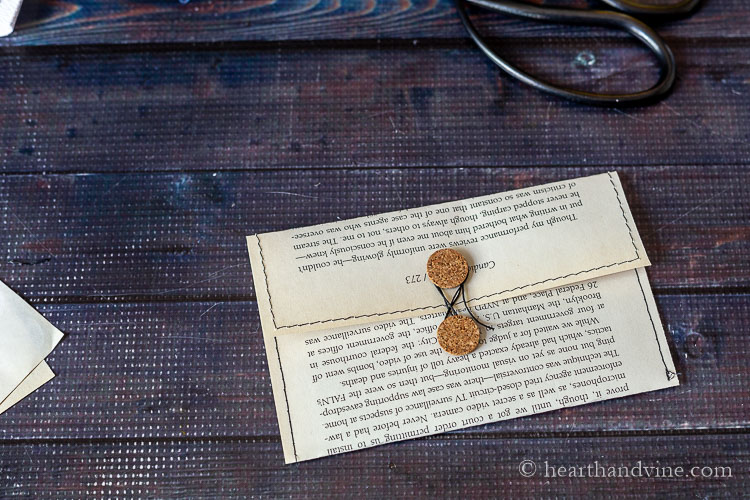
Then the corks are flipped over and pressed on the middle of the top fold and one just below. The closure is finished with waxed twine wrapped around both circles.
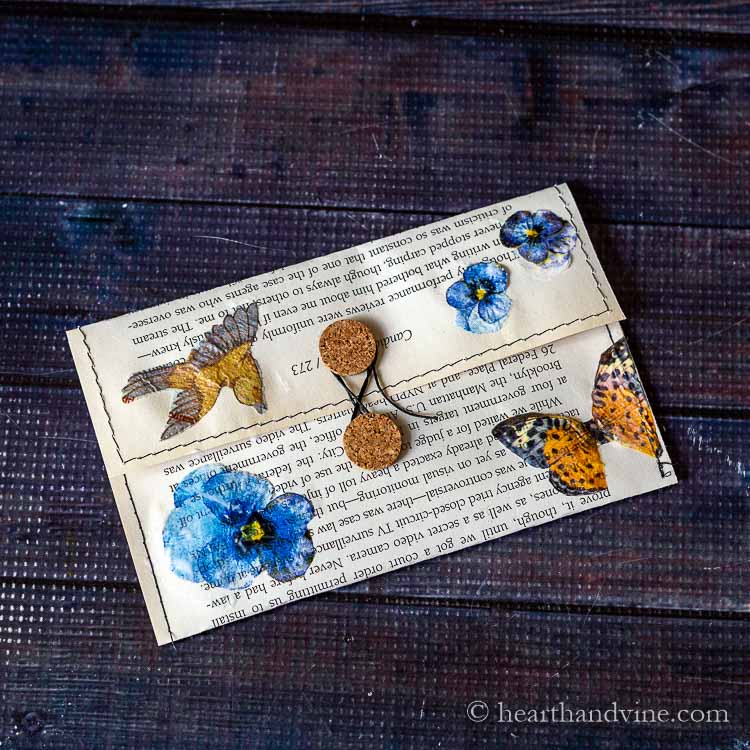
More images from paper napkins are decoupaged with Mod Podge to finish the look.
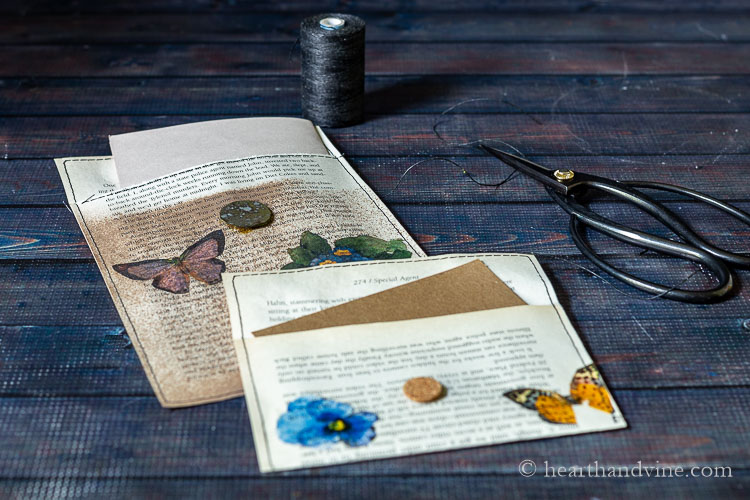
I think these would make a great envelope for a special handwritten note or a nice holder for a small gift or gift card.
Use what you have. Buttons or brad fasteners for closures. Stamps, paints, or watercolors. You could even use a book you have at home and make it look older with tea or watered down paint.
The point is to make it a fun, creative art exercise that doubles as a gift.


Leave a Reply