

You can easily make an envelope from a piece of paper. Whether it's a page from a magazine, copy paper, or scrapbook paper use the template below or create your own.
Have you ever found yourself with a card but no envelope? I've posted free printable thank-you cards here but you may need an envelope to go with them.
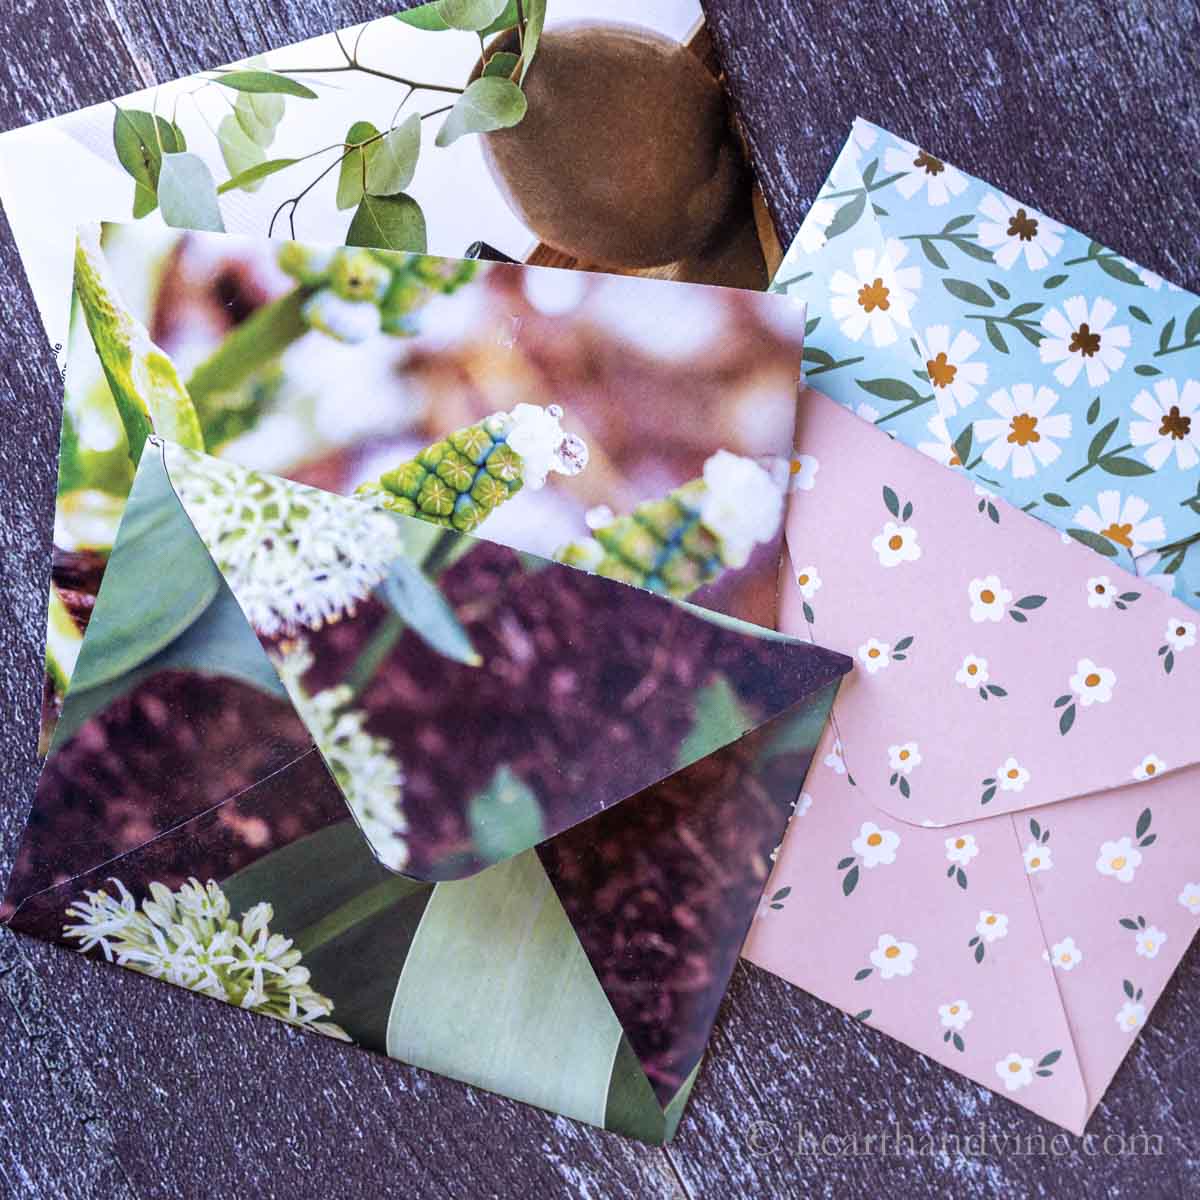
Today I'm sharing an easy template to create fun and beautiful envelopes from papers you have in your craft stash, a pretty page from a magazine, or a variety of other kinds of paper. It's a creative way to add a personal touch to a gift card, invitation, greeting card, or birthday card.
Sections At A Glance
This post contains some affiliate links (that means if you make a purchase after clicking a link, there's no additional cost to you, but I will earn a very small commission. ) i.e. as an Amazon Associate, I earn from qualifying purchases. Click here to read my full disclosure policy.
Supplies
- Pencil or pen
- Scissors
- Printer
- Cardstock paper
- Computer
- Magazine, Catalog, Scrapbook, or printer paper.
- Glue or thin double-sided tape.

template
How to Make an Envelope with Paper
Step 1. Print out the template shown above onto cardstock. If you don't have cardstock paper then print it out on printer paper, cut it out, and trace it onto any heavier paper or thin cardboard.

This template will create an A2-size envelope. This means you can fit 1/4 of a sheet of 8.5 x 11-inch sheet of paper into it. (Approximately 4.25 x 5.5 inches)

Step 2. Position your template over a magazine page where the highlight of the image is in the middle. If you are using printed scrapbook paper it doesn't matter where you place the template.

Step 3. Trace around the envelope template with a pencil. I used a black pen so that you can see it, but a pencil would be better as you can gently erase the marks if you need to.
Step 4. Fold the paper (right side down) by starting at the sides of the envelope (#1 and #2). Next, fold up the bottom (#3). The bottom of the envelope should slightly overlap the edges of the sides. Gently crease the edges as you fold with your fingers, or use a bone folder for thicker paper.
Step 5. Use craft glue, glue stick, or thin double sided tape to attach the overlapping area of the bottom to the sides.

Step 6. The top flap can then be folded down and creased where it meets the sides. You can use more glue or tape to close the envelope flap after you place your card or letter inside.

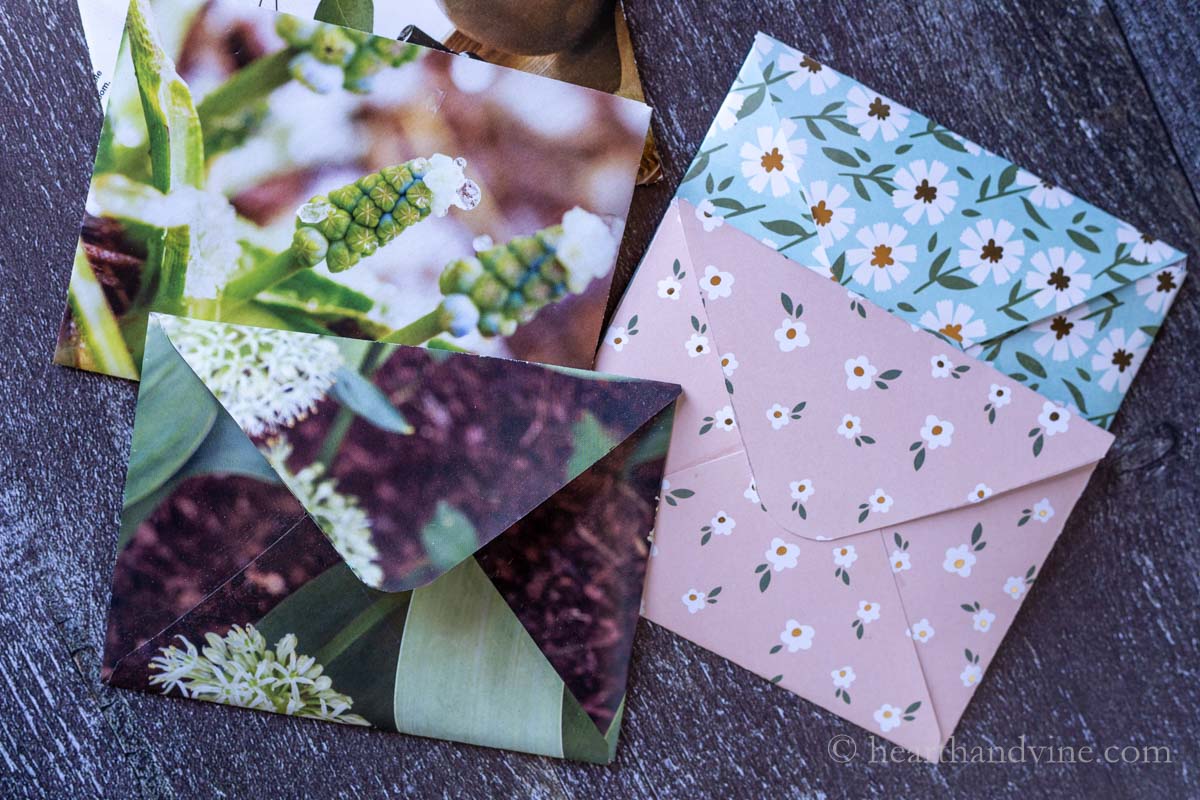
These beautiful floral magazine envelopes look great but cannot be addressed by hand. However, you can use white labels or a bright sticker to address them. Or, if you are using them as part of a gift you can leave them as is.
This template can be used on all types of paper to create lovely homemade envelopes. Scrapbook paper, wrapping paper, construction paper, pages from books, brown paper bags, or catalogs that come in the mail. It's a great way to recycle while enjoying the creative process.


How to Make an A2 Envelope from Paper
Equipment
- Pen or pencil
- Scissors
- Printer
- Computer
Materials
- Magazine, Catalog, Scrapbook or printer paper.
- Glue or thin double sided tape.
- Cardstock paper
Instructions
- Print out the template above on cardstock.
- Cut out the template and trace it onto a pretty page from a catalog, magazine or decorative scrapbook paper.
- Cut out the paper.
- With the right side down fold the envelope by starting on sides (1 and 2) and folding inward.
- Next, fold the bottom edge up slightly overlapping the sides. (3)
- Glue or tape the section where the bottom overlaps onto each side piece.
- Finish by folding the top down to the top of the sides.
Notes

Dale Al
Great idea, but I do not see the template. Where should I look?
Dale
Patti Estep
Dale, you are correct. The template was not coming up as I planned. I added another line with the link to the template. Sorry about that, and thank you for letting me know.
Denise
This is such a cute idea! I am amazed at all the cool projects you have.
Patti Estep
Thanks Denise!
Violeta
So simple and fun - love how you can turn any paper into a custom envelope! Today I’ve featured your tutorial on Crafts on Display, I hope you enjoy it, and keep up the amazing work!
Patti Estep
Glad you liked it, Violeta and thanks for sharing.
Carole West
I love this project Patti and especially like how you used old magazine pages. This weekend I am headed into Shreveport and will add hunting down old magazines to my list while I visit one of our favorite used bookstores. Fantastic idea thank you for sharing your creativity.
Patti Estep
So glad you like it Carole. I hope you find some fabulous old magazines on your trip.