• Skip to primary navigation
  • Skip to main content
  • Skip to primary sidebar
  • Home
  • DIY Projects
    • Homemade Bath and Body
    • Sewing - Fabric Crafts
    • Flower Crafts/Decor
    • Thrift Store/Vintage
  • Gardening
    • Flower Gardens
    • Container Gardening
    • Houseplants
    • Indoor Gardening
    • Landscaping
    • DIY Garden Art
  • Decorate
    • Spring Decor
    • Summer Decor
    • Fall Decor
    • Winter Decor
    • Home Decor Projects
  • Recipes
    • Breakfast Recipes
    • Lunch Recipes
    • Dinner Recipes
    • Dessert
    • Salad Recipes
    • Soups and Stews
    • Side Dish Recipes
    • Appetizers and Snacks
    • Healthy Recipes
  • Holidays
    • Valentine's Day
    • Easter
    • Mother's Day
    • Halloween
    • Thanksgiving
    • Christmas
Hearth and Vine
menu icon
go to homepage
  • About
  • DIY
    • ...Flower/Gardening Crafts
    • ... Bath and Body
    • ...Sewing/Fabric Crafts
    • ...Thrift Store/Upcycle
  • Gardening
    • ...Flower Gardens
    • ...Container Gardening
    • ...Indoor Gardening
    • ...DIY Garden Art
  • Decorate
    • ...Home Decor Projects
    • ...Spring Decor
    • ...Summer Decor
    • ...Fall Decor
    • ...Winter Decor
    • ...Room Makeovers
  • Recipes
    • ...Appetizers and Snacks
    • ...Dinner Recipes
    • ...Side Dish Recipes
    • ...Salad Recipes
    • ...Dessert
    • ...Drinks
  • Holidays
    • ...Valentine's Day
    • ...Easter
    • ...Mother's Day
    • ...Halloween
    • ...Thanksgiving
    • ...Christmas
  • Subscribe
  • Instagram
    • Facebook
    • Instagram
    • Pinterest
    • Twitter
  • subscribe
    search icon
    Homepage link
    • About
    • DIY
      • ...Flower/Gardening Crafts
      • ... Bath and Body
      • ...Sewing/Fabric Crafts
      • ...Thrift Store/Upcycle
    • Gardening
      • ...Flower Gardens
      • ...Container Gardening
      • ...Indoor Gardening
      • ...DIY Garden Art
    • Decorate
      • ...Home Decor Projects
      • ...Spring Decor
      • ...Summer Decor
      • ...Fall Decor
      • ...Winter Decor
      • ...Room Makeovers
    • Recipes
      • ...Appetizers and Snacks
      • ...Dinner Recipes
      • ...Side Dish Recipes
      • ...Salad Recipes
      • ...Dessert
      • ...Drinks
    • Holidays
      • ...Valentine's Day
      • ...Easter
      • ...Mother's Day
      • ...Halloween
      • ...Thanksgiving
      • ...Christmas
    • Subscribe
    • Instagram
    • Facebook
    • Instagram
    • Pinterest
    • Twitter
  • ×
    Home » DIY Projects

    Eco Dying on Paper with Leaves from Your Yard

    by Patti Estep · Jul 10, 2023

    Jump to How-to Card
    Two eco printed cards from leaves in shades of green and purple.
    Hanging eco leaf cards over the same cards flat on a table.

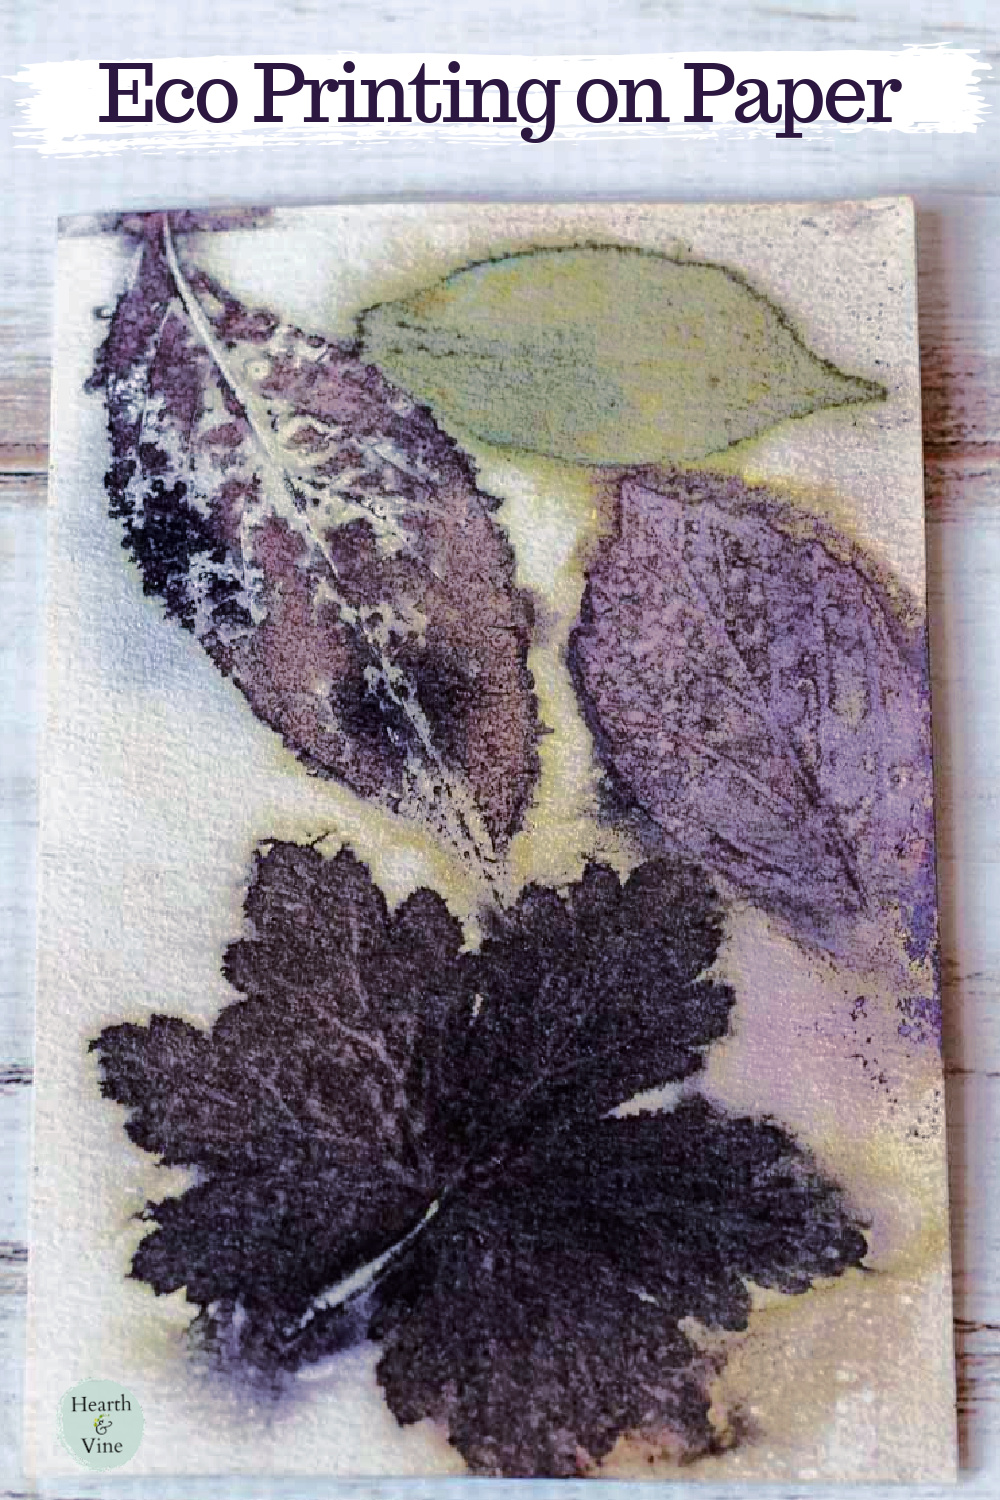
    Try this fun tutorial that shows you how to experiment with eco printing on paper giving you beautiful results from nature.

    Cards with eco printing of various leaves in shades of green and purple.

    I tried eco printing on fabric and it was fun but I think eco printing on paper was even better. Just look at the outcome of this lovely craft.

    This post contains some affiliate links (that means if you make a purchase after clicking a link, there's no additional cost to you, but I will earn a very small commission.) i.e. as an Amazon Associate, I earn from qualifying purchases.  Click here to read my full disclosure policy.
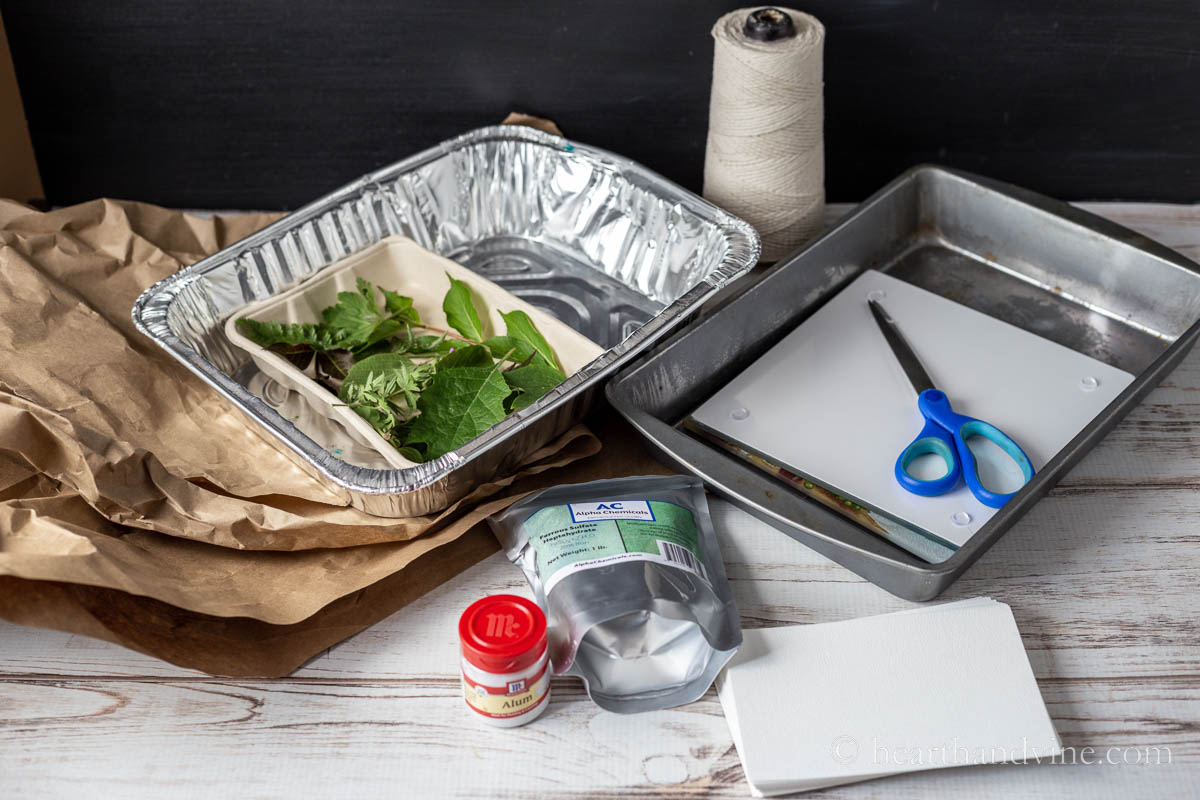
    Supplies for eco printing on paper including watercolor cards, alum, scissors, a roasting pan, various leaves, brown paper and more.

    Supplies

    • watercolor paper or printmaking paper
    • alum
    • ferrous sulfate or homemade iron water
    • fresh leaves - those high in tannins are best
    • two glass trivets or ceramic tiles larger than the paper
    • brown paper sheets or pieces of fabric to separate the papers
    • twine or string
    • scissors
    • old roasting pan for crafting only - or an old pot
    • non-food craft bins for soaking paper and leaves

    Safety Note:

    You'll want to wear gloves for this project and work in a room that is well-ventilated or possibly outside on a hot plate. Make sure you know what plant material you are using.

    Here's a link to a list of plants for reference. Most of these refer to eating the plant material. Still, they may give off toxic fumes that could be a problem.

    Common Poisonous or Toxic Plants

    Freshly picked plant leaves in a circle with labels.

    How to Create Eco Prints on Paper

    Collect your plant materials. Above is a list with labels of the leaves I used.

    Newsletter Signup
    Join Our Newsletter List!

    Be the first to receive new posts and get access to our Subscribers Only Page.

    Good Plants for Eco Printing

    Those that are rich in tannins are said to work best. Here are some that I used and a few I've read about that work well.

    • Maple
    • Sumac
    • Japanese Maple
    • Black Walnut
    • Oakleaf Hydrangea
    • Weigela
    • Hardy Geranium
    • Mint
    • Eucalyptus
    • Rose
    • Birch
    Watercolor card with sheets of brown paper cut slightly larger.

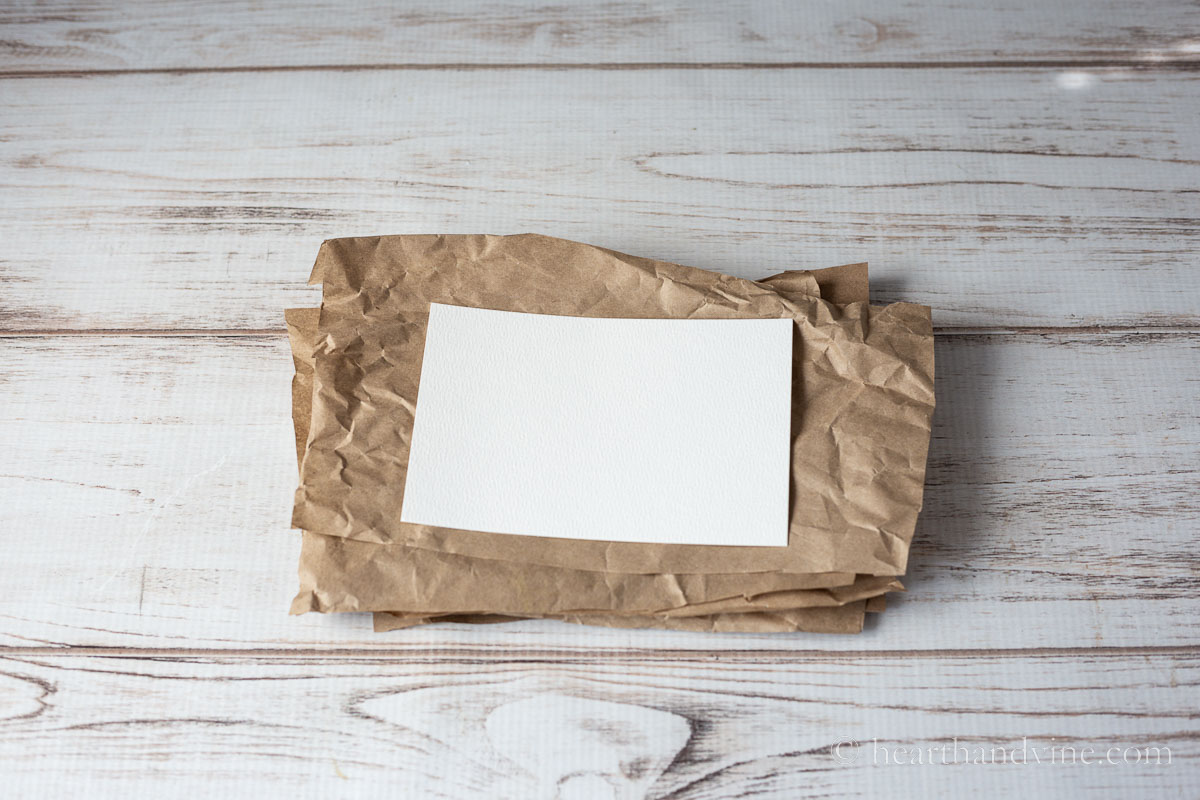
    Cut up some brown paper to layer between the sheets of paper to prevent excess bleeding through.

    Watercolor cards in a water with alum.

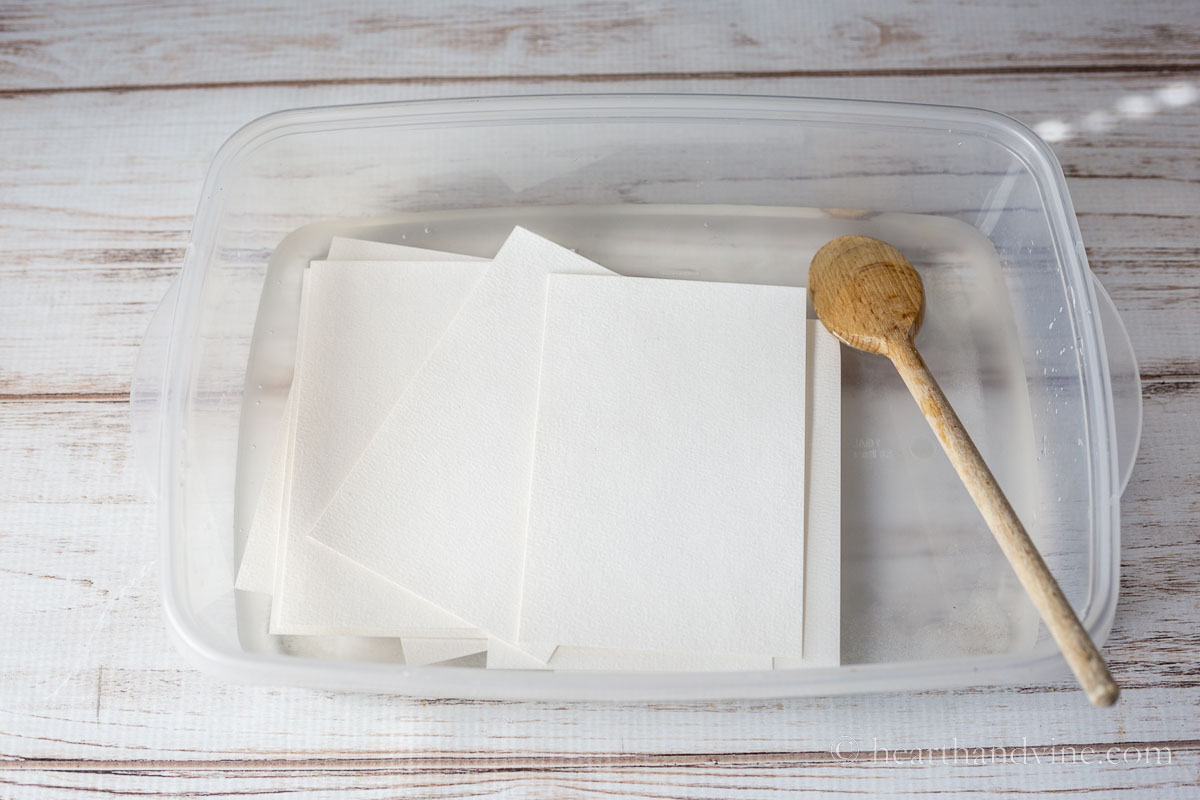
    Soak your paper in a mordant. This will allow the paper to accept the natural dyes of the plant material. I used an alum and water solution. You can easily find alum in the spice aisle at the grocery store.

    Leaves soaking in iron water.

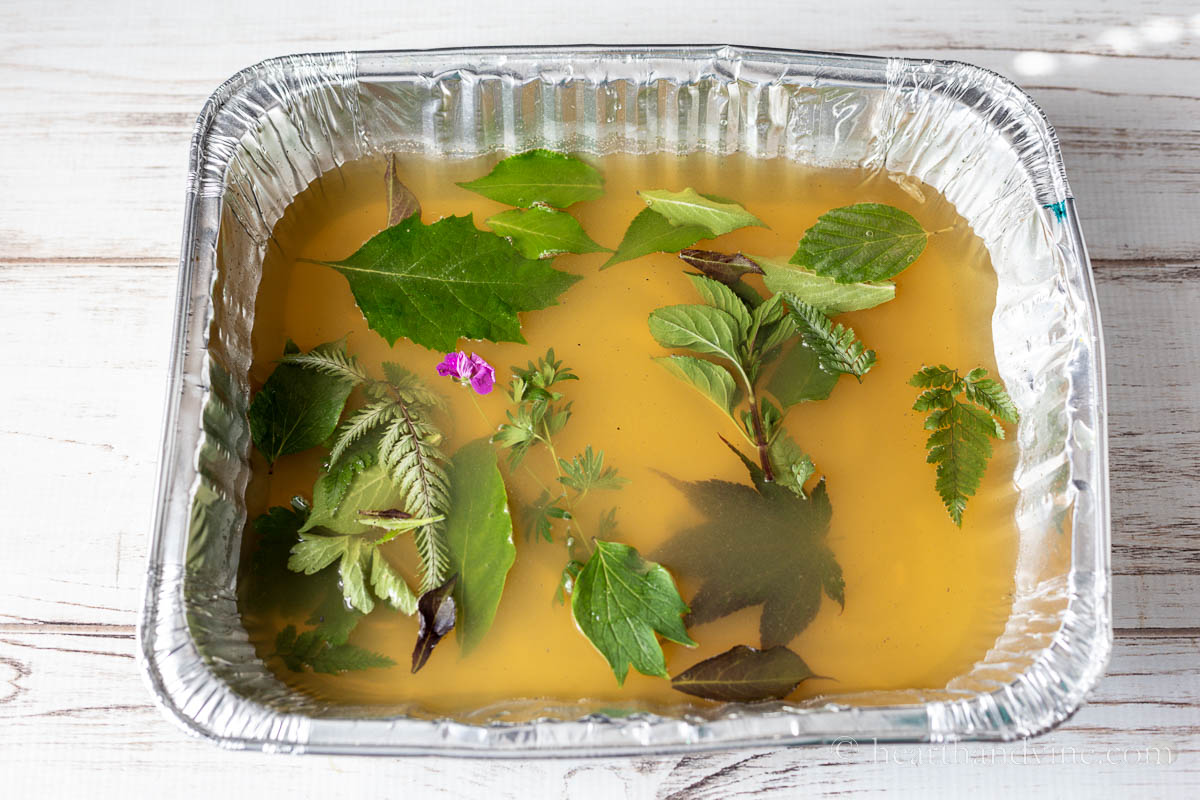
    Next, soak the leaves in an iron mordant. I used a little ferrous sulfate with water that I purchased online in a foil pan. However, you can create your own iron water at home but it takes a week or two to make.

    Soaked leaves arranged on prepared paper on a glass trivet.

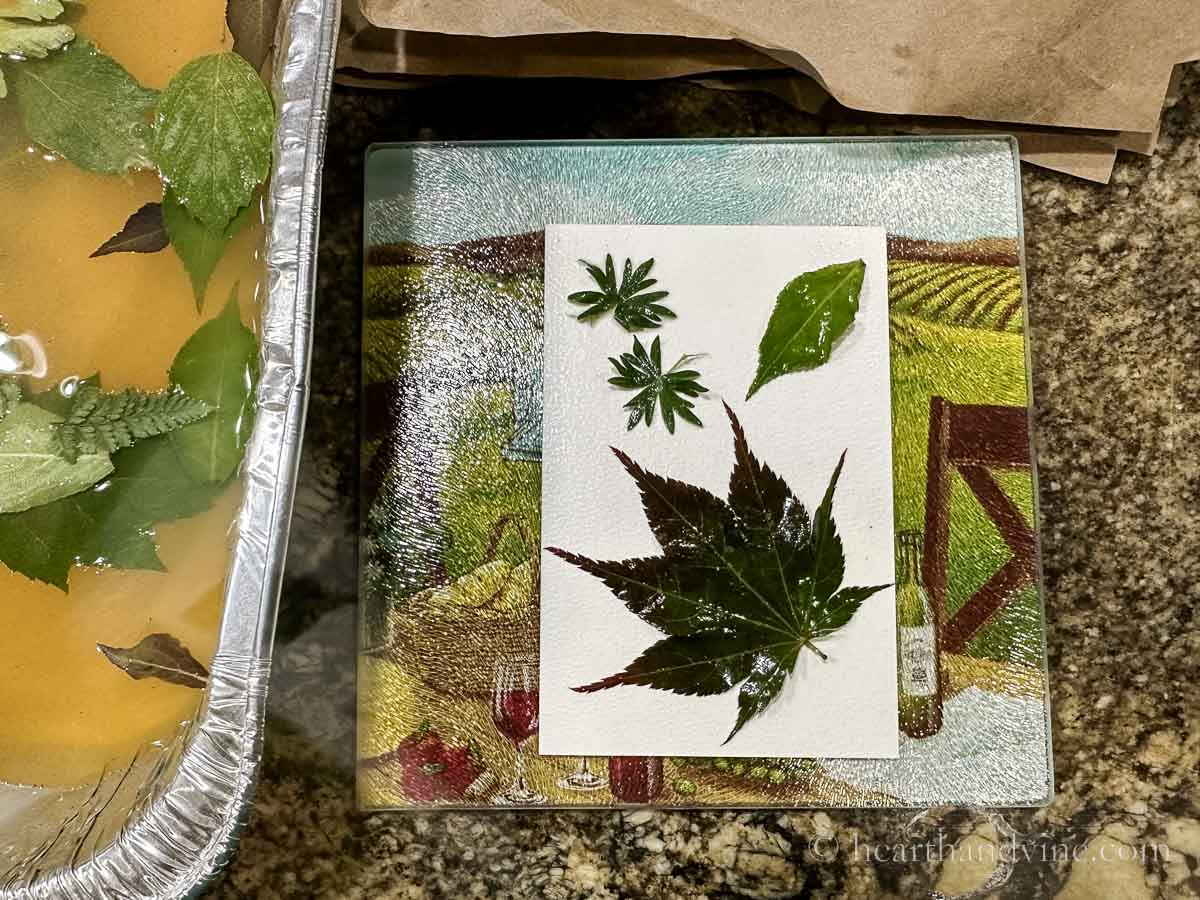
    You also need something to hold the paper and leaves together. I used two glass trivets from the dollar store. However, you could use ceramic tiles or possibly wood scraps.

    Place one of the sheets of soaked paper on the trivet and then arrange some of the leaves on top. Cover with another piece of paper that was soaked in the alum water.

    Brown paper layered between leaf prints.

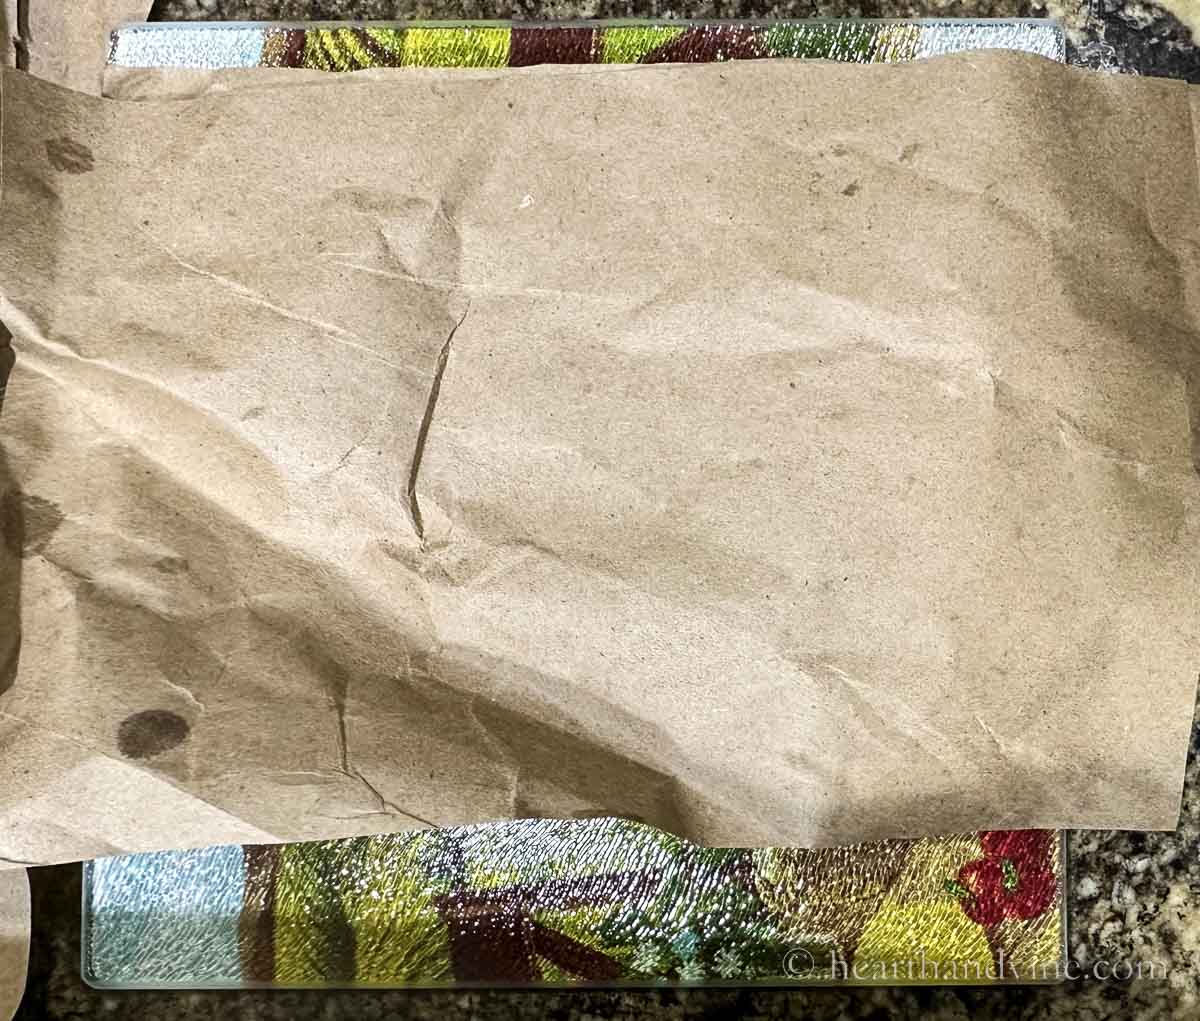
    Next use 1 or 2 sheets of the brown paper you cut as a buffer for the next set of papers and leaves.

    Stack of cards with leaves and brown paper between glass trivets and wrapped with string.

    Continue stacking paper, leaves, and brown paper to make a bundle.

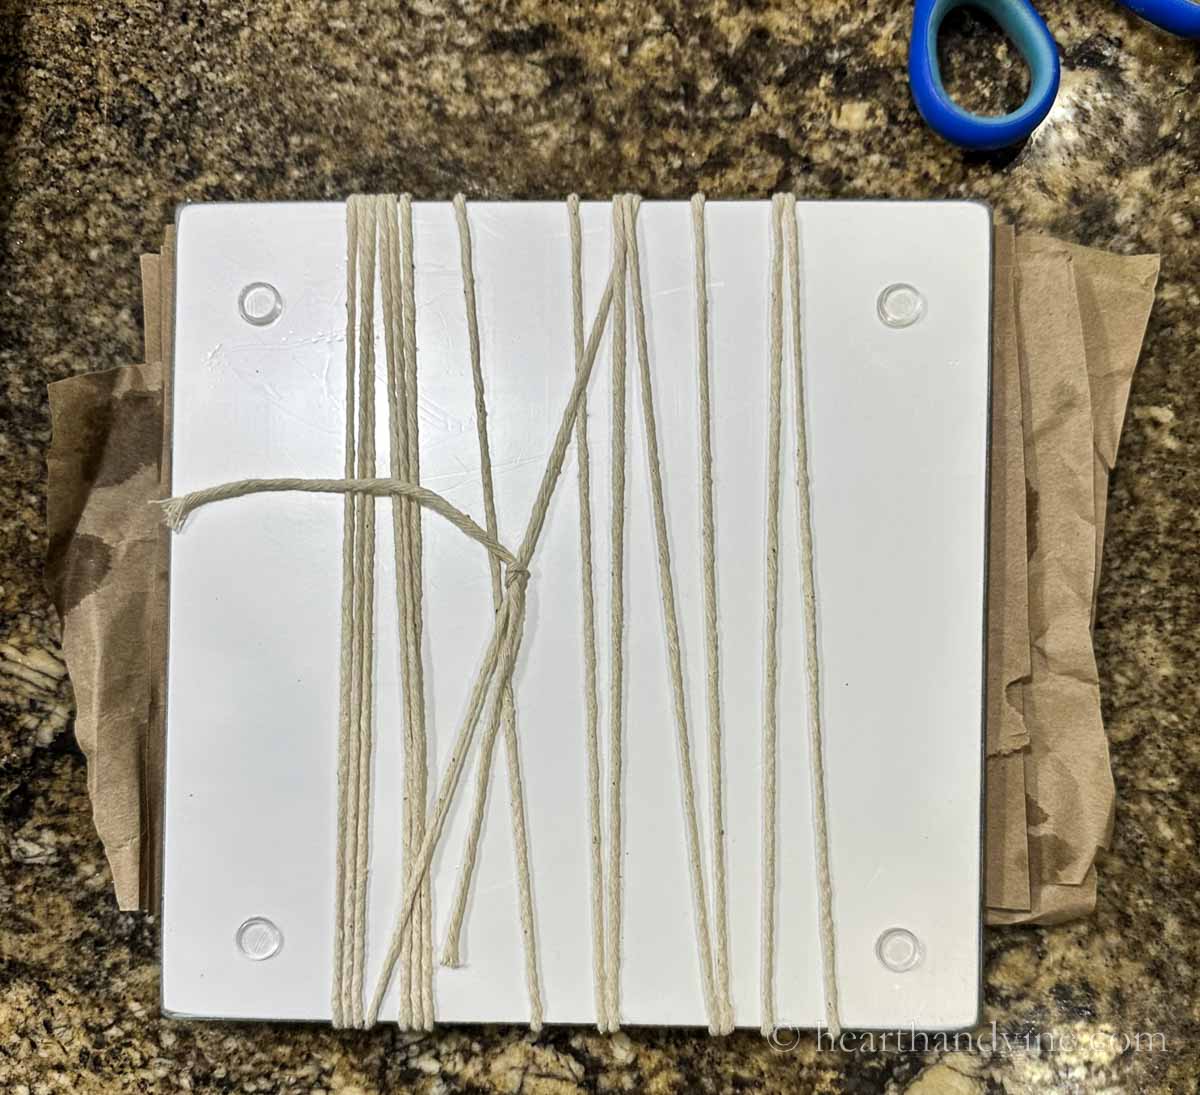
    Top with another trivet and tie the entire group together as tight as possible with string to ensure good contact.

    Eco printing paper bundle in a roasting pan of water simmering on the stove.

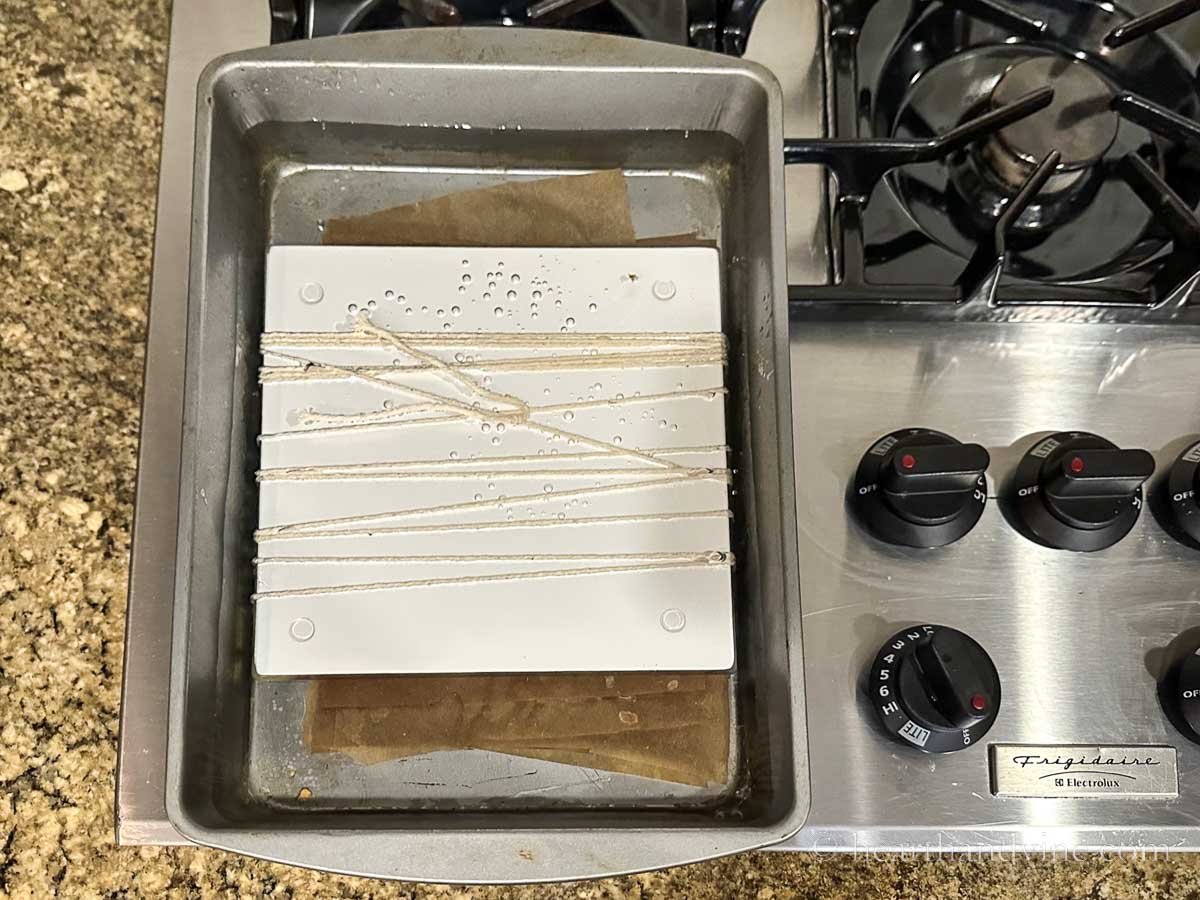
    Next, you want to simmer the entire stack in enough water to cover on the stove. I used an old roasting pan. You could also use a large pot. However, this is something that you don't ever want to use for food or cooking in the future. A good place to find an inexpensive option would be to go to a thrift store and buy a cheap old pan or pot.

    Eco printed paper bundle after heating.

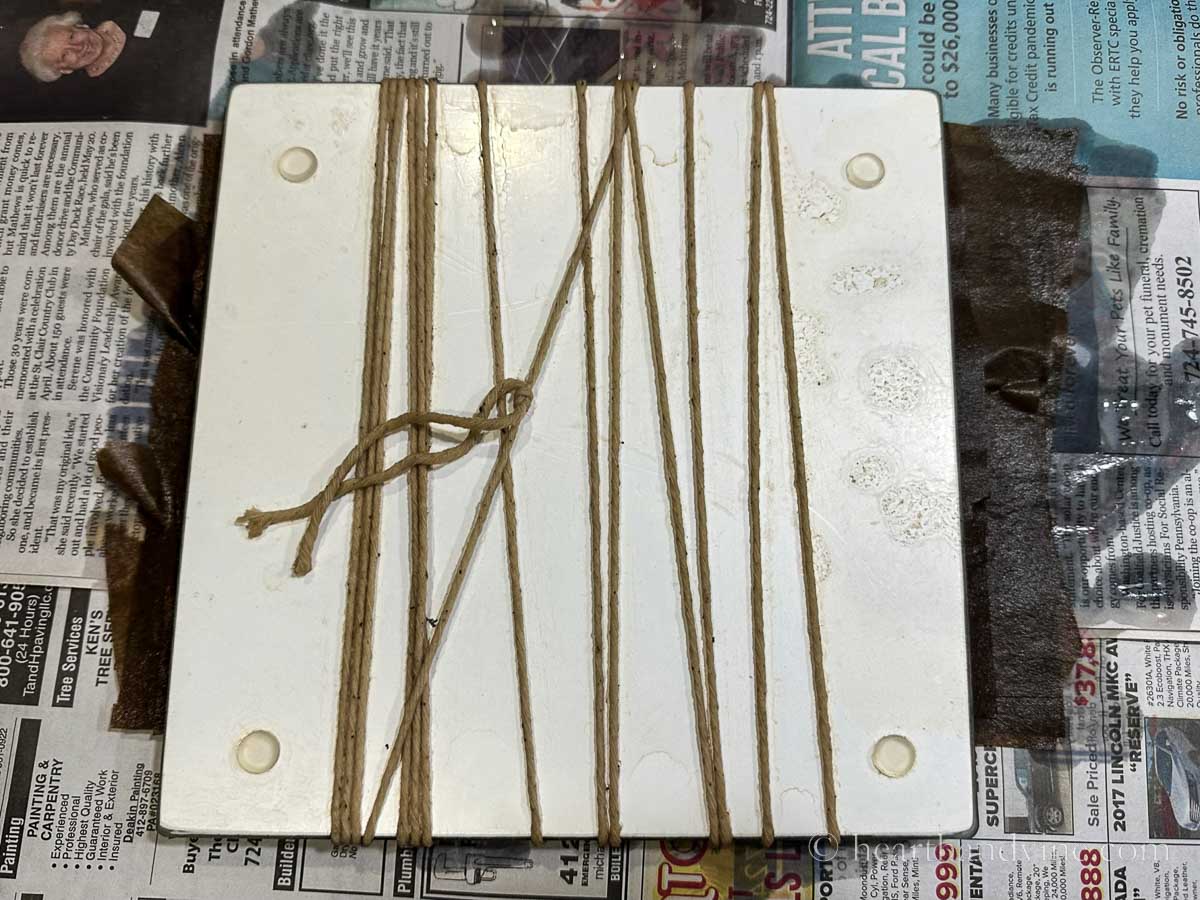
    Lay your bundle on some newspaper or old towels to cool for a few minutes before cutting the strings.

    Card reveal with one leave still on.

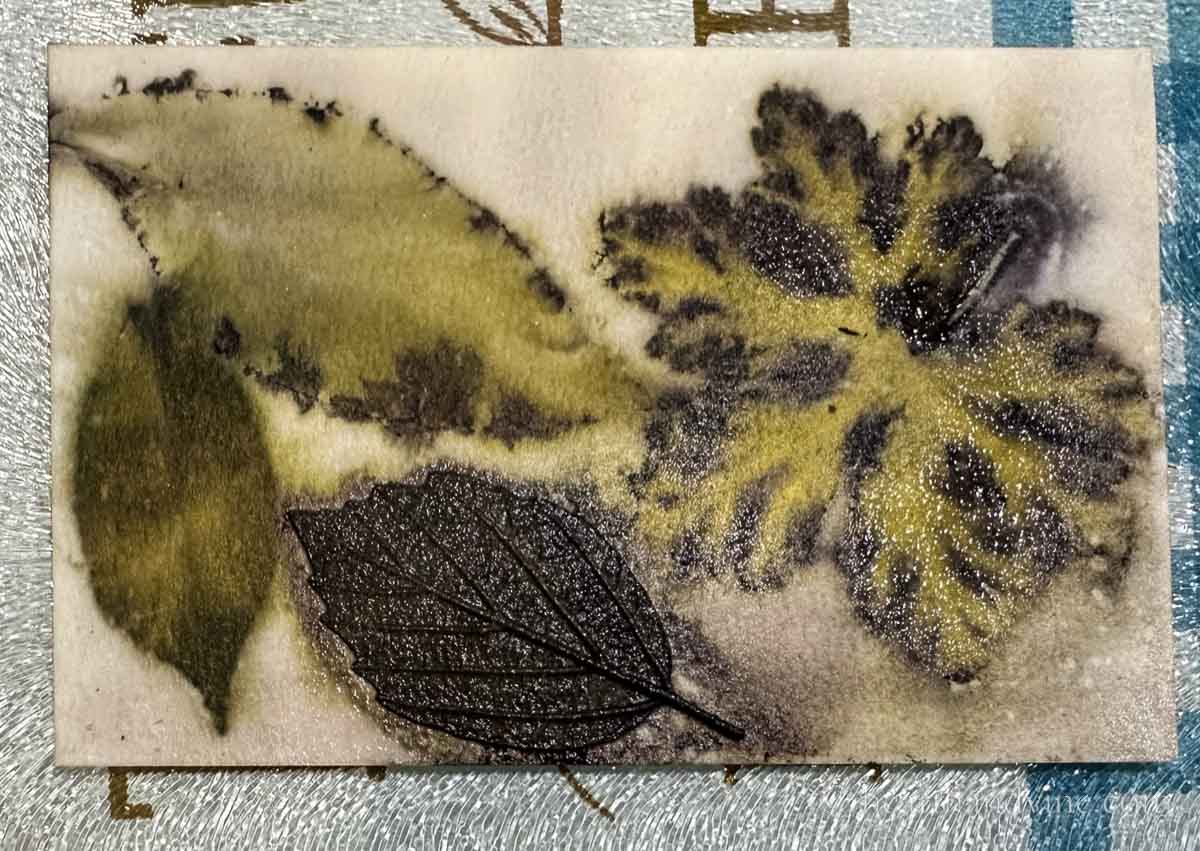
    The reveal is the most rewarding part. Above you can see some of the plant material still on the paper. This is actually the top piece of paper.

    Cards just after heating.

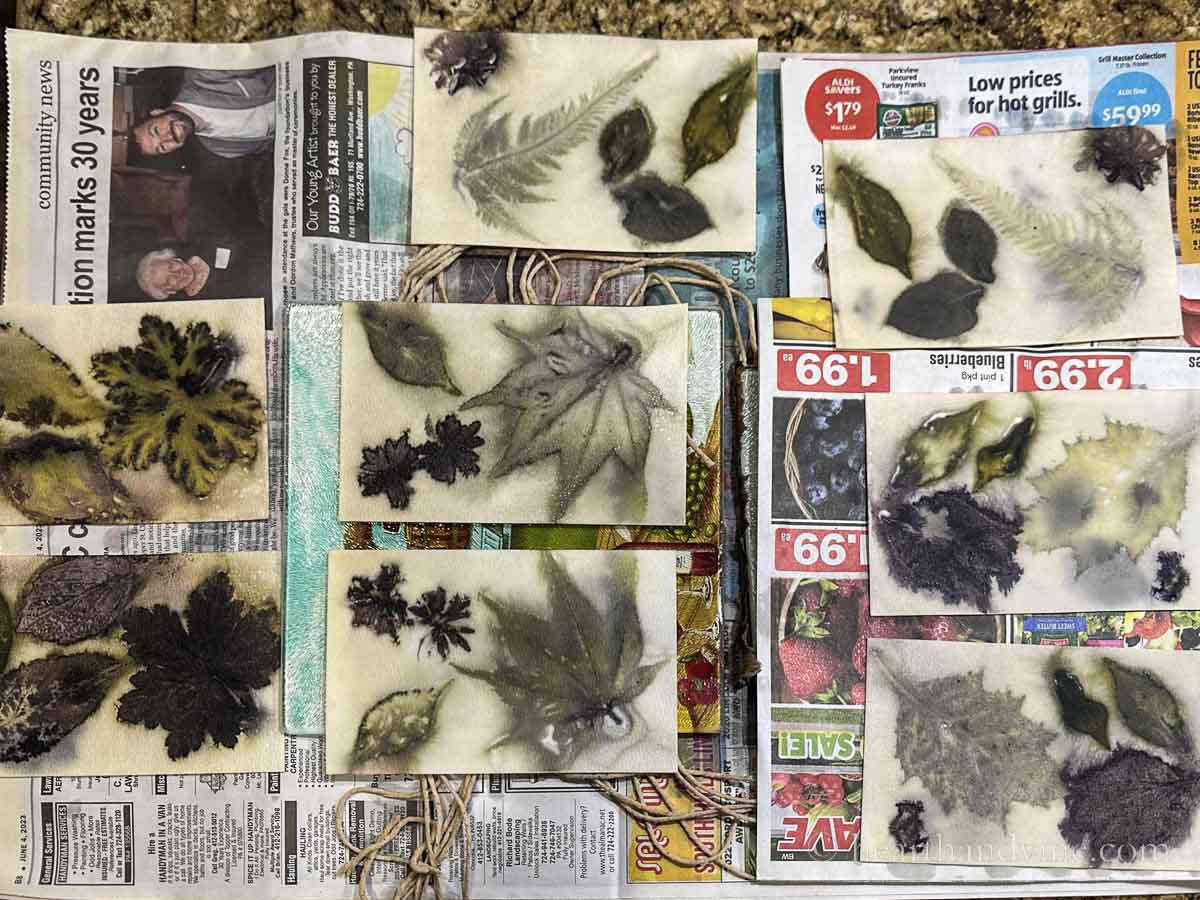
    Here are all four of the arrangements I used. Each arrangement made two unique paper prints.

    Leaf printed cards hanging on string with clothespins to dry.

    I hung them on some string to dry well but you could also lay them on some towels or newspaper.

    Opposite paper eco prints with leaves.

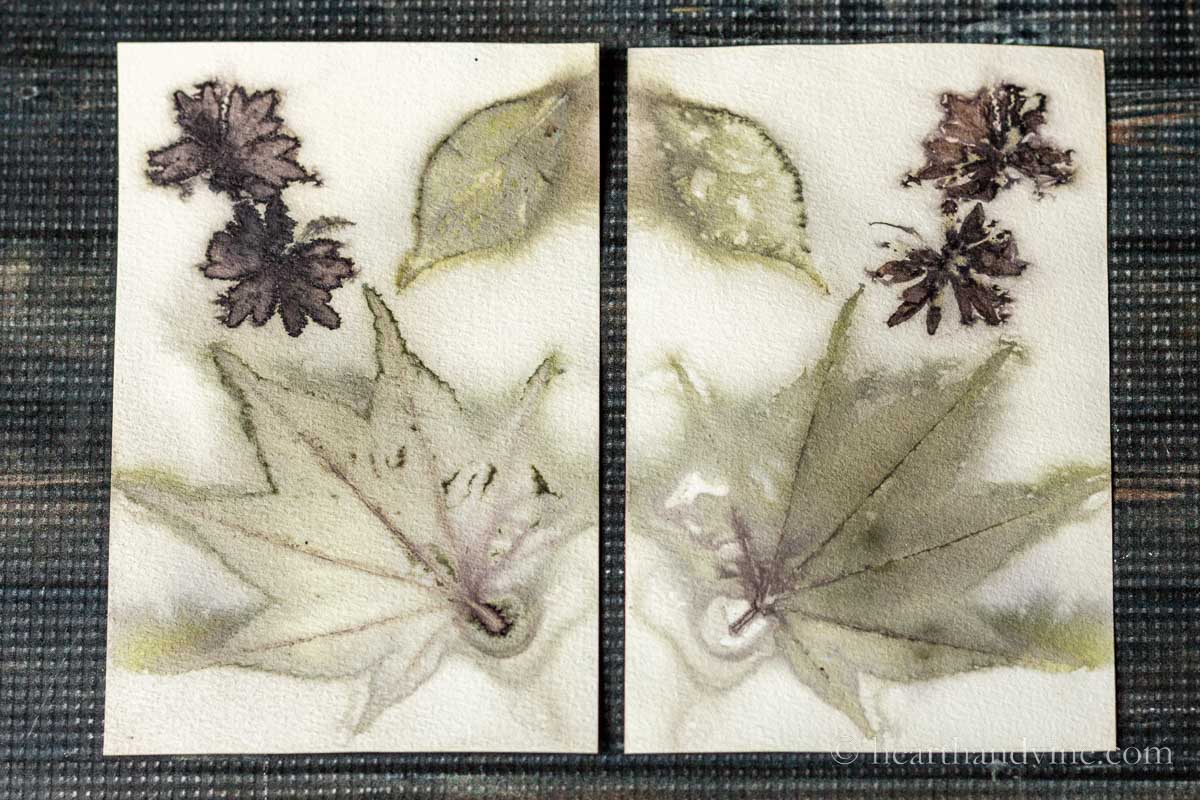
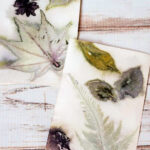
    Here are two of the cards that had the leaves sandwiched between them. Both are beautiful. The one on the left is the one where I placed the leaves faced down.

    Ironing dry curled paper to flaten.

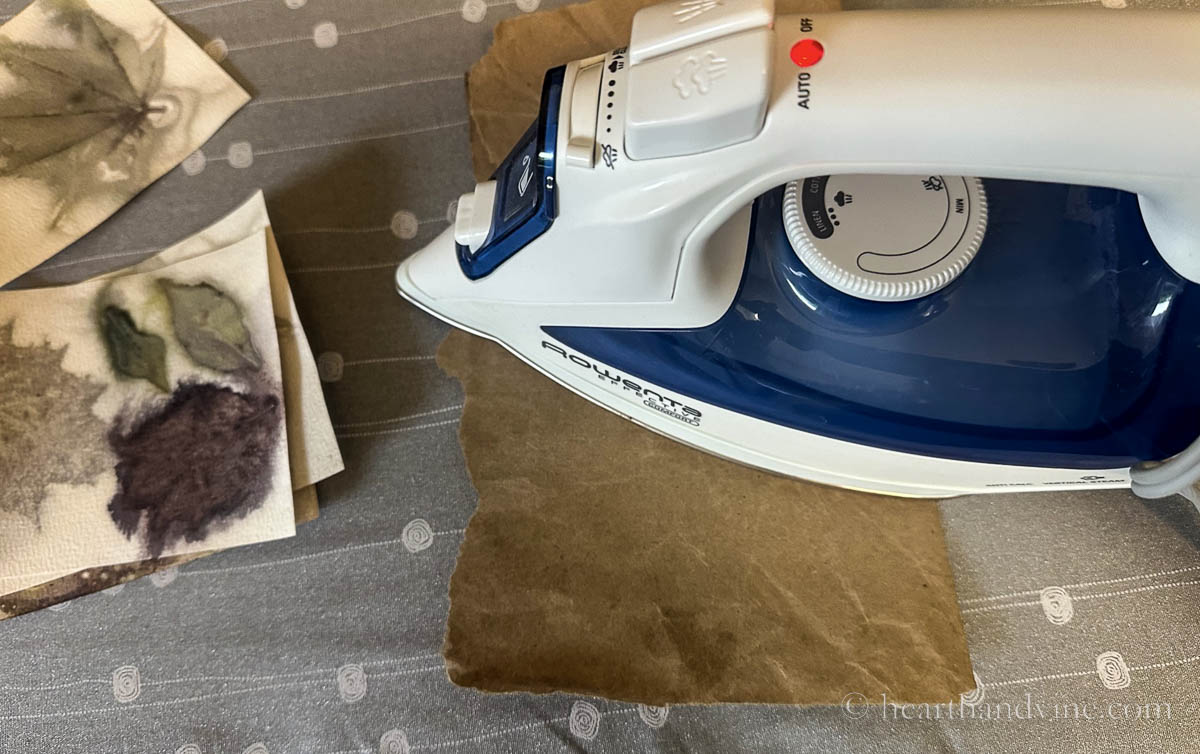
    Once the papers dry they may curl a little. You can flatten them between some heavy books or use a warm iron with a piece of brown paper on top.

    Four eco printed cards.

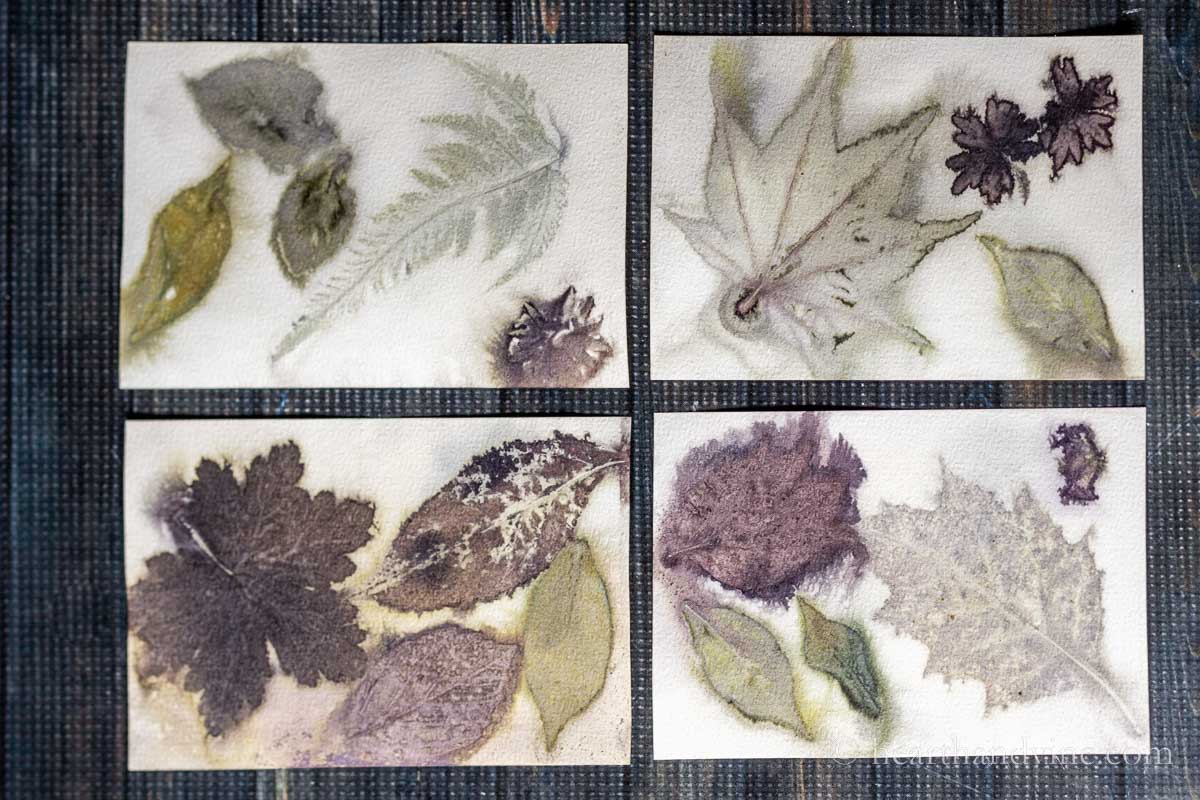
    I love the way these turned out. I might try it again in the fall to see what happens with fall colored leaves.

    Patti signature

    More Nature Printing Ideas

    • Eco Printing on Fabric
    • Flower Pounding
    • Leave Printing on Pillows
    • Sun Printing on Fabric
    Eco printed card with leaf prints.
    Print

    Eco Printing on Paper Tutorial

    You won't believe the gorgeous prints you'll get with this fun tutorial that shows you how to use the dye in leaves to make beautiful printed paper.
    Active Time2 hours hrs
    Drying Time2 hours hrs 30 minutes mins
    Cost: $30

    Equipment

    • 1 pair of scissors
    • Gloves
    • old roasting pan for crafting only
    • non-food craft bins for soaking paper and leaves

    Materials

    • watercolor paper or printmaking paper heavy, good quality
    • alum
    • ferrous sulfate or homemade iron water
    • fresh leaves
    • two glass trivets or ceramic tiles larger than the paper
    • brown paper sheets
    • twine or string

    Instructions

    • Soak your paper in a plastic bin with water and 10 % alum mixed in. I used about 2 cups of water and 3 tablespoons of alum for about 15 minutes.
    • Soak your leaves in water and 1% ferrous sulfate or homemade iron water for 15 minutes.
    • Set the first alum soaked paper on the glass trivet or ceramic tile.
    • Arrange leaves on the paper.
    • Cover with a second piece of treated watercolor paper.
    • Next, add a sheet or two of brown paper as a buffer.
    • Repeat with a new card and leaf arrangement.
    • Continue with more paper and leaf arrangements.
    • Finish with another glass trivet or ceramic tile and tie the bundle tightly together with twine or string.
    • Set in an old non-food use roaster pan or pot covered with water.
    • Bring to a boil and then reduce the heat and simmer for 1.5 hours.
    • Remove from the water and let cool.
    • Cut the string and open the bundle to reveal your prints.
    • Set on towels or hang the paper to dry.
    • Upon drying the paper may curl. Flatten by covering the curled paper with brown paper and lightly ironing or set some heavy books on top.

    Notes

    Make sure the pots and pans you use to soak or heat the materials will not be used for food in the future. You can easily pick up some inexpensive pots/pans in a thrift store.
    Know your plants. Don't use anything toxic or poisonous for this project.
    Wear gloves and work in a well ventilated area or outside. You could also wear a mask. 
    Tried this project?Tag @hearthnvine on Instagram
    « Roasted Asparagus and Broccoli Recipe
    DIY Hydrosol or Floral Water »

    About Patti Estep

    Patti is the creator of Hearth and Vine, a home and garden blog filled with projects to inspire your creative side. She loves crafting, gardening, decorating and entertaining at her home in Pennsylvania. When she is not working on a project at home or searching for treasures at nurseries and thrift stores with her girlfriends, you’ll probably find her with family and friends, at a restaurant, or home party enjoying new and different food adventures.

    Reader Interactions

    Comments

    1. Jenny

      January 17, 2024 at 1:18 am

      The results look really interesting. I haven't seen this technique before. I've done leaf printing before just by bashing them with a hammer!

      Reply
      • Patti Estep

        January 17, 2024 at 8:05 am

        It's definitely a fun project to try Jenny. A little more work than flower pounding but that's so fun too.

        Reply

    Leave a Reply Cancel reply

    Your email address will not be published. Required fields are marked *

    Recipe Rating


    Primary Sidebar

    Patti Estep Profile Picture

    Hi!

    I'm Patti

    Join me to create lots of fun DIY projects, including crafts, gardening, home decor, and tasty recipes

    More about me

    Popular Posts

    • Baked zucchini bite on a slated tray with a bowl of horseradish sauce.
      Make Tasty Zucchini Bites in Under an Hour
    • Three tin cans in descending sizes hanging from twine.
      DIY Wind Chimes with Tin Cans
    • Blue jean crossover bag
      DIY Crossbody Bag from Jeans
    • Ham barbecue sandwich on plate
      Chipped Ham Barbecue Sandwiches - A Pittsburgh Favorite
    • Echievera planter
      What to do With a Stretched Succulent
    • Make a Mason Jar Oil Candle Lamp with botanicals and essential oils. ~ gardenmatter.com
      DIY Oil Candle - Gifts for the Holidays

    Footer

    ^ back to top

    About
    Contact
    Privacy Policy
    Disclosure Policy

    Sign Up Here!
    for our
    newsletter &
    special offers

    Follow Me

    facebook
    Pinterest
    instagram

    As an Amazon Associate, I earn from qualifying purchases. i.e. as an Amazon Associate, I earn from qualifying purchases.

    Copyright © 2025 Hearth and Vine

    Rate This Recipe

    Your vote:


    A rating is required
    A name is required
    An email is required