

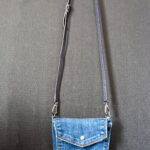
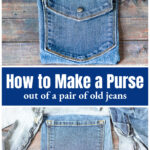
This easy DIY crossbody bag tutorial is a great way to upcycle an old pair of jeans into a fun and useful purse using the back pockets. The result is a cute little bag with an extra compartment for your phone or other things you want to carry.

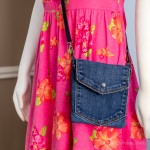
Sometimes you just want to carry the bare minimum, like your phone and a credit card, a bit of cash, and lip balm. I particularly like this kind of bag when going to home or garden tours or hiking. Places where lugging around the bag you normally carry is unnecessary and cumbersome. A little crossover denim bag, sometimes called a hipster bag is the perfect option.
I wear blue jeans every day. I know many people prefer leggings, but there are no pockets in most, and I like the look and feel of denim. After a while, they become too worn to donate, so they end up in my fabric stash. So I'm always looking for a way to recycle them.
A while back I made a nice weekender jean bag from old jeans and a fun denim placemat set. Why not make a crossbody bag from the back pockets of jeans?
More Easy Sewing Projects: Fabric Bowl Covers.....Kindle Holder.....Phone Charger Holder.....Bed Pocket Caddy
This post contains some affiliate links (that means if you make a purchase after clicking a link, there’s no additional cost to you, but I will earn a very small commission. ) i.e. as an Amazon Associate, I earn from qualifying purchases. Click here to read my full disclosure policy.
Supplies
- Pair of old jeans
- 2 D rings .5 inch
- Strap
- Snap fastener
How to Make a Crossbody Bag from Jeans
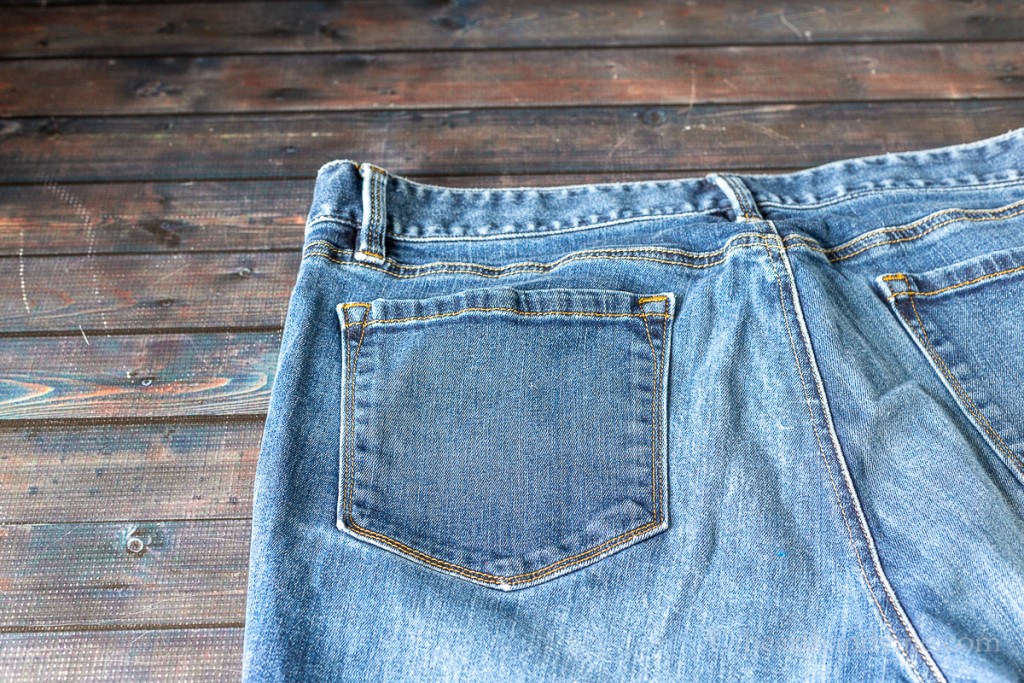
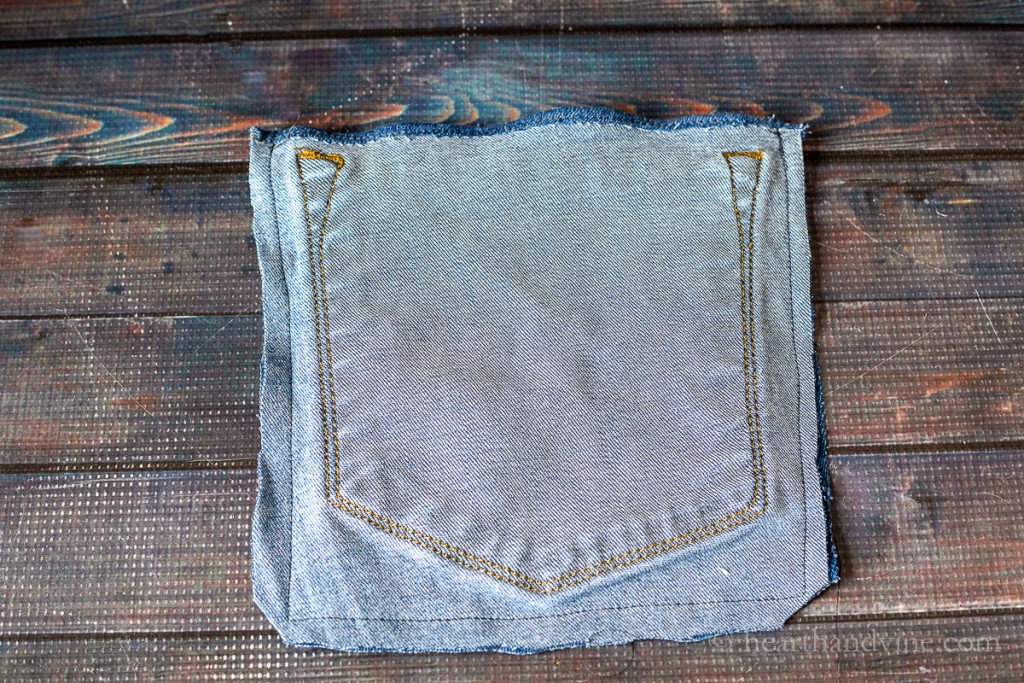
Step 1. Start by marking around one of the pockets, then cutting the area out.
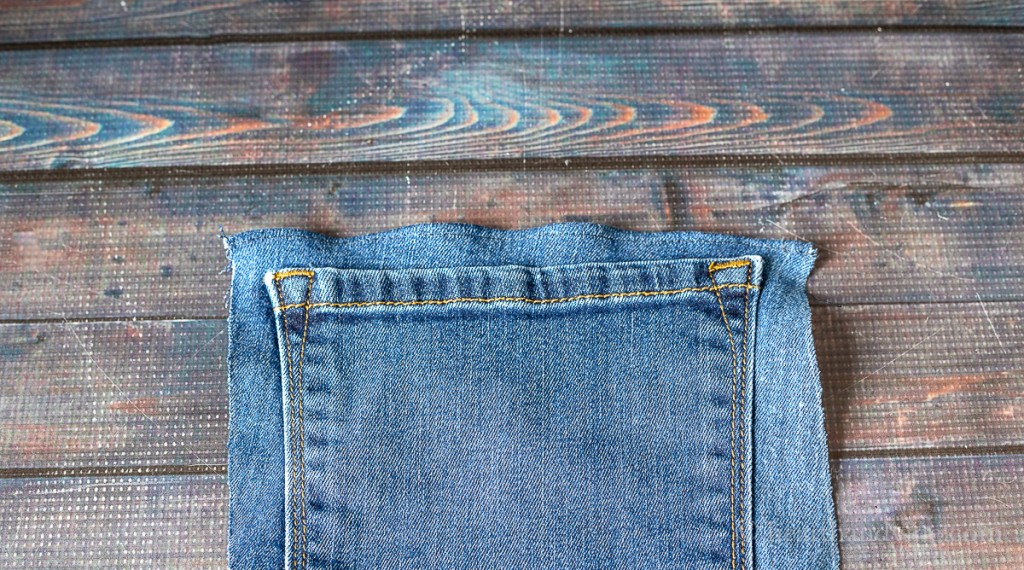
Turn over the top and sew to give it a finished edge.
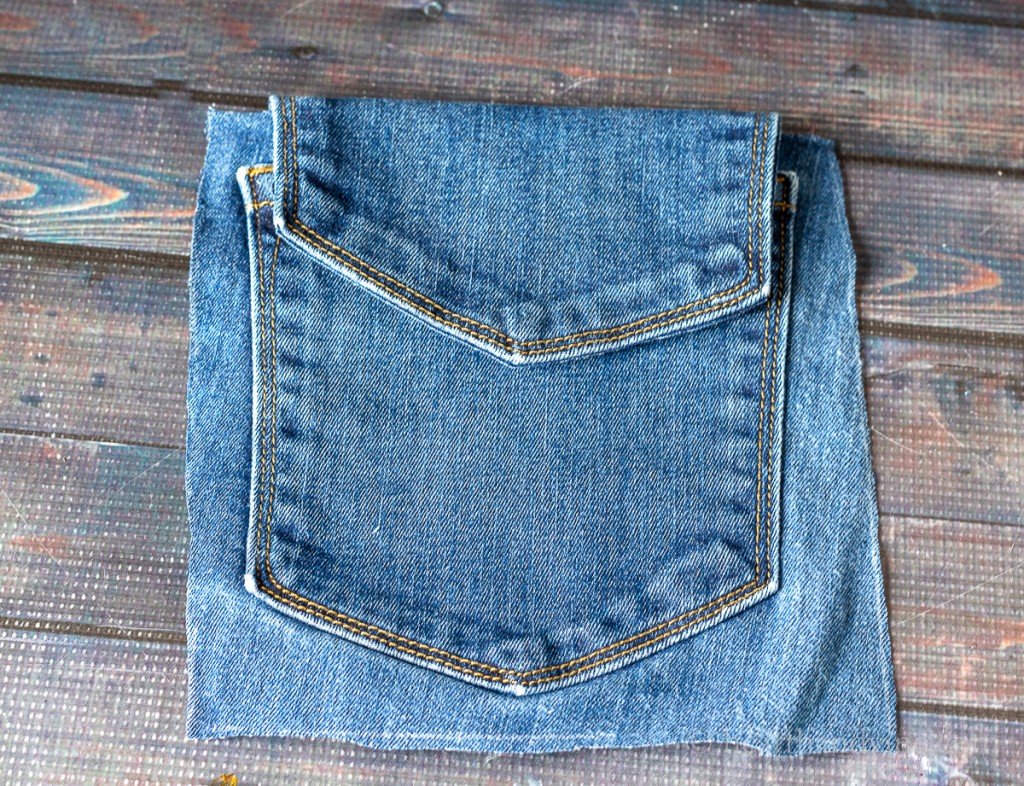
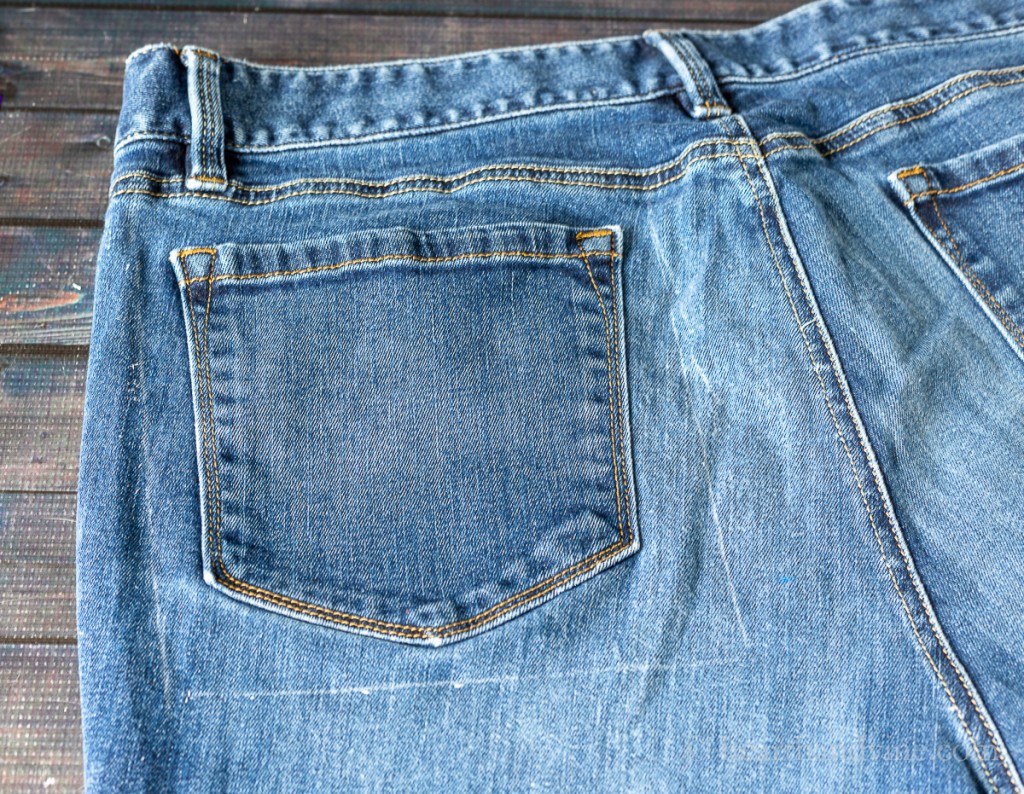
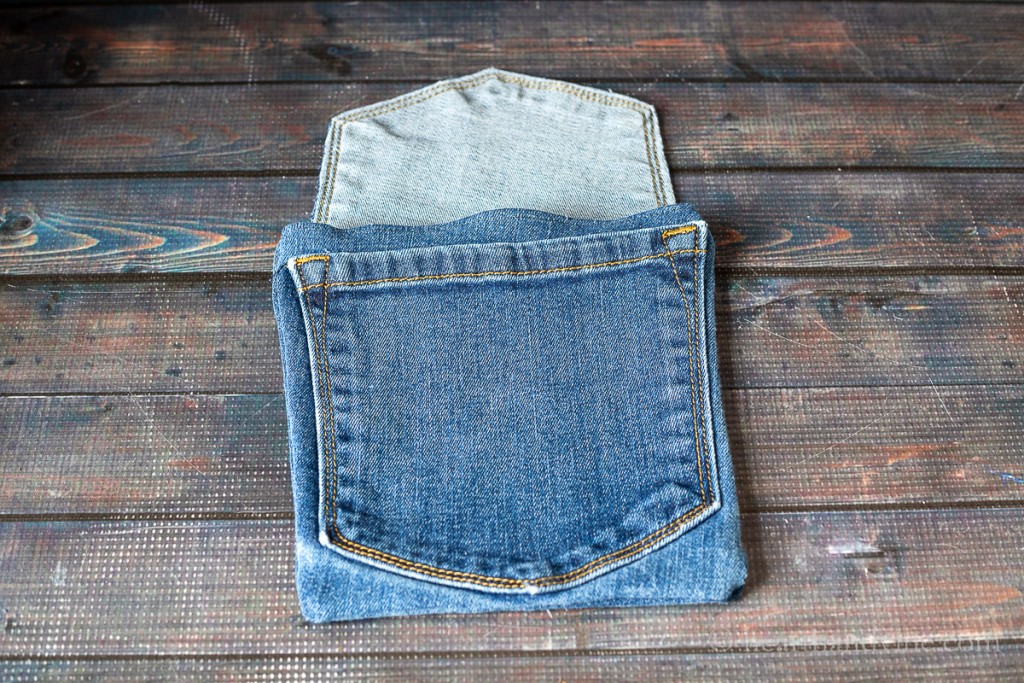
Step 2. Cut out the other pocket; it will become the flap. Trim the top to the length you want.
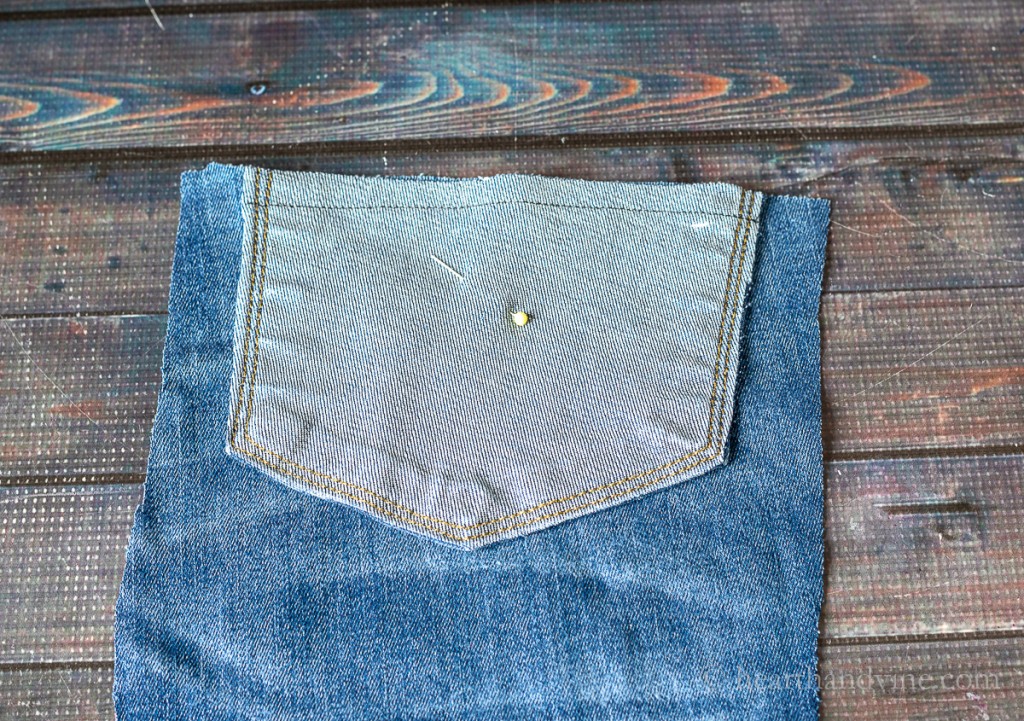
Step 3. Cut out some denim from the jeans to match the size of the original rectangular piece with the pocket. Then pin the second pocket on top with right sides facing (see above) and sew it together at the top edge.
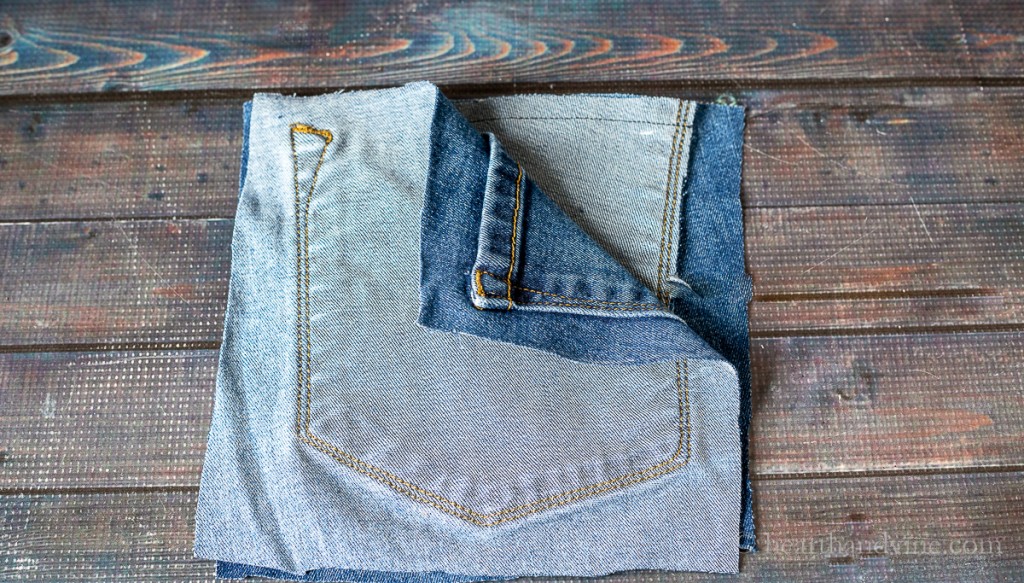
Step 4. Lay the original pocket on top of the second pocket with backing as shown above.
Step 5. Sew the sides and bottom together with a 1/4 inch seam allowance, leaving the top open. Then clip the bottom corners.
Step 6. Turn right side out.
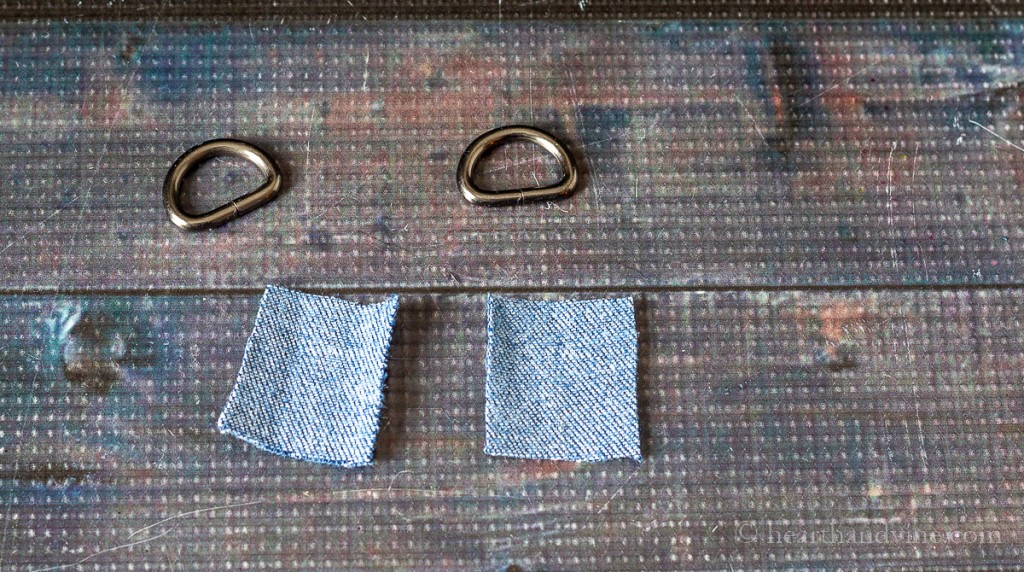
Step 7. Attach D-rings to the side to clip on a strap. Do this by cutting a 1-inch square of denim.
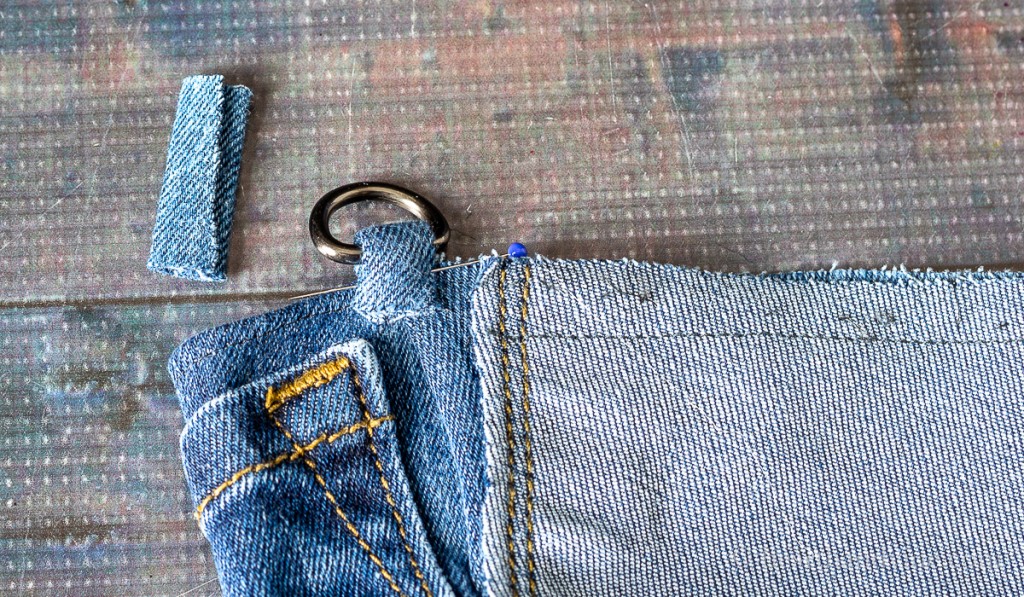
Fold over the denim square. Slide the 1/2 inch D-ring over the fabric and sew it to the side of the bag at the top. Repeat on the other side.
Clip the strap onto the D-rings.
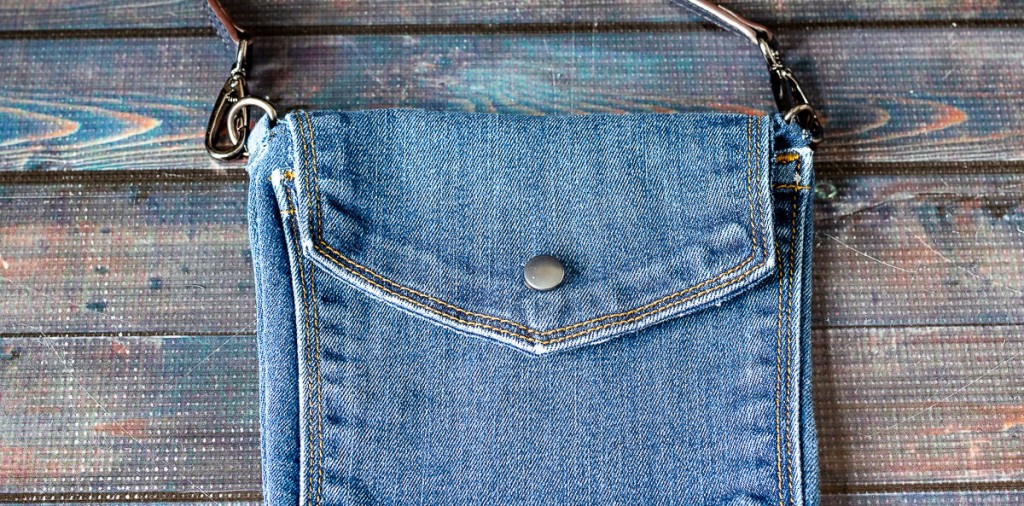
Step 8. Finally, attach a snap in the middle of the folded flap for a nice closure.
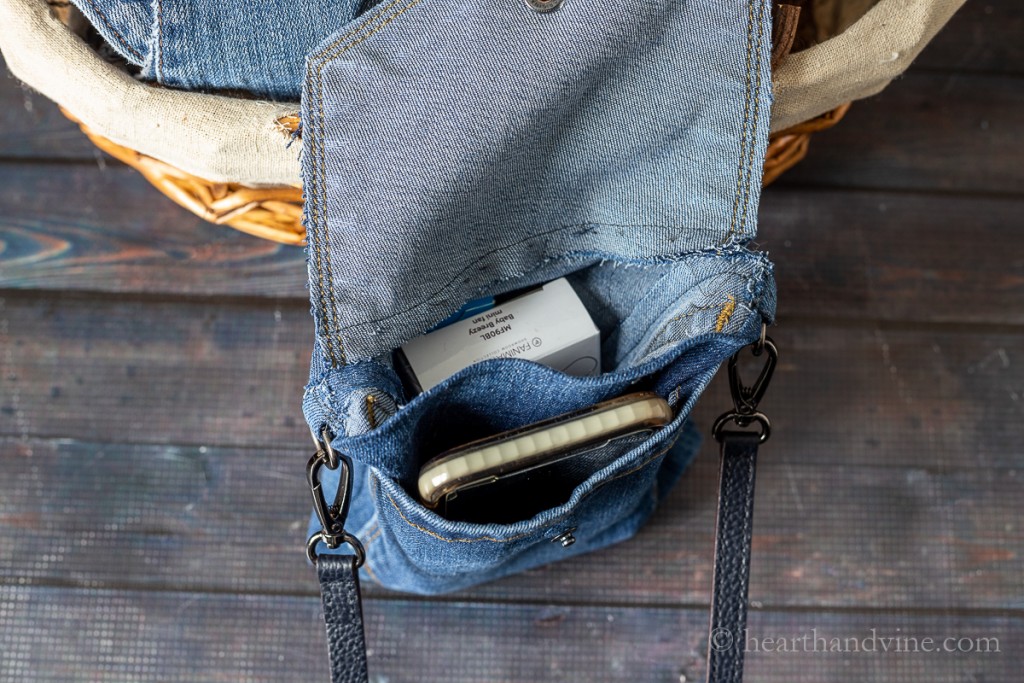
Now you have two handy compartments to stash your phone and a few other necessities.

A handy dandy cute DIY crossbody bag with plenty of room for all the essentials.

DIY Jean Crossbody Bag
Equipment
- Sewing Machine
- Scissors
- Fabric marker
Materials
- Pair of old jeans
- 2 D rings .5 inch
- Strap
- Snap fastener
Instructions
- Mark a rectangular area around one of the jean pockets and cut it out.
- Turn over the top and sew to give it a finished edge.
- Cut out the other jean back pocket close to the edge to use as a flap. Trim the top to the length you want.
- Cut out a piece of denim from the jeans to match the size of the first pocket cut out.
- Pin the second cut out pocket on top with right sides facing and sew it together along the top edge.
- Next, lay the original pocket on top of the second pocket with backing with right sides together.
- Sew the sides and bottom together and clip the bottom corners.
- Turn right side out.
- Add D-rings to each side by cutting two 1 inch squares of denim. (That's where you will clip on the leather strap.)
- Fold the denim over and slide a D-ring over top.
- Then sew both edges to each side of the bag.
- Add a snap on the bottom center of the flap for closure.
Eda
Hola pato !!
recién veo tu hermosa cartera y quería preguntarte… el asa larga es de cuero ? Tengo los materiales y reciclo los jeans !! Muchas gracias !
Patti Estep
Eda, yes, the strap is leather. There's a link to the one I purchased on Amazon.
Holly Braendlein
Hey! I was wondering if I am able to replicate the basic idea of this pattern, and then make some for myself to sell. I have no understanding of how I can sew and sell if there are parameters on selling a product that was made using somebody else's pattern. . . I'm a teen trying to use her sewing abilities to earn money. Could you lay out some rules and suggestions???
Patti Estep
Holly, I don't see why you couldn't make some to sell. I don't sell my creations so I don't have any particular advice except that you may want to look into selling them on Etsy.
Tere Estrada
Está muy bien explicado, sólo que me confundí un poco con la la solapa, podrías poner una foto de cómo está armada la parte de atrás, me doy una idea, pero si la veo se me hace más fácil
Patti Estep
Lo lamento. Hice esto hace más de 3 años y no puedo encontrarlo para fotografiarlo. La solapa es un segundo bolsillo cortado de unos vaqueros y ligeramente recortado en la parte superior. Luego se cose (con los lados derechos juntos) en una pieza similar de mezclilla del primer bolsillo recortado. Espero que esto ayude.
Rosanne Turner
I recently made this wee bag as a birthday gift for my neighbour's 12 year old daughter. She was thrilled, and her young friends were as well. Very much on trend apparently. I have since had a couple of requests to make more.
Patti Estep
That's great Rosanne. Thanks for sharing.
daniel bergeon
im a 73 year old man i love your patterns thank you by the way i live in Germany
Patti Estep
Glad to hear it Daniel. Enjoy!
Tarheel79
Very cute idea! I would suggest finishing those raw seams however, at minimum zigzag-stitching them prevent raveling. I always taught my students that the inside of a garment/project should look just as nice as the outside, and finishing seams adds strength and structure to the item. Those asking, yes! You could absolutely add a lining and it would make item more polished! Now, to raid my closet….
Patti Estep
Great suggestions. Thanks for sharing your ideas.
Aili
I was thinking the same, but a french seam. That way the inside seam wouldn't get linty.
Beth FM
Just made this perfect bag, giving it padding and a lining to add structure. I also folded up the bottom corners inside the bag to create a flat base (and it now can stand upright on a table. The most fun was taking the coin pocket, leather waistband tab, belt loops, and branded Lucky labels from the pants and incorporating them into the s design. Sewed rings into both side tabs to hang keys and a tiny card wallet. Photos can be viewed here: https://photos.app.goo.gl/CRaX9Sppz8QVaZvL7
Patti Estep
What a great job Beth. Thanks for sharing.
Aili
Wow, beautiful.
Loretta
Has anybody made this and lined it...curious how i could put a lining in it.
Patti Estep
Loretta. You could make a little pocket of lining material the same size as the bag. Cut out two pieces. With wrong sides together turn down the top edge and top-stitch. Then sew the sides and bottoms. Turn it out and set it inside the bag. Then handstitch to the top edge to the denim. You could also try using some stitch witchery to bond the lining into the bag.
Diane@InMyOwnStyle
Hi Patti -
I LOVE this crossover bag!!!! It is just my style. I am going to be making a few, one for me and a few more to give as gifts. I linked to your post today in my Style Scouting post. 🙂
Patti Estep
Thanks Diane. I know your friends will love this gift and how sweet of you to make them.
Deb
How cute is that! I have gone to a clutch purse with a wrist strap that I can wipe down in these pandemic times but this crossbody would be so much easier to manage. Thanks for your post.
Patti Estep
Deb, I'm so glad you like it. You could probably switch it to a clutch with a smaller strap and skip one of the D-rings. Hopefully, the pandemic will be over soon and you won't have to worry.