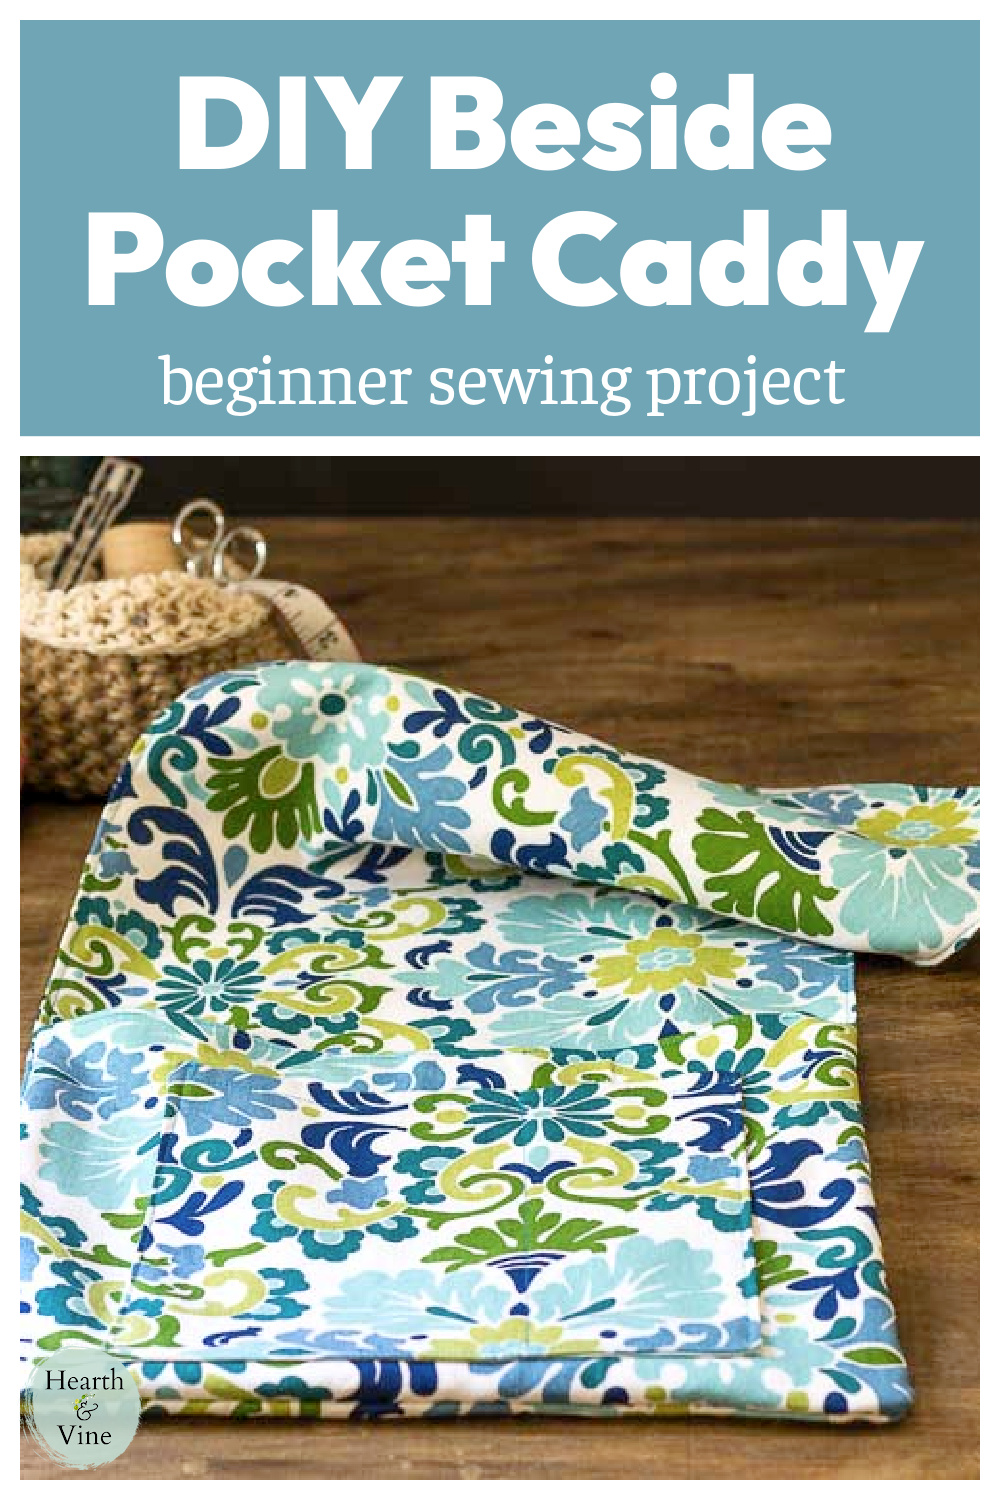
Try this easy sewing project for a DIY bedside caddy that will give you easy access and convenient storage next to the bed. Great for college dorms or anyone who likes to have a few things close at hand at night.
I was talking with my daughter about dorm rooms. I wanted to know what some of the "must haves" were for a new student. You see, my niece is going to the same university this fall, and I wanted to give her something special for graduation.
I decided on a beside caddy because as it turns out, she chose a single dorm room just like my daughter did freshman year. And, as you may imagine, a single dorm room is tiny so you need to be creative with your storage.
This post contains some affiliate links (that means if you make a purchase after clicking a link, there’s no additional cost to you, but I will earn a very small commission. ) i.e. as an Amazon Associate, I earn from qualifying purchases. Click here to read my full disclosure policy.
How to Make a Bed Pocket Caddy
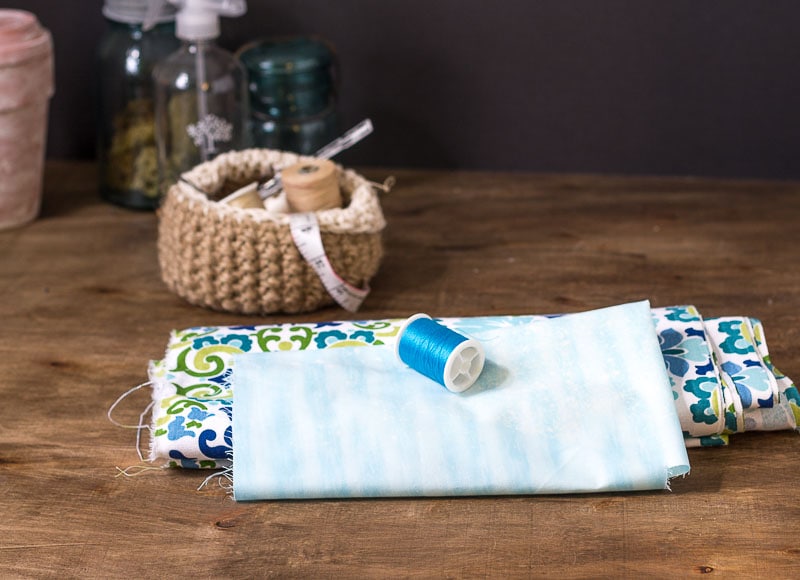
Supplies
I used this fabric leftover from my DIY Roman Shade post, but if you want to go out and purchase some, you will need:
- 3/4 yard of the main fabric (print shown above)
- 1/2 yard of lining fabric (light blue in the pic above)
- coordinating thread
- basic sewing tools: machine, pins, scissors, measuring tape
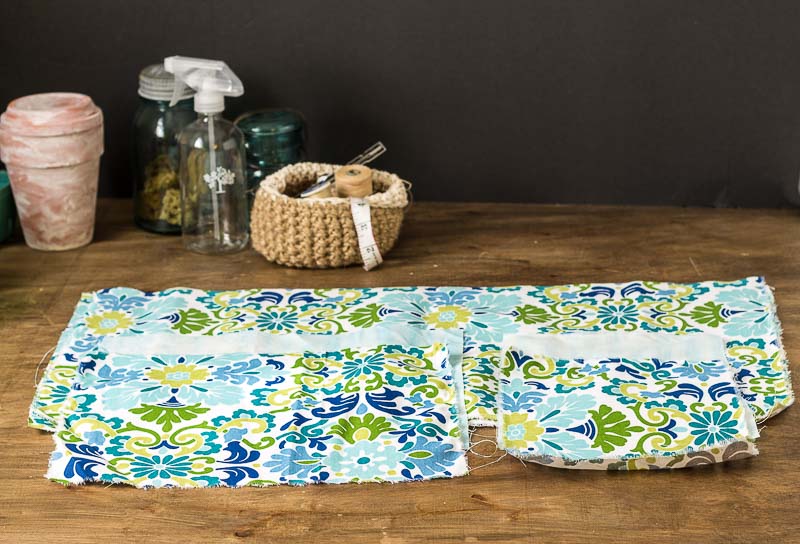
Cutting the Fabric
- Cut out your fabric pieces. You will need 6 pieces in total.
- Two 26 in. by 14 in. pieces of the print.
- One piece measuring 14 in. by 10 in. of both fabrics for the large pocket.
- One piece measuring 9 in. by 8 in. for the smaller pocket.
This will give you a caddy with 12 inches in width and 24 inches in length.
Making the Pockets
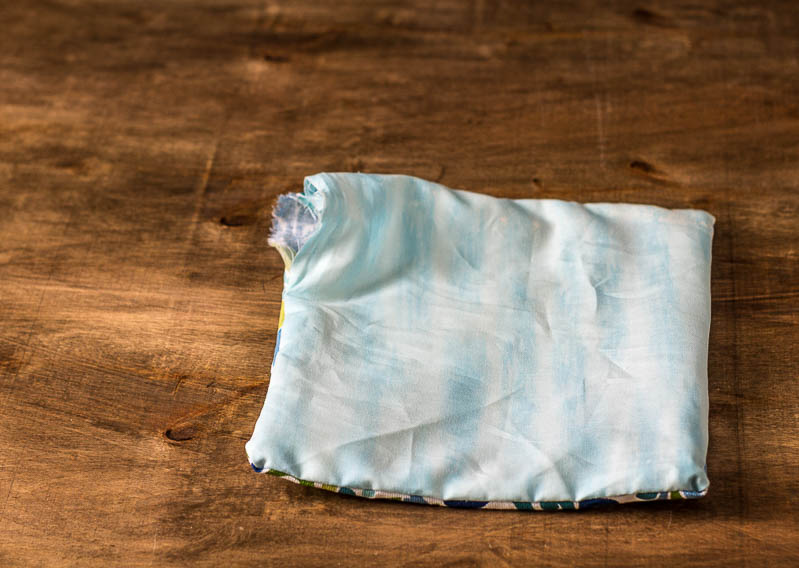
Start by making the small pocket. Place right sides together and sew a 1/2 inch seam allowance all the way around leaving 2-3 inches open for turning.
Turn right-side out and press. Then topstitch the top of the pocket.
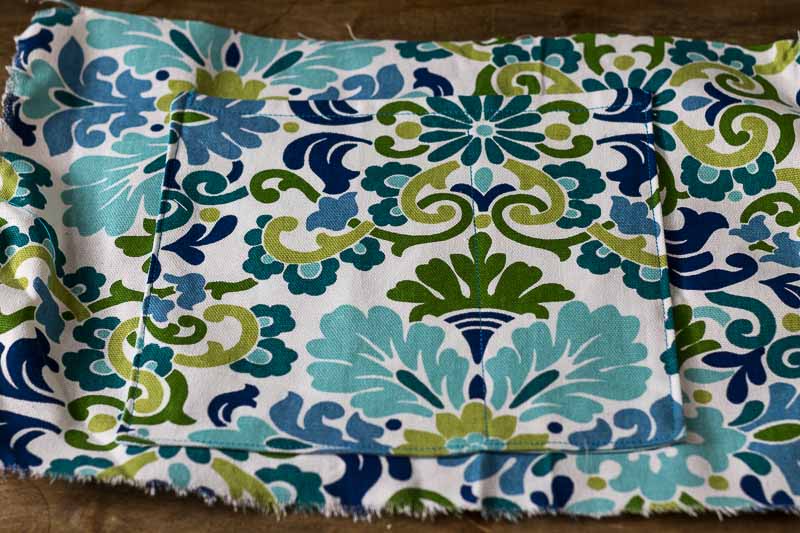
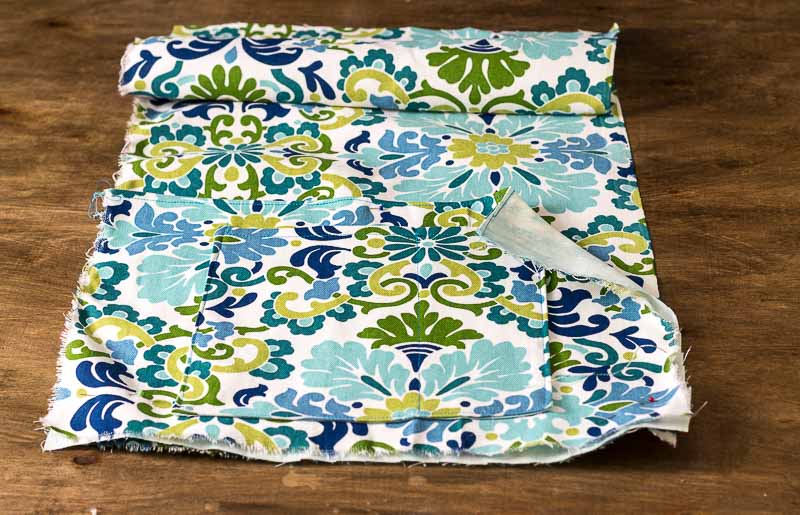
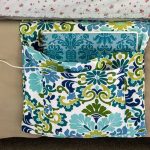
Pin the small pocket to the background fabric piece of the large pocket fabric and stitch along the sides and bottom. Run an additional line of stitching about one-third of the way in from the edge, from the top of the pocket to the bottom, to create another pocket.
Assembling the Bed Pocket Caddy
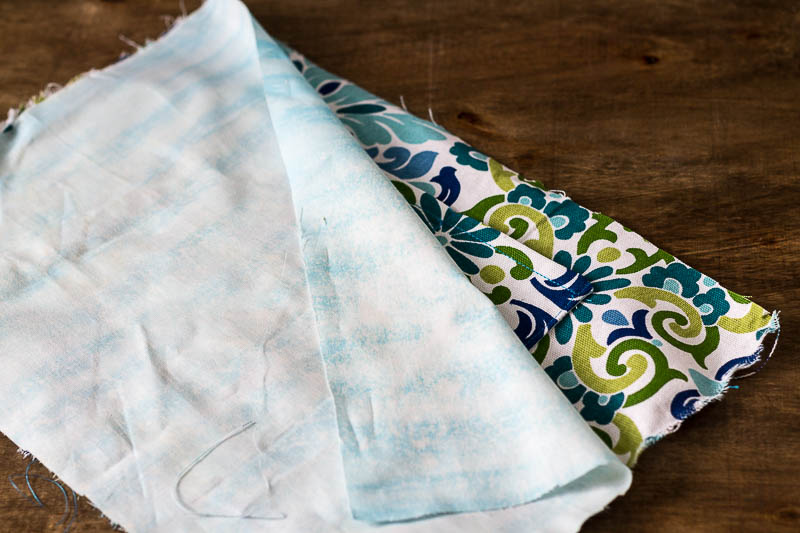
Sew the large lining pocket piece to the large printed pocket with the right sides together at the top. Flip over and press. Topstitch the top of the pocket.
Pin the pocket to one of the long main printed pieces with the lining side facing the right side of the main piece, at the bottom.
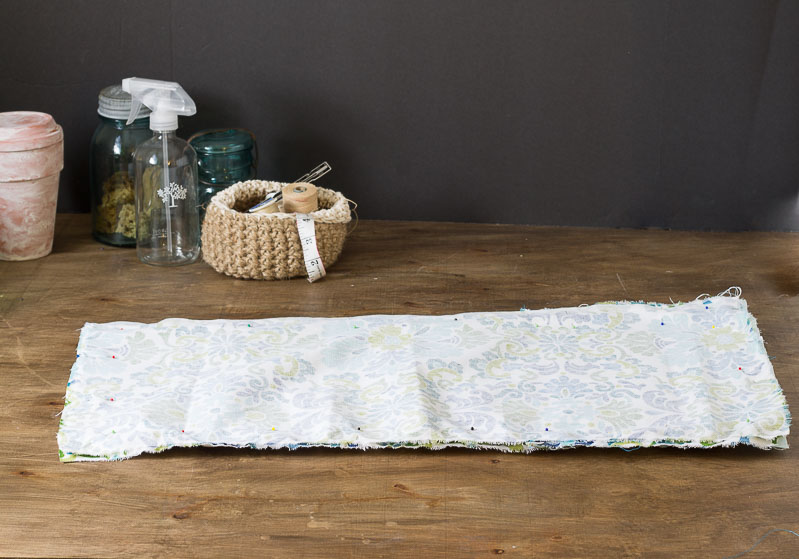
Pin the last long print piece to the one with the pocket, with the right sides together.
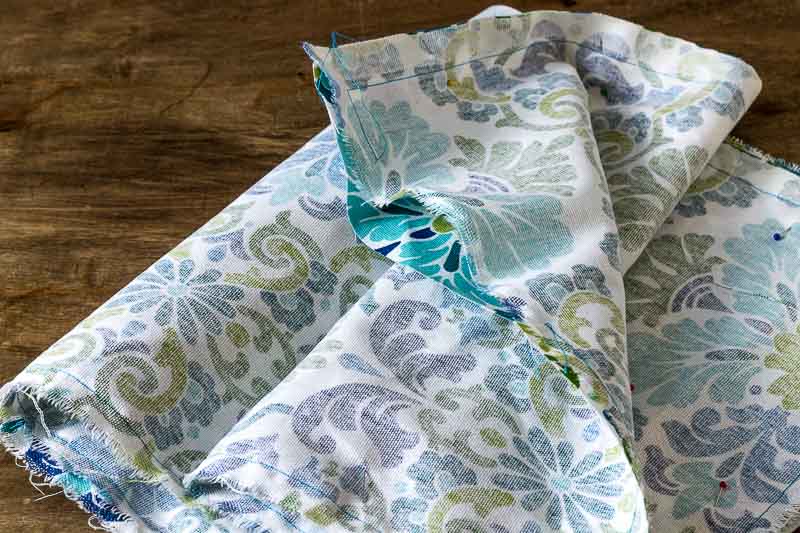
Sew along the entire outer edge, leaving about a 3-4 inch opening for turning.
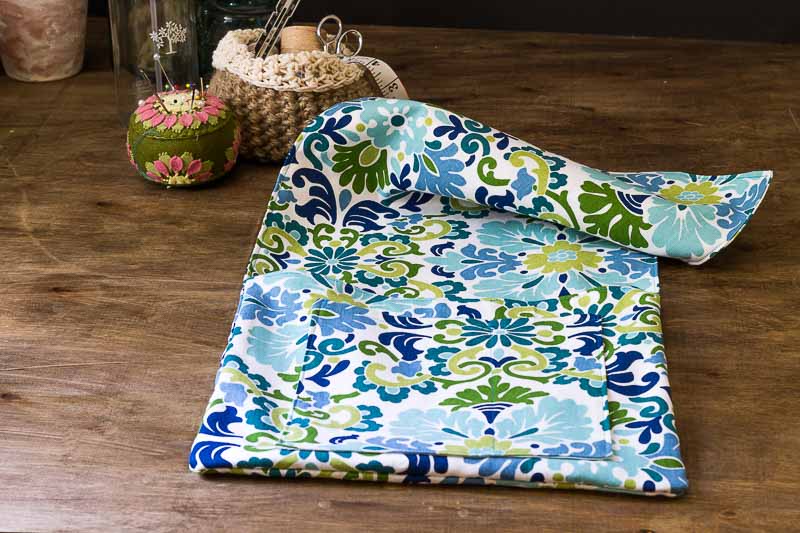
Turn right side out and press. Topstitch the edges on the sides above the pocket and the top.
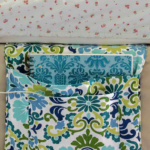
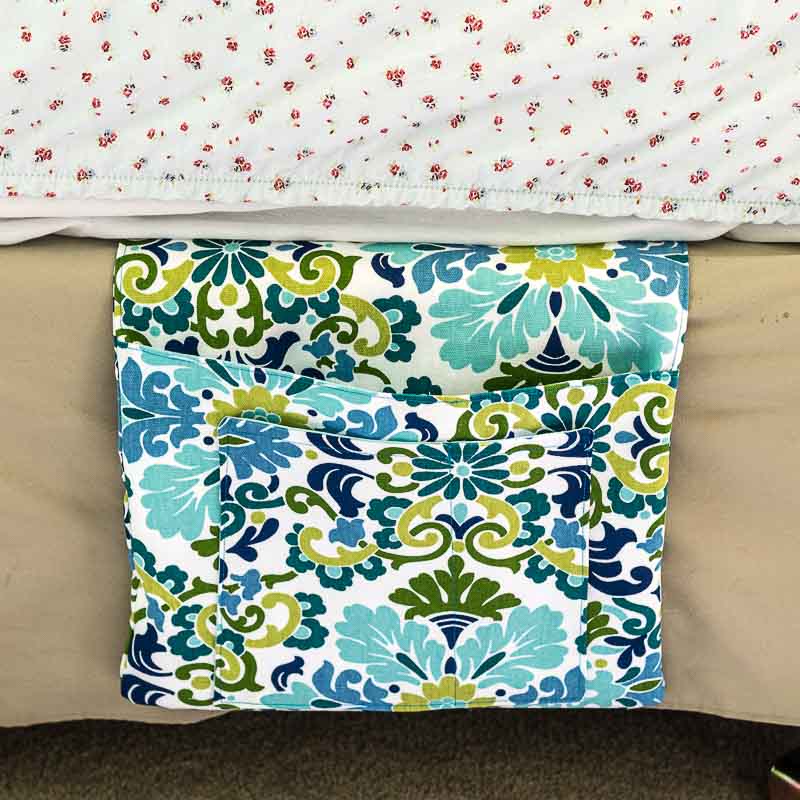
Place the caddy with the top part between the mattress and the box spring.
I know this bedside organizer is great for students but I think I might like one too. Sometimes I have too much clutter on my bedside table. A book, a bottle of water, remote controls, my glasses, earrings that I forgot to take out, the list goes on.

More Easy Sewing Projects
DIY Bed Pocket Caddy
Equipment
- Sewing Machine
- Scissors
- Measuring tape
Materials
- 3/4 yard of the main fabric
- 1/2 yard of lining fabric
- coordinating thread
Instructions
- Cut out your fabric pieces into two 26 in. by 14 in., and one 14 in. by 10 in. of both fabrics, for the large pocket.
- Cut another piece 9 in. by 8 in. for the smaller pocket.
- Start by making the small pocket.
- Place right sides together and sew a seam all the way around leaving 2-3 inches open for turning.
- Turn right-side out and press.
- Top stitch the top of the pocket.
- Pin the small pocket to the printed piece of the large pocket and stitch along the sides and bottom.
- Run an additional line of stitching about one-third of the way in from the edge, from the top of the pocket to the bottom, to create another pocket.
- Sew the large lining pocket piece to the large printed pocket with right sides together at the top.
- Flip over and press.
- Top stitch the top of the pocket.
- Pin the last long print piece to the one with the pocket, with right sides together.
- Sew along the entire outer edge, leaving about a 3-4 inch opening for turning.
- Turn right side out and press.
- Top stitch the edges on the sides above the pocket and the top.
Linda Johnston
Another excellent idea for creating space in a tiny one! Good directions too.
Patti Estep
Thanks Linda. I know that there are some people like me out there who have way too many things near their bed.
khawkey
I missed how to attach it to the bed?
Patti Estep
Just place half (the side without a pocket) in between the mattress and boxspring or frame.
Laurie
This looks like a winner - I'm a beginner and it doesn't look too hard! Can't wait to try it today!
Thanks!
Patti Estep
It isn't hard Laurie. You can definitely do it. Enjoy!
Alison
I’ve made three of these to gift and getting ready to make a fourth. Everyone that sees them wants one! Thanks for your tutorial and sharing your knowledge. Yours was the most understandable and least complicated one I found. I added iron-on interfacing to all the parts to give it more body, cut slightly smaller than the fabric to prevent bulk in the seams and corners, and sewed in a wide strip of the rubber shelf paper across the top back for more “grab.” I sewed the shelf paper right in with the front and back fabric sandwich, about an inch from the top. It worked out very well.
Patti Estep
So glad you are enjoying the project Alison. Thanks for sharing your ideas here for everyone to see.
Cheneille
As a beginner to sewing, this was a quick & fun project! I wish I could post a pic of my final project! I am so proud of myself! I look forward to seeing what other projects I can make! Thanks!
Patti Estep
That's great to hear Cheneille. I'm super it looks fantastic. Most of my sewing projects are super easy so I hope you get a chance to try them too.
Tina
How many pockets didoes it end up with?
And how long is it when finished?
Sorry, I'm dsylexic so trying to get it. Lol. Thanks. Love it.
Patti Estep
Tina, there is one large pocket the width of the caddy in the back and two in the front, side by side.
The entire length should be about 24 inches long in total. Then about half of that goes between the mattress and boxspring leaving you with 12-13 inches hanging down with pockets.
MJ
You could make another pocket at the top and insert a small book like a reader's digest to give it some weight under the mattress so it is more likely to stay in place.
Patti Estep
MJ, that's a great idea, Thanks for sharing.
Jane
What connects it to the bed? I want to put an iPad in it but I’m worried it will fall.
Patti Estep
Jane, a good part of it is held between the mattress and boxspring. I think it will hold an Ipad but you could make it a little longer so that more material is under the mattress. That might give you a bit more security.
Mels
This is a great idea and I'm going to give this a try for some gifts. What I like about it is that it doesn't call for any fusible lining like a lot of the projects do, but that created any issue for anyone? Should I consider that?
Patti Estep
Mels, I used a heavier weight duck cloth fabric so it didn't really need the fusible lining in my opinion but it would be a great idea for lighter weight fabric.
Tess Lai
Shouldn’t the dimensions of the long main pieces be 26” X 14”
It is listed as 26” X 11”. Darn it I just wasted fabric for following those guidelines.
Patti Estep
Tess, those are the measurements I used. The large pocket is 14 x 10 so that it will fit just the short side including seam allowances. I hope that helps.
Nicola
Thank you for sharing this idea. I made two, slightly different, for my sons. This was the easiest “tutorial” I could find for a beginner like myself.
Appreciate it.
Patti Estep
Nicola, I'm so happy to hear that you liked it. Thanks for letting me know.
Andrea Methvin
I have made 2 of these in the last day and a half. One for me, and one for my nephew. Thanks for the great tutorial.
Patti Estep
Hi Andrea,
You've made my day. I'm so glad you like the project. I'm sure your nephew will love it too!
Thanks for your kind comment!
Patti
KariAnne Wood
That is such a fun project! Love the fabric you chose!
Happy day friend!
karianne
Patti Estep
Thanks KariAnne! That means so much to me. I was so happy to make it for my niece. I hope she loves it too.
Thanks for taking time to stop by,
Patti
Carole West, Garden Up Green
I like this idea - would use it for my phone also my alarm clock. Great tutorial you made it so simple. I may have to finally purchase a simple sewing machine. I have the basic skills for small projects.
Love that fabric so pretty!
Patti Estep
Hi Carole,
I was really easy. All of my sewing projects are so basic. I hope you love it.
Patti