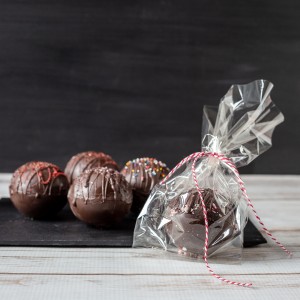
See how easy it is to create your own homemade hot chocolate bombs to give to someone you love on Valentine's Day or any special occasion. Make some for dessert or wrap them up in a bag for a special take-home gift.
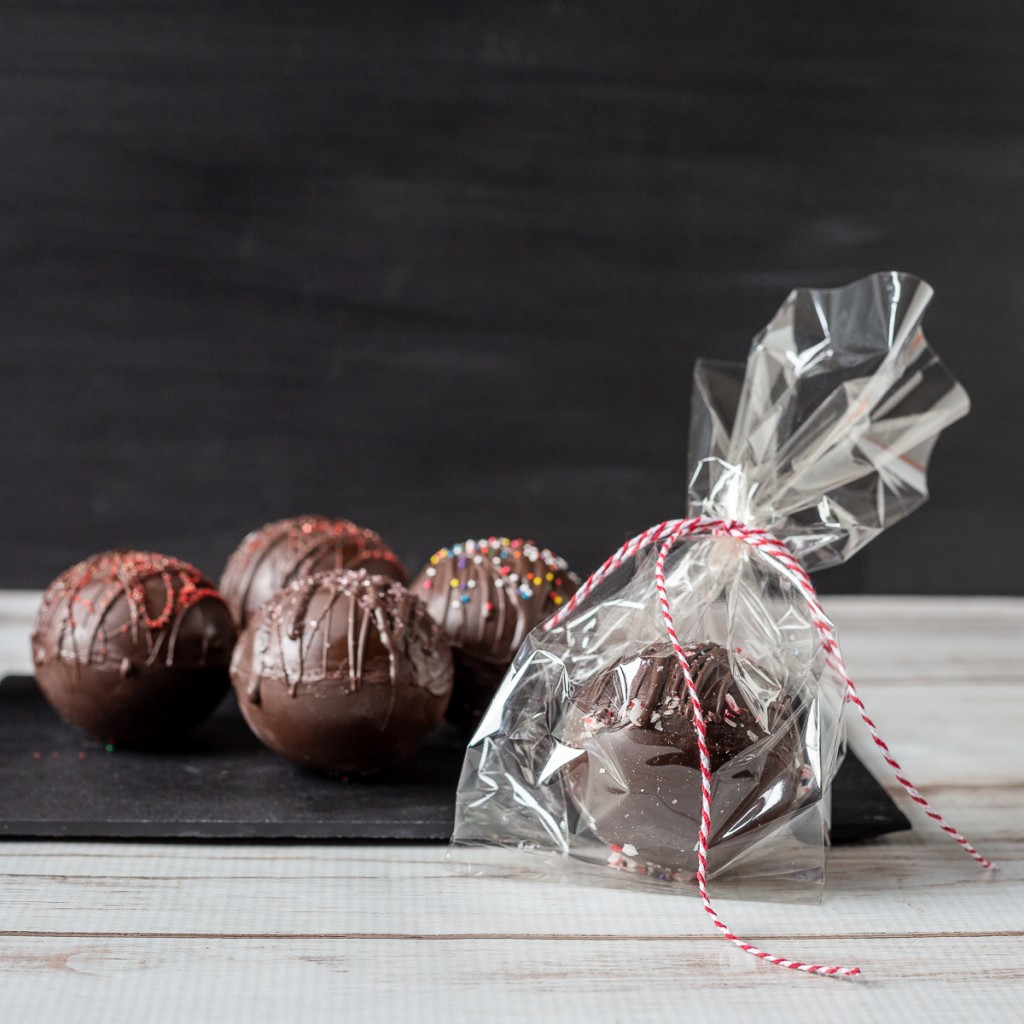
Have you tried them yet? Hot chocolate bombs have been showing up everywhere lately. Sure you can buy them, but they are also really easy to make.
This post contains some affiliate links (that means if you make a purchase after clicking a link, there’s no additional cost to you, but I will earn a very small commission. ) i.e. as an Amazon Associate, I earn from qualifying purchases. Click here to read my full disclosure policy.
Supplies
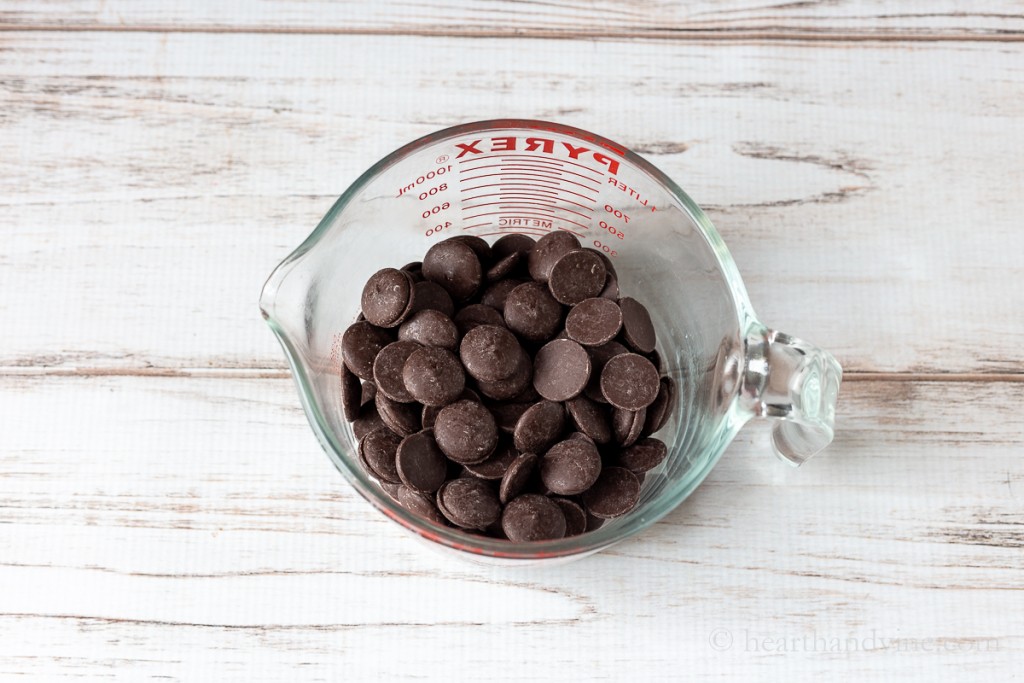
- Good melting chocolate
- Silicone mold
- Hot chocolate mix and marshmallows
- Sprinkles, candy bits or other toppings (optional)
Making Hot Chocolate Bombs
Melt the chocolate slowly in the microwave, checking and stirring every 30 seconds.
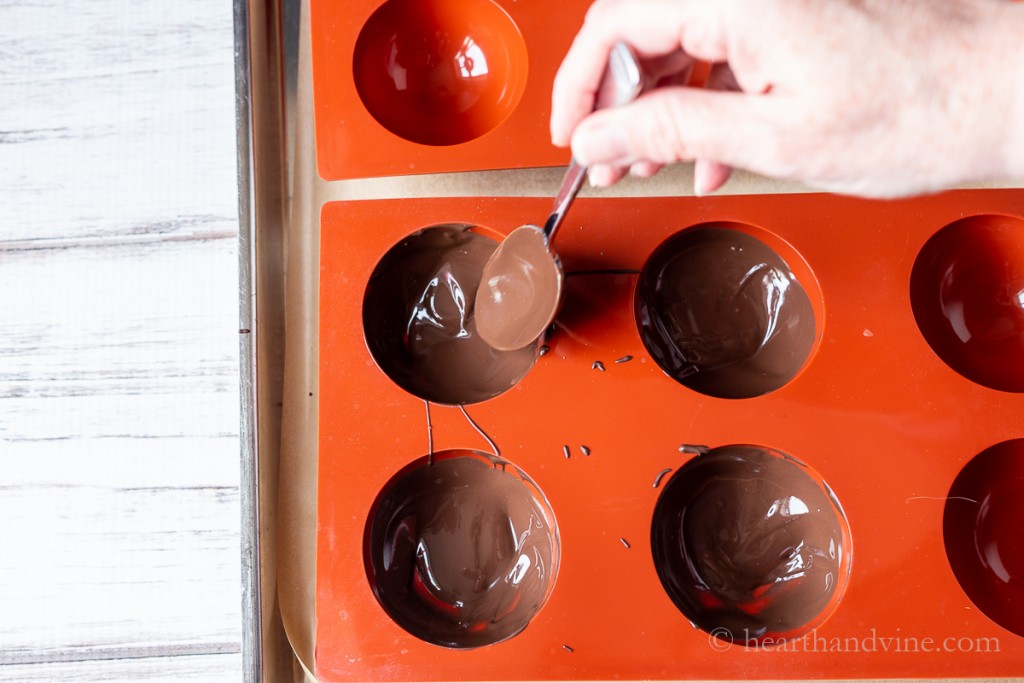
Spoon some of the melted chocolate into the silicone mold. Then use the back of the spoon to push and coat the chocolate up the sides of each mold.
Then move the mold to the refrigerator for 5 minutes to harden. Repeat the process again making sure to pay close attention to the sides. Move the shells back to the refrigerator for 5 more minutes.
Tip: Place the mold on a cookie sheet so it will be easy to move from the counter to the refrigerator.
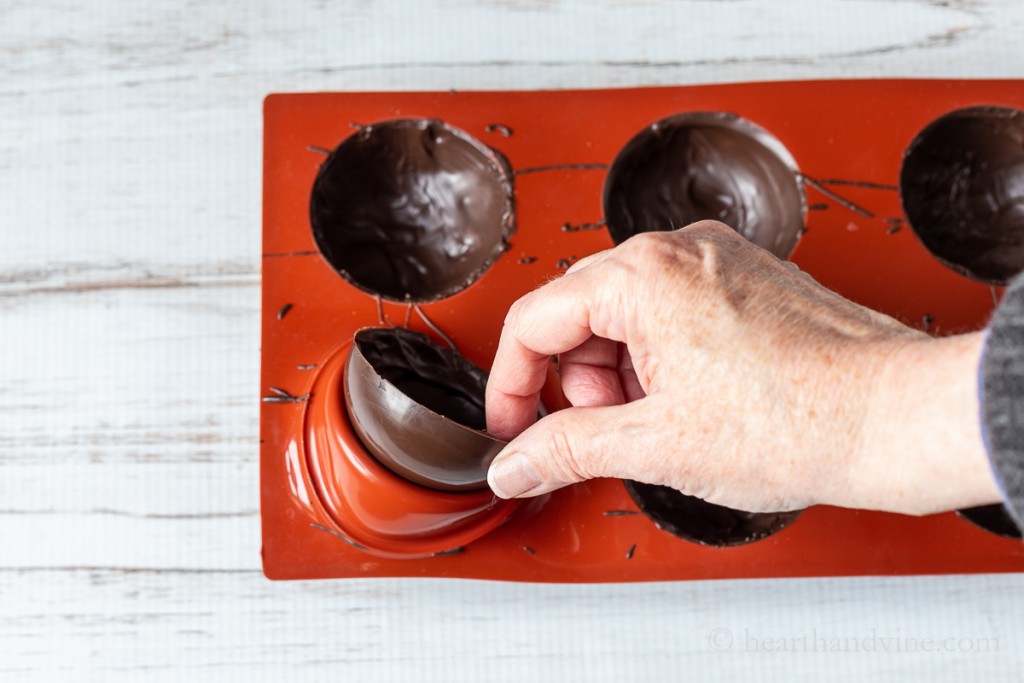
Then remove the shells from the mold by pushing from the bottom with one hand, and gently pulling up with your other hand.
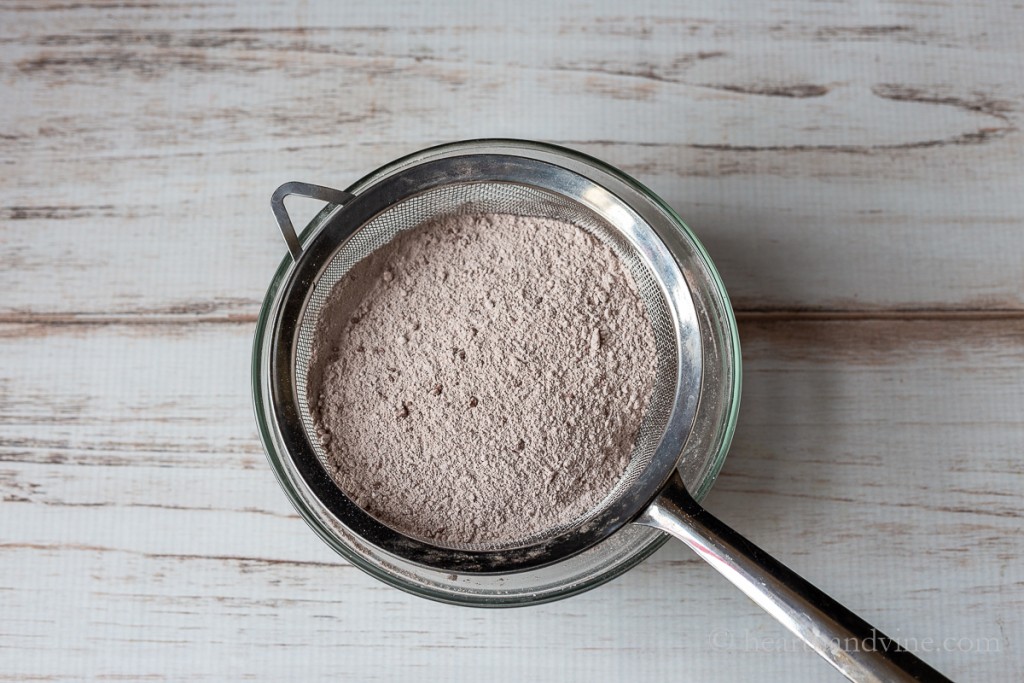
Next, make some homemade hot chocolate mix or use a prepared mix.
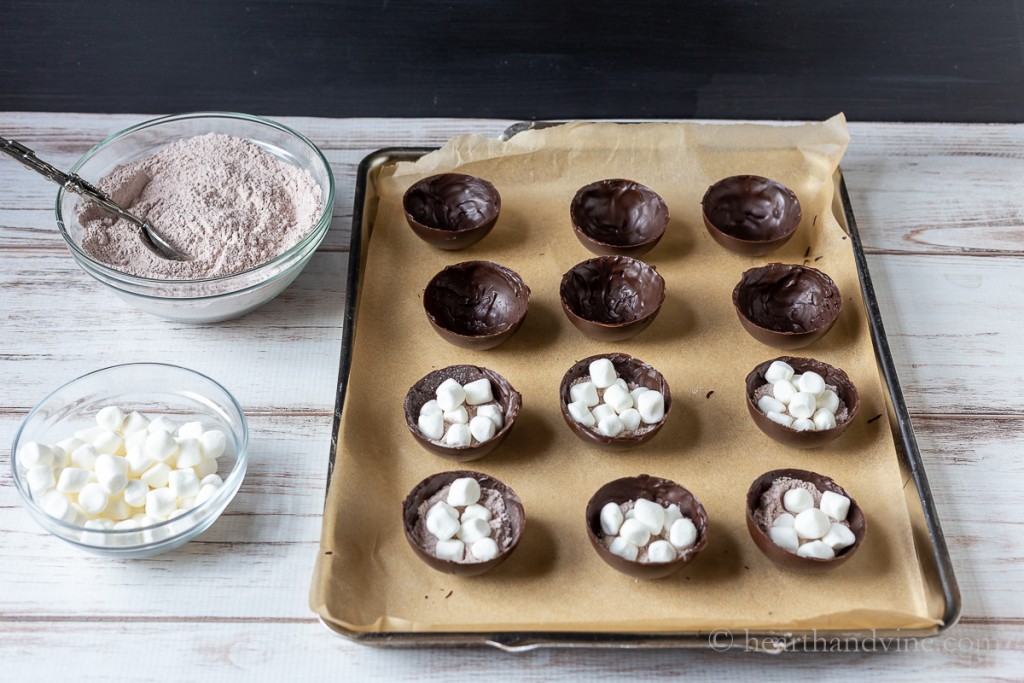
Place a heaping tablespoon of hot chocolate mix in 6 of the shells. Top with marshmallows or candy bits, such as shaved chocolate, or crushed up peppermints.
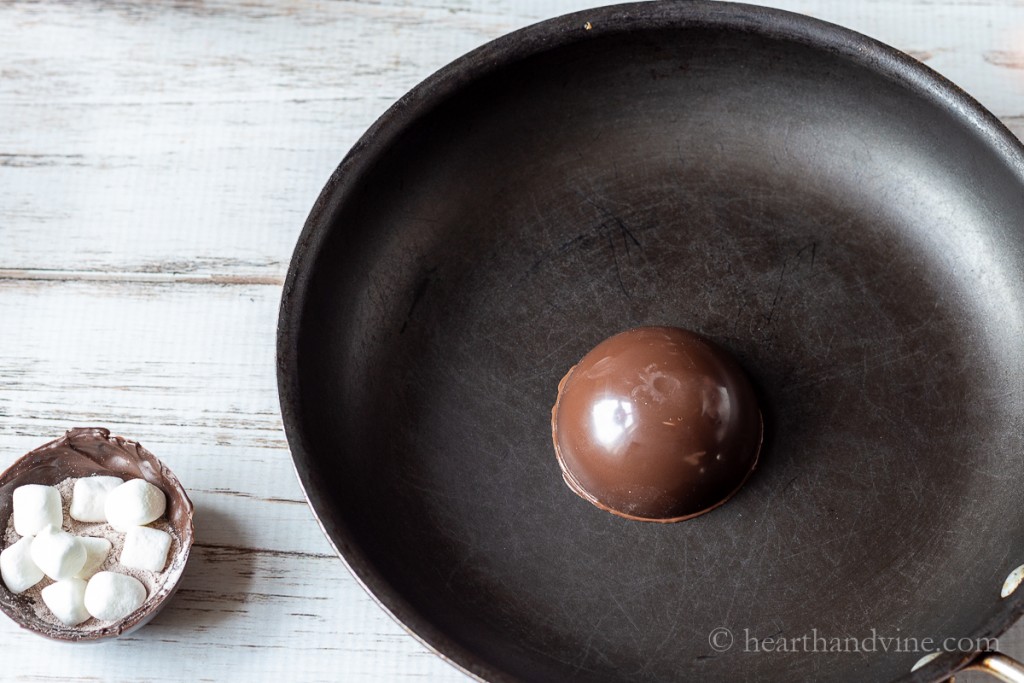
Then take an empty shell and place the edge down on a warm pan to melt it slightly.
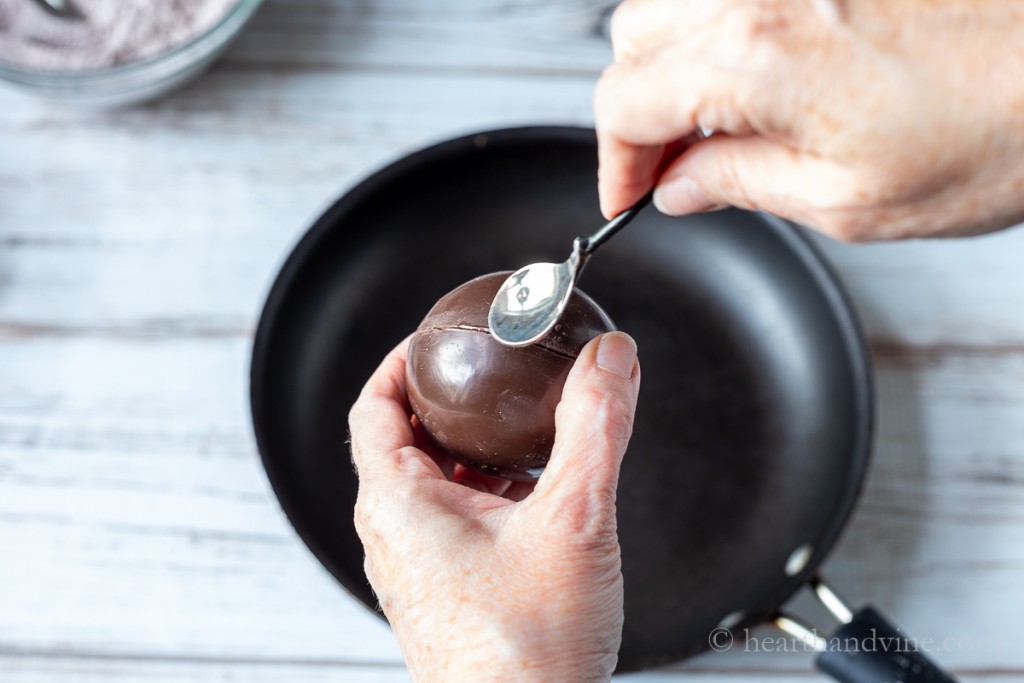
Bring one filled shell and the empty melted edge shell together to make one bomb. Use a small spoon to even out the seal. You can also heat the spoon over a gas flame a bit to help melt and smooth the edges. You can also use some of the melted chocolate to seal up any holes.
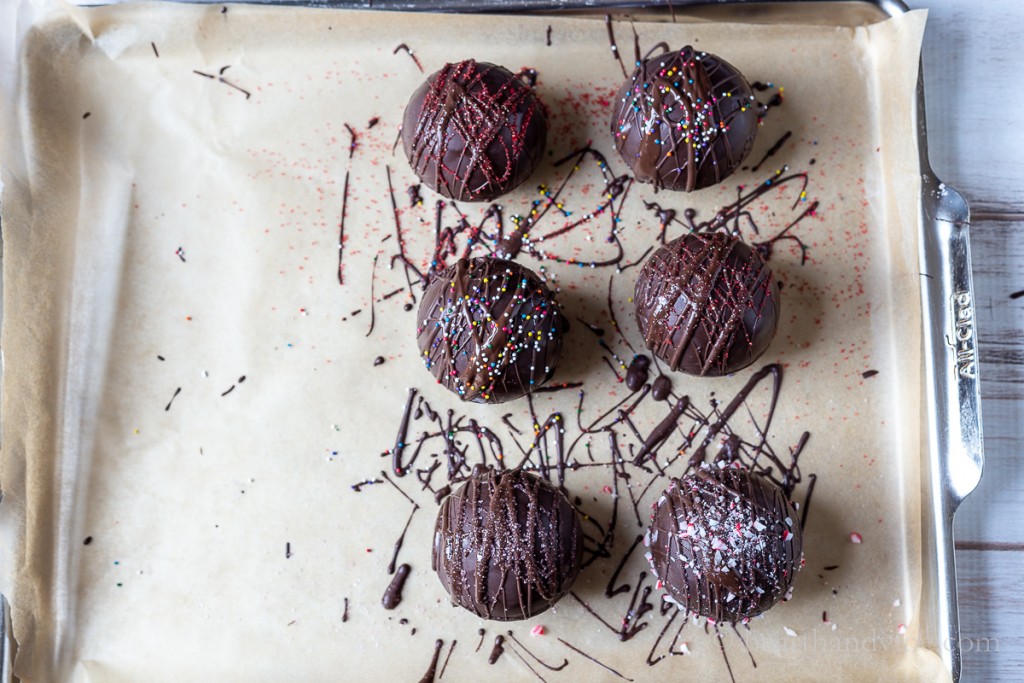
Decorate the bombs by drizzling more melted chocolate, followed by sprinkles and other candy bits over top.
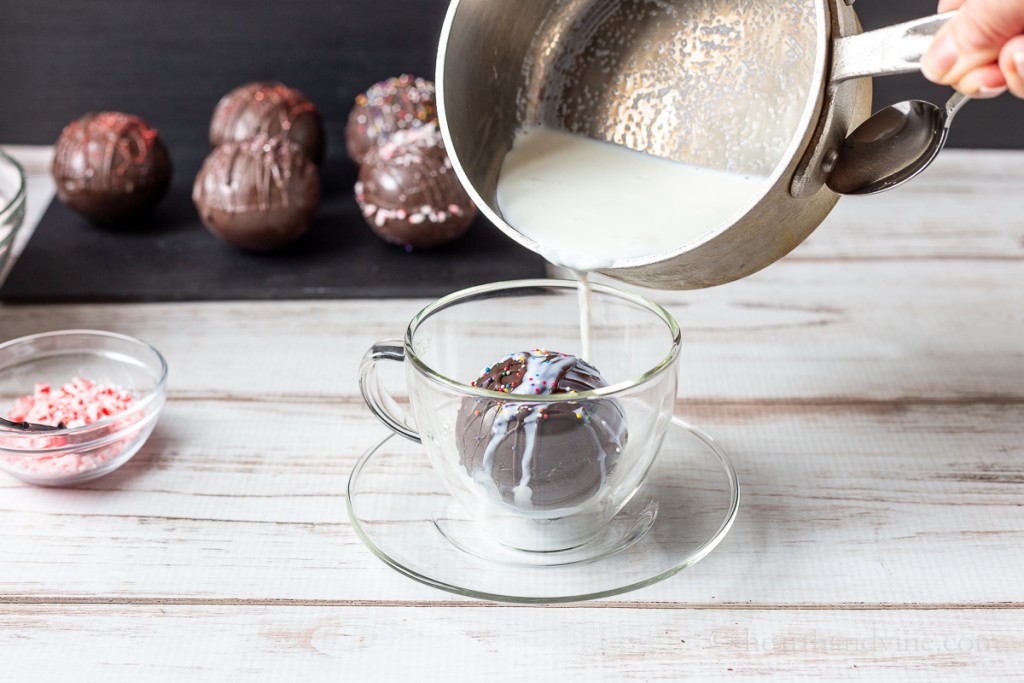
To serve, place a chocolate bomb in the bottom of a large mug and pour about 1 cup of hot milk over top.
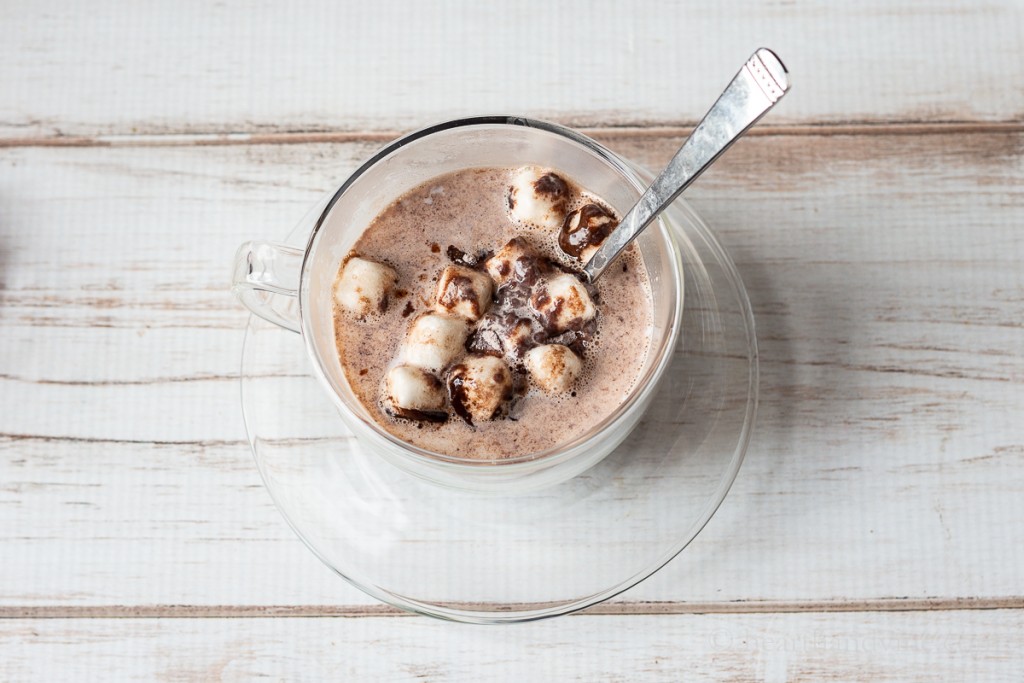
The shell will break open and leave you with a delicious chocolatey hot drink dessert.
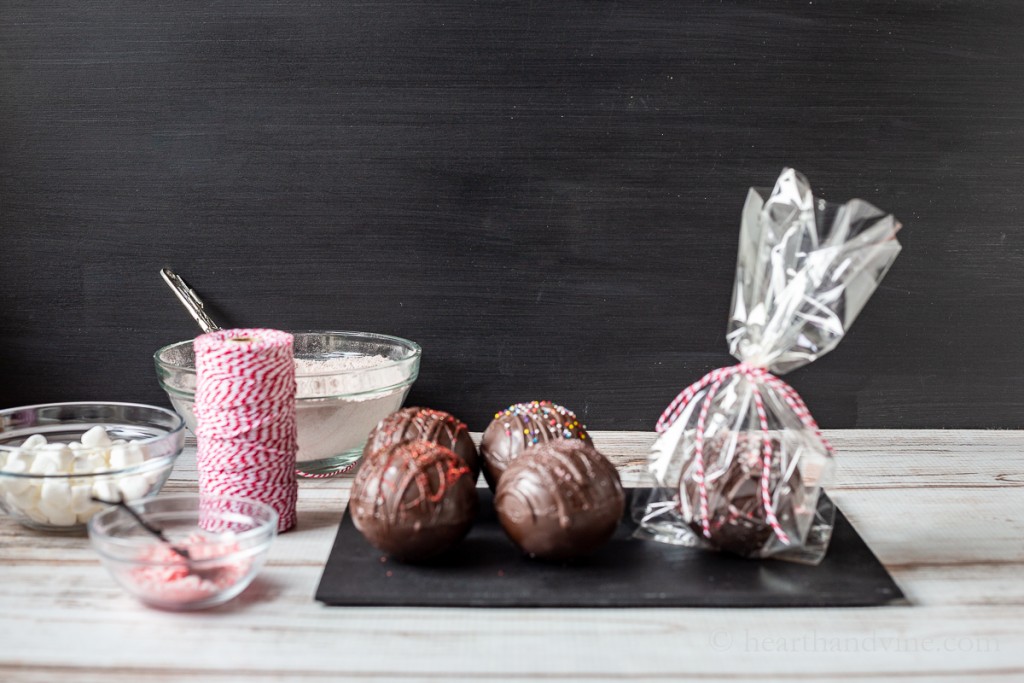
Wrap some up as gifts but be sure to keep one or two for yourself.

More Chocolate Recipes
Hot Chocolate Bombs
Equipment
Ingredients
- 3 cups Dark chocolate melts
- 1 cup Hot Chocolate Mix
- Mini marshmallows
- Various candy bits such as chopped candy canes
Instructions
- Melt the chocolate slowly in the microwave, checking and stirring every 30 seconds.
- Use a spoon add the melted chocolate into the silicone mold and use the back of the spoon to push the chocolate up the sides.
- Then move the mold to the refrigerator for 5 minutes to harden.
- Repeat the process again making sure to pay close attention to the sides.
- Place back in the refrigerator for 5 additional minutes.
- Next, remove the half shells from the mold by pushing from the bottom with one hand, and gently pulling from the top with your other hand.
- Place a heaping tablespoon of hot chocolate mix in 6 of the shells. Top with marshmallows or candy bits.
- Then take an empty shell and place it edge down on a warm pan to melt the edge slightly.
- Seal the two shells together and use a small spoon to even out the sealed edge. You can also heat the spoon over a gas flame a bit to help melt and smooth the edges.
- Decorate with more melted chocolate drizzled over top followed by sprinkles, and other candy bits.
Notes
Nutrition
Nutritional information is provided as a courtesy and is an estimate only. This information comes from online calculators. Although attempts have been made to provide accurate nutritional information, these figures are only estimates.



Marilynn
I bought a mold but thought it was too large. What is the circumference of your mold?
Thanks
Patti Estep
Marilynn, mine molds make a bomb that is 2.75 inches in diameter. That is quite large. Of course, a smaller mold would be just as good.
Ann Efthim
Although the directions are very self explanatory… it would have been nice to have a Video if you preparing your product. I’ve found a few others that do have Videos accompanied with. Thank you anyway.
Happy Holidays!
Patti Estep
Sorry that there isn't a video. This is an area that I need to work on. I'm glad to hear that you found one to follow.
Martha Bramlett
I gotta try this, at least once!? 😊 I'll let you know if I mess it up or not.. 😅
Thanks for sharing!!
Patti Estep
So glad to hear your enthusiasm Martha. They are really not that hard but quite delicious. Enjoy!