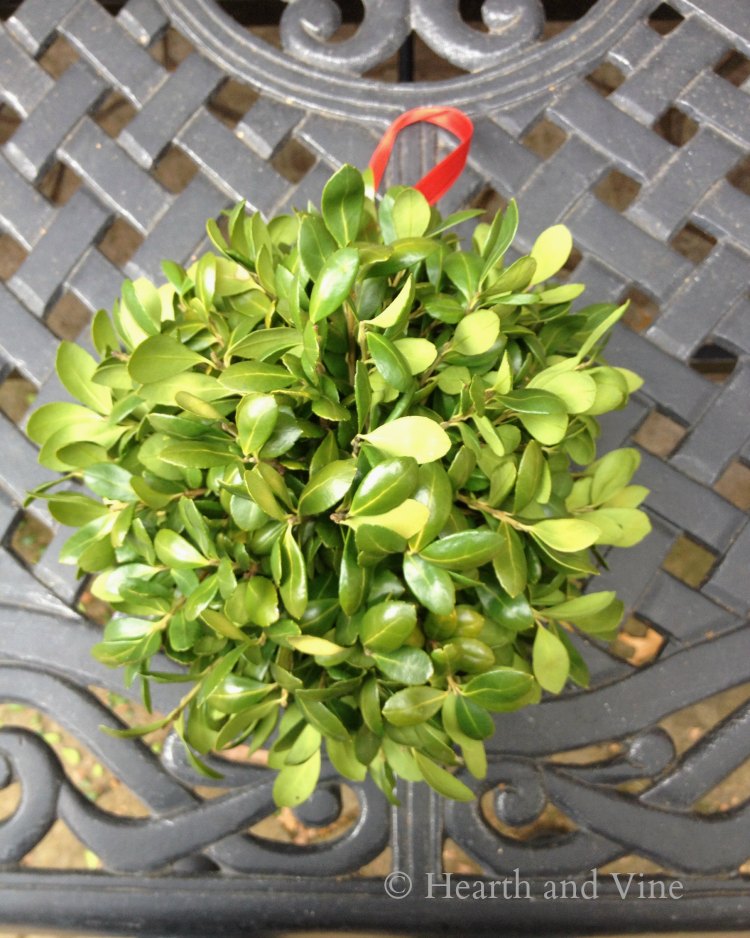
Learn how to make a boxwood kissing ball in three easy steps. They are fun to hang in your entry and look nice all season long.
Since mistletoe is somewhat hard to come by and the berries are poisonous many people make boxwood kissing balls instead of hanging mistletoe.
Traditionally people used apples or potatoes as the base but today we use floral or foam balls
This post contains some affiliate links (that means if you make a purchase after clicking a link, there's no additional cost to you, but I will earn a very small commission. ) i.e. as an Amazon Associate, I earn from qualifying purchases Click here to read my full disclosure policy.
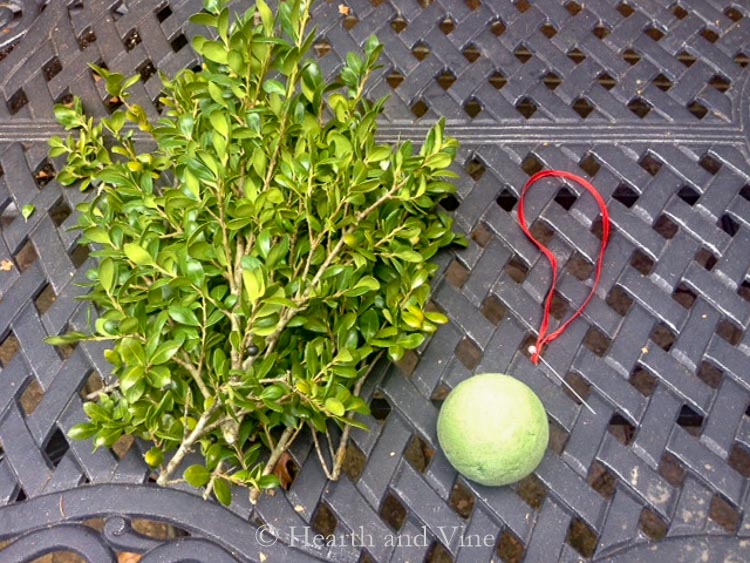
Supplies
- 3-4 inch floral ball
 - if you buy a white Styrofoam ball you may want to spray paint it with a dark color so that the white does not show through.
 - A pretty ribbon with a large pin for use in hanging.
- 3-5 inch pieces of boxwood. They need a trim anyway. You can use other materials too. Japanese Holly looks just like boxwood and would work well. Even rosemary or lavender may work but they wouldn't hold up as well.
 - if you buy a white Styrofoam ball you may want to spray paint it with a dark color so that the white does not show through.
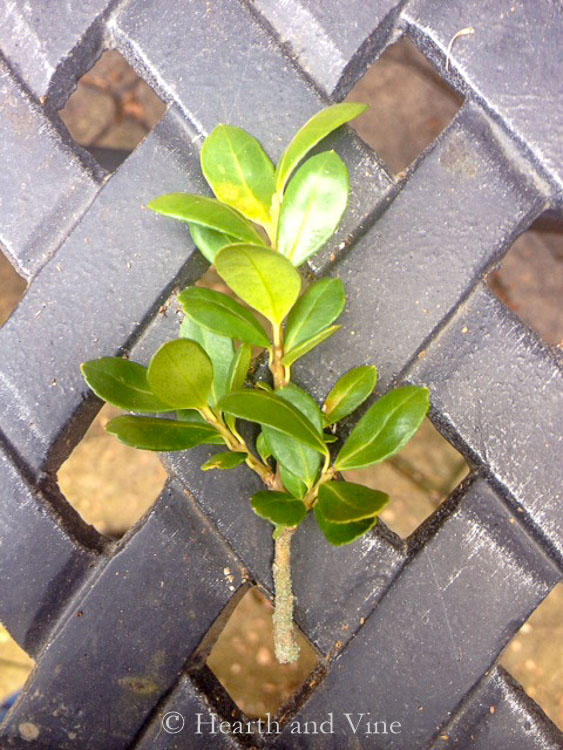
How to Make a Boxwood Kissing Ball
Take the boxwood trimmings and pull off the leaves on the bottom leaving 1/2 - 1 inch of stem to place into your ball.
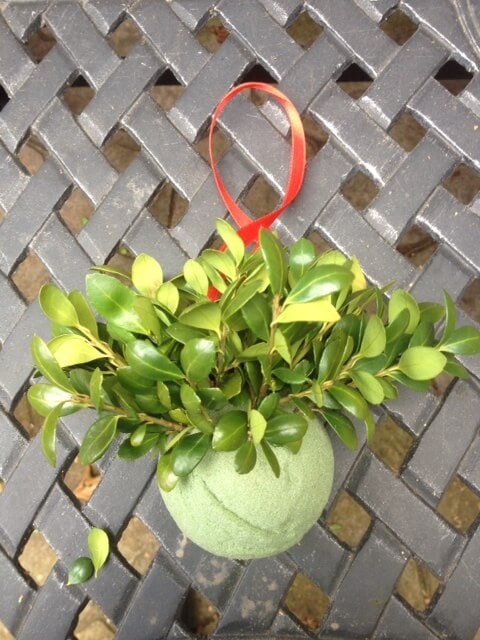
Pin the ribbon to the ball. You may want to dip the pin in a little glue to give it extra holding power.
Then start placing the sprigs of boxwood all around starting around the ribbon.
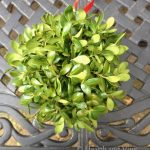
Once you've completed the ball check for any bald spots and fill in with little leftover pieces of the boxwood.
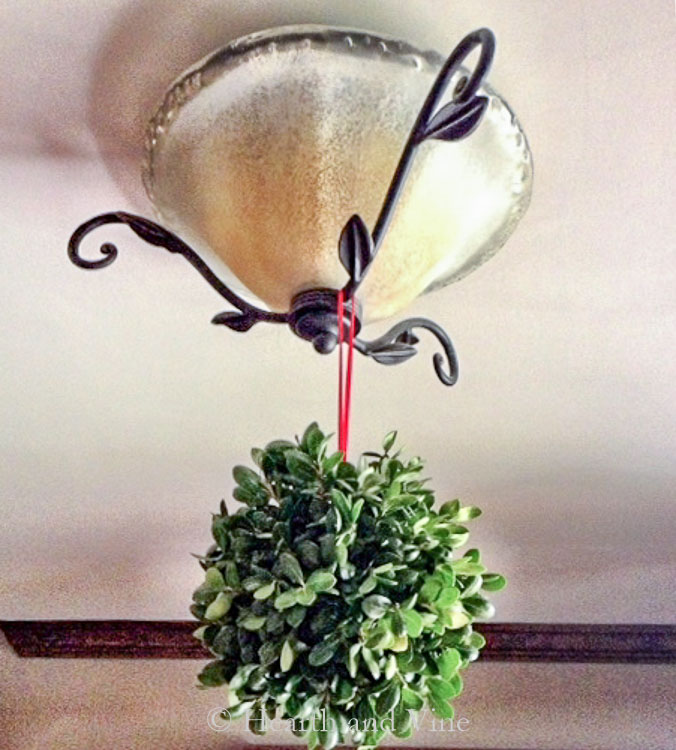
And there you have it. Hang it in your entryway or in a doorway for all to enjoy.
This should last throughout the holiday season but if your air is very dry you can give it a spray with water to help to keep it from drying out.
And if you'd like you can pin a little sprig of mistletoe to the bottom.

P.S. You may also like this DIY Boxwood Letters project or this Kissing Ball Ornament. Find these and many more fun crafts on my DIY Projects Page.
Click Here to Save to Pinterest!

Boxwood Kissing Ball
Equipment
- Pruners
Materials
- 40 or more 3-5 inch long pieces of fresh boxwood
- 3-4 inch green floral ball
- A pretty ribbon with a large pin
Instructions
- Take the boxwood trimmings and pull off the leaves on the bottom leaving 1/2 - 1 inch of stem to place into your ball.
- Pin the ribbon to the ball.
- Push the sprigs of boxwood into the ball starting at the ribbon and continuing all around the entire ball.
- Check for open spots and fill in with more boxwood.
- Hang it in your entryway or in a doorway for all to enjoy.
MrsSW
Very pretty, Patti - pinned, as always. 🙂
Sheila
Patti Estep
Thank you Sheila. You are so sweet, as always. ♥
Jendy Bullman
Hi there,
Lovely idea. Do you have to soak the floral ball first?
Jendy
Patti Estep
Jendy, I did not use the type of foam that you soak. However, I did take it down and sprayed the plant material with water about once a week.
Jendy Bullman
Thanks Patti, I guess I was surprised that just spraying the leaves could keep it fresh. Jendy
Lorraine
Hi Patti, stopping by to visit your lovely place here from FB group. Enjoyed perusing and especially this boxwood decoration. Nice to meet you 🙂
Kindly, Lorraine
Patti Estep
Thanks Lorraine. So glad you like it. I hope you stop by again soon.
Vickie
Hello Patti! I just love your kissing ball! I have some boxwood out front that is in need of a trim, so now I know exactly what to make with it! I would bet, if the sprigs were tucked in real tight, the boxwood would dry as is and could be carefully packed away for next year! Thanks for the tutorial! I found you on Fridays Unfolded where this post is featured!
Jen @ The Halfway Homemaker
Really cute, I love this for a natural looking decoration.
Christine
Beautiful kissing ball and I love that you used fresh greenery!
Jessica Doll
This is so cute and festive. I would have never thought to make one on my own.
Lisa
Love it! I can't wait to make one. Thanks for sharing Patti!
Patti
So glad you like it. It would look great in your home!
Denise wright
I want to make one too!
Alana (@ I have a Future and a Hope)
This would be a great craft for my kiddos! Plus this would be nothing but a plus for me and hubby to take advantage of. 🙂
Erin Kennedy
I love this so much! It is so cute and I want to make one now for my home!
Nancy
I love mistletoes (or well, in this case kissing ball haha!) I think they're so sweet, and yours is REAL. Even better.
Joyce@MyStayAtHomeAdventures
Such a cute and great idea. I must try this soon.
Danielle K
So cute and easy! Will be making one of these for our holiday party.
Erin
Such a great idea! I'm always looking for DIY decor ideas!