• Skip to primary navigation
  • Skip to main content
  • Skip to primary sidebar
  • Home
  • DIY Projects
    • Homemade Bath and Body
    • Sewing - Fabric Crafts
    • Flower Crafts/Decor
    • Thrift Store/Vintage
  • Gardening
    • Flower Gardens
    • Container Gardening
    • Houseplants
    • Indoor Gardening
    • Landscaping
    • DIY Garden Art
  • Decorate
    • Spring Decor
    • Summer Decor
    • Fall Decor
    • Winter Decor
    • Home Decor Projects
  • Recipes
    • Breakfast Recipes
    • Lunch Recipes
    • Dinner Recipes
    • Dessert
    • Salad Recipes
    • Soups and Stews
    • Side Dish Recipes
    • Appetizers and Snacks
    • Healthy Recipes
  • Holidays
    • Valentine's Day
    • Easter
    • Mother's Day
    • Halloween
    • Thanksgiving
    • Christmas
Hearth and Vine
menu icon
go to homepage
  • About
  • DIY
    • ...Flower/Gardening Crafts
    • ... Bath and Body
    • ...Sewing/Fabric Crafts
    • ...Thrift Store/Upcycle
  • Gardening
    • ...Flower Gardens
    • ...Container Gardening
    • ...Indoor Gardening
    • ...DIY Garden Art
  • Decorate
    • ...Home Decor Projects
    • ...Spring Decor
    • ...Summer Decor
    • ...Fall Decor
    • ...Winter Decor
    • ...Room Makeovers
  • Recipes
    • ...Appetizers and Snacks
    • ...Dinner Recipes
    • ...Side Dish Recipes
    • ...Salad Recipes
    • ...Dessert
    • ...Drinks
  • Holidays
    • ...Valentine's Day
    • ...Easter
    • ...Mother's Day
    • ...Halloween
    • ...Thanksgiving
    • ...Christmas
  • Subscribe
  • Instagram
    • Facebook
    • Instagram
    • Pinterest
    • Twitter
  • subscribe
    search icon
    Homepage link
    • About
    • DIY
      • ...Flower/Gardening Crafts
      • ... Bath and Body
      • ...Sewing/Fabric Crafts
      • ...Thrift Store/Upcycle
    • Gardening
      • ...Flower Gardens
      • ...Container Gardening
      • ...Indoor Gardening
      • ...DIY Garden Art
    • Decorate
      • ...Home Decor Projects
      • ...Spring Decor
      • ...Summer Decor
      • ...Fall Decor
      • ...Winter Decor
      • ...Room Makeovers
    • Recipes
      • ...Appetizers and Snacks
      • ...Dinner Recipes
      • ...Side Dish Recipes
      • ...Salad Recipes
      • ...Dessert
      • ...Drinks
    • Holidays
      • ...Valentine's Day
      • ...Easter
      • ...Mother's Day
      • ...Halloween
      • ...Thanksgiving
      • ...Christmas
    • Subscribe
    • Instagram
    • Facebook
    • Instagram
    • Pinterest
    • Twitter
  • ×
    Home » DIY Projects

    DIY Fabric Covered Coat Hangers

    by Patti Estep · Mar 15, 2023

    Jump to How-to Card

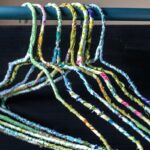
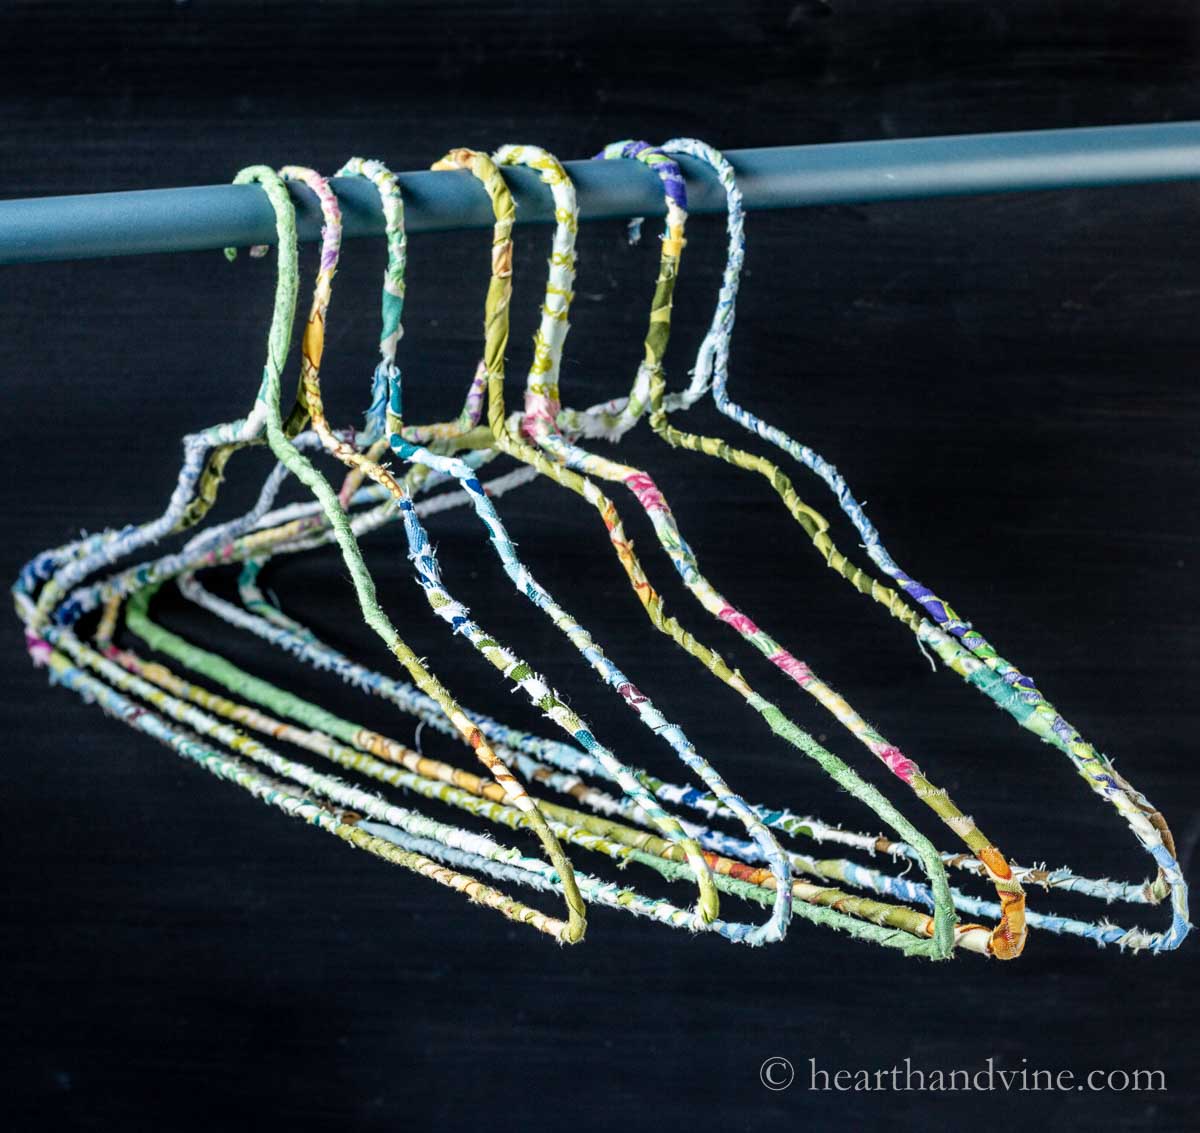
    Learn how to make fabric covered hangers for a great use of scrap fabric that turns ugly wire hangers into a work of art in your closet. Plus your clothes will no longer slip off the hanger with the added texture of the fabric.

    Multi-colored fabric covered hangers on pole.

    There was a time when I was obsessed with designer quilting square charm packs. These are packs of 4 - 6 inch squares of fabric in coordinating colors and patterns for making beautiful quilts.

    However, if you don't end up quilting you will have tons of scrap fabric. I've used these squares and other leftover fabric for lots of projects on this website. Fabric covered coat hangers are the latest.

    This post contains some affiliate links (that means if you make a purchase after clicking a link, there’s no additional cost to you, but I will earn a very small commission. ) i.e. as an Amazon Associate, I earn from qualifying purchases. Click here to read my full disclosure policy.

    Supplies for fabric wrapped hangers including glue, white wired hangers, scissors and leftover fabric scraps.

    If you've ever gone to the dry cleaners then you know what I mean by wire hangers. They are the flimsy white coated wire hangers that tend to accumulate and are not the greatest for hanging clothes.

    However, if you wrap scrap fabric around the wire hanger, not only does it become beautiful, the raw edges create enough texture to keep delicate dresses, blouses, and tops from falling off and ending up at the bottom of your wardrobe or closet.

    Supplies

    • scissors
    • wire hangers
    • scrap fabric
    • tacky glue, fabric, or white glue
    A strip of fabric wrapped around the tip of a coat hanger.

    Gather a bunch of fabric scraps together in similar color hues or a combination of 2 or 3. Cut or tear the fabric into thin strips about 1.5 - 2 inches wide. I like the torn look but if you want you can use a rotary cutter to very precisely cut the width of the fabric.

    Newsletter Signup
    Join Our Newsletter List!

    Be the first to receive new posts and get access to our Subscribers Only Page.

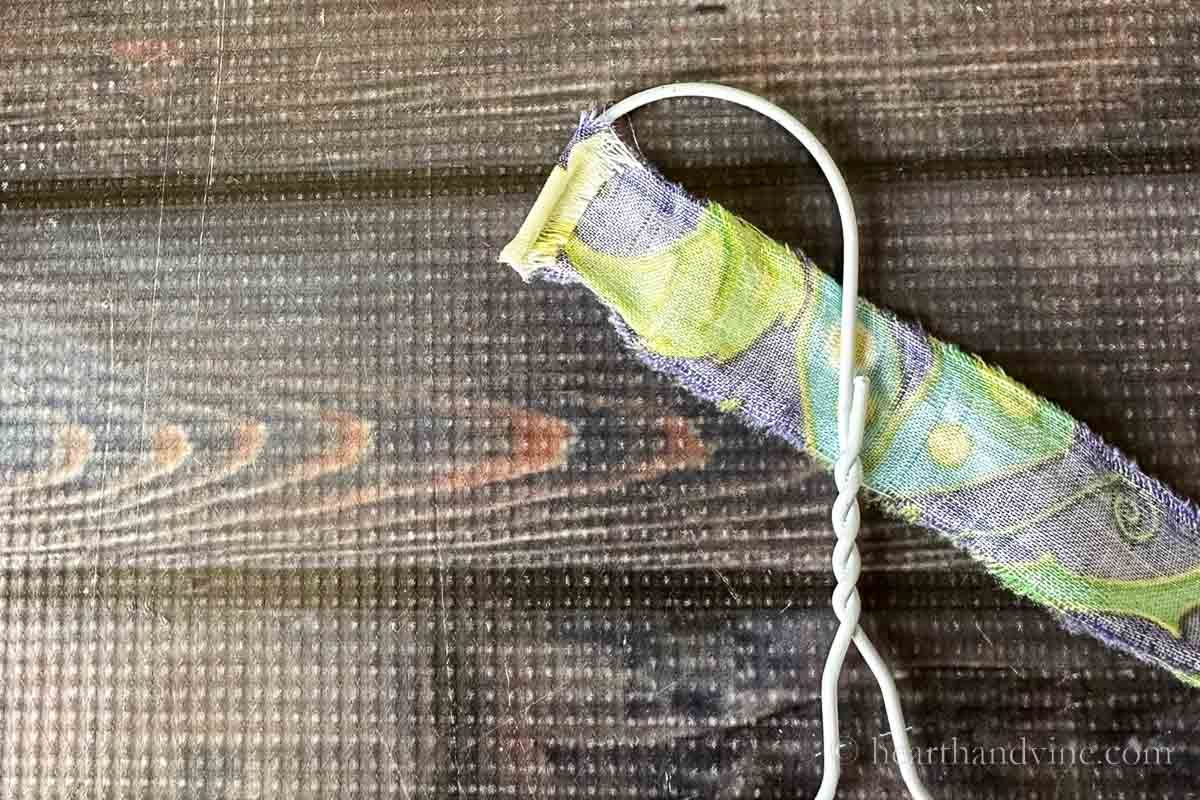
    Start at the tip of the hook of the hanger and put a little glue on the edge of the fabric strip. Also, place some glue along the wire hanger.

    Then place and hold the fabric on the edge and start wrapping.

    Fabric wrapped around the top of a hanger with glue being applied to the edge of the end.

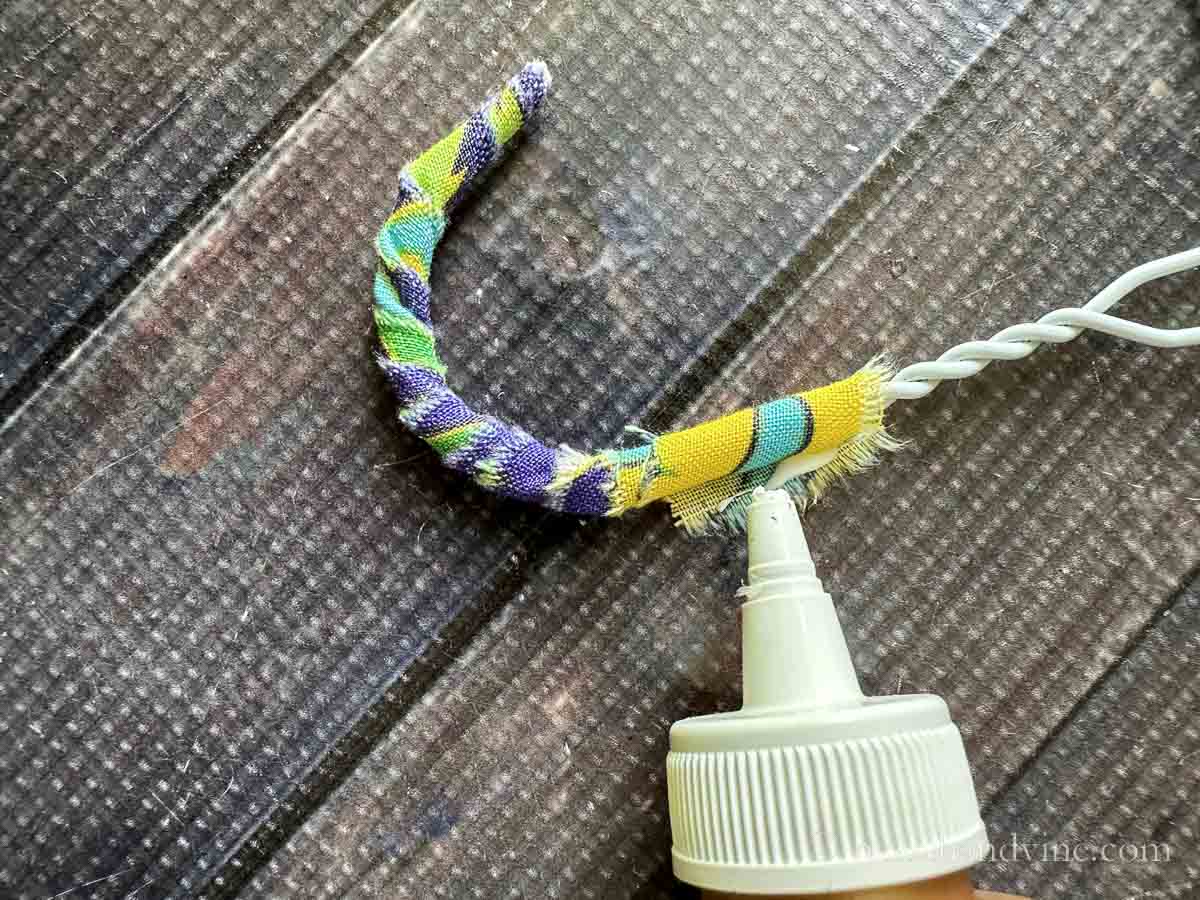
    When you come to the end of a strip add a drop of glue and hold it for a few seconds.

    Add the next strip of fabric, overlapping the last strip.

    Fabric strip wrapping down the right side of a wire hanger.

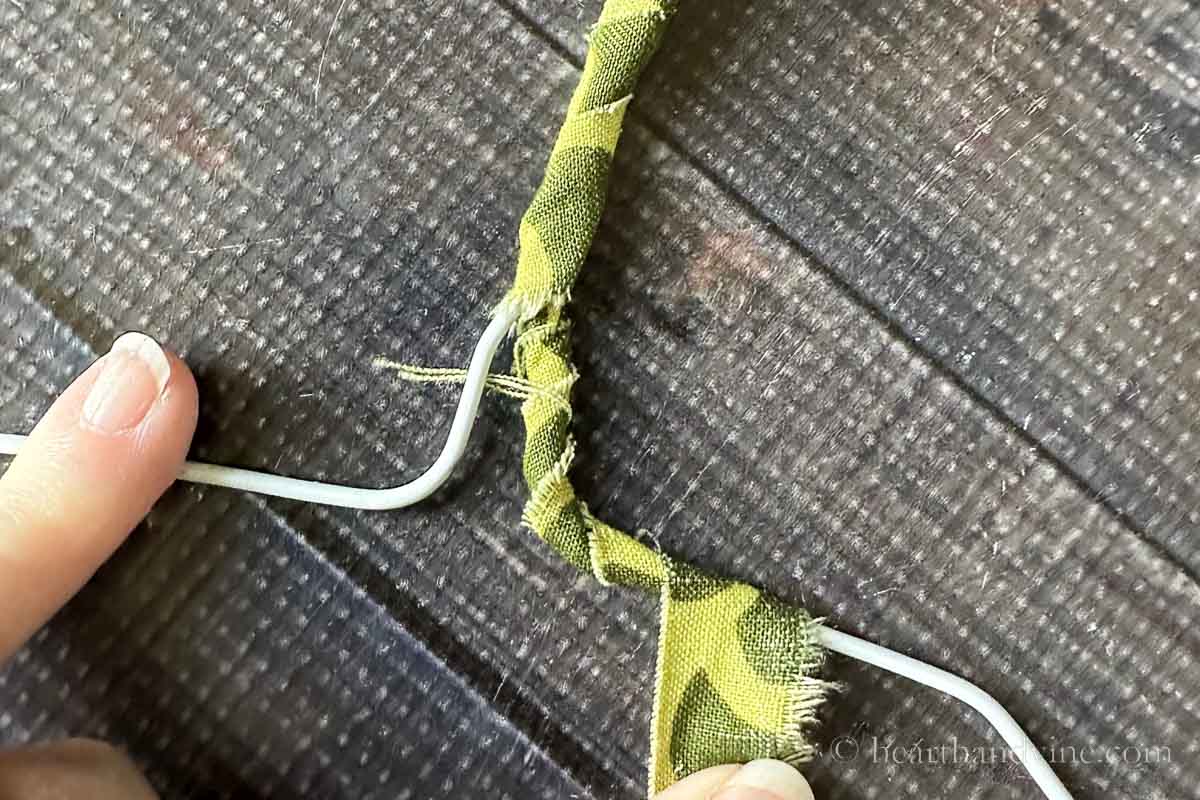
    When you get to the base of the hook move along the hanger to the right.

    Don't worry about loose threads. You can trim them off at the end.

    Glue being placed on the wire hanger as you wrap fabric around it.

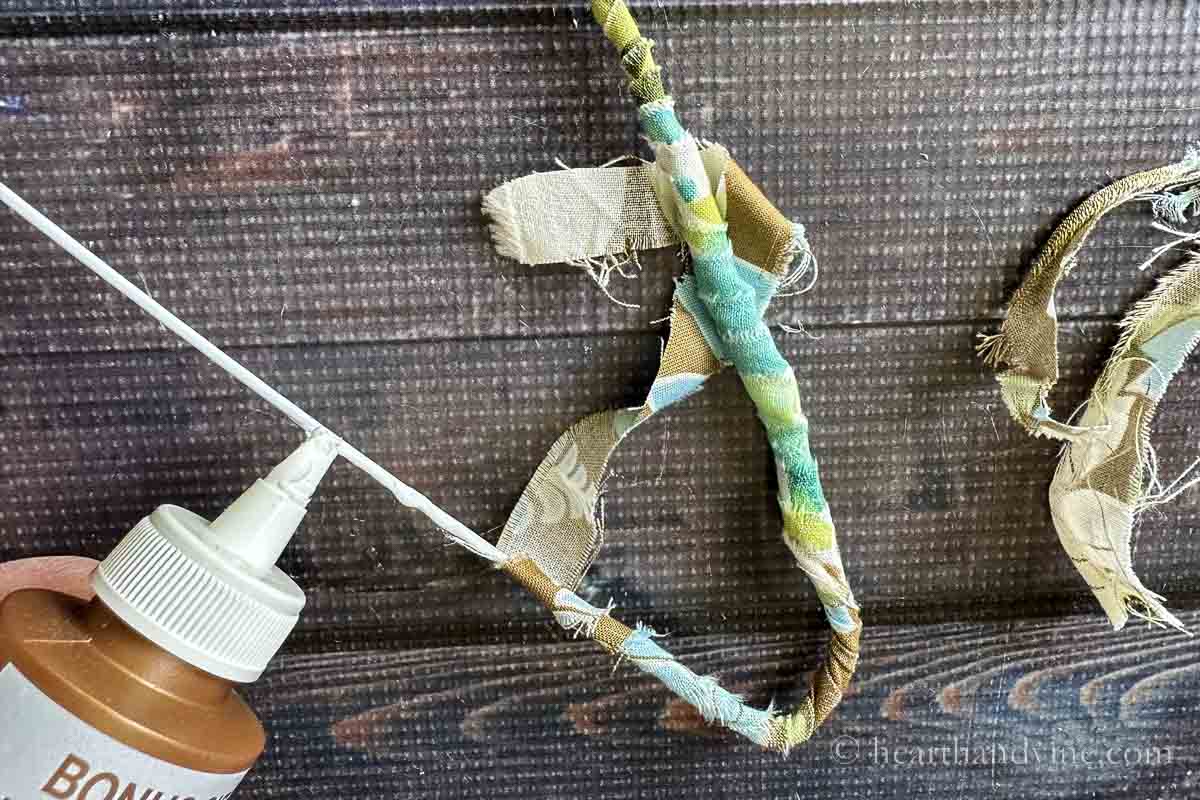
    Placing a line of glue just ahead of wrapping will make the fabric more secure. Continue wrapping and gluing pieces of fabric until you reach the end of the hanger.

    Two wire hangers wrapped with pink washi tape.

    Options

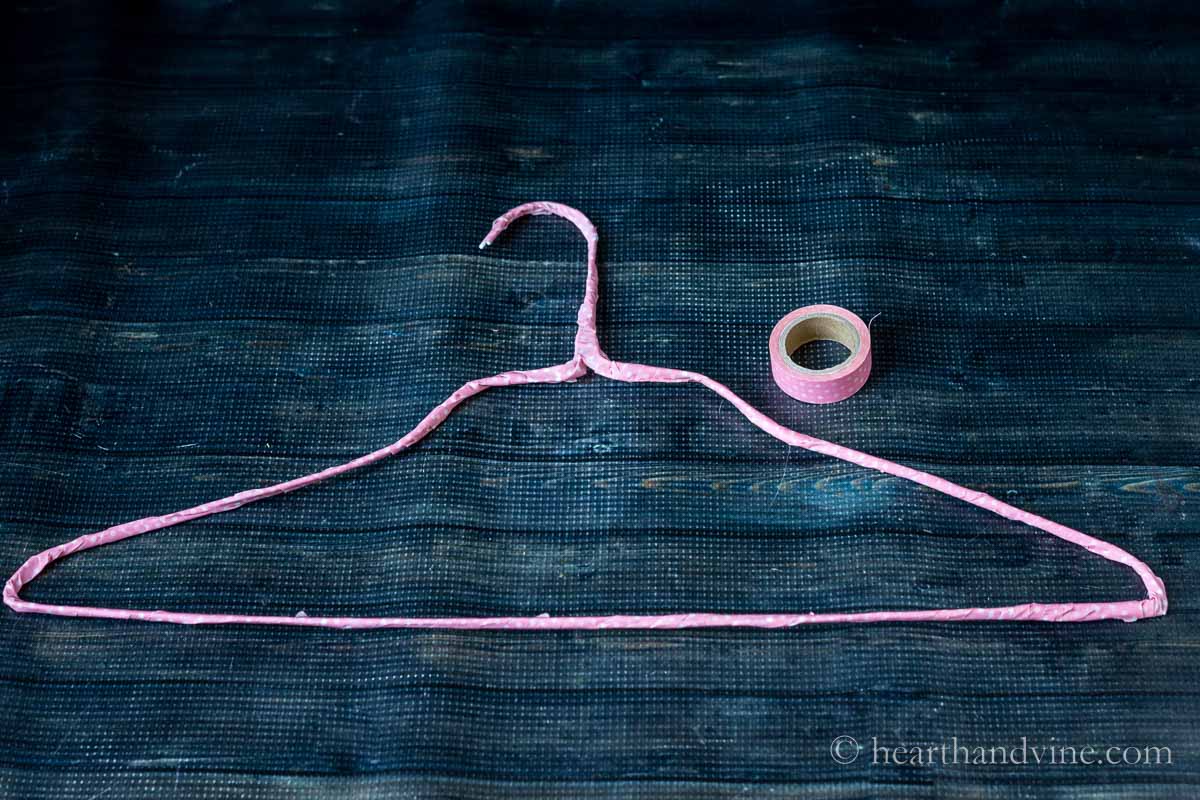
    Consider wrapping two wire hangers together with some washi tape or masking tape before adding the fabric. This made the hanger heavier however, in the long run, I didn't think it was worth the bother.

    Try this trick with another type of hanger such as a thick plastic hanger.

    Use a different type of fabric. Consider cutting up an old pair of jeans or an old t-shirt for your fabric. You could also use a ribbon. I just try to stick to the same weight of fabric for each hanger.

    Two fabric wrapped hangers. On is a set of two hangers and the other is just one hanger behind.

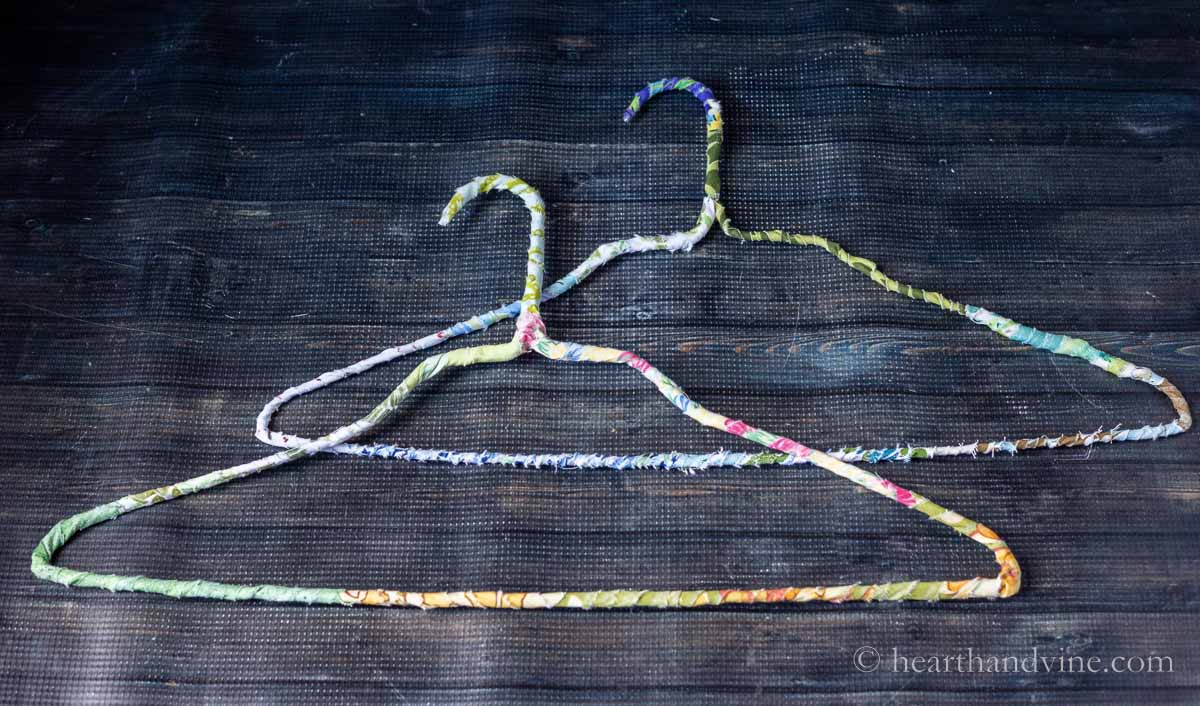
    Here are the two versions with the double hanger in front.

    Seven multicolored fabric covered hangers on a table.

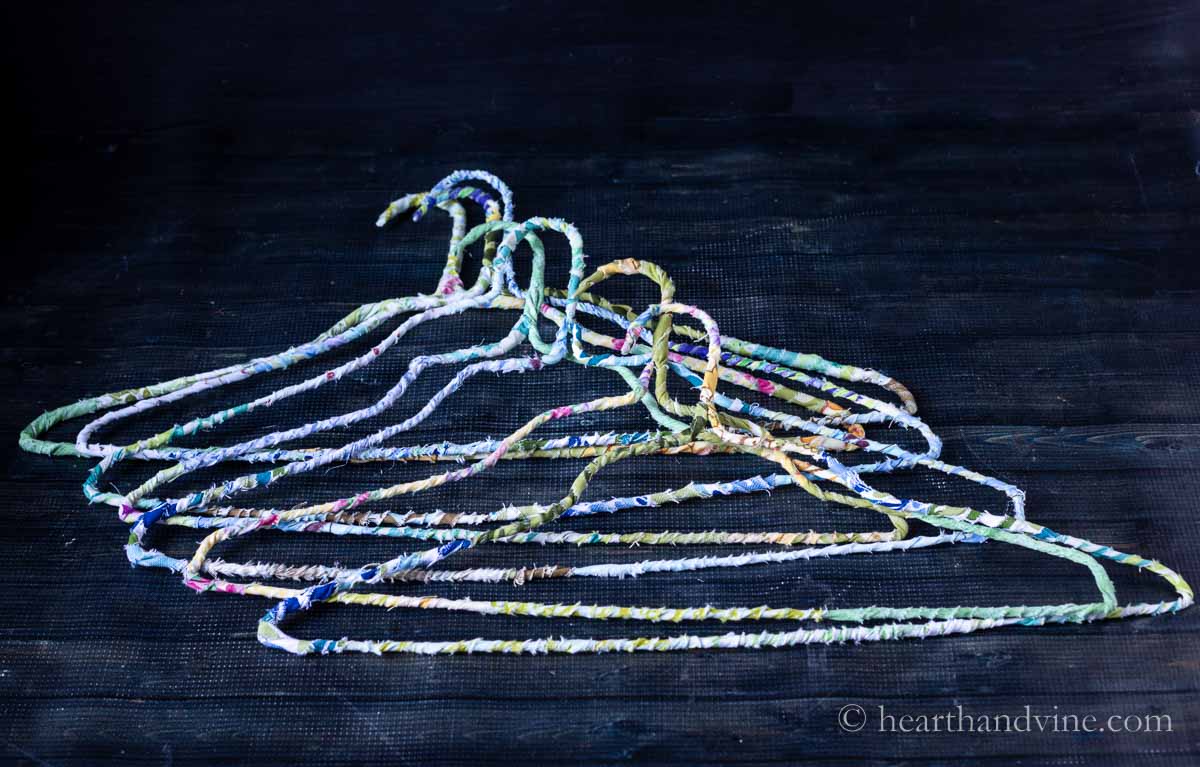
    I love the way they turned out. So colorful and fun and they really help silky fabrics and some cotton stay on the hanger. It sure beats the extra cost of velvet hangers.

    Wouldn't they make a nice gift?

    Patti signature

    More Fabric Scrap Crafts

    • Fabric Bowl Covers
    • Fabric Twine Pot Holders
    • Fabric Flower Wreath
    Seven fabric covered wire hangers on a table.
    Multi-colored fabric covered hangers on pole.
    Print

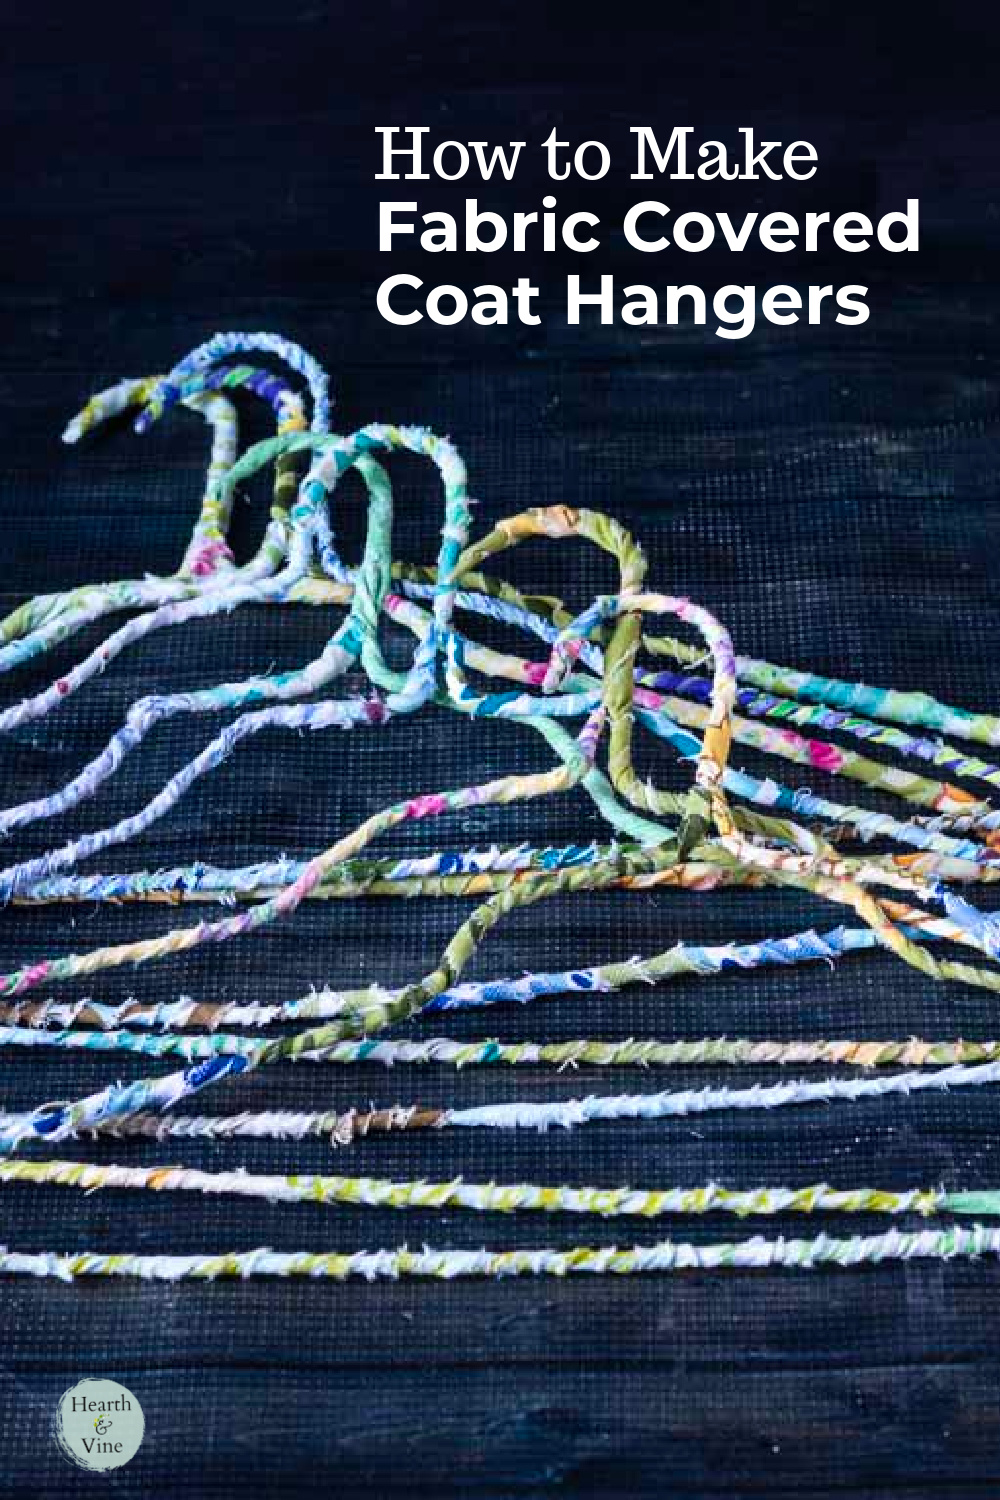
    How to Make Fabric Covered Hangers

    These fabric covered coat hangers are made with thin wire hangers, scraps of fabric and glue. A great way to upcycle and recycle wire hangers in your closet.
    Prep Time30 minutes mins
    Active Time1 hour hr

    Equipment

    • Scissors

    Materials

    • wire hangers
    • scrap fabric
    • tacky glue

    Instructions

    • Cut or tear strips of fabric in thin strips of variable lengths and roughly 1/2 inch wide.
    • Start at the top of the hanger and place some glue on the edge of one end of a fabric strip.
    • Then place it on the edge and begin to wrap the fabric around the hanger adn add a bit of glue to the wire hanger as you go.
    • When you get to the end of a strip add more glue to the edge of the end of the fabric strip and press into place.
    • Then add another piece of fabric slightly overlapping the last piece.
    • Work your way down the right side of the hanger, around the bottom and up the left side.
    • Use a small set of scissors to trim any wayward threads.
    • Hang and enjoy.

    Notes

    You could wrap two wire hangers together with some tape. Then apply the fabric wrapping technique for a more sturdy hanger.
    Consider using fabrics in one color family or two colors. However, you might love the look of multicolored hangers. The choice is yours. 
    Tried this project?Tag @hearthnvine on Instagram
    « DIY Open Terrarium Craft
    Lebanese Stuffed Zucchini AKA Kousa »

    About Patti Estep

    Patti is the creator of Hearth and Vine, a home and garden blog filled with projects to inspire your creative side. She loves crafting, gardening, decorating and entertaining at her home in Pennsylvania. When she is not working on a project at home or searching for treasures at nurseries and thrift stores with her girlfriends, you’ll probably find her with family and friends, at a restaurant, or home party enjoying new and different food adventures.

    Reader Interactions

    Leave a Reply Cancel reply

    Your email address will not be published. Required fields are marked *

    Recipe Rating


    Primary Sidebar

    Patti Estep Profile Picture

    Hi!

    I'm Patti

    Join me to create lots of fun DIY projects, including crafts, gardening, home decor, and tasty recipes

    More about me

    Popular Posts

    • Baked zucchini bite on a slated tray with a bowl of horseradish sauce.
      Make Tasty Zucchini Bites in Under an Hour
    • Three tin cans in descending sizes hanging from twine.
      DIY Wind Chimes with Tin Cans
    • Blue jean crossover bag
      DIY Crossbody Bag from Jeans
    • Ham barbecue sandwich on plate
      Chipped Ham Barbecue Sandwiches - A Pittsburgh Favorite
    • Echievera planter
      What to do With a Stretched Succulent
    • Make a Mason Jar Oil Candle Lamp with botanicals and essential oils. ~ gardenmatter.com
      DIY Oil Candle - Gifts for the Holidays

    Footer

    ^ back to top

    About
    Contact
    Privacy Policy
    Disclosure Policy
    Terms of Service

    Sign Up Here!
    for our
    newsletter &
    special offers

    Follow Me

    facebook
    Pinterest
    instagram

    As an Amazon Associate, I earn from qualifying purchases. i.e. as an Amazon Associate, I earn from qualifying purchases.

    Copyright © 2025 Hearth and Vine

    Rate This Recipe

    Your vote:


    A rating is required
    A name is required
    An email is required