

This DIY faux rice paper technique is super easy and so fun to create with beautiful paper napkins. You can use them in so many ways, from journaling to gift wrap, gift tags, and more.
I have a ton of pretty napkins that are leftover from parties during the year, including the holidays. I'm always looking for ways to use them, especially when there are only a handful left over.
Today I'm sharing a fun and easy technique that turns these beautiful paper napkins into faux rice paper. All you mainly need is glue.
More Paper Napkin Crafts: Napkins on Fabric, Decorative Magnetic Clothespins.....DIY Windchimes.....Decoupage Tin Can Storage
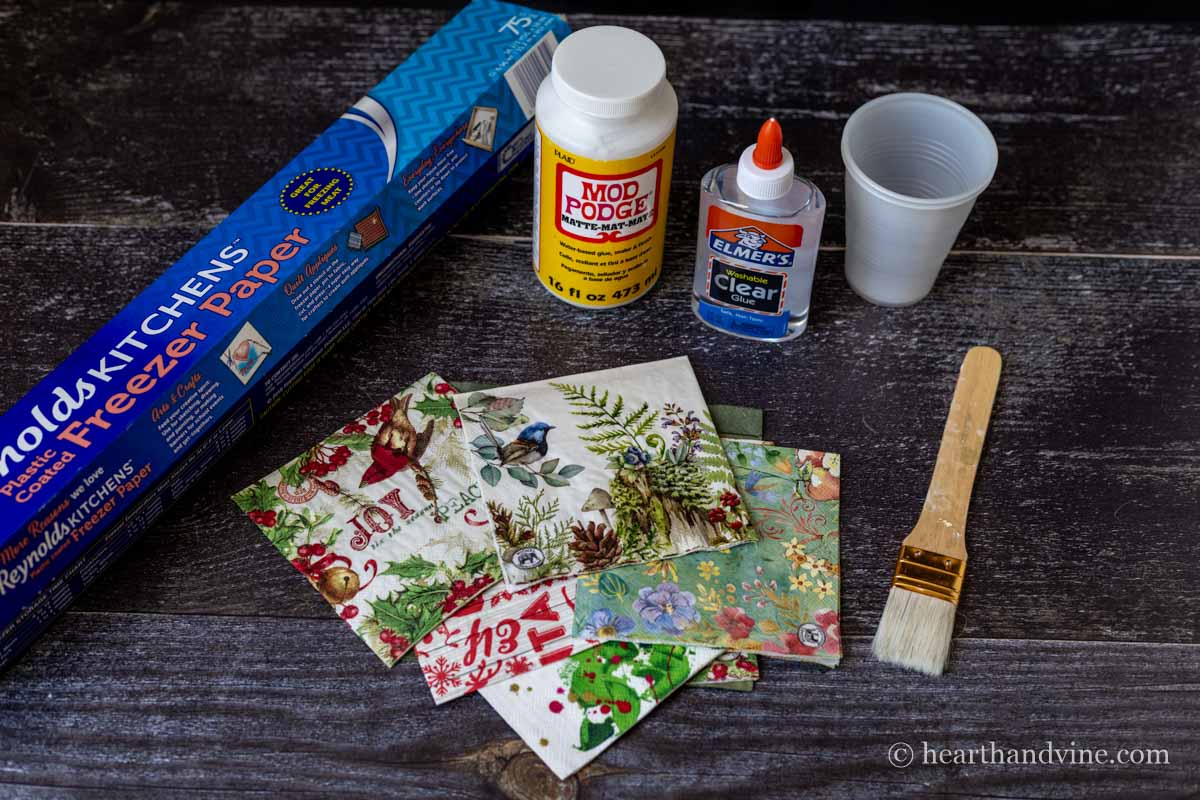
Supplies
- Freezer Paper or some other thick plastic
- Tape to hold the freezer paper
- Wide Paint Brush
- Pen or Marker
- Plastic Cup
- Skewer or Plastic Spoon to Mix
- Decorative Paper Napkins
- Glue (Mod Podge or White Glue) or Clear Glue
How to Make Faux Rice Paper
Step 1. Place some freezer paper shiny side up on a covered table. Mine wanted to curl up, so I taped it down with some painter's tape.
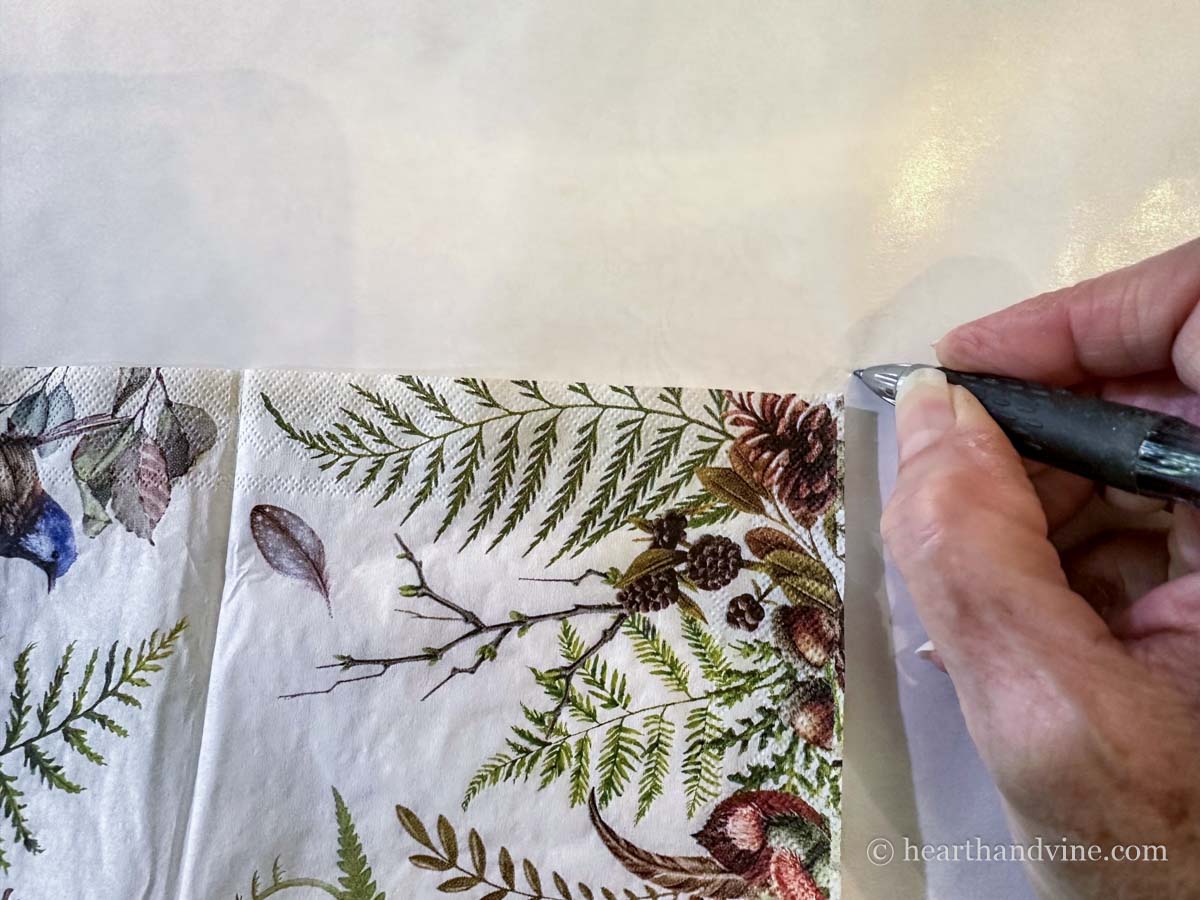
Step 2. Place your napkin in the center and mark the four corners with a pen. Set the napkin aside.
Step 3. Mix glue and water in a 2:1 ratio in a cup. You can use white glue, clear glue, or Mod Podge. If you want the paper to be a little lightweight, you can use a 1:1 mixture. However, I found the 2:1 worked well to create nice sturdy paper while still leaving it transparent.
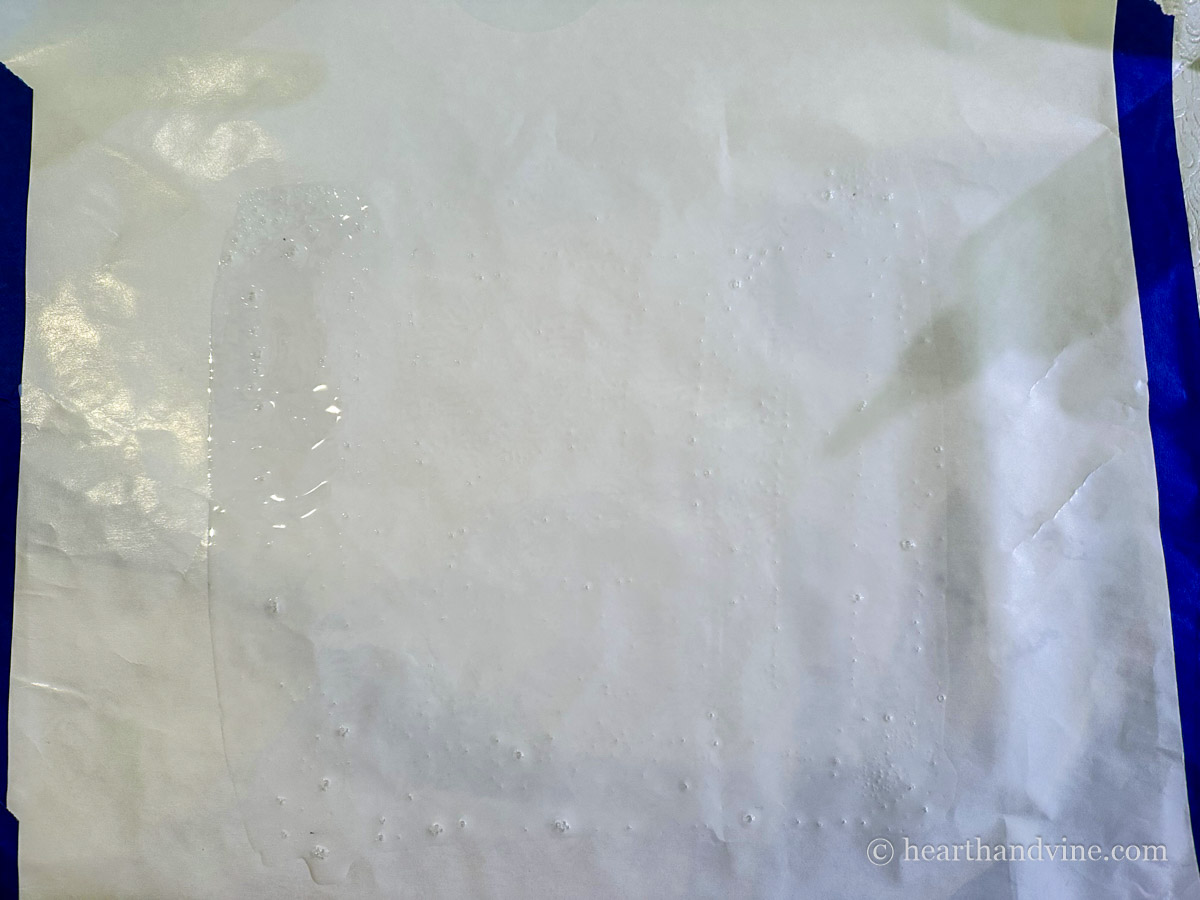
Step 4. Use a wide paintbrush and fill in the area between the dots you made on the freezer paper, making sure to go a bit beyond the dots too.
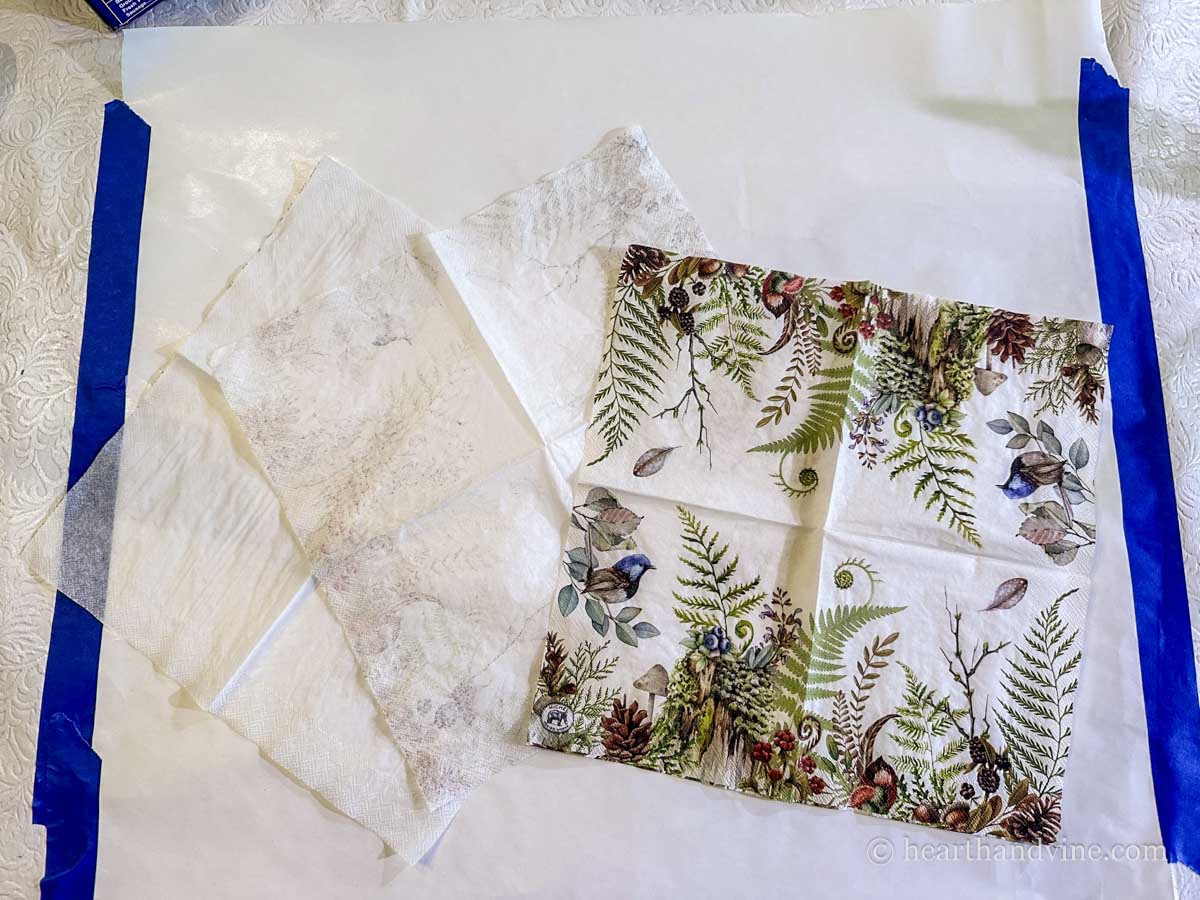
Step 5. Separate the layers of the napkin. Most have 3 layers. You will be using the top printed layer. However, you could also create more papers with the plain and ghosted layers.
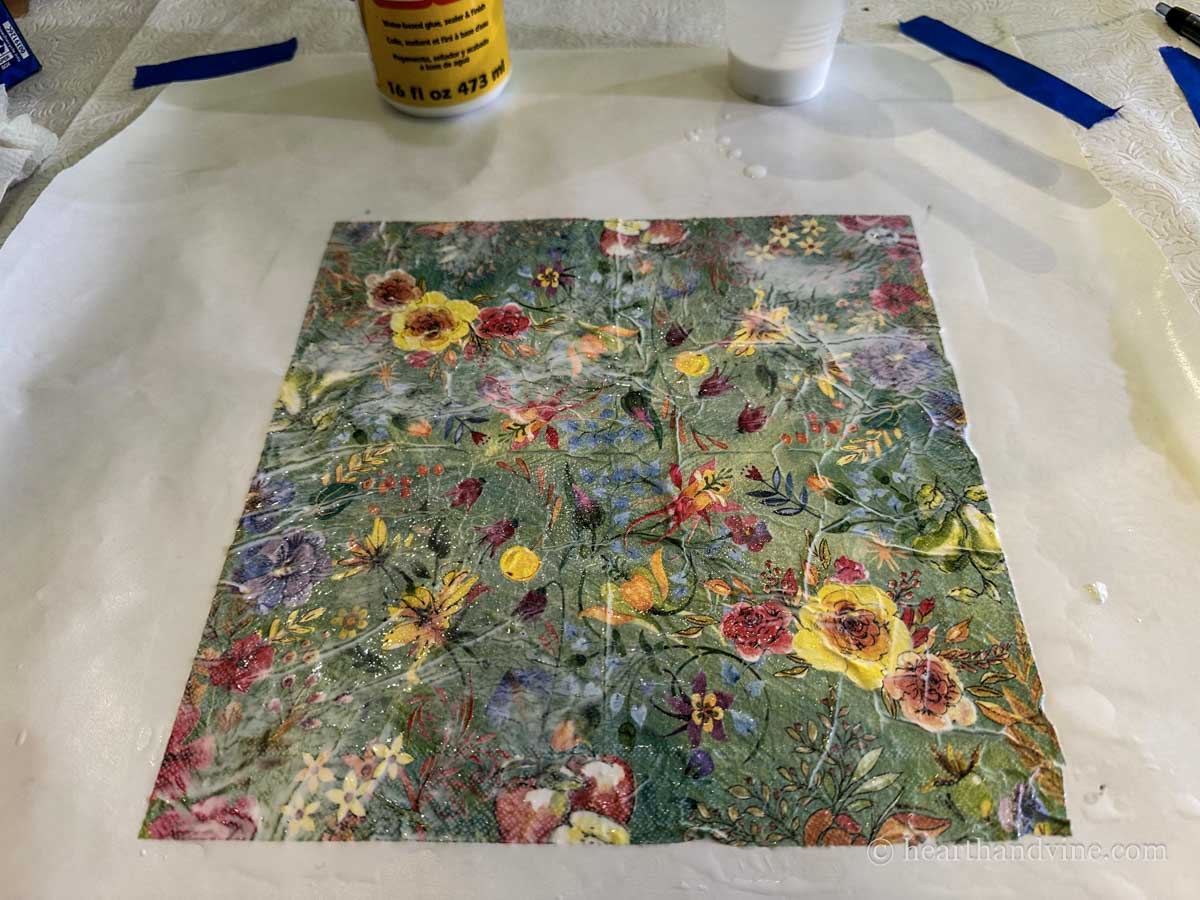
Step 6. Carefully line up the edge of the napkin with the top dots and then gently pull and place the rest of the napkin onto the glue mixture. Use your fingers to smooth out the wrinkles.
Step 7. Cover the entire top with more of the glue mixture, extending over the edges.
Step 8. Wait 24 hours before carefully removing the paper. Start at a corner and slowly lift the napkin from the freezer paper.
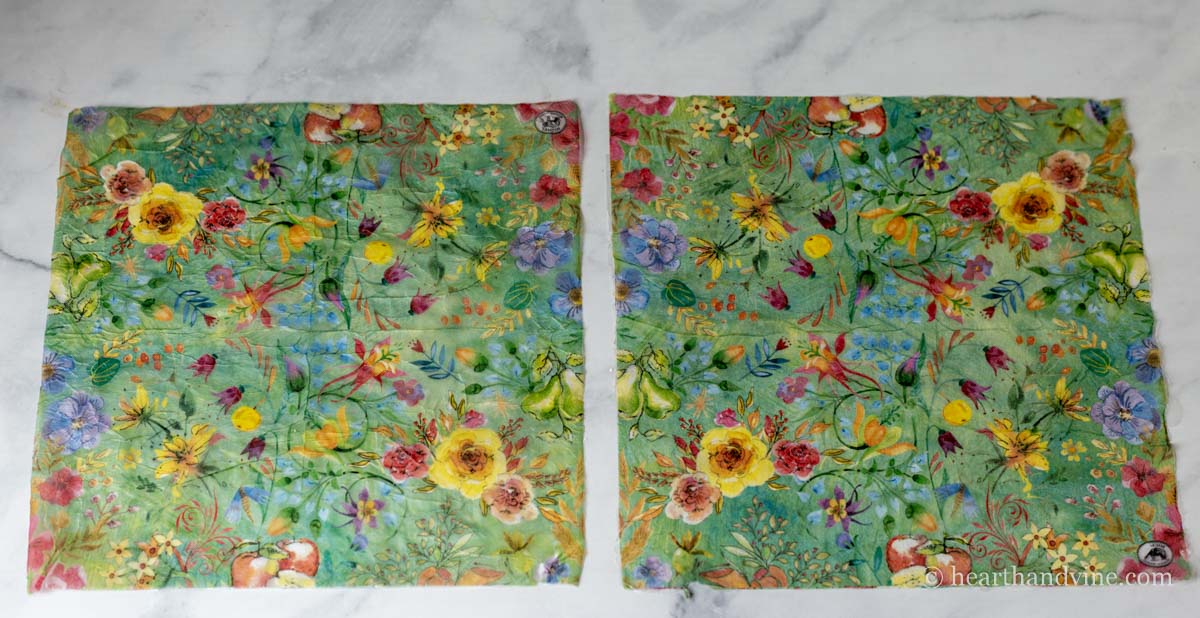
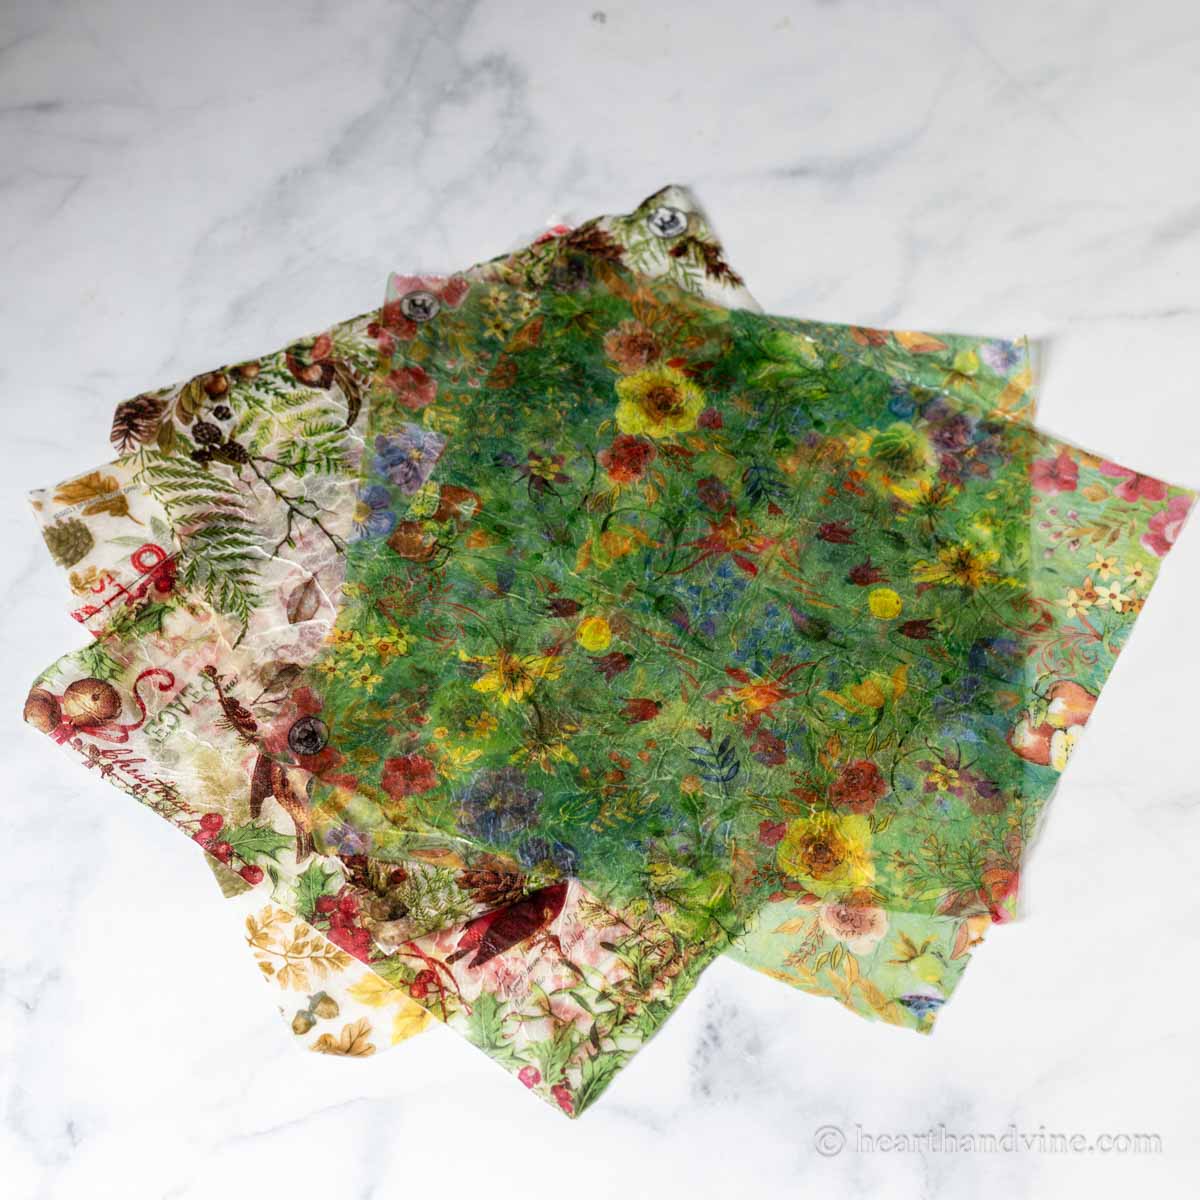
Here are two that I made with different glue. The one on the left was clear glue, and the one on the right was done with Mod Podge. They look pretty identical. The Mod Podge seemed the slightest bit sturdier, so I ended up using it for most of my papers.
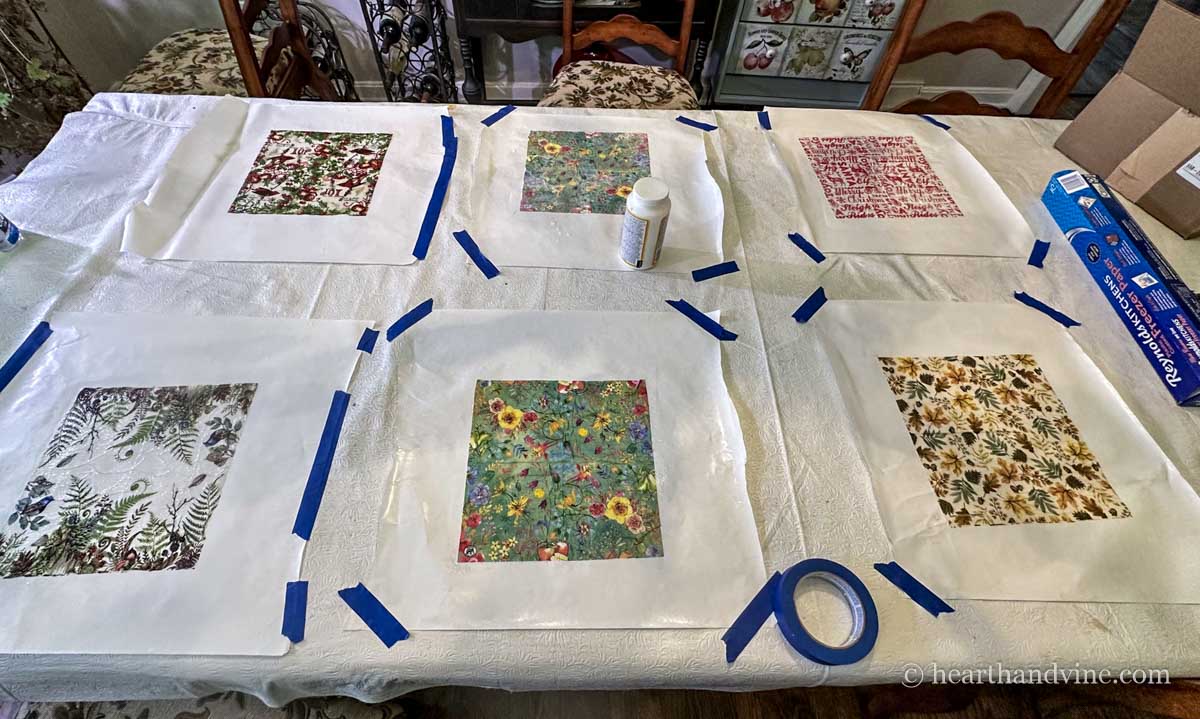
Above is a pic I took of my work in progress.
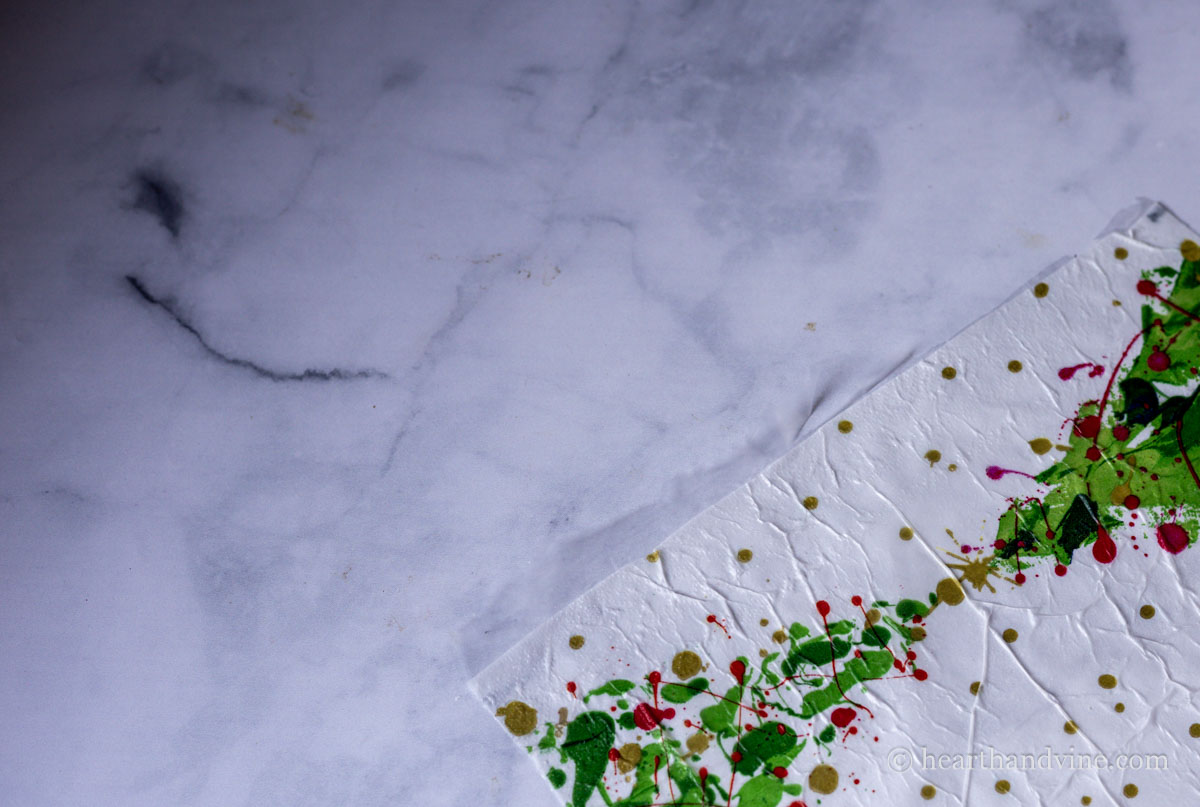
Once you remove the paper from the freezer paper, you may have some extra glue on the edges (see above). You can simply remove it with scissors.
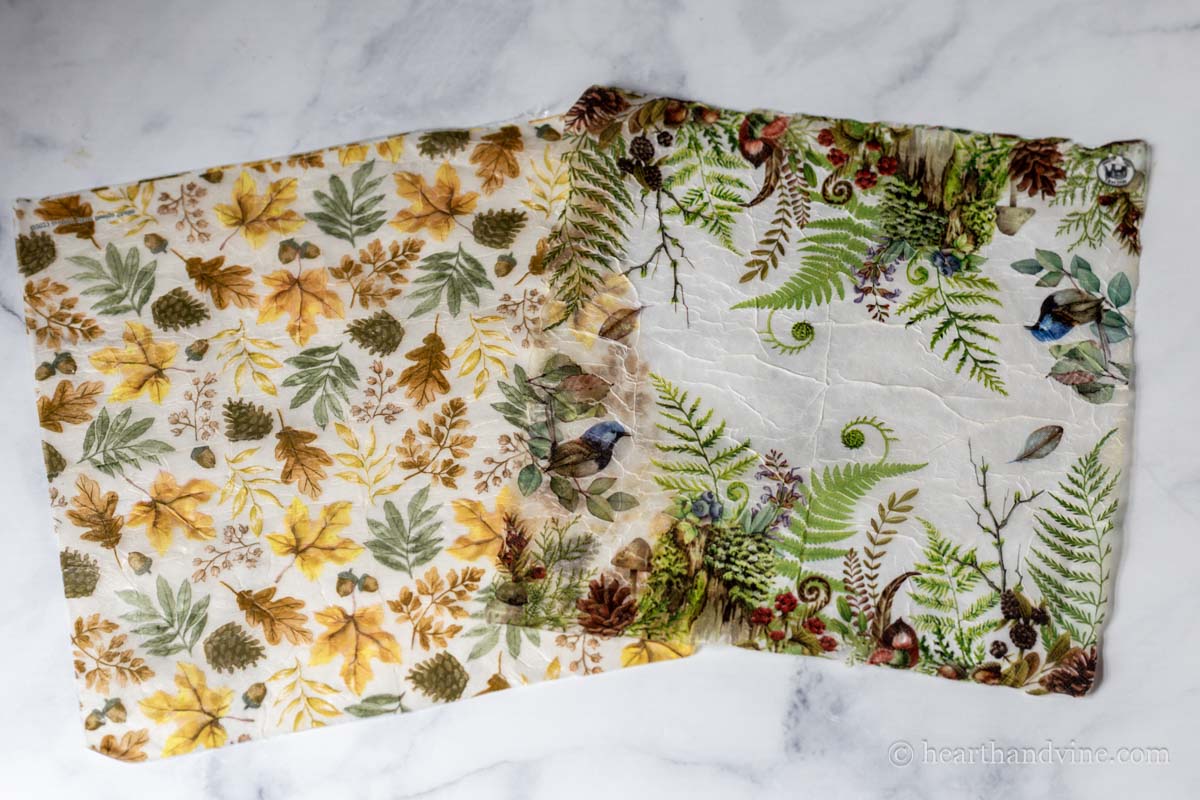
Here are a couple of nature napkins I like. The one on the right has more wrinkles, but I don't mind it.
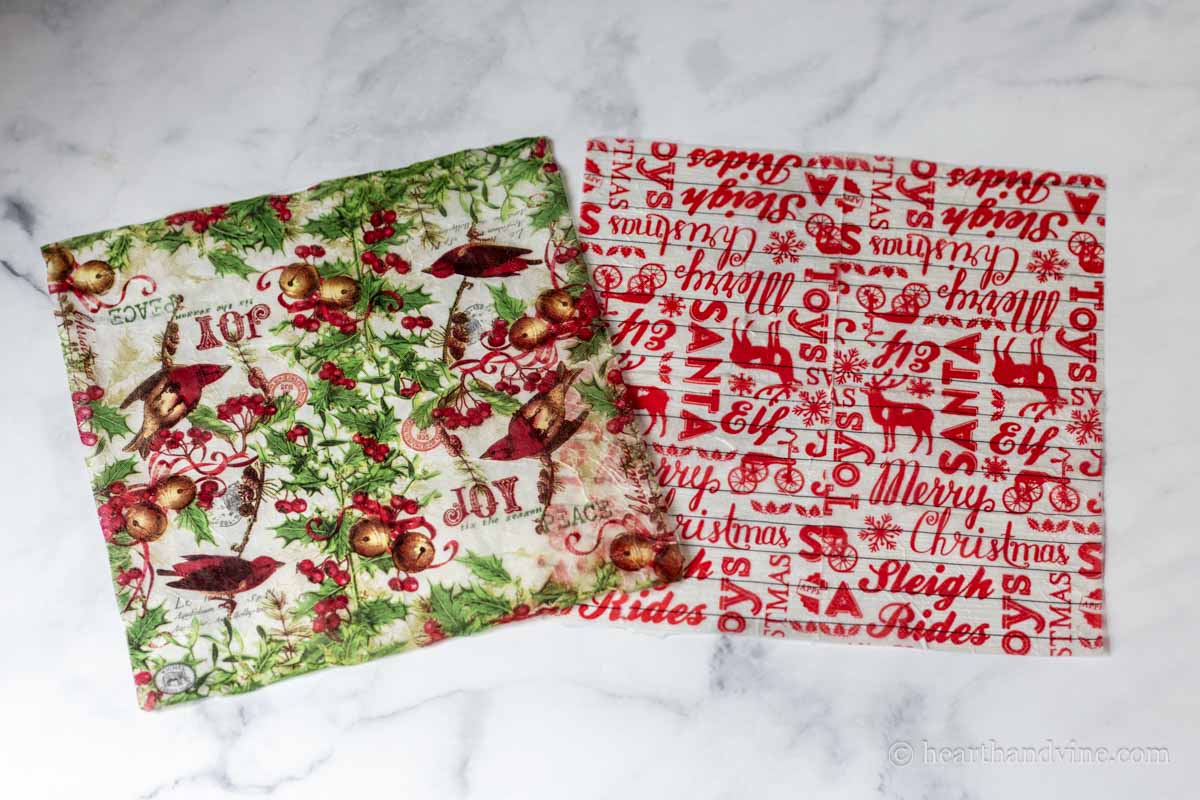
This is also a great way to use Christmas or holiday napkins.
How to Use Faux Rice Paper
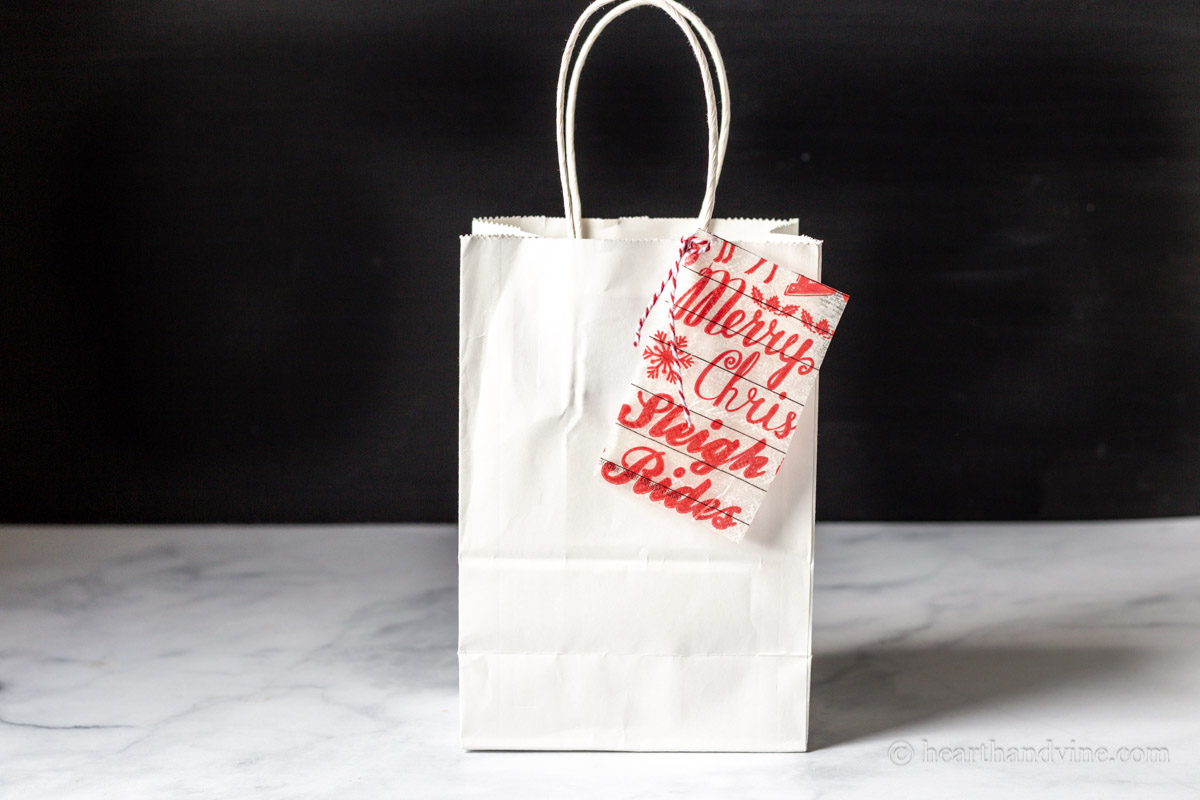
1. Make Gift Tags: You can cut out a tag from the paper and use it as a tag, as shown above. You could add a white paper backing for writing or to make the tag more substantial.
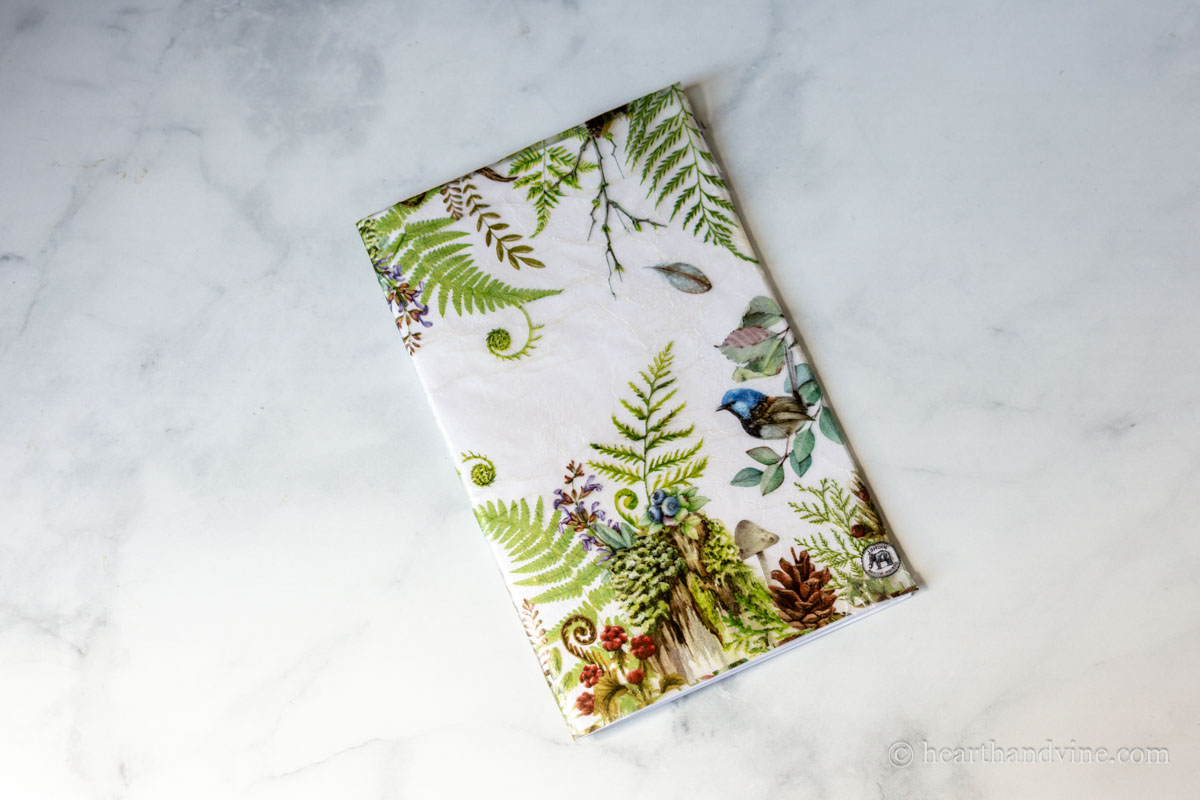
2. Cover Booklets and Journals: I think this paper looks great on a handmade paper booklet.
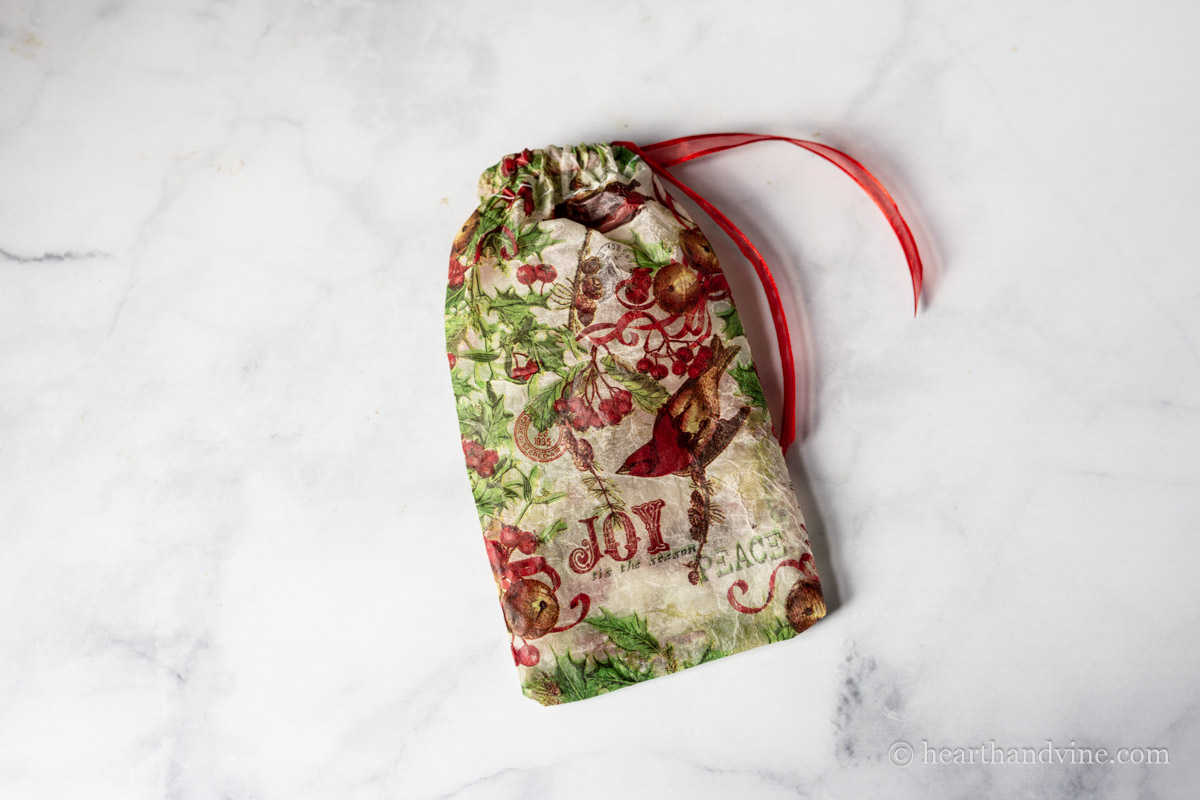
3. Make Gift Bags: You can sew a little bag with these papers. Here's what I did. Fold the top edge of the paper about an inch with the wrong sides facing. Then sew across the edge. Then fold the paper with the right sides facing and sew from below the first stitching around to the bottom corner. Turn it right side out. Use a small safety pin attached to one end of a narrow ribbon to help you thread it through the top channel to act as a drawstring.
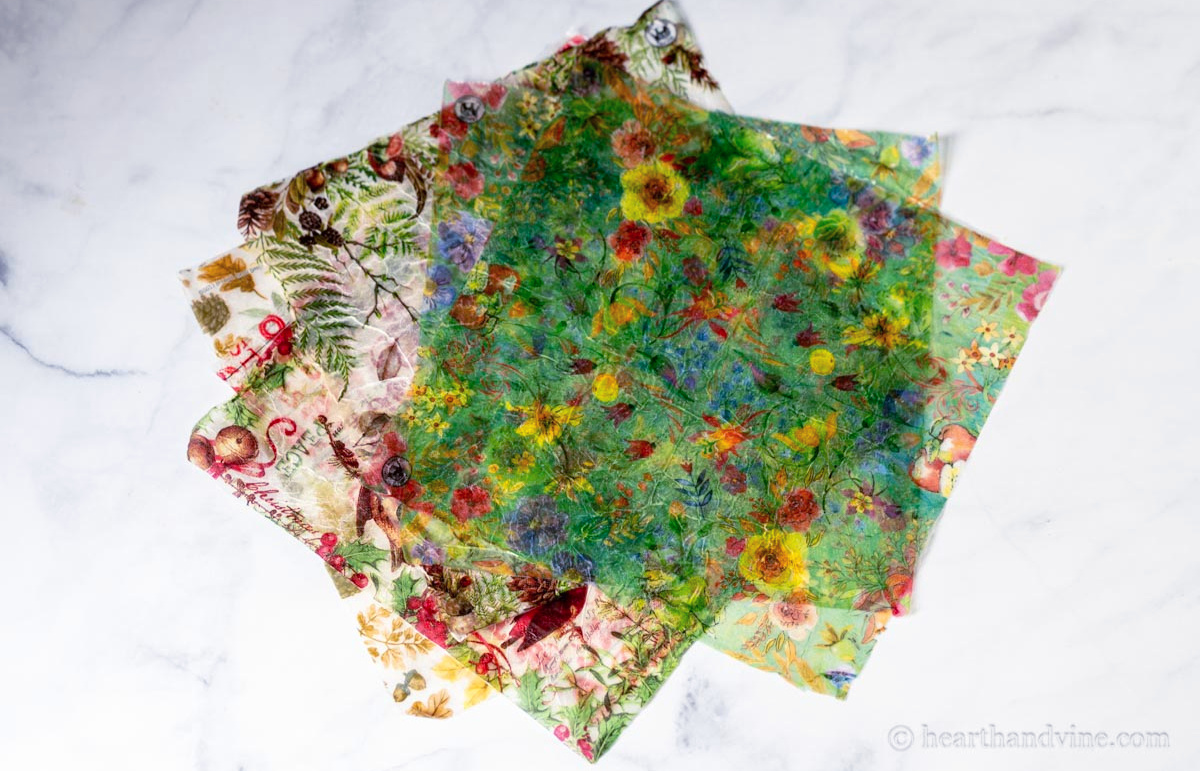
Obviously, anyone who likes to play with different types of fibers and papers for artwork would love these too. Scrapbooks, mixed-media art, and more.

How to Make Faux Rice Paper with Napkins
Equipment
- Freezer Paper
- Wide Paint Brush
- Pen
- Paper or Plastic cup
- Skewer or Plastic Spoon to Mix
- Tape to hold down the freezer paper if needed
Materials
- Paper Napkins
- Glue (Mod Podge or White Glue) or Clear Glue
Instructions
- Tape a piece of freezer paper that's much larger than your napkin, shiny side up, on a table.
- Place your napkin in the center of the freezer paper and place a dot at the corners with a pen.
- Remove the top layer of the
- Mix some glue and water in a plastic cup with a skewer or spoon in a 2 to 1 ratio. Two parts glue to one part water.
- Brush a layer of the glue and water mixture on the freezer paper just outside the dots and cover the entire area.
- Prepare the napkin by removing the top printed layer from the two bottom layers.
- Place the napkin on the glue, starting at the top edge and gently setting the rest on the glue.
- Gently press out any wrinkles if desired.
- Brush more of the glue and water mixture all over the top of the napkin, being sure to cover outside the edges.
- Let the napkin sit for 24 hours.
- Gently pick at one corner and slowly lift the napkin from the freezer paper.
- Cut off any excess glue from the edges.
Leave a Reply