Spring topiaries are very easy to make with a few simple materials and can bring a classic yet modern look to your home decor.
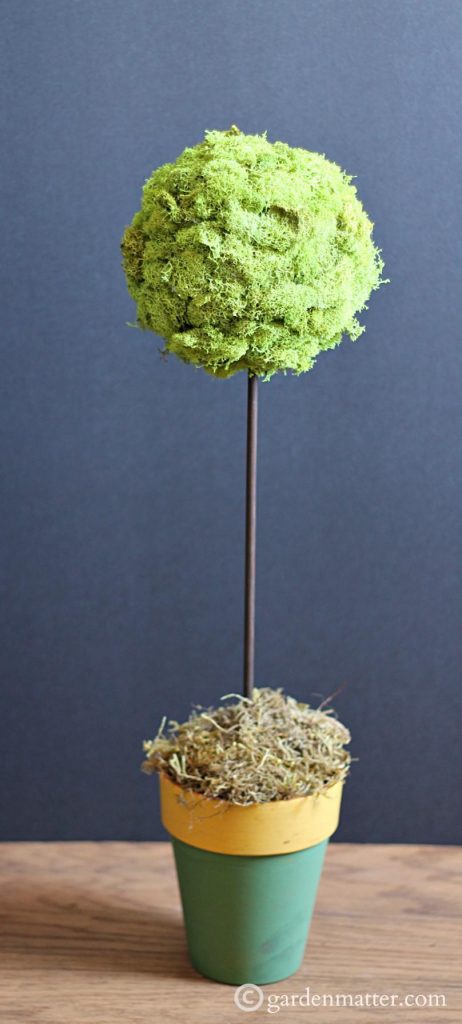
There's something about spring topiaries that I've always loved in home decor. Of course, live topiaries are great but sometimes they are not practical for indoors depending on your lighting and other factors. So in an effort to brighten our home and welcome spring, I decided to make a pair.
This post contains some affiliate links (that means if you make a purchase after clicking a link, there’s no additional cost to you, but I will earn a very small commission. ) i.e. as an Amazon Associate, I earn from qualifying purchases. Click here to read my full disclosure policy.
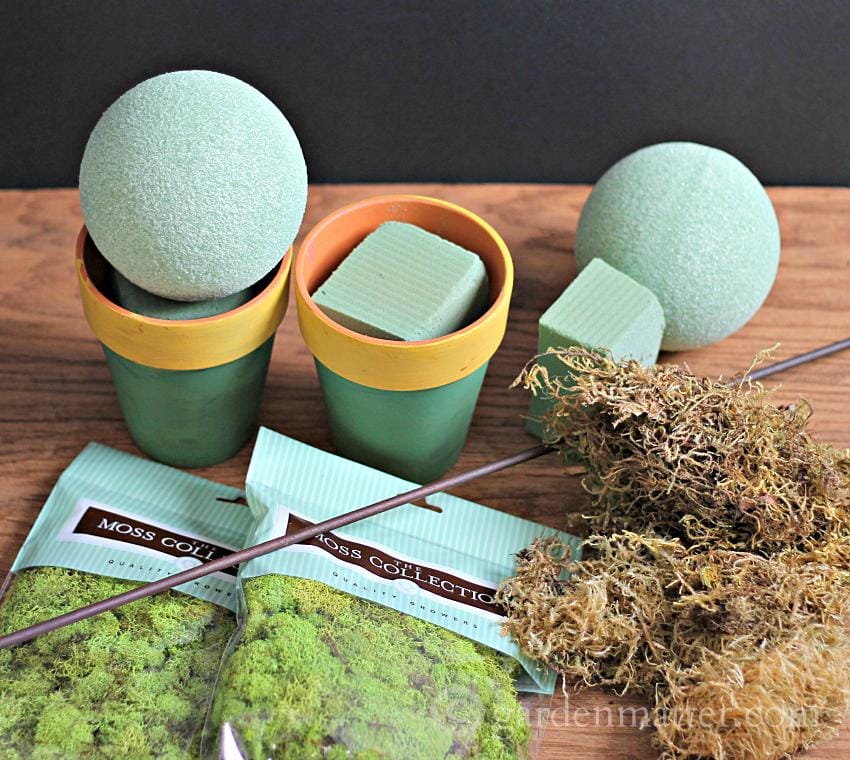
I used the pots I painted in my painted pigment pots post, a dowel rod, some Styrofoam balls, and some reindeer moss.
Making Spring Topiaries
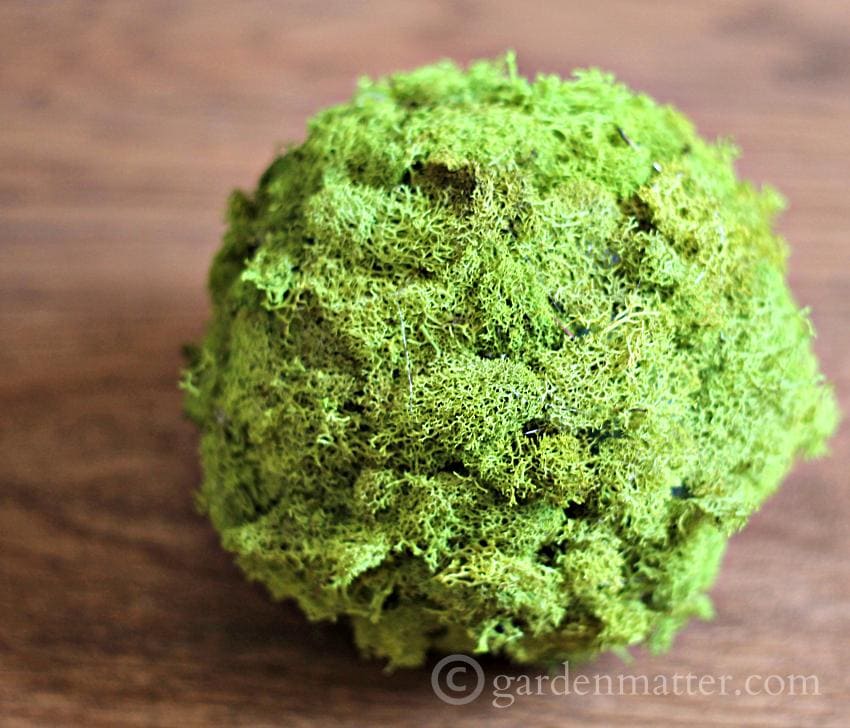
- First I used hot glue to attach the reindeer moss to the Styrofoam balls. Did you know that reindeer moss is not a moss but a lichen? Apparently deer like to eat it and its branches resemble antlers.
- Next I used a little brown pigment to stain the dowel rod and cut it down to the size I wanted.
- I placed some more Styrofoam into the pots and used the dowel rods to connect the ball to the pot.
- For a final touch I added a little moss around the base of the dowel rod to complete the look.
I like the look of the reindeer moss . It comes in a couple of different shades; this one is chartreuse. I only used 1 1/2 pages to cover both balls leaving small extra for another project.
You could also use spanish moss that I used to cover the base or even sheet moss but it might be harder to glue on to a round shape.
Other variations include natural wood (a stick from the yard) or even metal stems. Covering the ball with dried flowers or even handmade paper or felt or silk flowers and any type of base you would like. You can also vary the height or have no stem at all.
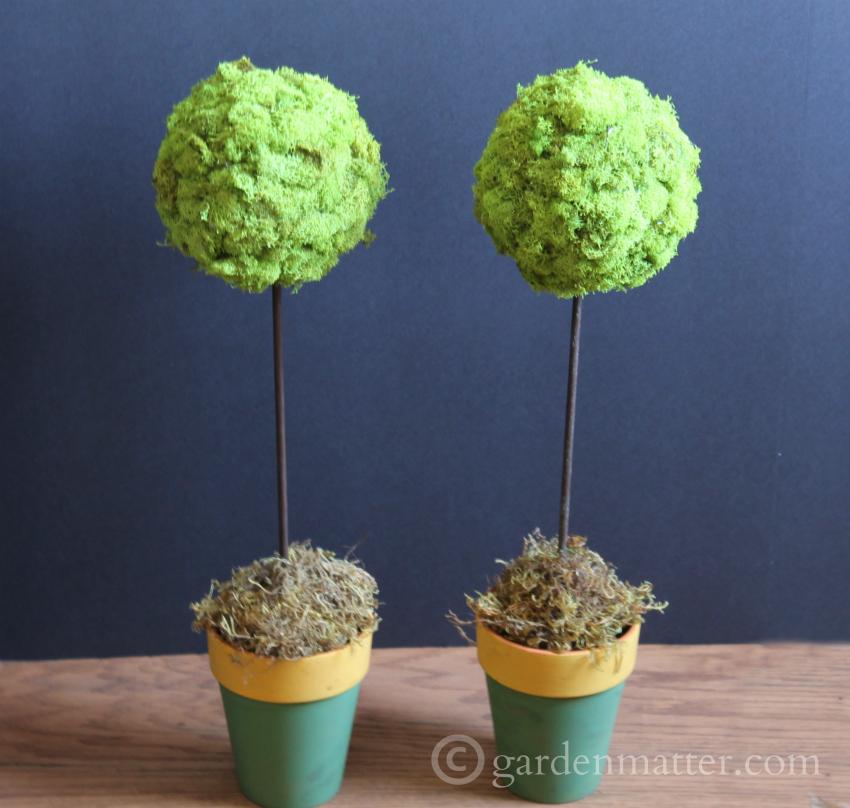
I hope you are inspired to create your own easy and affordable topiary.
Dee
Those are so cute and definitely perfect for spring! 🙂