Learn how easy it is to make catnip mice with different lightweight fabric scraps. Your cat will love you for it.
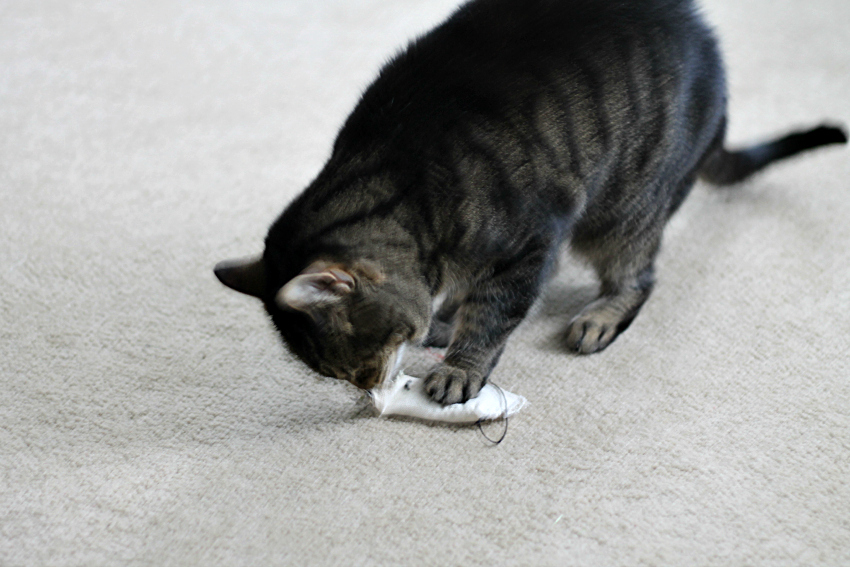
I have an indoor-outdoor cat. She was a stray that my girls found years ago. At first, we tried to keep her indoors but she would cry and cry to get out, so we gave up and let her out. All this time she has enjoyed the outdoor weather, especially the gardens.
However, during the winter when the weather is really cold she gets pretty bored so I decided to make her some new catnip toys with some of my fabric scraps.
How to Make Catnip Mice
Materials
- scraps of fabric
- embroidery floss
- dried catnip
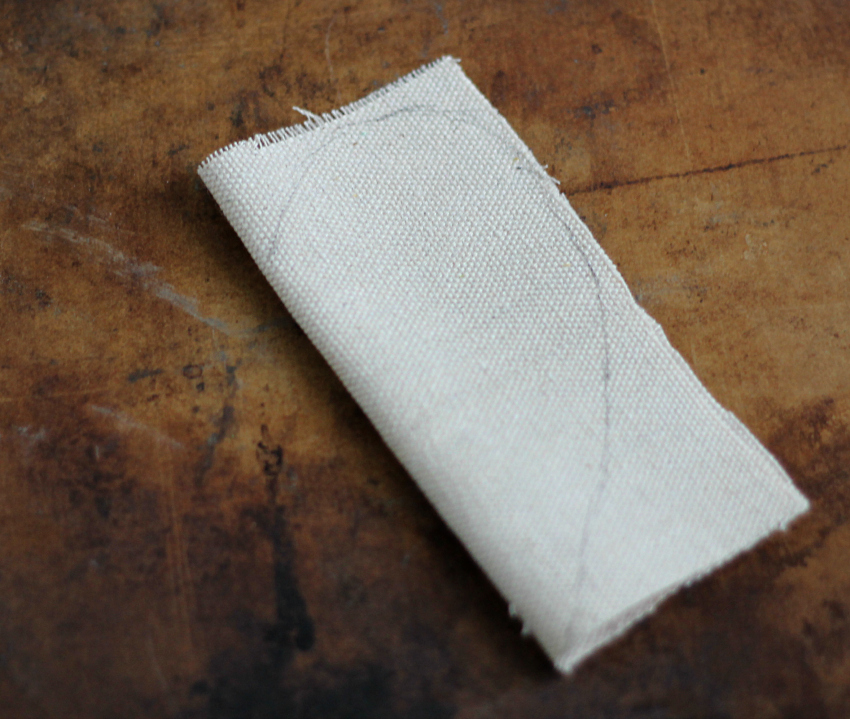
Remember when you were a kid and they taught you how to cut out a heart by folding a square in half and drawing half a heart on the fold? That's how you start the mouse.
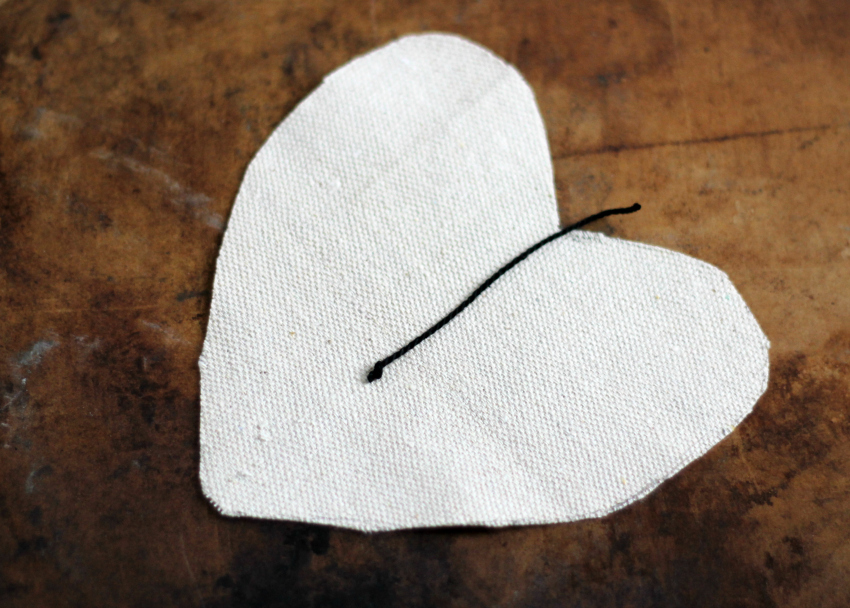
Next take some embroidery floss for the tail and place it in the fold with the majority of it on the inside.
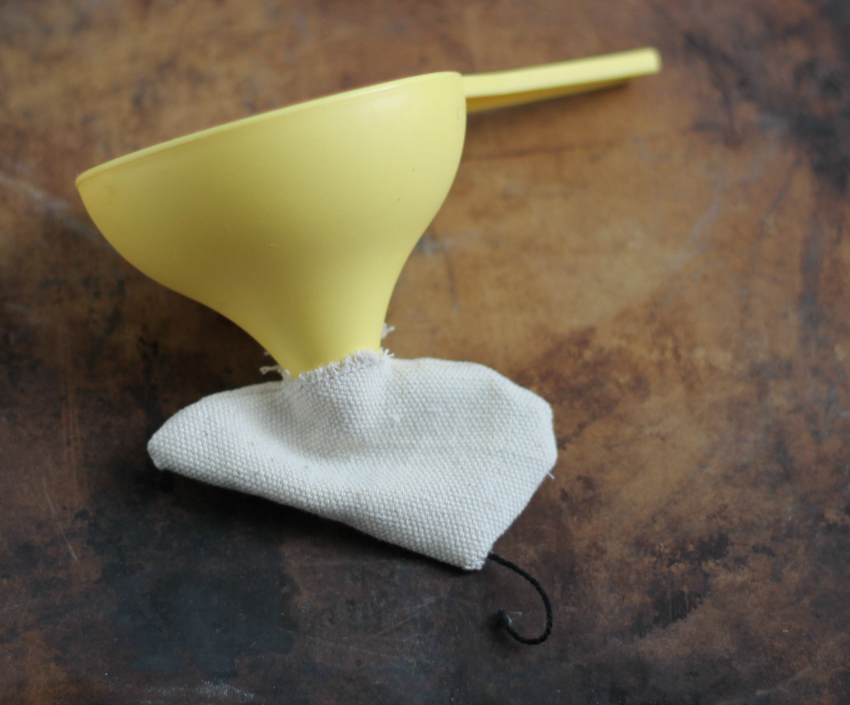
Hand or machine sew along the edge leaving a hole in the middle to put the catnip in. Then turn it right-side out.
Pour in the catnip using a funnel.
Sew up the hole.
You can add a few stitches for the eyes and nose, or use a permanent marker, but your cat probably won't care, so you can skip that step if you want.
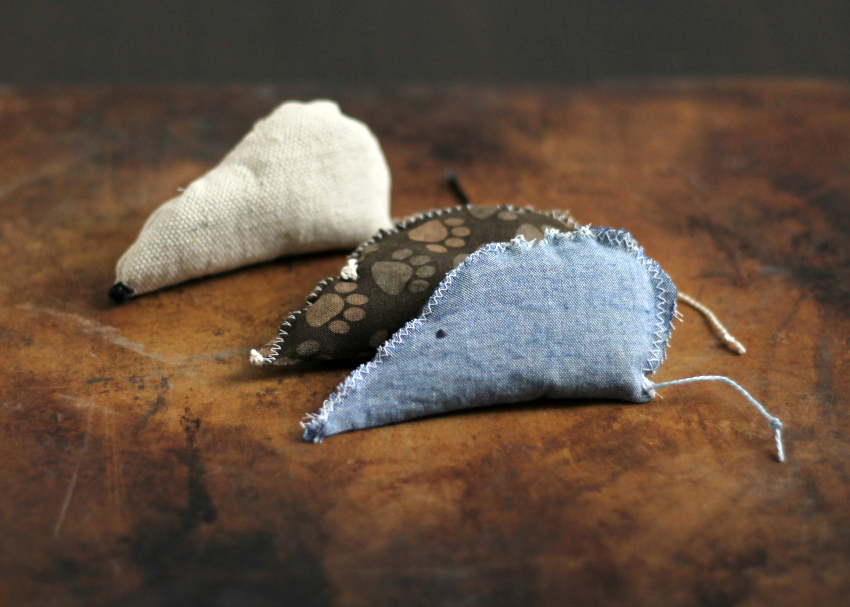
I also tried simply using a small zigzag stitch on the outside which allows you to skip turning the fabric and I think it looks cute. I used a contrasting thread so you can see it in the picture.
These were all light-weight fabrics. I thought they would be best so the cat would be able to smell the catnip easily.
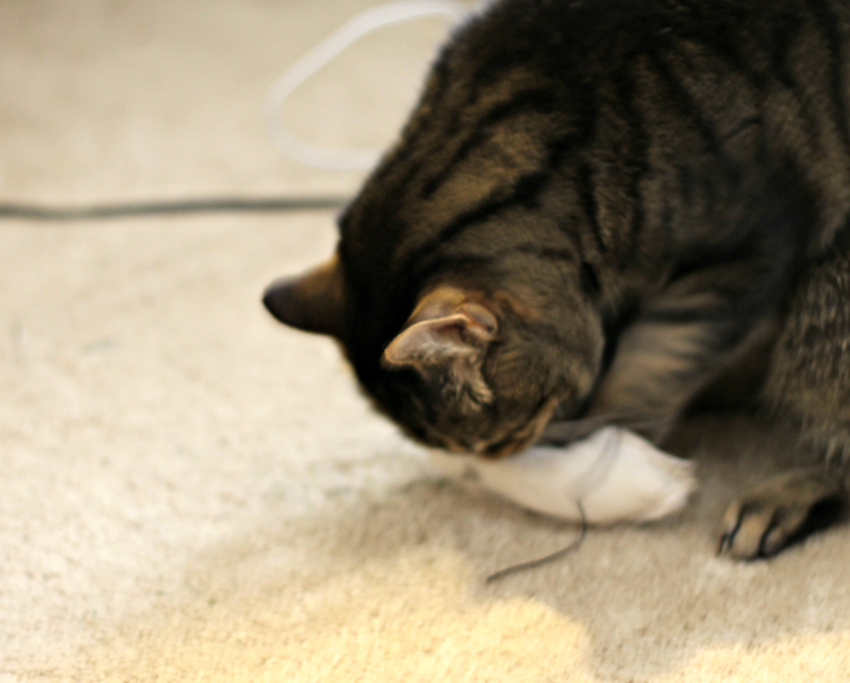
Let me tell you, she loved them but they didn't last long as she tore them up pretty quickly. Good thing I made three.


Leave a Reply