

This DIY Christmas sign is simple to create and makes a great statement for your mantel or any wall in your home. A great way to bring Christmas cheer for all to see.

The mantel in our family room is my favorite part of the home to decorate for Christmas. It's probably because that's where we spend all of our time.
Last year we had a very snowy and white Christmas mantel. This year I wanted to create a sign using a bright red color. I thought about actually using planks of wood for this sign but then it would be quite heavy to hang. So when I saw an empty canvas in my supplies I thought maybe I could create the look of a wood sign with paint.
DIY "Merry & Bright" Christmas Sign
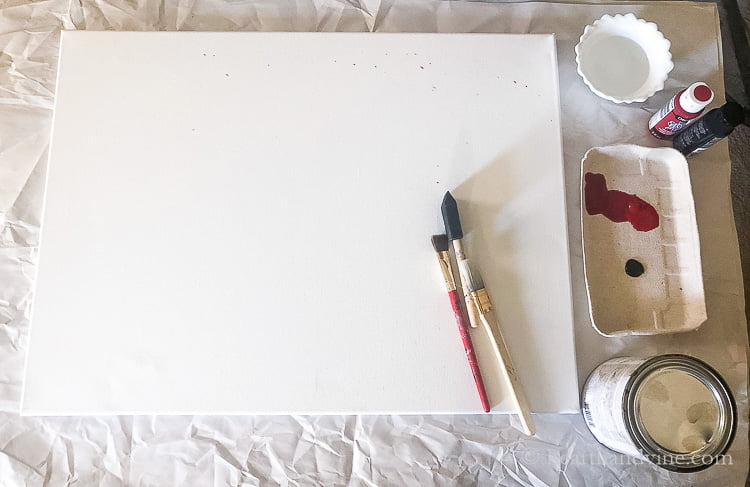
This is a new canvas about 18 x 24 inches, however, you can make the sign any size you'd like. You just may have to play around with printing the Merry & Bright image to fit.

I started by using a basic red craft paint and completely covered the canvas.
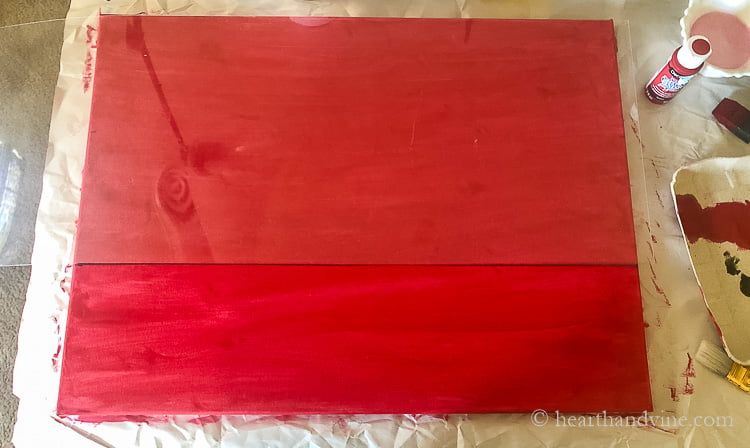
Next I used a piece of plexiglas I had lying around to help create two lines with black paint cutting the canvas into thirds. This makes the canvas look like three pieces of wood. You can use any long straight edge that you have. A long ruler or even a piece of cardboard will work. You could also use a black sharpie instead of paint.

Next, I played around with black paint and red paint to give the canvas an older worn vintage-like look. Keep the darker shading to the outer portion of the canvas. Use water to help with blending and also try dry brushing a little to get the effect you want.

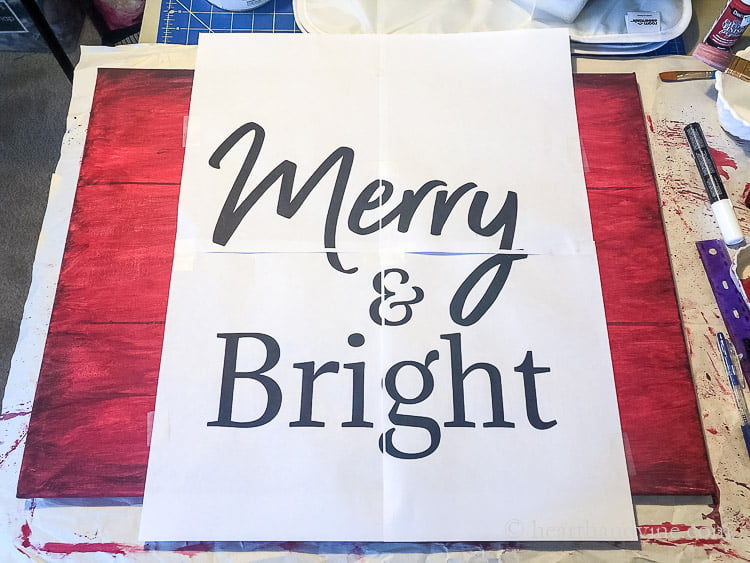
Here is the graphic I used for the sign. You could use any saying you want but feel free to click on this one to print out for yourself. If you end up using the same size canvas, go into adobe reader, and when you come to the print panel choose the poster option at 200% and .25 overlap to get a four sheet sign that will fit the canvas.

Here's what it will look like. Use some tape to put it all together.
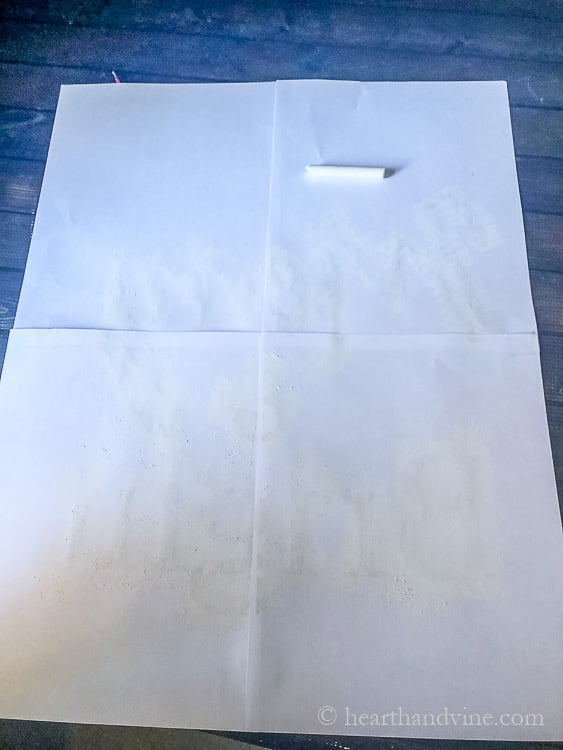
Next, take ordinary white chalk and rub it all over the back of the printed image.
Center it on the canvas and trace over the letters with a sharp pencil.
Note: You may need to place some books underneath to help trace the image onto the canvas.
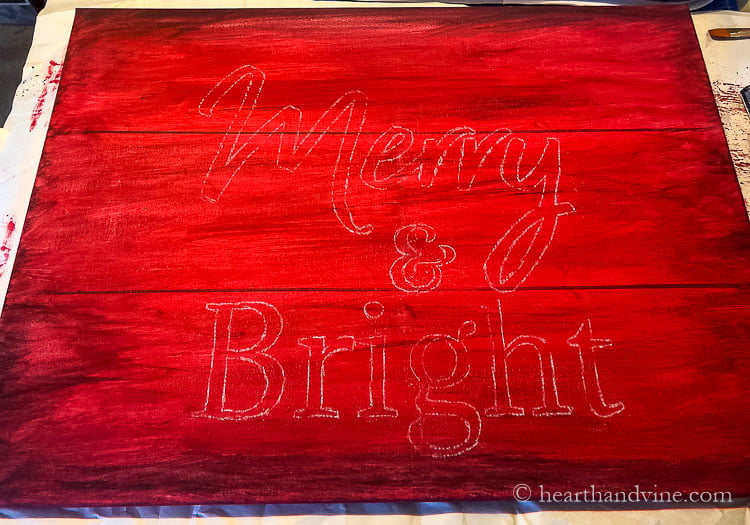
Now you have a cute saying on your canvas. All you have to do is fill it in.
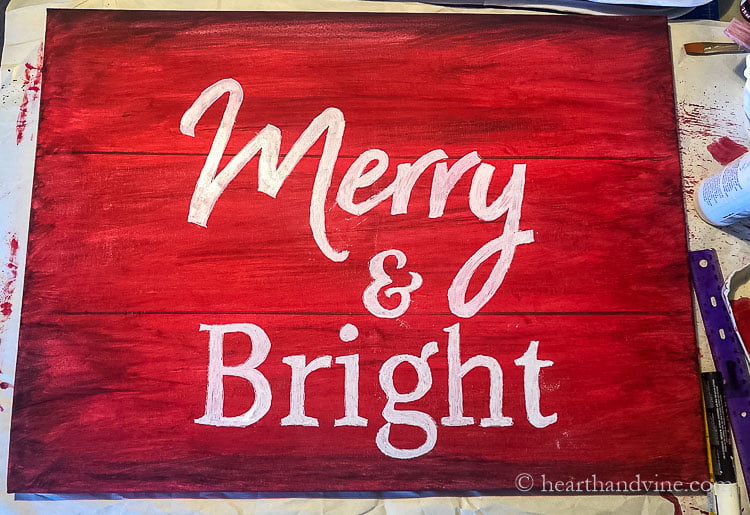
I used a white chalk pen/marker. However, you could easily use white craft paint and a paintbrush. Afterward, I used more red paint to touch up any mistakes.
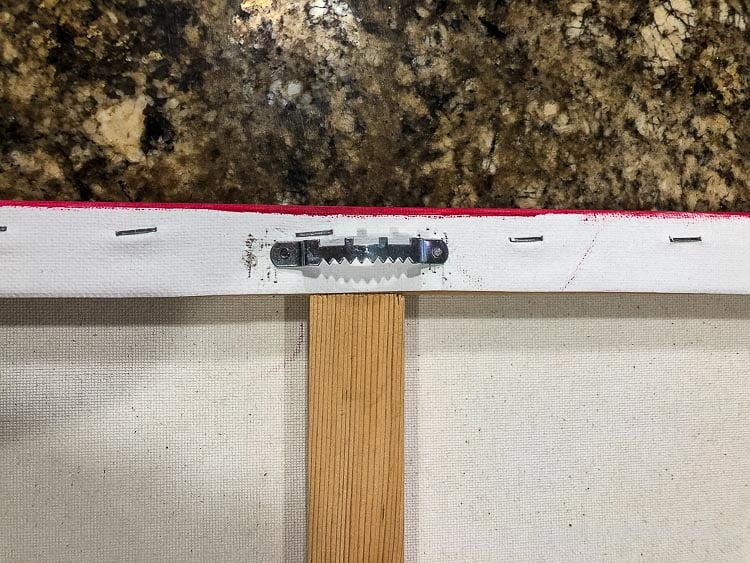
Add a hanger onto the back. I like these easy sawtooth hangers but you can use whatever you like.

Here it is in all its glory. Some faux cedar branches are tied on to the hanger using floral wire. Stop back later this week to see the entire mantel all Merry and Bright for Christmas.


Merry and Bright Christmas Sign
Equipment
- Computer
- Printer
- pencil
- Tape
- Large flat edge or ruler
Materials
- 18 x 24 inch blank canvas
- Red craft paint
- Black craft paint
- White chalk pen
Instructions
- Paint your canvas with red paint all over.
- Use something with a nice straight edge to divide the canvas into three sections and lightly paint the edge with black paint creating a look of 3 wood boards.
- Use more red and black paint to add to the edges, blending well to create an aged look. Allow to dry.
- Print out the image "Merry & Bright" onto 4 sheets of paper using Adobe Reader and choosing the poster option at 250%.
- Tape the pages together.
- Rub white chalk over the letters on the backside.
- Place the merry & bright sign on top of the red canvas and trace over the letter with a pencil.
- Fill in the tracing with a white chalk pen.
- Add a picture hanger to the back for hanging.
Leave a Reply