• Skip to primary navigation
  • Skip to main content
  • Skip to primary sidebar
  • Home
  • DIY Projects
    • Homemade Bath and Body
    • Sewing - Fabric Crafts
    • Flower Crafts/Decor
    • Thrift Store/Vintage
  • Gardening
    • Flower Gardens
    • Container Gardening
    • Houseplants
    • Indoor Gardening
    • Landscaping
    • DIY Garden Art
  • Decorate
    • Spring Decor
    • Summer Decor
    • Fall Decor
    • Winter Decor
    • Home Decor Projects
  • Recipes
    • Breakfast Recipes
    • Lunch Recipes
    • Dinner Recipes
    • Dessert
    • Salad Recipes
    • Soups and Stews
    • Side Dish Recipes
    • Appetizers and Snacks
    • Healthy Recipes
  • Holidays
    • Valentine's Day
    • Easter
    • Mother's Day
    • Halloween
    • Thanksgiving
    • Christmas
Hearth and Vine
menu icon
go to homepage
  • About
  • DIY
    • ...Flower/Gardening Crafts
    • ... Bath and Body
    • ...Sewing/Fabric Crafts
    • ...Thrift Store/Upcycle
  • Gardening
    • ...Flower Gardens
    • ...Container Gardening
    • ...Indoor Gardening
    • ...DIY Garden Art
  • Decorate
    • ...Home Decor Projects
    • ...Spring Decor
    • ...Summer Decor
    • ...Fall Decor
    • ...Winter Decor
    • ...Room Makeovers
  • Recipes
    • ...Appetizers and Snacks
    • ...Dinner Recipes
    • ...Side Dish Recipes
    • ...Salad Recipes
    • ...Dessert
    • ...Drinks
  • Holidays
    • ...Valentine's Day
    • ...Easter
    • ...Mother's Day
    • ...Halloween
    • ...Thanksgiving
    • ...Christmas
  • Subscribe
  • Instagram
    • Facebook
    • Instagram
    • Pinterest
    • Twitter
  • subscribe
    search icon
    Homepage link
    • About
    • DIY
      • ...Flower/Gardening Crafts
      • ... Bath and Body
      • ...Sewing/Fabric Crafts
      • ...Thrift Store/Upcycle
    • Gardening
      • ...Flower Gardens
      • ...Container Gardening
      • ...Indoor Gardening
      • ...DIY Garden Art
    • Decorate
      • ...Home Decor Projects
      • ...Spring Decor
      • ...Summer Decor
      • ...Fall Decor
      • ...Winter Decor
      • ...Room Makeovers
    • Recipes
      • ...Appetizers and Snacks
      • ...Dinner Recipes
      • ...Side Dish Recipes
      • ...Salad Recipes
      • ...Dessert
      • ...Drinks
    • Holidays
      • ...Valentine's Day
      • ...Easter
      • ...Mother's Day
      • ...Halloween
      • ...Thanksgiving
      • ...Christmas
    • Subscribe
    • Instagram
    • Facebook
    • Instagram
    • Pinterest
    • Twitter
  • ×
    Home » DIY Projects

    How to Sew Pajama Pants from Old Sheets without a Pattern

    by Patti Estep · Aug 27, 2025

    Jump to How-to Card
    Yellow and white pajama pants over the top hem of the sheet used to make them.

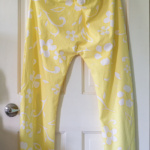
    Learn how to sew pajama pants out of old sheets that are soft and pretty without using a pattern. It's a great way to upcycle or recycle old or vintage linens into a practical piece of clothing.

    Pair of yellow floral PJ pants hanging on the back of a door.

    My daughter had this set of yellow and white floral sheets from Pottery Barn a long time ago. They are super soft and worn, and the bottom sheet is torn, but I never threw them out. I thought, why not make something out of them.

    More Upcycled Sewing Projects

    • Sweater into a Headband and Mittens
    • Tea Towel into an Apron
    • DIY Bag from Old Jeans

    I decided to make some pj pants with a basic elastic waist.

    Hem area of old sheet.

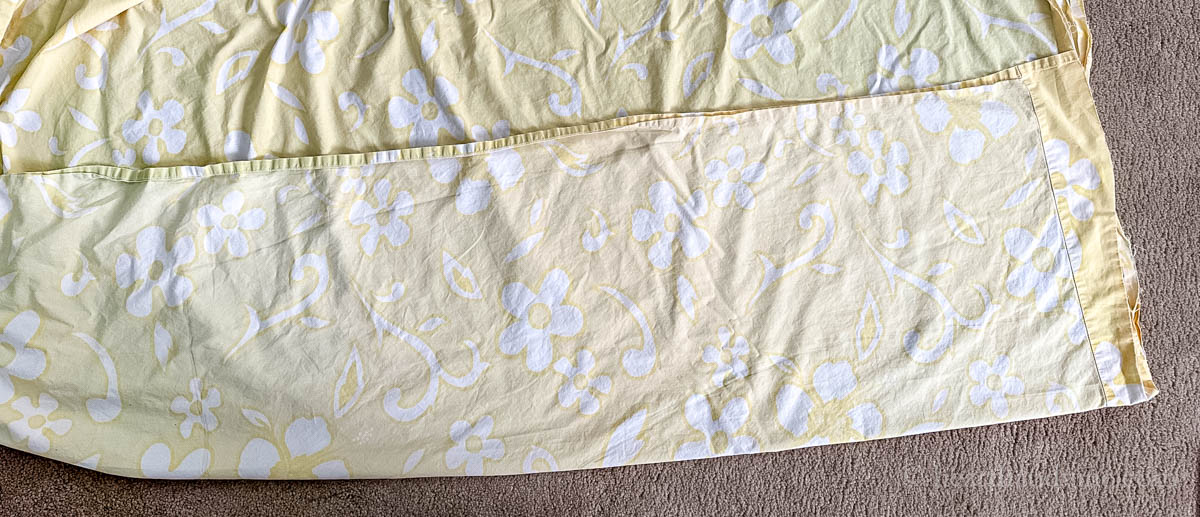
    I liked the fact that the top of the sheets already had a nice finished hem, even if it was frayed. I planned to make this the bottom of the pants.

    Old sheet folded with right sides together.

    Making Pajama Pants from Old Sheets

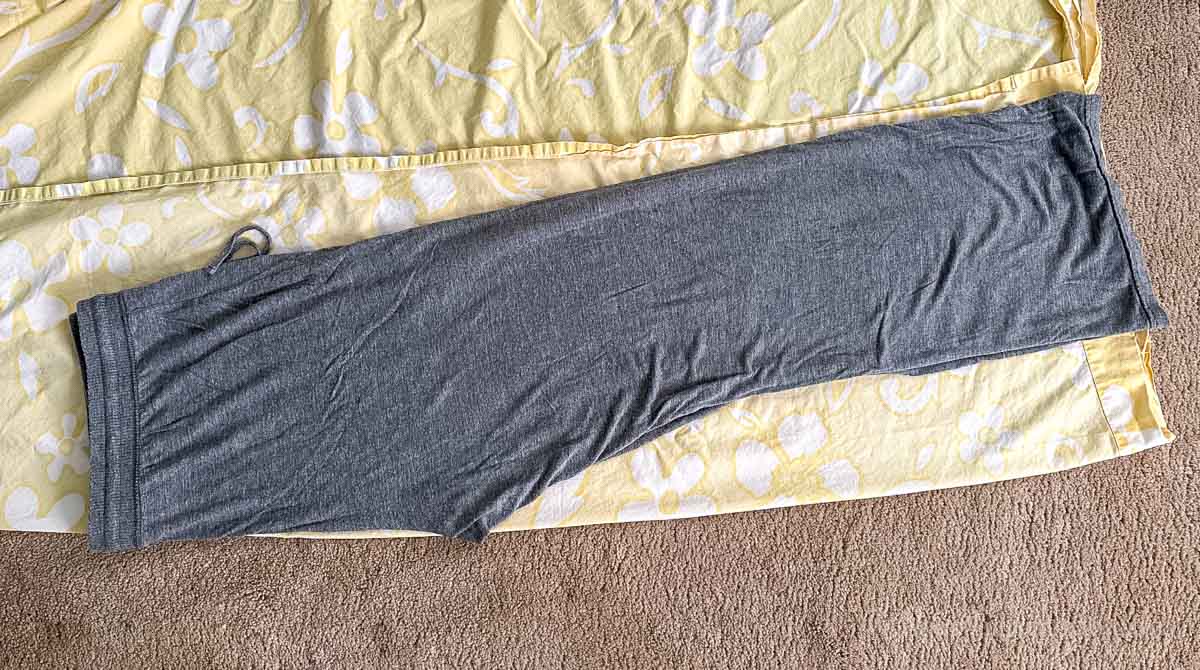
    Step 1. Use a pair of pants you already have as a template. Fold the pants at the back seam (see above), then fold the sheet over enough to cover the pants. Line the back seam of the pants along the fold and the bottom of the pants even with the top hem.

    Laying old pants on folded sheet.

    Step 2. Trace around the pants with a pencil, giving yourself a little extra space (about 1 inch)

    One piece of the PJ pants cut out.

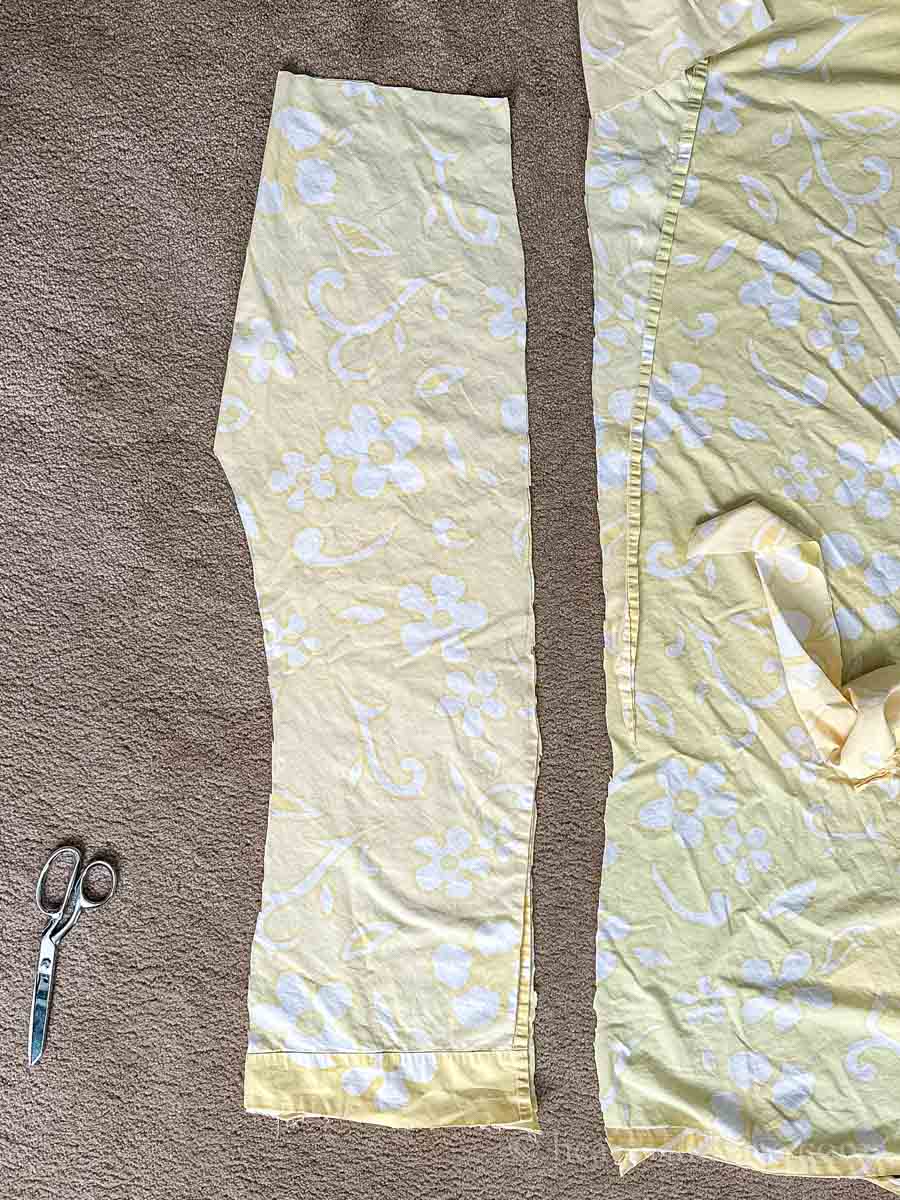
    Step 3. Cut out the pant along the pencil line. Do not cut the fold. Step 4. Then fold the sheet over and repeat.

    Newsletter Signup
    Join Our Newsletter List!

    Be the first to receive new posts and get access to our Subscribers Only Page.

    Two pieces of the cut out sheets pinned together.

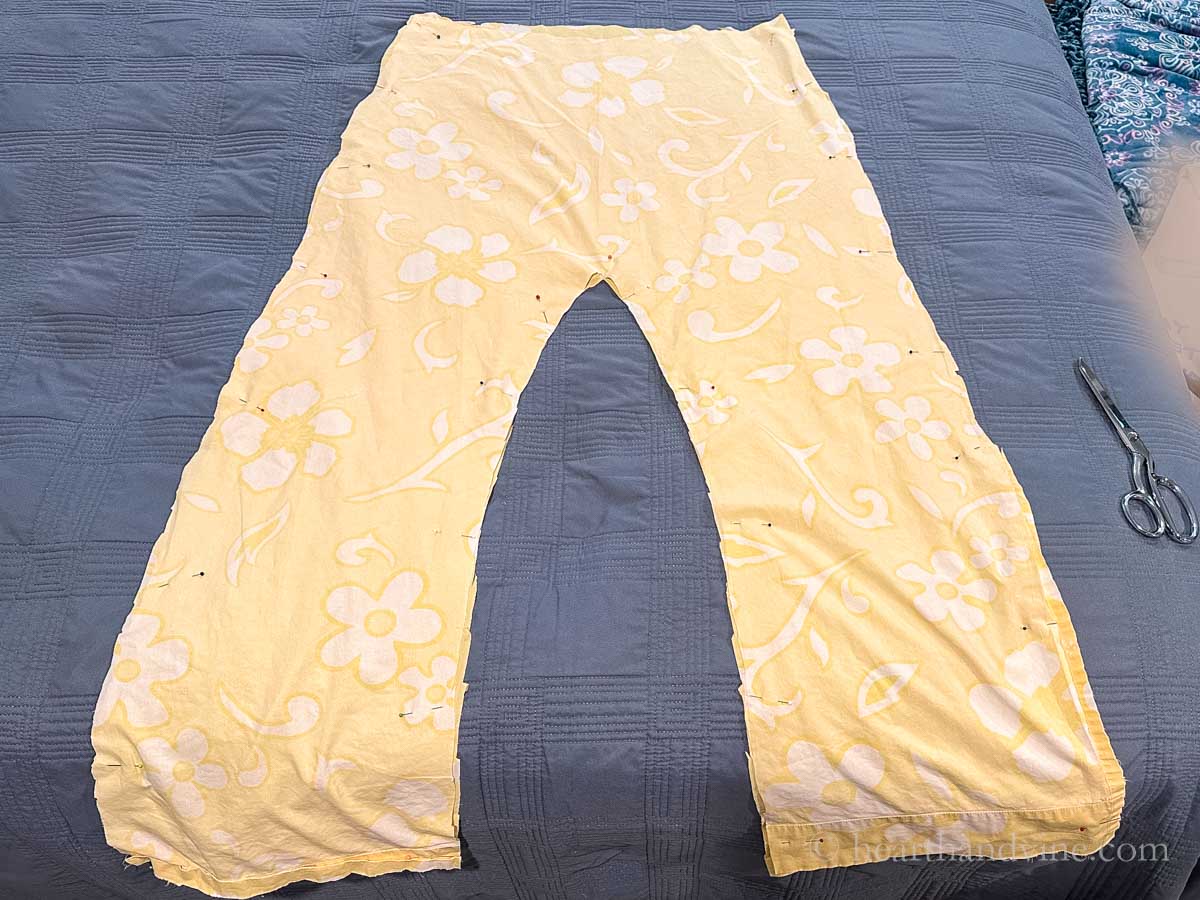
    Step 5. You will now have two pants, a front and a back. Pin them together with the right sides facing.

    Step 6. Sew the inside seams and the outer seams, leaving a 1.5-inch opening at the top of one of the outside seams for the elastic. Clip the curve around the crotch area.

    Double folded top edge for the waistband.

    Creating the Waistband

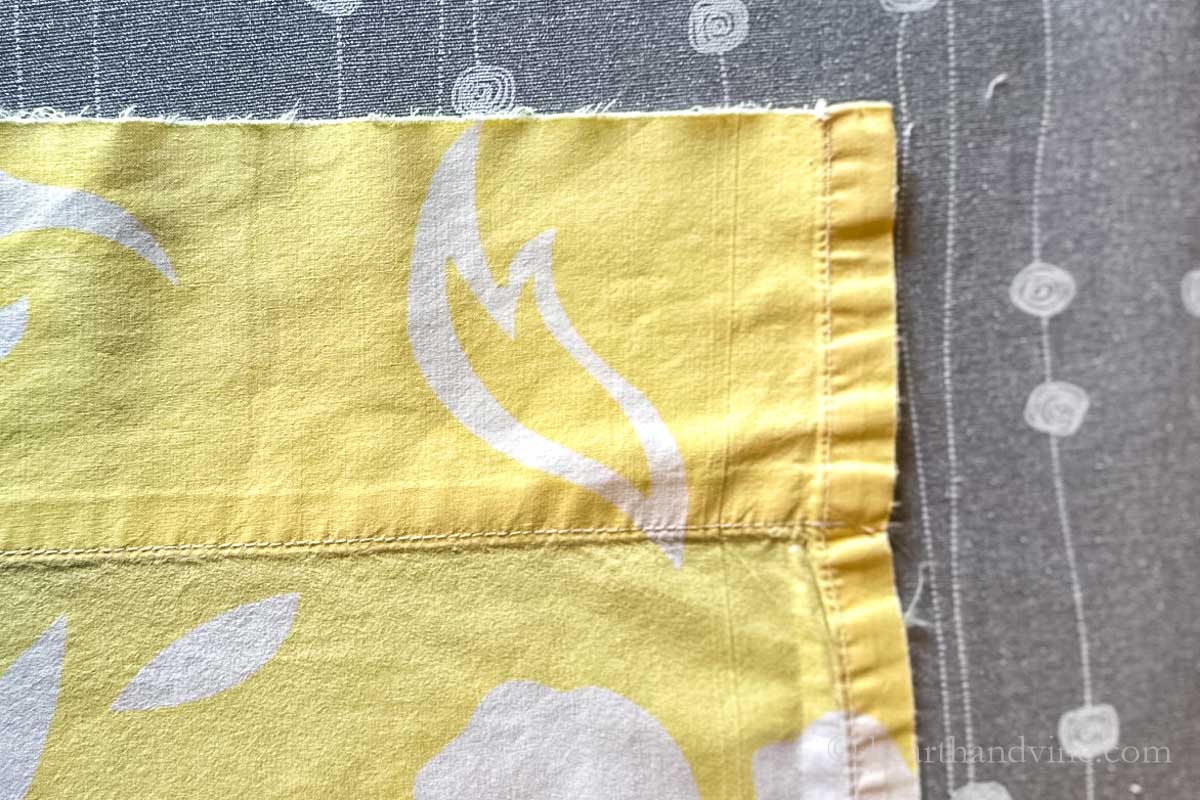
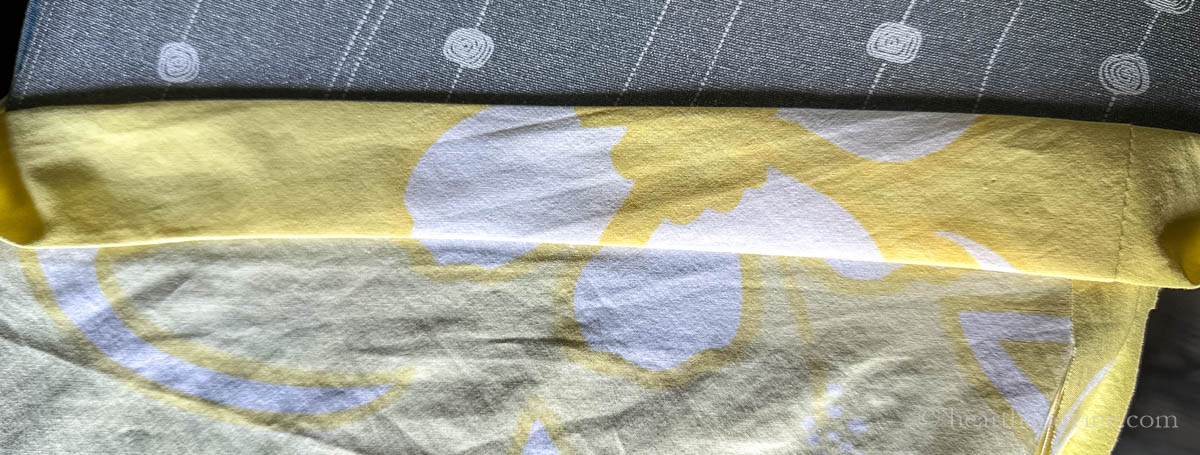
    Step 7. Fold down 1/4 inch of the fabric from the top and press with an iron. Then fold down an inch and press. (see above) Then sew along the bottom edge.

    Elastic with a safety pin in one end.

    Step 8. Cut the elastic to fit your waist. Attach a safety pin at one end of the cut elastic.

    Threading the elastic through the waistband with safety pin.

    Step 9. Slide the elastic through the opening using the safety pin as a guide.

    Sewing the ends of the elastic.

    Step 10. Once you have the elastic through the waistband, pull both ends and sew them together several times (back and forth) to make sure it's secure.

    Hand sewing the waistband opening closed.

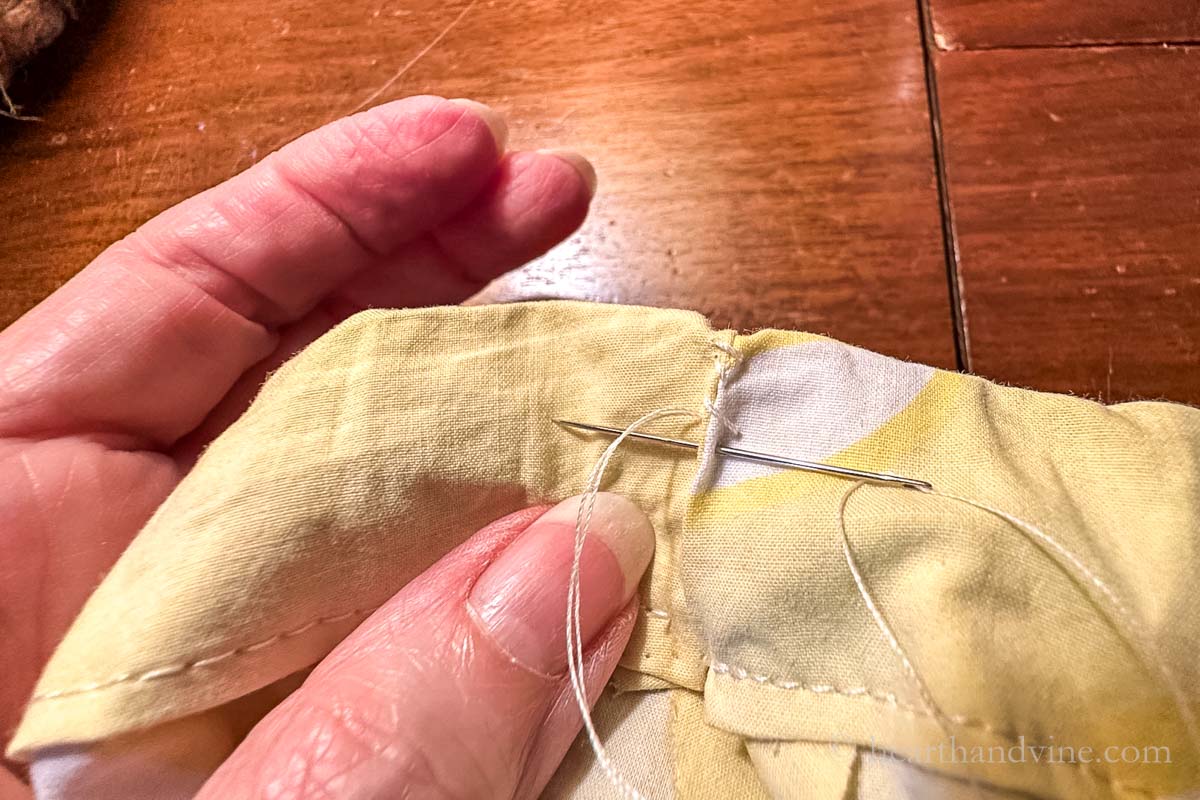
    Step 11. Then sew the opening closed by hand with a few whip stitches.

    PJ pants hanging on a white door.

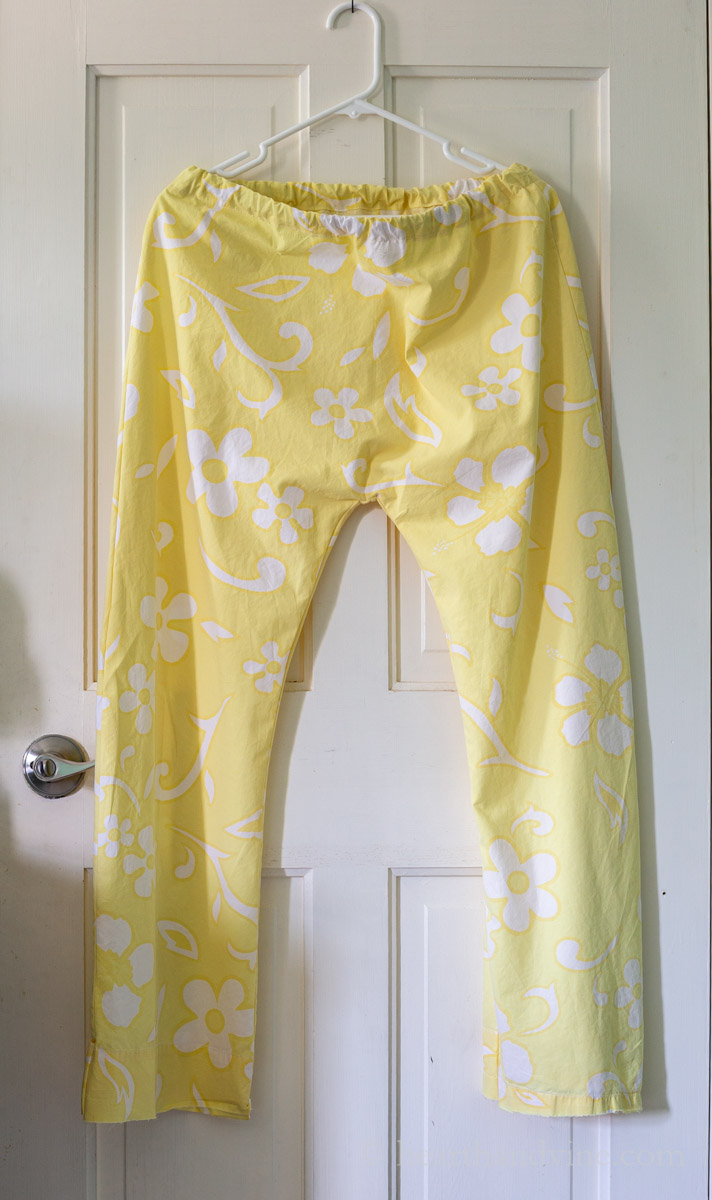
    It's a very simplified idea that anyone who can sew a basic straight stitch can make. The super soft worn cotton from the old sheets makes for very comfortable lounge pants, and they are nice to sleep in too.

    Patti signature
    Pair of yellow floral PJ pants hanging on the back of a door.
    Print
    5 from 2 votes

    DIY Pajama Pants with Recycled Old Linens

    Learn how to sew pajama pants from an old bed sheet without a pattern.
    Active Time1 hour hr 20 minutes mins
    Total Time1 hour hr 20 minutes mins
    Course: Sewing
    Yield: 1

    Equipment

    • Sewing Machine
    • Scissors
    • pencil

    Materials

    • An old top sheet
    • Coordinating thread
    • 1 yard 1/2 inch elastic
    • Small safety pin
    • Pair of elastic pants

    Instructions

    • Fold the sheet over with right sides together and the large hem at the bottom.
    • Fold the pants in half at the back seam and lay the seam on the fold of the sheet, and the bottom aligned with the sheet hem.
    • Use a pencil to outline the pants, about 1 inch away from the edge of the pants.
    • Cut out the pants from the pencil tracing.
    • Fold the sheet over again with right sides together and use the first pant panel cut-out to cut a second panel. The two cutouts will act as the front and back of the pajama pants.
    • Pin the two cut-out pants together with the right sides facing.
    • Sew a 1/2 inch straight seam along the outer sides and the inner sides of the legs.
    • Clip the curve along the crotch seam area.
    • Fold 1/4 inch of the top of the waist and press.
    • Then fold 1 inch of the top and press again to create a waistband.
    • Sew the waistband down at the bottom edge.
    • Cut the elastic to fit your waist.
    • Pin one end of the elastic with a safety pin and use the pin to guide the elastic through the waistband.
    Tried this project?Tag @hearthnvine on Instagram
    A pair of yellow pajama pants hanging on the back of a white door.
    « Hydrangea Decorating Ideas
    Sheet Pan Chicken Quesadillas »

    About Patti Estep

    Patti is the creator of Hearth and Vine, a home and garden blog filled with projects to inspire your creative side. She loves crafting, gardening, decorating and entertaining at her home in Pennsylvania. When she is not working on a project at home or searching for treasures at nurseries and thrift stores with her girlfriends, you’ll probably find her with family and friends, at a restaurant, or home party enjoying new and different food adventures.

    Reader Interactions

    Comments

    1. Dixie

      August 27, 2025 at 9:40 am

      5 stars
      What a great idea!! Time to clean out the cabinets! Thanks for your creative ideas!!

      Reply
      • Patti Estep

        August 27, 2025 at 9:43 am

        ​Good to hear Dixie. I'm glad you like it.

        Reply
    2. Barb

      August 27, 2025 at 8:35 am

      5 stars
      Very good idea for up cycling love it

      Reply
      • Patti Estep

        August 27, 2025 at 8:39 am

        ​Thanks Barb. Glad you like it.

        Reply
    5 from 2 votes

    Leave a Reply Cancel reply

    Your email address will not be published. Required fields are marked *

    Recipe Rating


    Primary Sidebar

    Patti Estep Profile Picture

    Hi!

    I'm Patti

    Join me to create lots of fun DIY projects, including crafts, gardening, home decor, and tasty recipes

    More about me

    Popular Posts

    • Baked zucchini bite on a slated tray with a bowl of horseradish sauce.
      Make Tasty Zucchini Bites in Under an Hour
    • Three tin cans in descending sizes hanging from twine.
      DIY Wind Chimes with Tin Cans
    • Blue jean crossover bag
      DIY Crossbody Bag from Jeans
    • Ham barbecue sandwich on plate
      Chipped Ham Barbecue Sandwiches - A Pittsburgh Favorite
    • Echievera planter
      What to do With a Stretched Succulent
    • Make a Mason Jar Oil Candle Lamp with botanicals and essential oils. ~ gardenmatter.com
      DIY Oil Candle - Gifts for the Holidays

    Footer

    ^ back to top

    About
    Contact
    Privacy Policy
    Disclosure Policy
    Terms of Service

    Sign Up Here!
    for our
    newsletter &
    special offers

    Follow Me

    facebook
    Pinterest
    instagram

    As an Amazon Associate, I earn from qualifying purchases. i.e. as an Amazon Associate, I earn from qualifying purchases.

    Copyright © 2025 Hearth and Vine

    Rate This Recipe

    Your vote:


    A rating is required
    A name is required
    An email is required

    Recipe Ratings without Comment

    Something went wrong. Please try again.