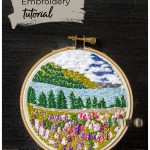
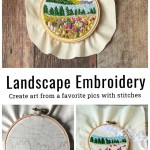
Transfer your favorite scene from an image onto muslin to create a beautiful piece of landscape embroidery hoop art. Basic hand stitching is all you need for this interesting art form.
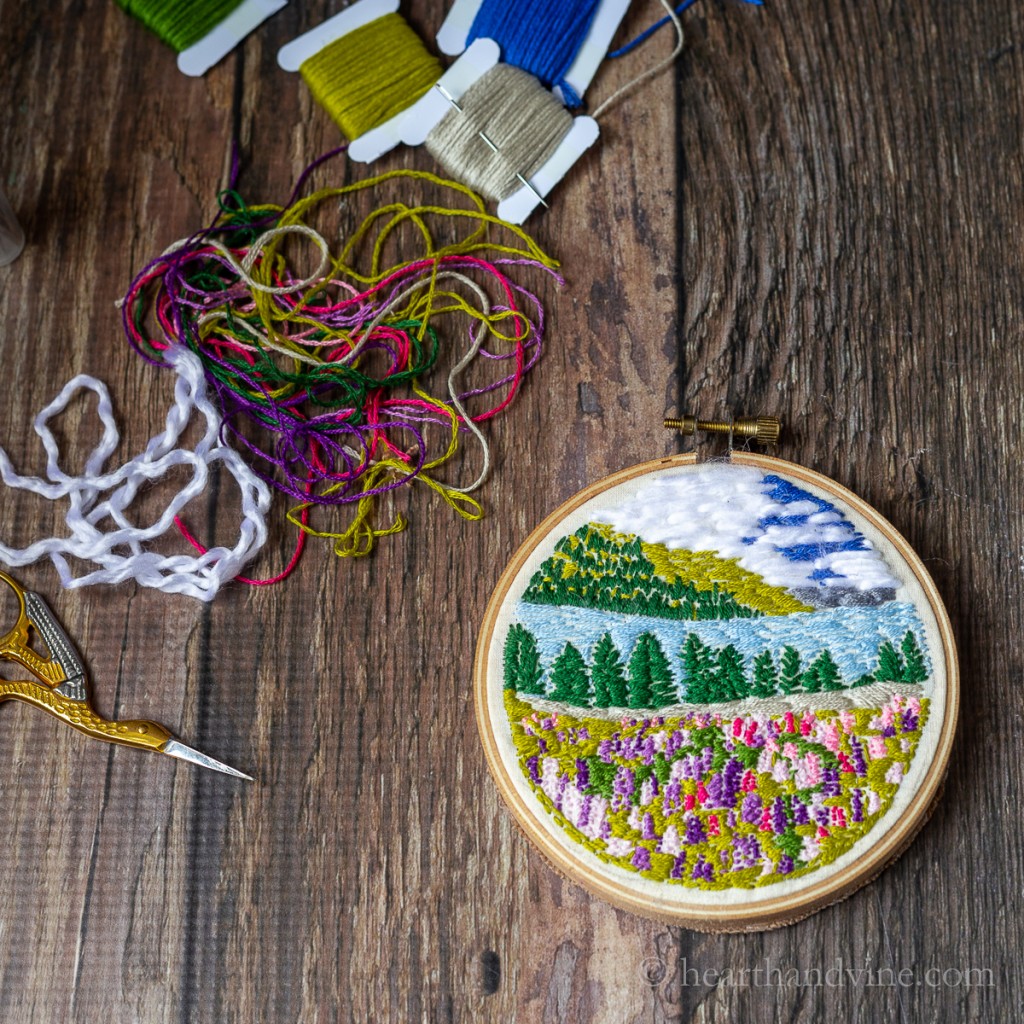
Have you seen this yet? It's a new art form using embroidery to create a beautiful landscape. Well, at least it's new to me.

How to Create Landscape Embroidery Art
Supplies
- Small embroidery hoop
- Muslin or linen
- Embroider thread and needles
- Other thin yarn
- Carbon tracing paper
- Fabric for backing
- Glue gun and sticks
- Landscape image
Use a photo from a trip or something online as your landscape. I used one from Deposit Photos, though I think one from a special trip would be even better.
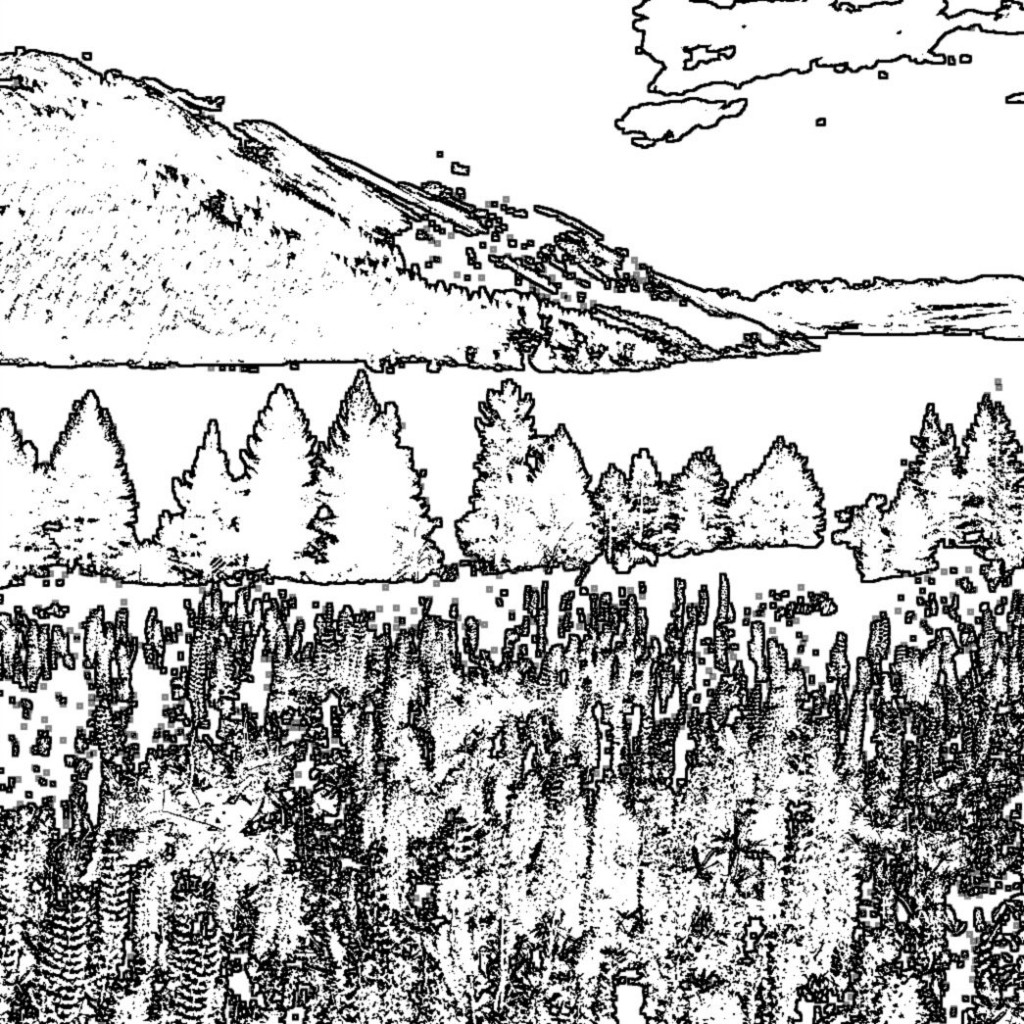
Next, turn your image into a coloring book page. You can use this free online source: Lunapic.com. Upload your photo. Then click on effects and choose coloring book.
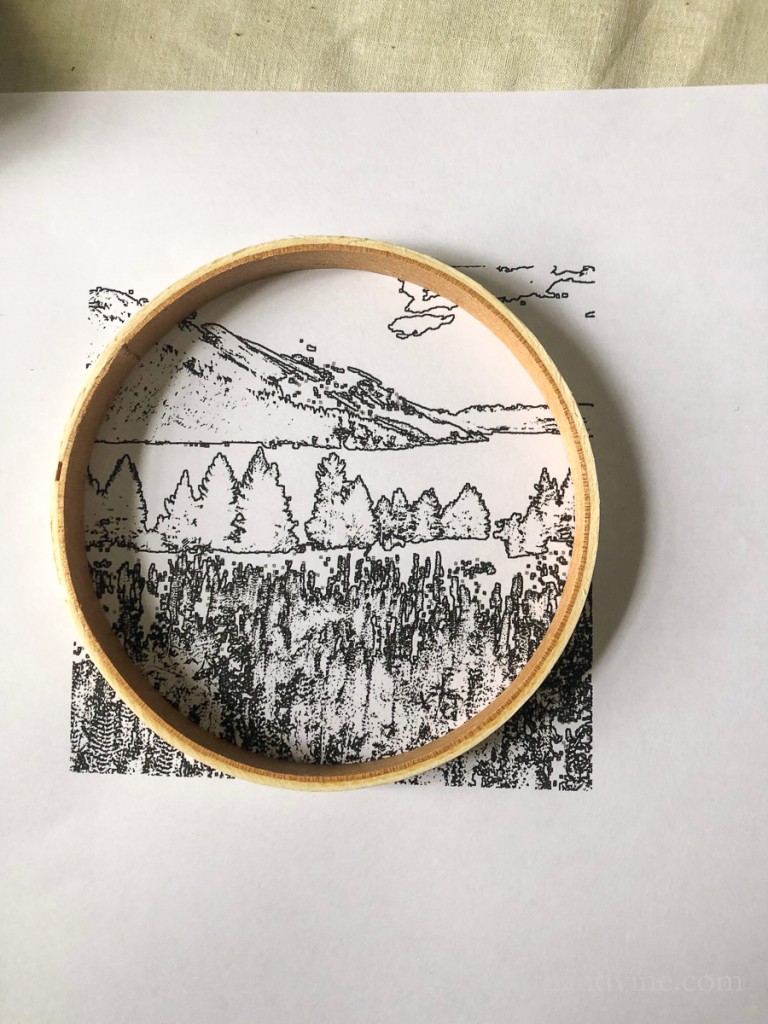
Place the embroidery hoop on top of your image and draw a circle around it.
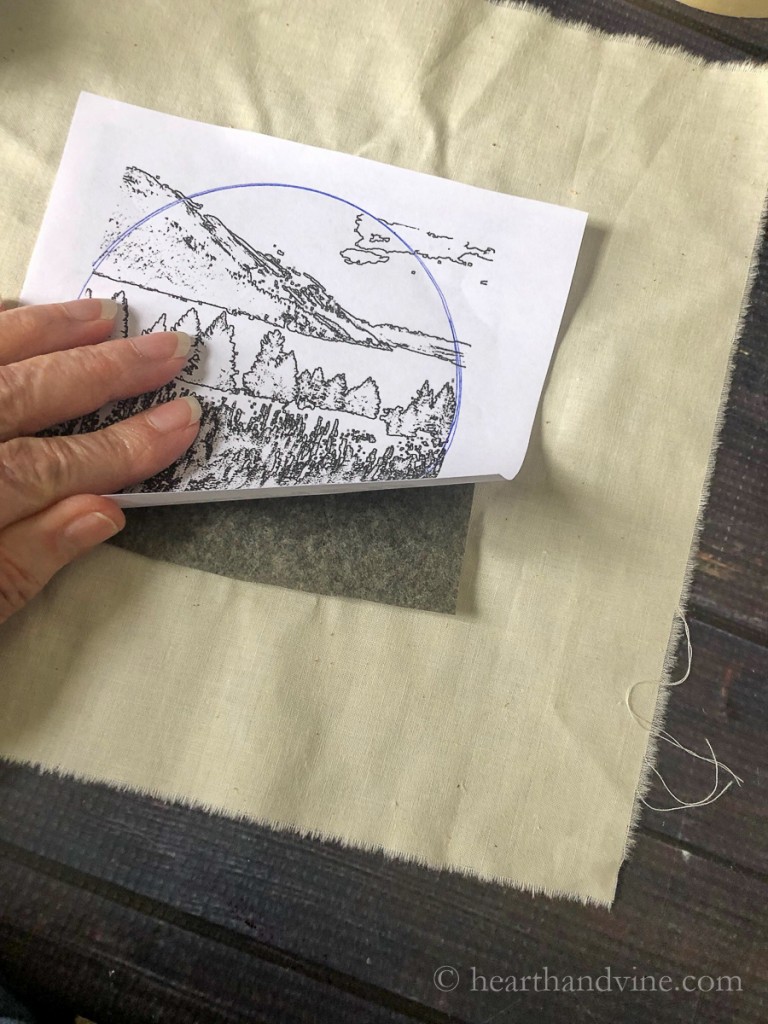
Then trace the image roughly onto muslin using a bit of tracing paper between.
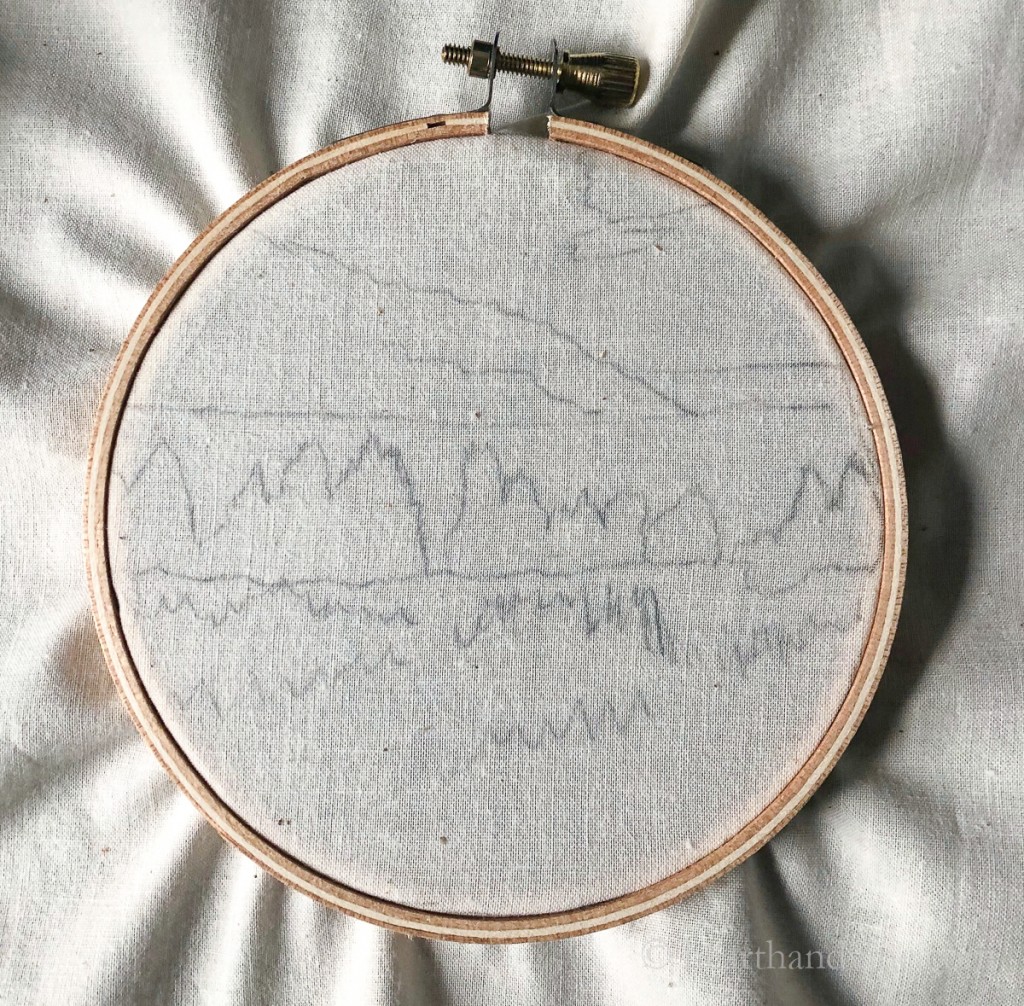
Attach the embroidery hoop to the muslin image and pull it taut.
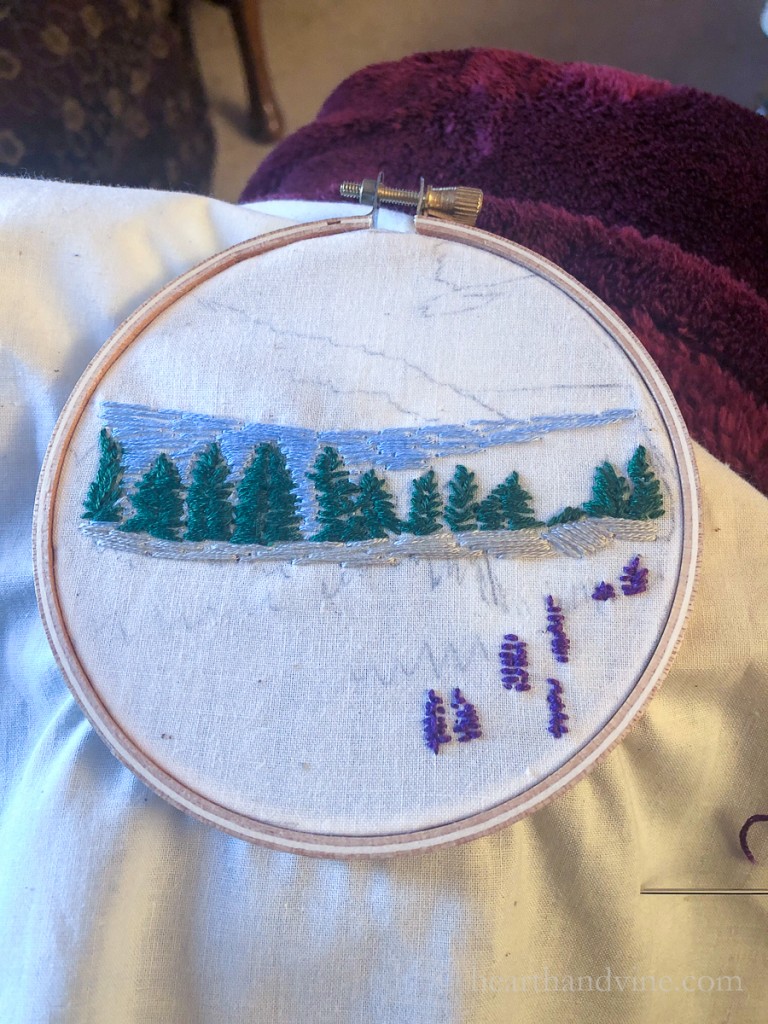
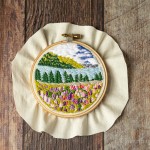
Then start stitching the image. I used strands of embroidery floss mainly and a few times only two. Most of my stitches are made horizontally, close together, somewhat like the satin stitch. You can mix up the stitches as you see fit. I did use some vertical stitches for the trees in the background as you can see in the completed hoop.
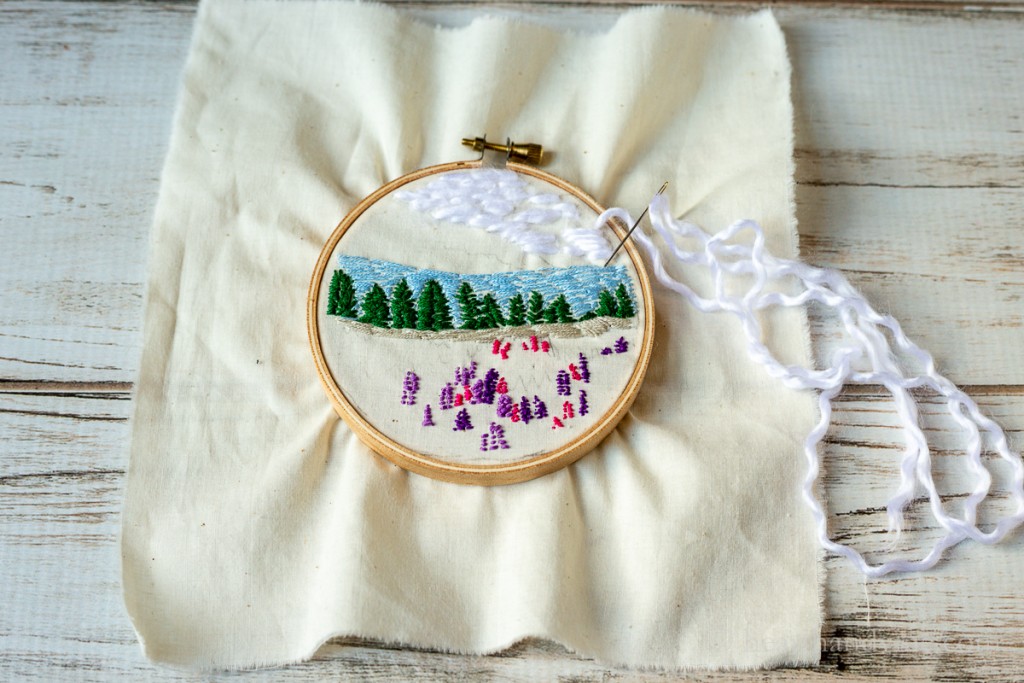
All of this project was made with standard 6 strand embroidery floss except for the clouds. I used some of the leftover yarn from the punch needle pillow project and used just one of the threads to create the clouds. I really like the texture effect this yarn had on the piece.
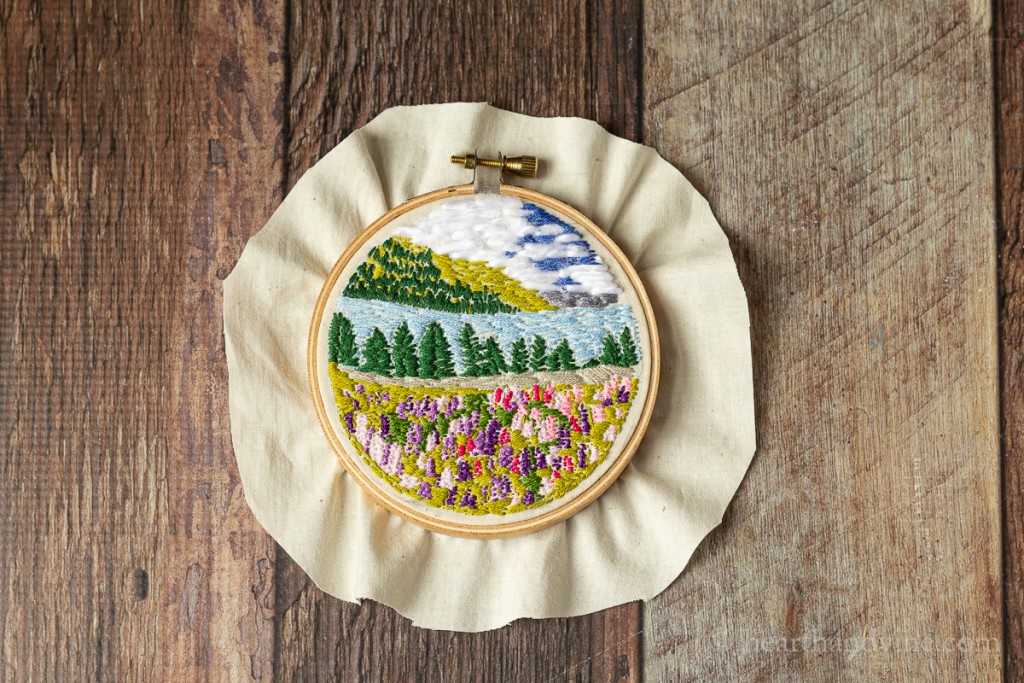
It doesn't have to be exactly like the original image. This is somewhat free-hand embroidery. Just use the original photo as a guide. Start with some of the larger images and main features. Then fill in the rest.
It did take several evenings to complete but I like the way it turned out.
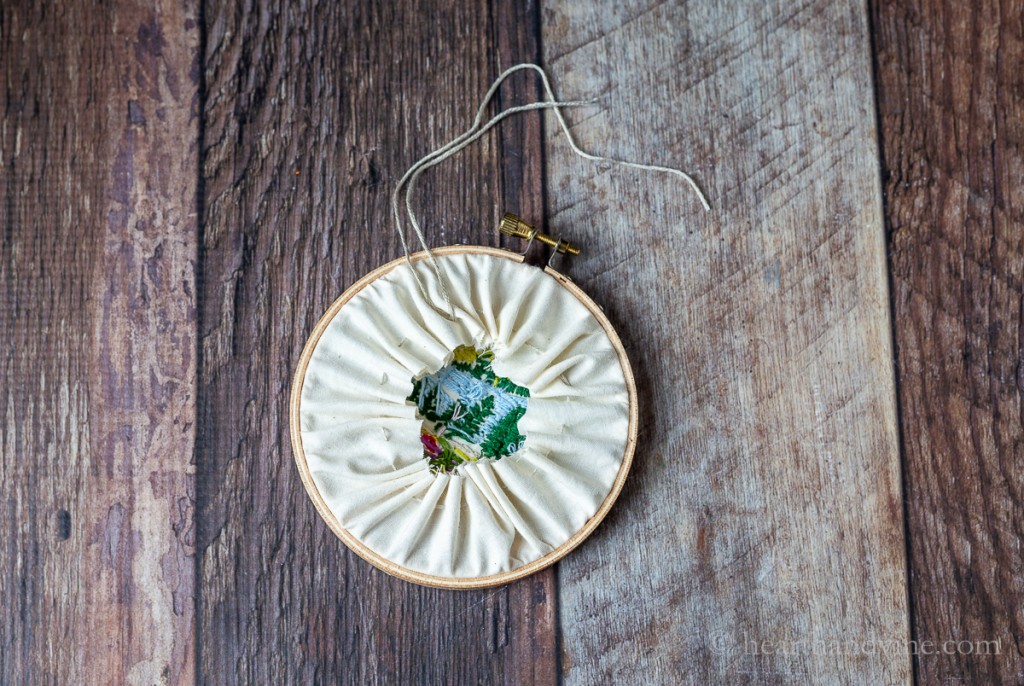
How to Finish the Landscape Embroidery
- Cut the muslin around the hoop leaving about 1.5 inches.
- Then flip over the hoop and use some coordinating thread to create a running gathering stitch about 1/2 inch from the raw edge making sure to leave some of the thread out when starting. Do not use a knot.
- Then pull on the thread at the beginning and end to gather the fabric together and tie in a double knot. (see image above)
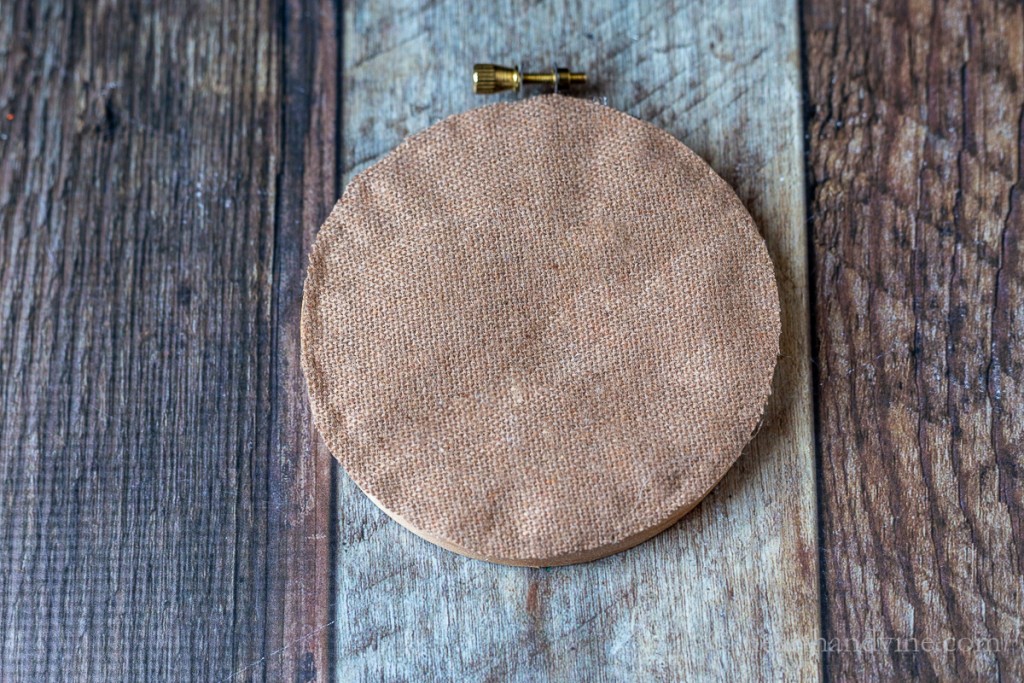
Then, cut a piece of backing fabric and glue it onto the back. This can be anything you have in your scrap box. Just make sure it has some weight to it and is dark enough so that the threads do not show through.
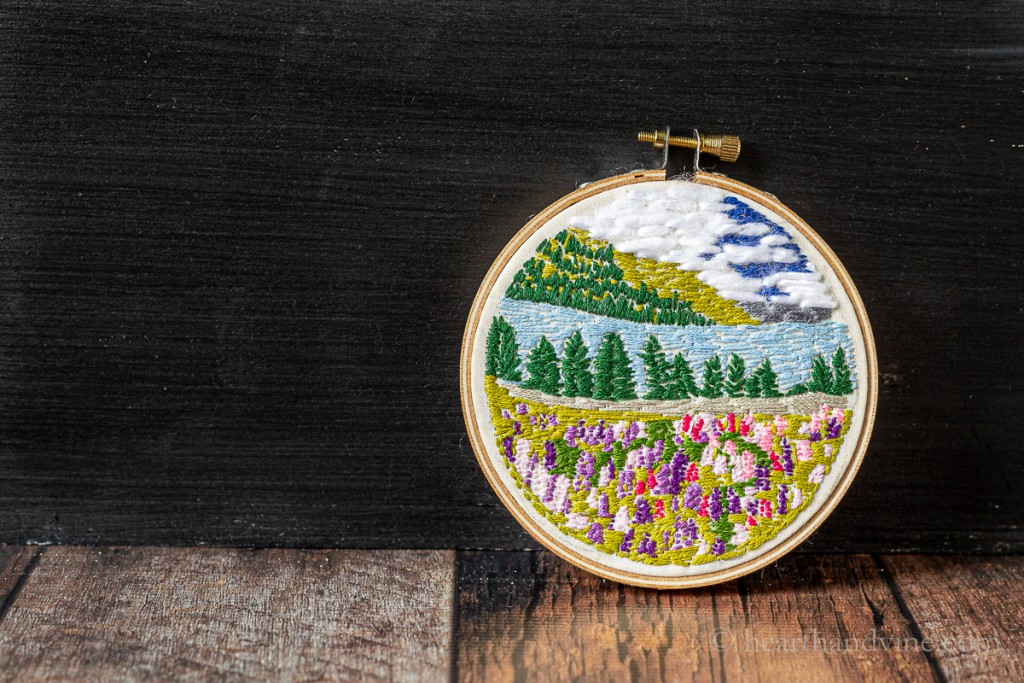
Now you have a beautiful piece of hoop art embroidery to hang anywhere in the house. Wouldn't it make a nice gift for someone if you used a pic from a special trip?
More Embroidery Hoop Projects
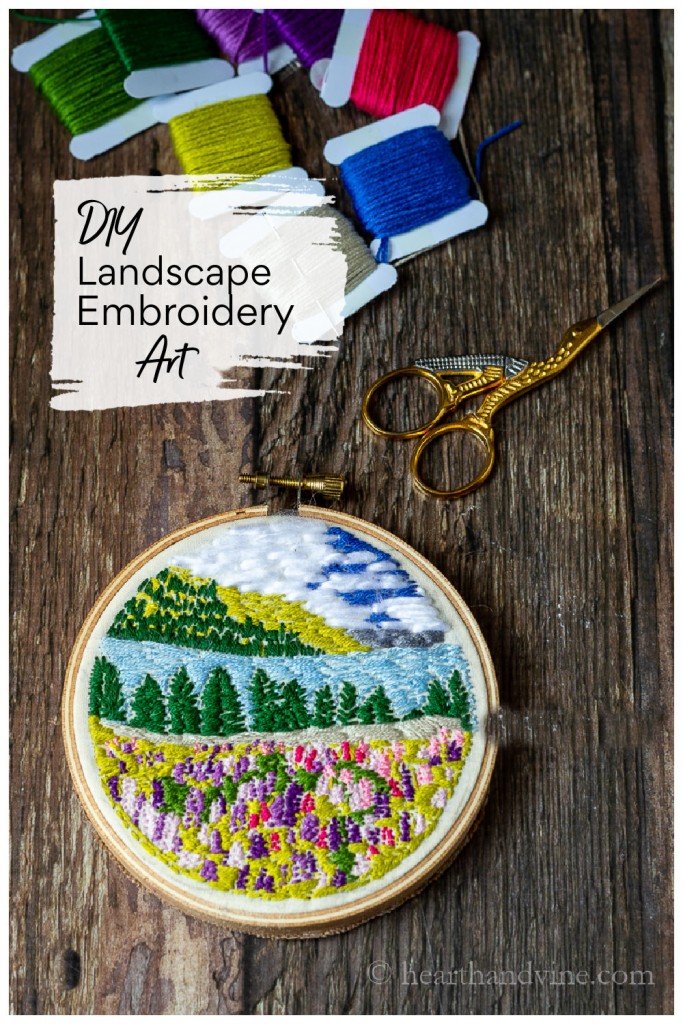
Landscape Embroidery Hoop Art
Equipment
- pencil
- Scissors
- Computer and printer
- Embroidery needles
- Glue gun and glue sticks
Materials
- Mini 4 inch embroidery hoop
- Muslin to cover hoop approximately 8 x 8 inches
- Tracing paper
- Embroidery floss in different colors
- Yarn optional
- Backing material
Instructions
- Find a landscape image.
- Use online software to create a coloring book black and white image of your landscape. Lunapic.com is free.
- Edit the image to fit the hoop.
- Trace the hoop circle over the center of the image.
- Cut a piece of muslin about 2 inches larger than the hoop. (8x8 inches)
- Trace the image with tracing paper onto the muslin.
- Fit the muslin tightly onto the hoop.
- Start stitching the image using different colors and simple straight stitches.
- Consider using thicker yarn to stitch some areas like clouds for a textured look.
- When complete trim the muslin about 1.5 inches from the edge of the hoop.
- Turn the hoop over and use a running gathering stitch close to the edge.
- Pull both ends of the thread and tie into a knot.
- Cut a piece of backing fabric to cover the back.
- Hot glue along the edges.



Valerie Gervais
Patti, This is so beautiful! I have done cross stitch and basic embroidery in the past, but always used a premade pattern. You make this sound so simple, but "free style" is a bit intimidating to me! I have never heard of this technique before. Any tips?
Patti Estep
Valerie, I am so not kidding when I say that this was easy. Just find a pretty landscape scene and transform it into a coloring page. That way you have an outline. Then all you do is pick your colors and fill in the spaces. I used 3 ply floss most of the time because the area is so small. It did take me several nights time but it was not difficult. I'm sure that you can do this. Enjoy.
Carol Avery
Hi Patti
Absolutely gorgeous, and I hadn't heard of it either over here in Oz.
It came out so beautifully, thanks so much for sharing.
Don't think I would be up to that!
Thanks again
Carol
Patti Estep
Carol, I'm so glad to hear that you like the landscape embroidery hoop art. It did take some time to make but was not hard at all. And, it's an easy one to start and stop and pick up again another day.
Alexandra
Simply stunning! So much detail in this art piece.
Patti Estep
Thanks Alexandra! It was so much fun to make and a lot easier than I thought.
Kay Bowles
This is beautiful Patti! Embroidery is something I have dabbled at in the past but would like to give it a try again. I took a course at Sawtooth up in Winston Salem that was beginners embroidery but was all about dyeing your own embroidery floss from plants in your garden. It was fascinating and I had such fun discovering the gorgeous colors that plants turned my floss in to. Between your great article on lavender and this embroidery inspiration...maybe my spring garden should be all about crafts instead of food!
Have a wonderful weekend...and thank you again for your great "shares"!
Kay
Patti Estep
Kay, that embroidery class sounds fascinating. I would love to try dying floss or yarn with plants. I might even add it to the list for a summer project
Julie
I think this is so beautiful. I've never embroidered but feel like I should give it a try. Thank you for inspiring me, I just have to wait for lockdown to end here
Patti Estep
Definitely try it Julie. It's easier than you think.
Carole West
This is a neat idea. My grandmother taught me how to embroidery when I was a kid and it was an enjoyable activity. I was at the craft store the other day and two young girls were shopping with their mother. (She was an aisle over) They were commenting on all the beads and wondering how anyone would know how to make something with them. So, I spoke up, gave them a few ideas and showed them the free magazine style example that share ideas. They looked at me like and while putting themselves down said they weren't creative. It took me back but I quickly responded and said, "sure you are, you just haven't discovered it yet." Point of my story here is, I enjoy how you are always sharing a variety of crafts and putting a new spin on them. It's refreshing and beautiful....
Have a great weekend Friend,
Carole