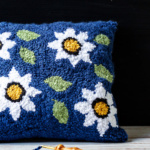

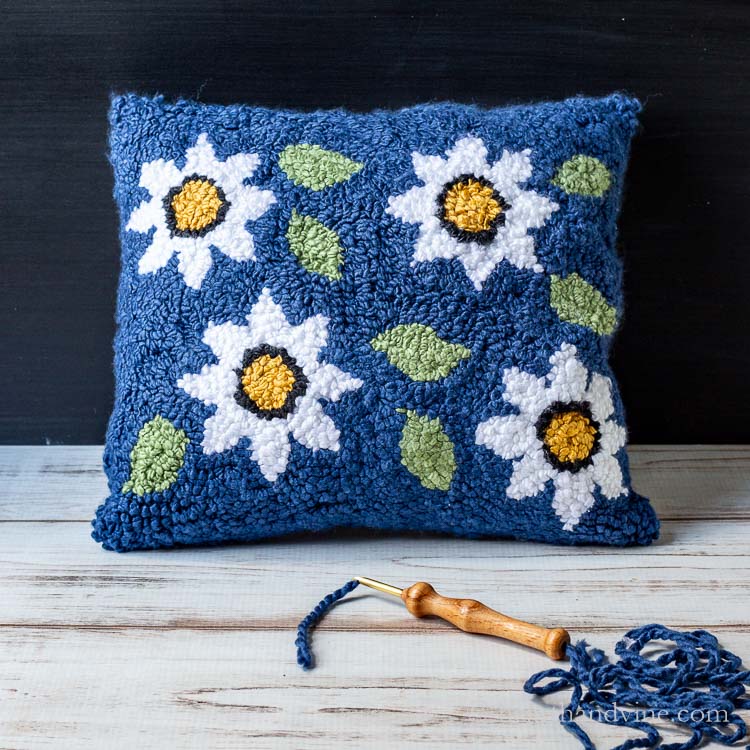
Learn how to make this beautiful punch needle pillow, including how to make your own frame and a free printable floral pattern.
I have always admired hooked rugs and even have a few in my home. A couple of years ago, I attempted making punch needle ornaments with embroidery thread, and recently I decided to try to make a pillow with a punch needle rug hook using yarn.
There are many tutorials and experts on this craft. However, I just wanted to show you my beginner journey. Maybe you will enjoy it too.
This post contains some affiliate links (that means if you make a purchase after clicking a link, there’s no additional cost to you, but I will earn a very small commission. ) i.e. as an Amazon Associate, I earn from qualifying purchases. Click here to read my full disclosure policy.
More Needlework Crafts
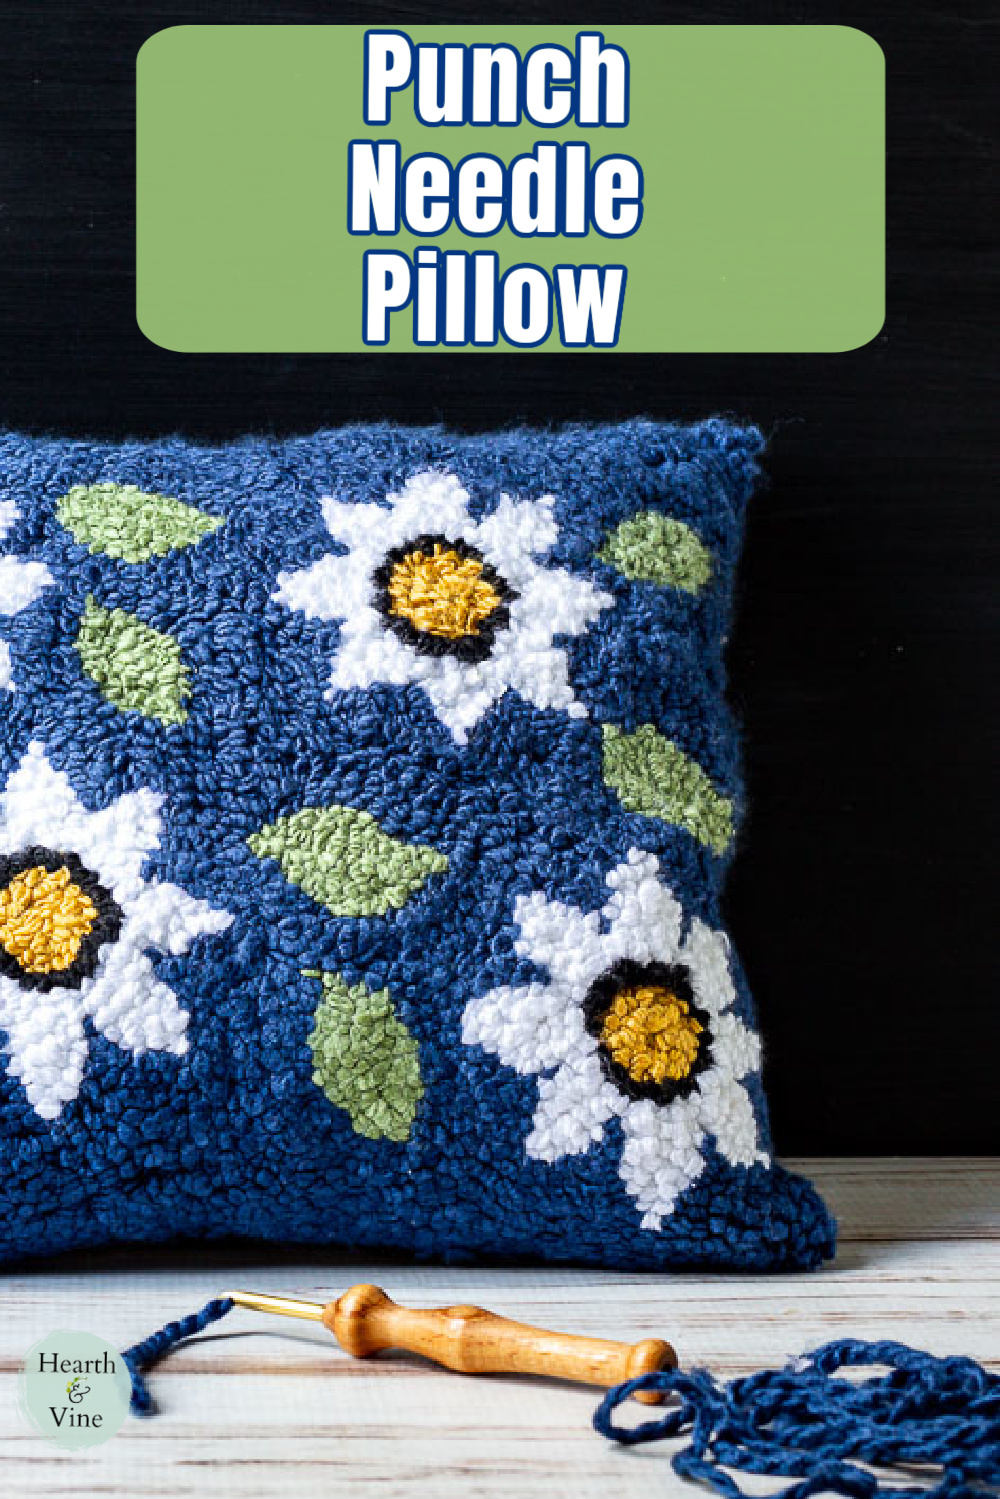
How to Make a Punch Needle Pillow
Supplies
- 4 canvas stretcher bars
- carpet nail strips to cover the canvas stretcher
- small tack nails to attach the carpet strip to the canvas
- old pieces of towels to cover the nails
- monk's cloth
- pattern (feel free to save the one I made)
- carbon paper and a Sharpie to trace the pattern
- chunky yarn in different colors (~10 mm Knitting needles)
- punch needle for thick yarn
- backing material for the pillow (I used leftover drop cloth fabric)
- fiber fill for stuffing
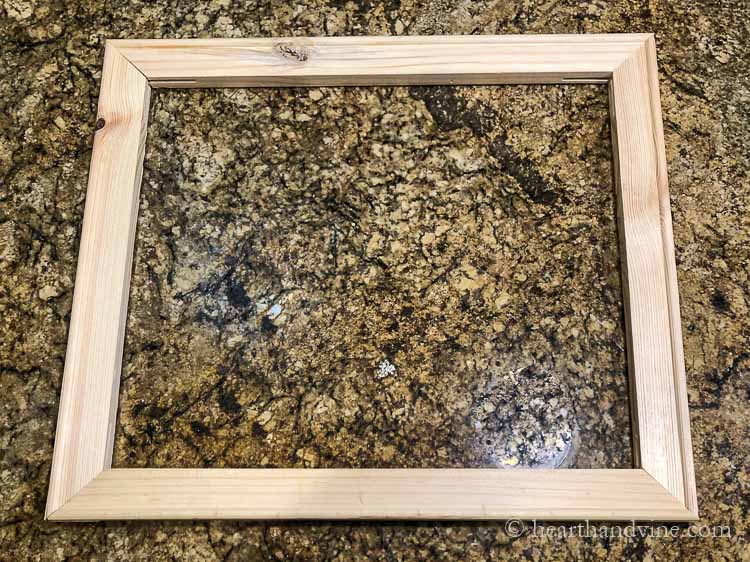
Making the Frame
Start by making a frame to work on. I used 4 canvas stretcher bars (18 inches) and snapped them into place.
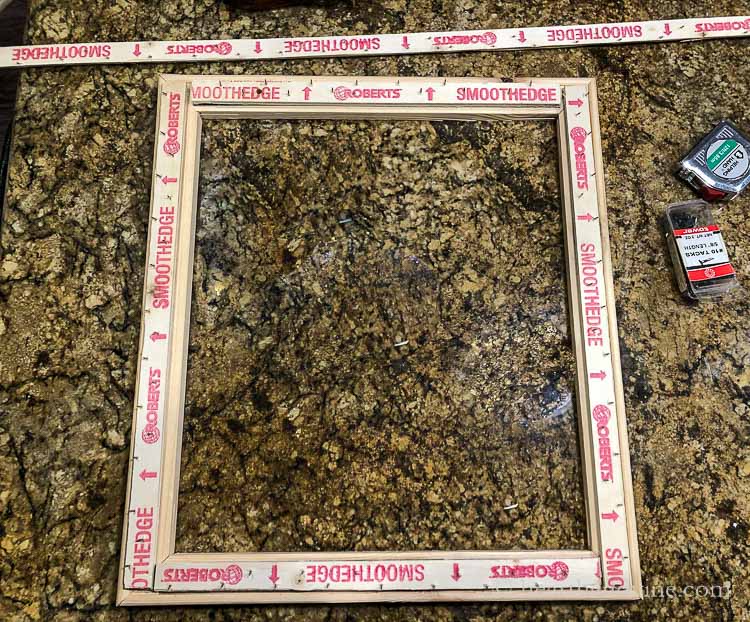
Next, I cut carpet nail strips to fit and used little nails to tack them onto the canvas frame. Note: Make sure the nails face outward.
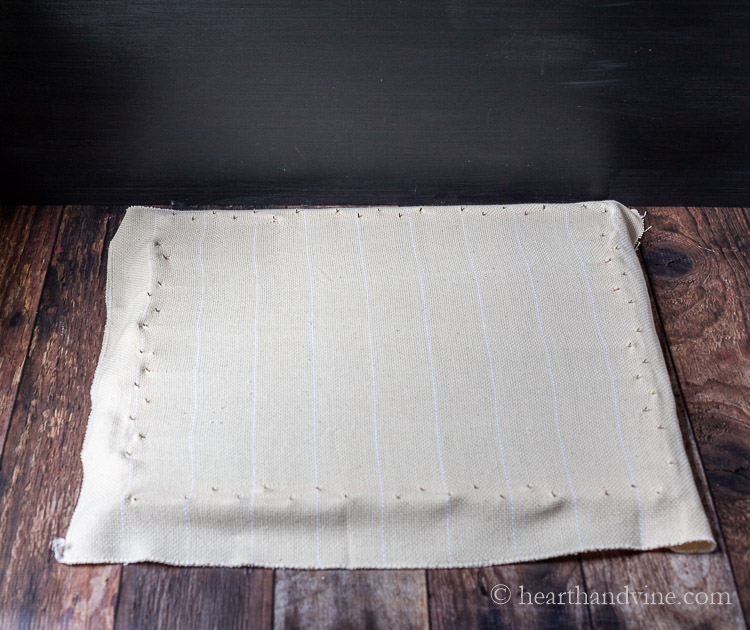
Cut your monk's cloth a couple of inches larger than the frame. Then place the monk's cloth on the frame. Start with one side and then pull it across as tight as you can to the opposite side. Repeat with the top and bottom.
Note: Getting the monk's cloth drum tight is very important.
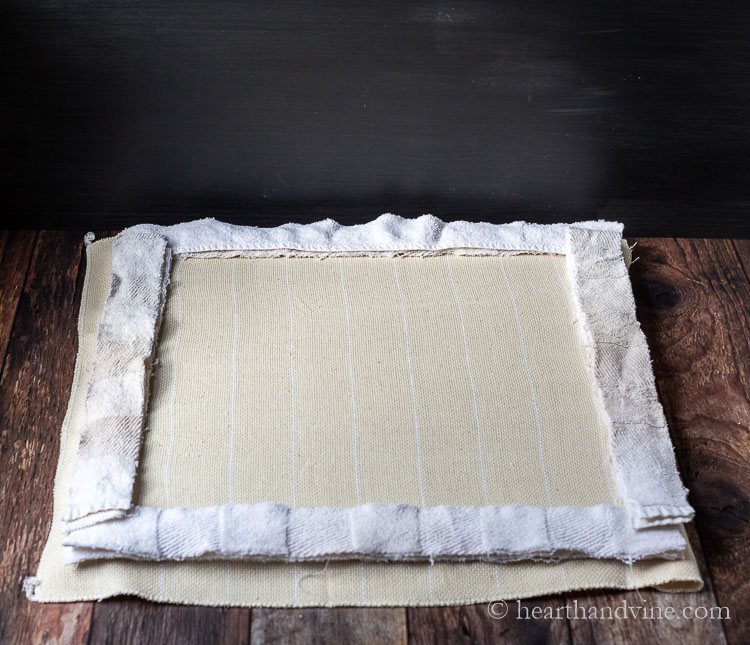
To protect yourself, tear or cut strips of old towels to place on top of the edges where the nails come through.
Tracing the Pattern
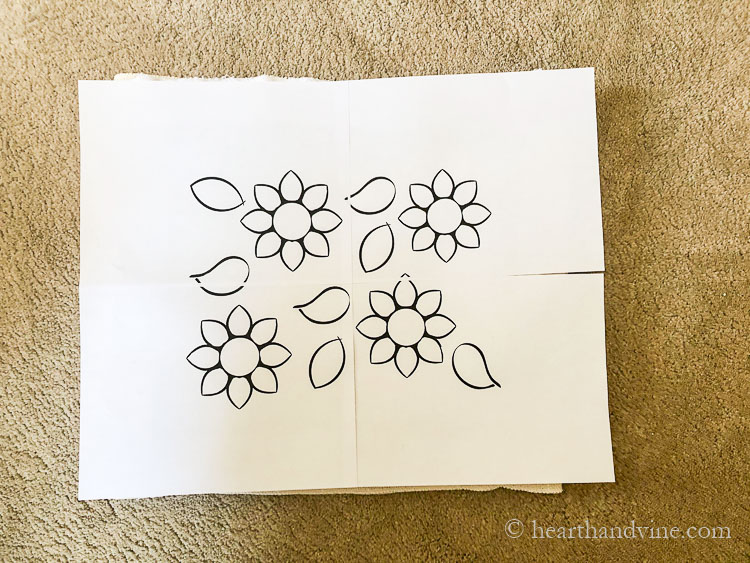
Here's the floral pattern I created to use for this project. You can also buy rug hooking patterns online.
To get the pattern onto your cloth, you need to print it out on several pages unless you are making something smaller than 8.5 x 11 inches.
I was able to get my pattern to print out in Adobe Acrobat by choosing the poster and landscape options on the print screen area.
Tip: Use some painter's tape or masking tape to keep everything neat on the edges and to hold the towels in place.
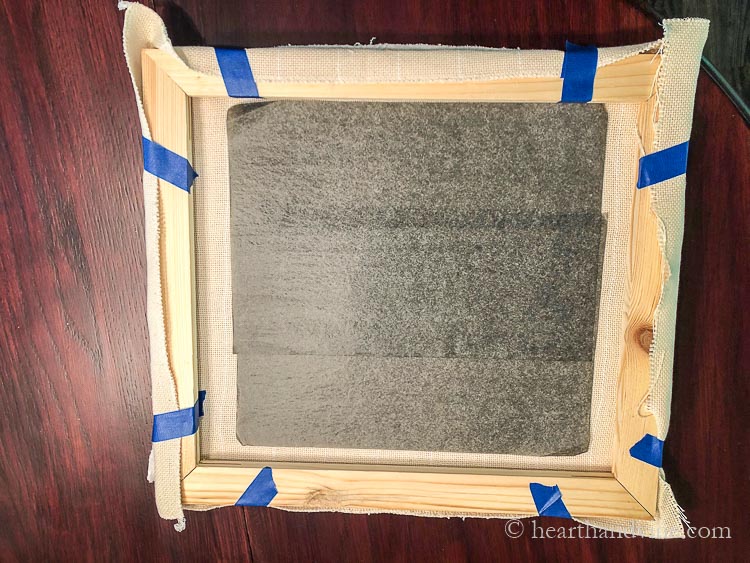
Next, place some carbon paper on the back side of the frame.
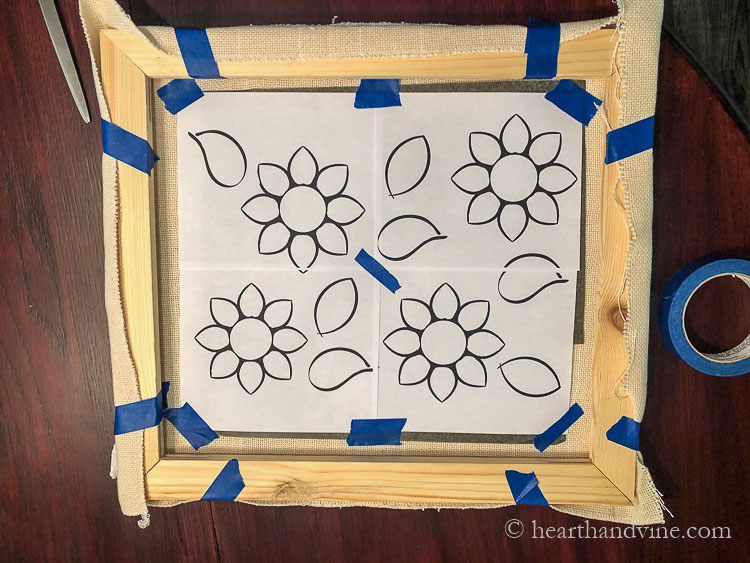
Tape your pattern into place on top of the carbon paper and trace it with a pencil.
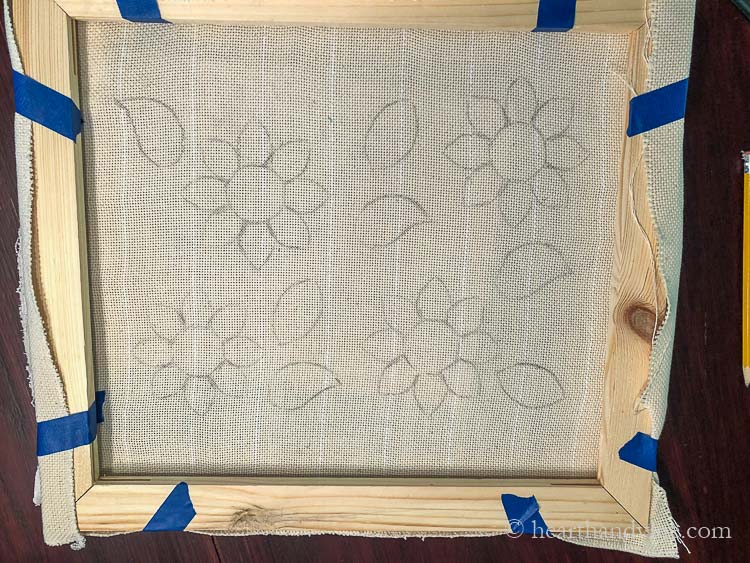
You could leave it as is, but it may be a little too light.
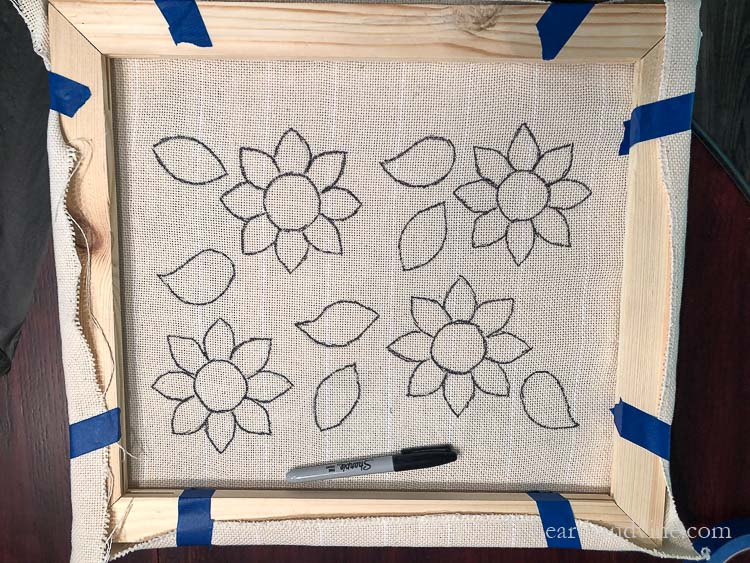
You could then trace over the carbon pattern with a black sharpie to make it easier to see and more permanent.

Rug Hooking??
The actual rug hooking takes a little practice. Here's a good video to watch, though there are many. To be honest, I was a little freeform with my work, but you can get the idea from the video.
One of the reasons I liked the monk's cloth is that it was pretty forgiving. If you messed up, you could pull out the stitches and scratch the weave back into place.
Also, I used acrylic yarn. Most will tell you to use wool, but it's pretty expensive, and I wasn't sure I was ready to invest in it yet. Knowing how much yarn to purchase is difficult. I will tell you that I used almost a whole skein of yarn for the blue background. However, as you might imagine, I have plenty of the other colors leftover.
I started with the flowers and leaves first and then filled in the background.
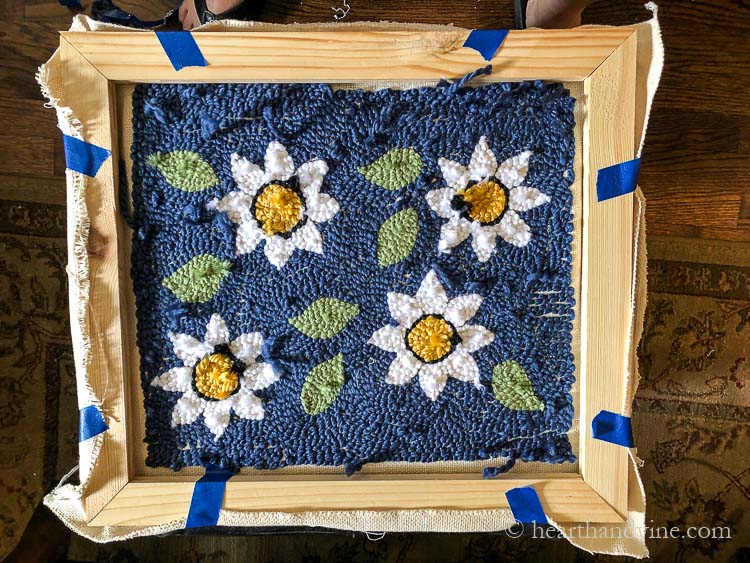
When it's all done, you will have lots of bits of yarn on the back that you can just cut off.
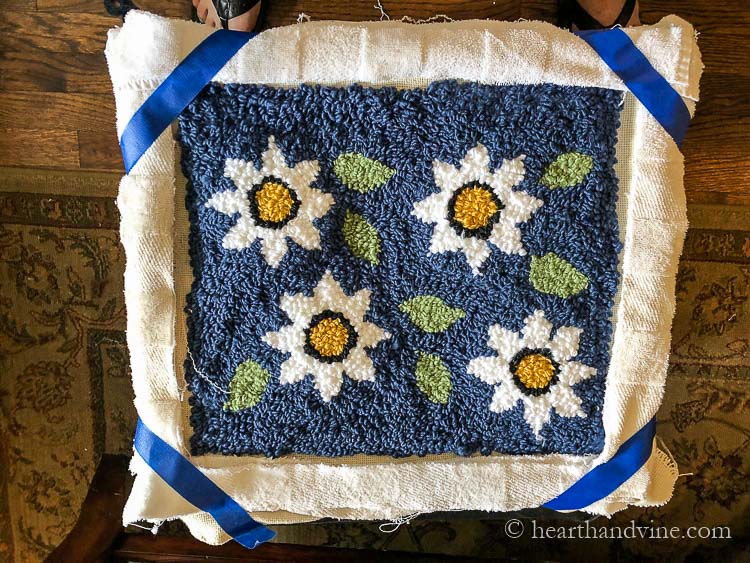
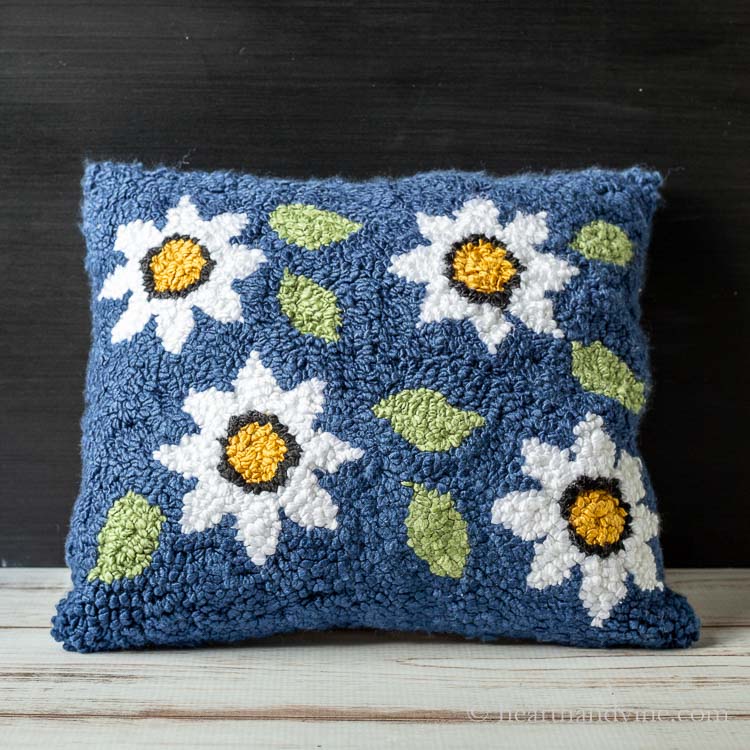
Here's what the front looks like.
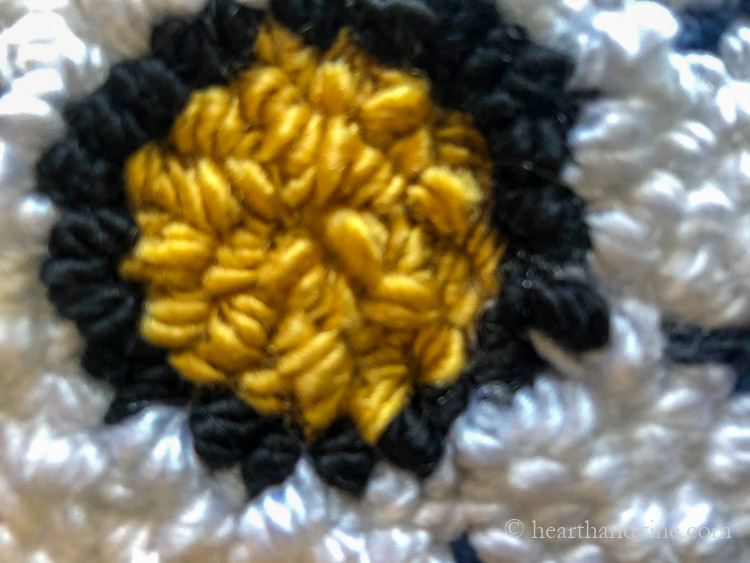
Finishing Work
See above on the black loops, there is some white that got in between the black. Just use a small pair of scissors or a large needle to push the white back while moving the black in to place.
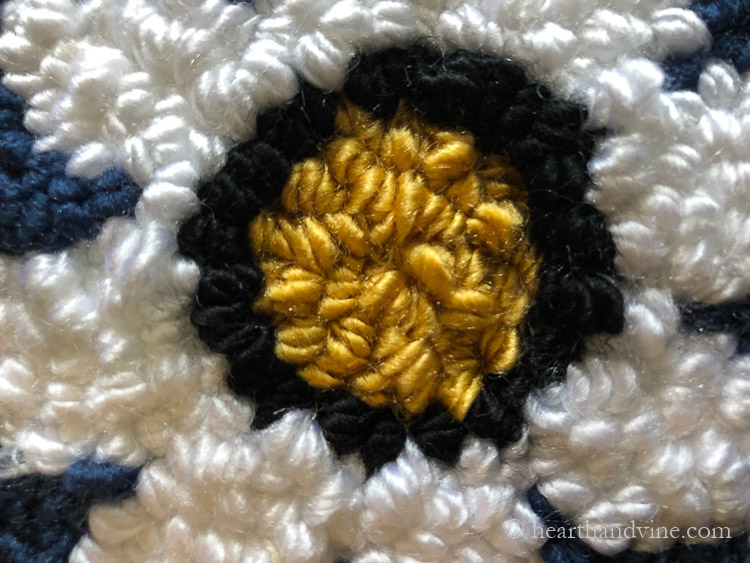
Here's what it looks like after.
Making the Punch Needle Pillow
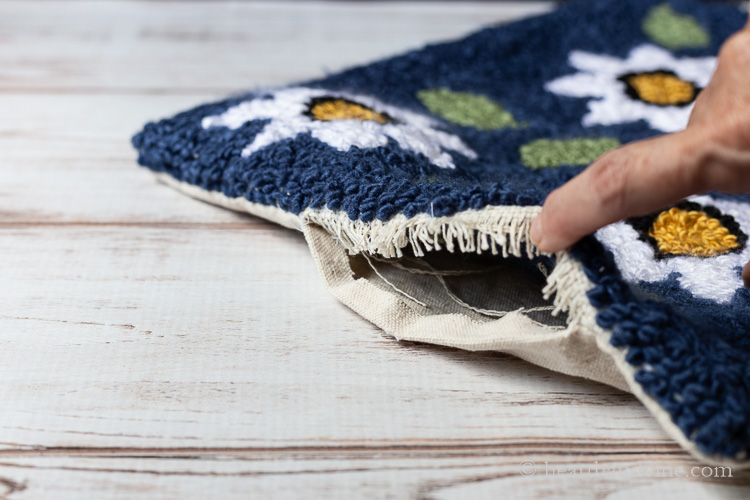
To make your pillow, find a nice, sturdy fabric for the back. I used some leftover drop cloth fabric.
Take your project off the frame and cut the edges, leaving a 1.5 to 2 inches all around. Then cut your backing fabric to match.
Place the backing fabric on top of the hooked project. Sew all around, leaving a 3-4 inch opening on one side.
Carefully turn it right side out. Press the top of the yarn, covering it with a thin cloth first, and using the steam option on your iron.
Stuff the pillow with fiber fill and hand sew the edge closed.
This is definitely one of my favorite projects. I think I'll make a matching pillow to go on our sofa next.

Punch Needle Pillow - Basics and Free Pattern
Equipment
- Punch Needle for thick yarn
- Fabric scissors
Materials
- 4 canvas stretcher bars
- carpet nail strips to cover the canvas stretcher
- small tack nails
- old pieces of towels
- monk's cloth
- pattern feel free to use the one I made
- carbon paper and sharpie
- chunky yarn in different colors ~10 mm Knitting needles
- backing material
- fiber fill
Instructions
- Make a frame with 4 canvas stretcher bars snapped into place.
- Cut carpet nail strips to fit.
- Use little nails to tack them onto the canvas frame.
- Cut your monk's cloth a couple of inches larger than the frame.
- Place the monk's cloth on the frame.
- Start with one side pulled as tight as you can to the opposite side.
- Repeat with the top and bottom.
- Tear or cut strips of old towels to place on top of the edges where the nails come through.
- Print out your pattern on several pages, unless the pattern is smaller than 8.5 x 11 inches.
- Use some painters tape or masking tape to hold the towels in place.
- Place some carbon paper on the back side of the frame.
- Tape your pattern into place on top of the carbon paper and trace it with a pencil.
- Begin hooking by starting with the flowers and leaves first, then fill in the background.
- Used some leftover drop cloth fabric for the backing.
- Take your hooking project off the frame.
- Cut the edges leaving a 1.5 to 2 inches all around.
- Cut your backing fabric to match.
- Place the backing fabric on top of the project.
- Sew all around leaving a 3-4" opening on one side.
- Turn it right side out.
- Press the top of the yarn, covering it with a thin cloth first.
- Use the steam option on your iron.
- Stuff the pillow with fiber fill and hand sew the edge closed.
Frederica
Hello,
Love your work , Can you tell me the brand for the white yarn ? I want to use it in the scenery one for the clouds .
Thanks
Patti Estep
Frederica, the brand was Yarn Bee. I purchased it at Hobby Lobby.
Kay Bowles
Patti, you always amaze me with your talent! I don't think there is anything you can't do! Your comment about early planning for Fall and Holidays is spot on! Starting your projects early really helps folks like me that still work full time and are care givers for a family member as well. I can plan and be organized and feel successful by finishing projects "not under the gun" and still get to enjoy the process! Thank you for your inspiration!
Patti Estep
Thank you Kay. What a sweet comment. It's great to hear that you enjoy my work and that it's helpful to you.
Denise
You are so freaking talented! I can't believe you made all of this from scratch. I remember really liked doing this when I was little and forgot all about it. Very cool!
Patti Estep
Thanks Denise. It had a lot of parts to it but overall pretty easy and I was so happy with the way it turned out.