
Learn how easy it is to make tinted glass jars from the recycling bin and create a beautiful table arrangement for any occasion.
Spring is here and that is a time for celebration. Easter and Mother's Day are two such days where you may find yourself in need of a pretty centerpiece. I've seen this fun technique of creating tinted mason jars for many years so I decided to try it and make a fun and colorful table centerpiece for Easter.
This post contains some affiliate links (that means if you make a purchase after clicking a link, there’s no additional cost to you, but I will earn a very small commission. ) i.e. as an Amazon Associate, I earn from qualifying purchases. Click here to read my full disclosure policy.
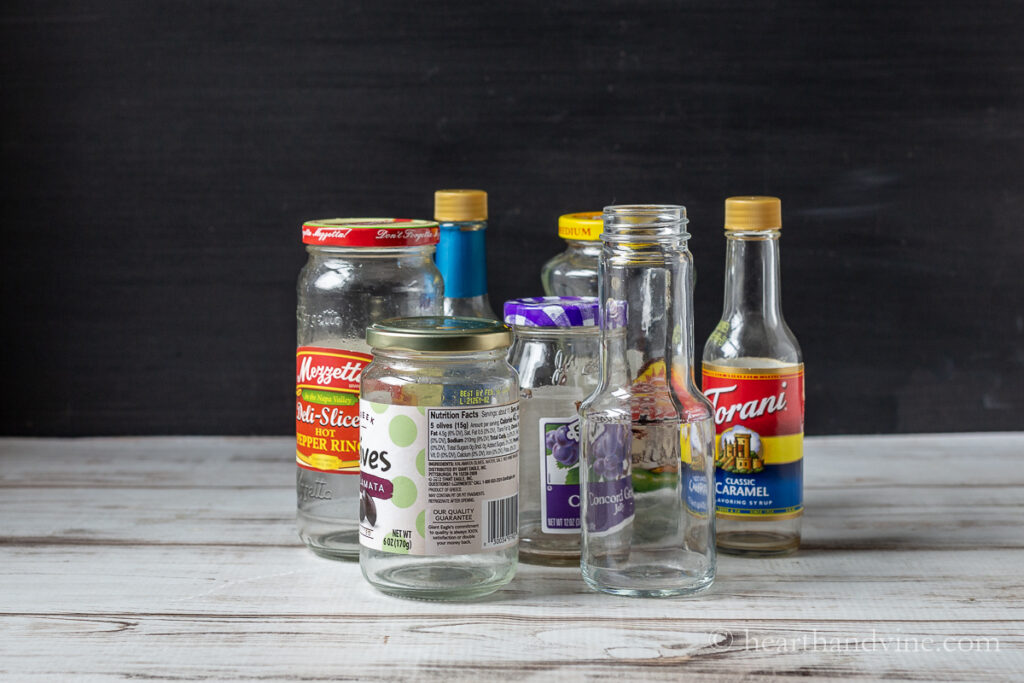
This is a great project for old glass jars. For some reason, our town no longer accepts glass in the recycling bin. There is a place nearby where we can take glass but that means we collect them at home until the box is full. So I had plenty to pick from.
How to Remove Label from Glass Jars
The hardest part is removing the labels. After trying a few ways I found soaking them in a bowl of hot water takes the majority of the label.
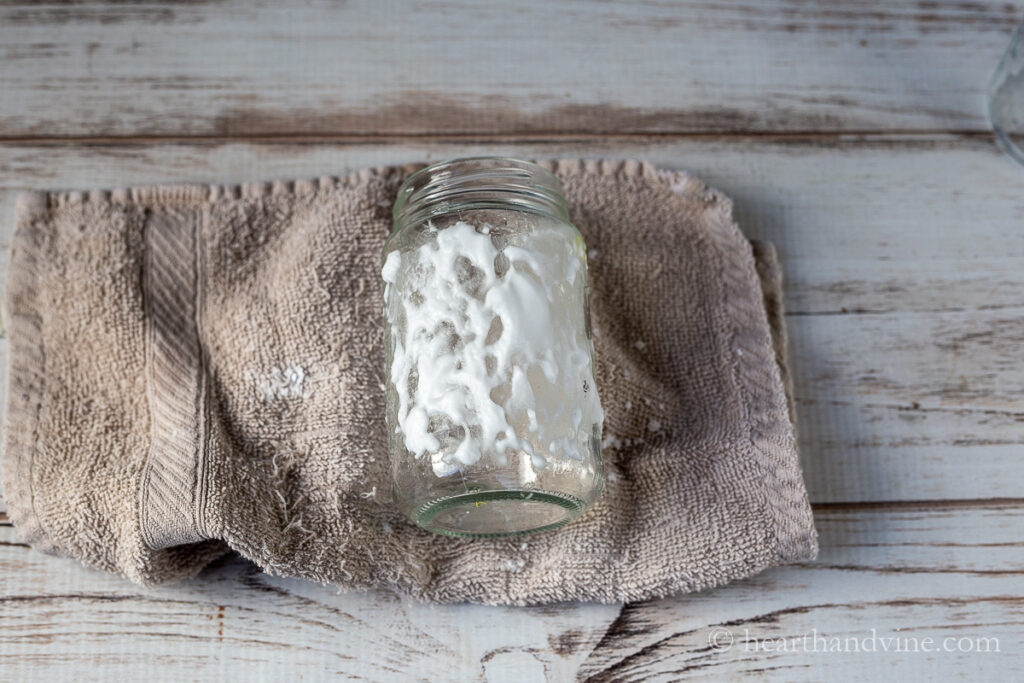
However, you are still left with a glue residue. A paste of baking soda and water left on the jar for 1/2 hour seemed to do the trick.
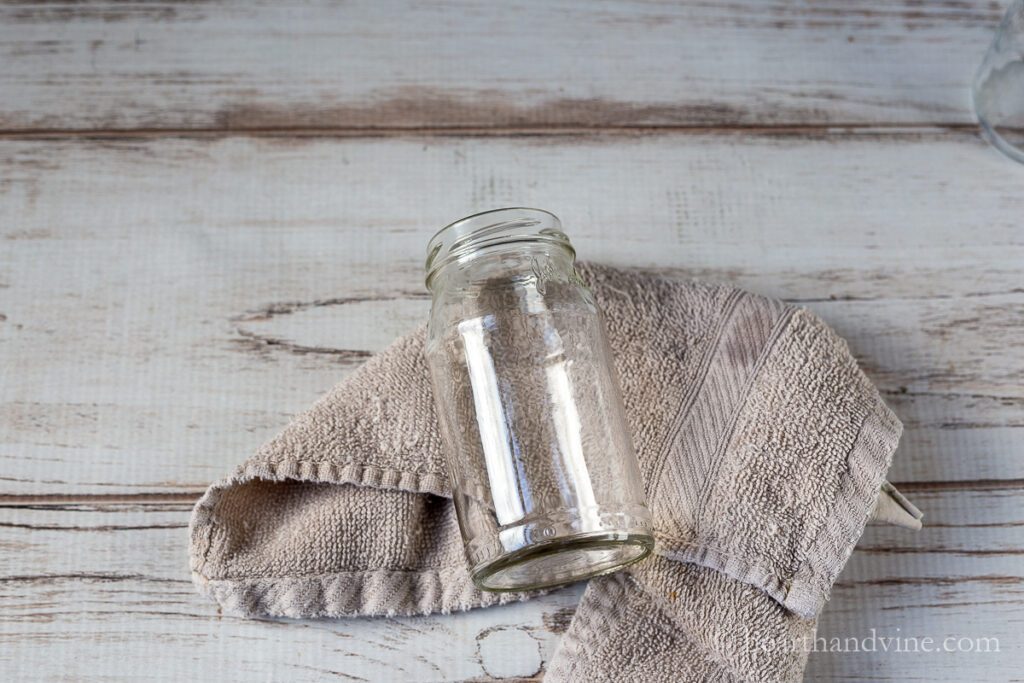
How to Tint Glass Jars
Now that you have a shiny clean jar you can begin to tint it in your favorite color.
Be the first to receive new posts and get access to our Subscribers Only Page.
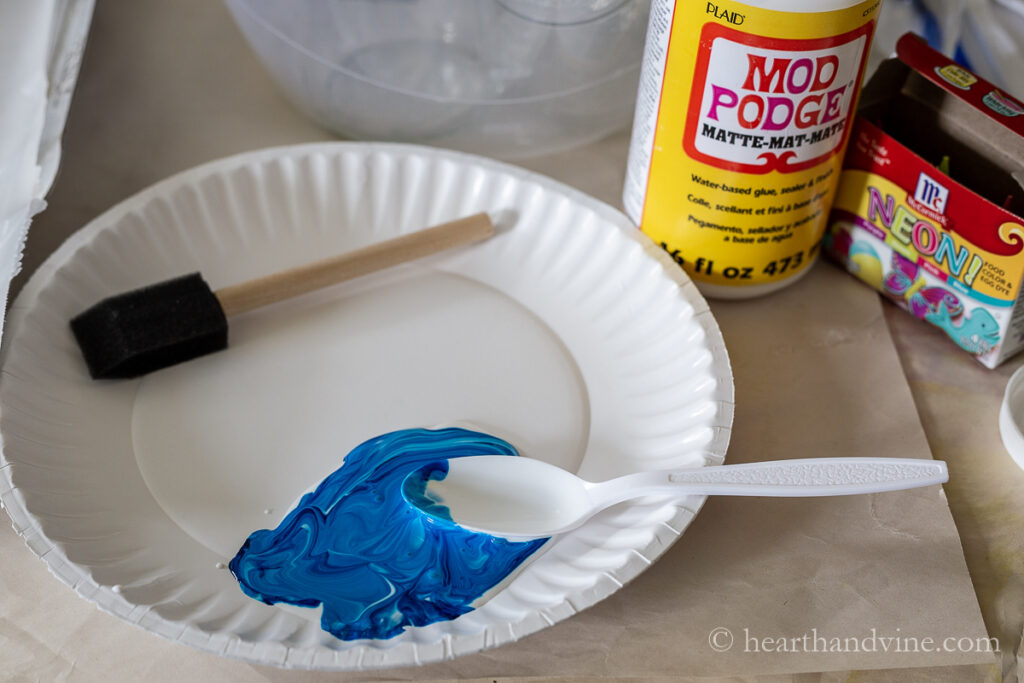
I used McCormick Neon food coloring. Any kind of food coloring will work but this one gives you some really nice rich colors. Stir together eight drops of this liquid food coloring to one heaping teaspoon of Mod Podge. I found on the food coloring box directions to make additional colors such as turquoise by mixing blue and green together.
Then simply paint the glue mixture onto the outside of a clean glass jar with even strokes. You can stick a finger or two into the jar to help hold it while you paint with your other hand.
This is the opposite from the process of creating my DIY gazing balls. For that project you pour the colored glue mixture inside of the glass. That would be great except that I wanted to use these glasses as vases and I was pretty sure that the water would ruin the subtle tint.
In addition to using these tinted glass jars as vases you could use them to hold candies or small tealight candles.
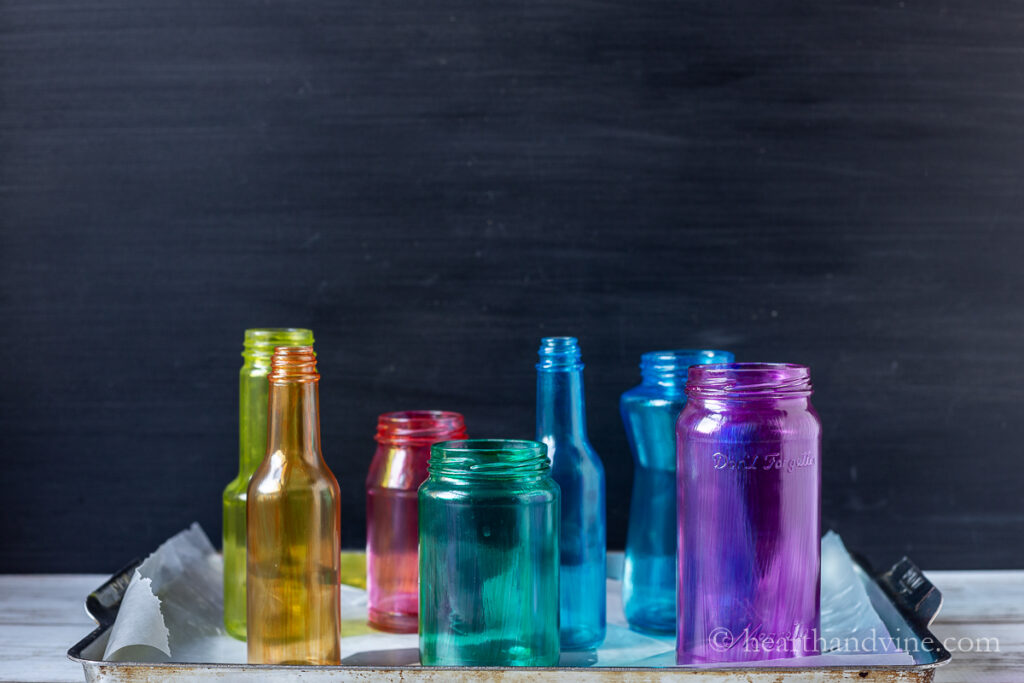
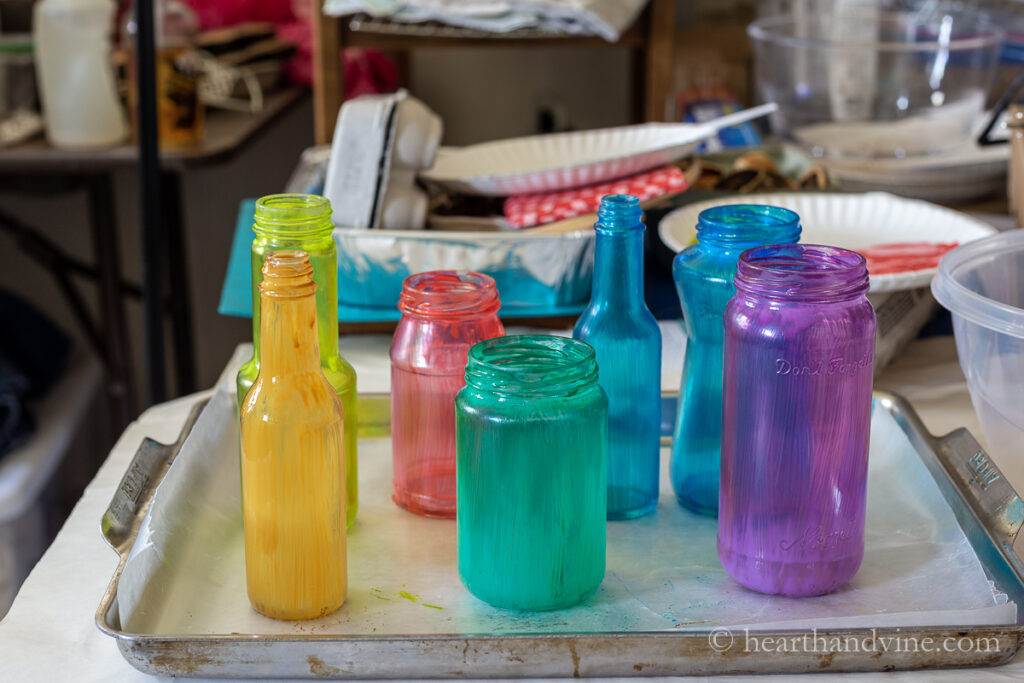
Afterward, you need to bake the jars in a low oven (approx 200 degrees) to set the glue and help remove the streaks. Place them on some parchment to protect the baking sheet. I tried wax paper but it did stick a little on the bottom of the glass. However, it was pretty easy to remove.
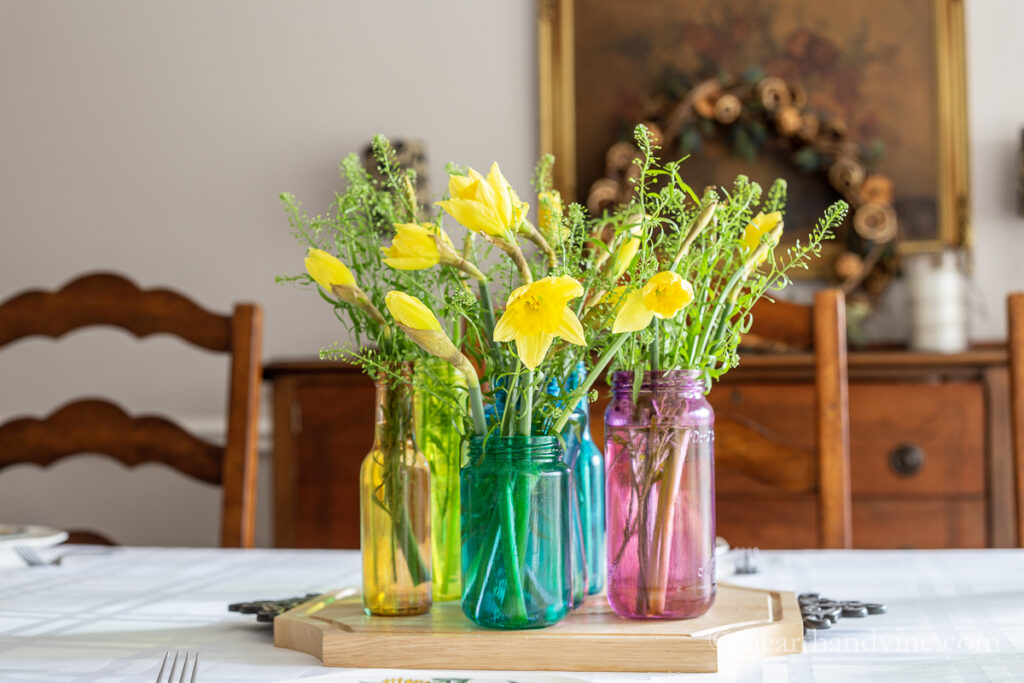
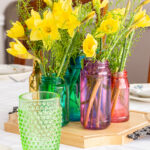
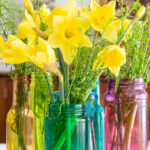
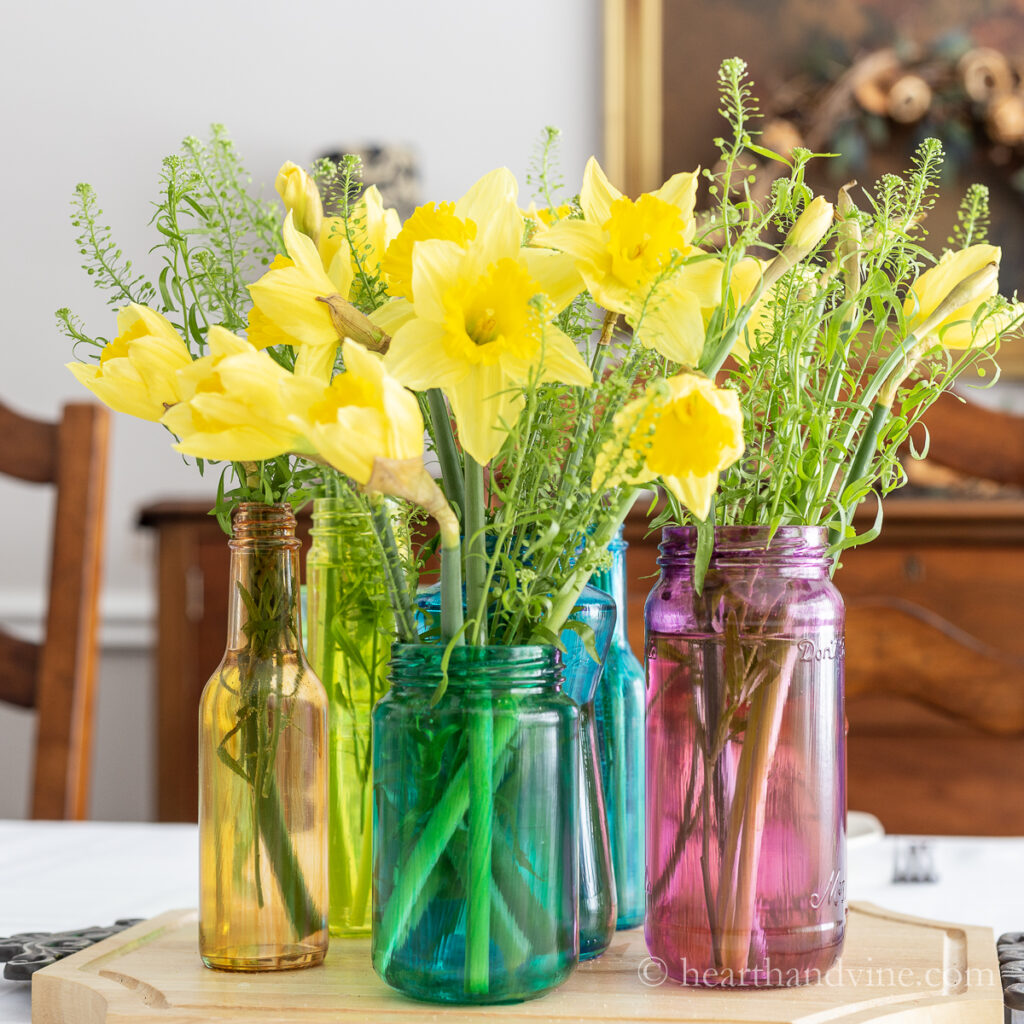
The end result is this fun and colorful grouping on our dining room table. Since I used several colors for the jars I used only one type of flower and some green filler inside each jar. Fresh daffodils from the garden at no additional cost made this a very easy and inexpensive centerpiece for our table.

More Glass Crafts

How to Tint Glass Jars
Equipment
- Sponge paintbrush
- Parchment paper
- Baking sheet
- Oven
Materials
- Old recycled glass jars
- Food coloring I used Neon
- Mod Podge
Instructions
- Remove label and clean jar.
- Mix 1 heaping teaspoon of Mod Podge with 8 drops of food coloring.
- Use a sponge paintbrush to carefully paint the outside of the jar.
- Place the jar on a baking tray that has been lined with parchment paper.
- Bake the jar in a 200 degree oven for 25 minutes.
- Allow the jar(s) to cool.
- Group jars on a board on a table.
- Fill with water and use a single flower type to create a beautiful table centerpiece.
Jane
Now, I do not have to throw away my jars. The steps are easy to follow. Thanks for sharing.
https://wordpress.com/view/mjcreation942891377.wordpress.com
Patti Estep
So glad you like them Jane.