
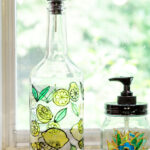
Try your hand at this fun bottle art painting craft. An easy way to get a beautiful stained glass look for olive oil or dish detergent bottles. A great idea to repurpose wine bottles and beautiful handmade gifts.

I love the look of stained glass. Like watercolors, it has a beautiful translucent gem-like quality. So today I'm sharing my attempt at making stained-glass-looking bottles with a mason jar and an old wine bottle.
To be honest it wasn't that easy and it did take some time. However, I hope that you can learn from my experience and that will help create something beautiful that you love.

Making a Stained Glass Look with Bottle Art Painting
First, you need to transfer a pattern onto the glass using some carbon paper.
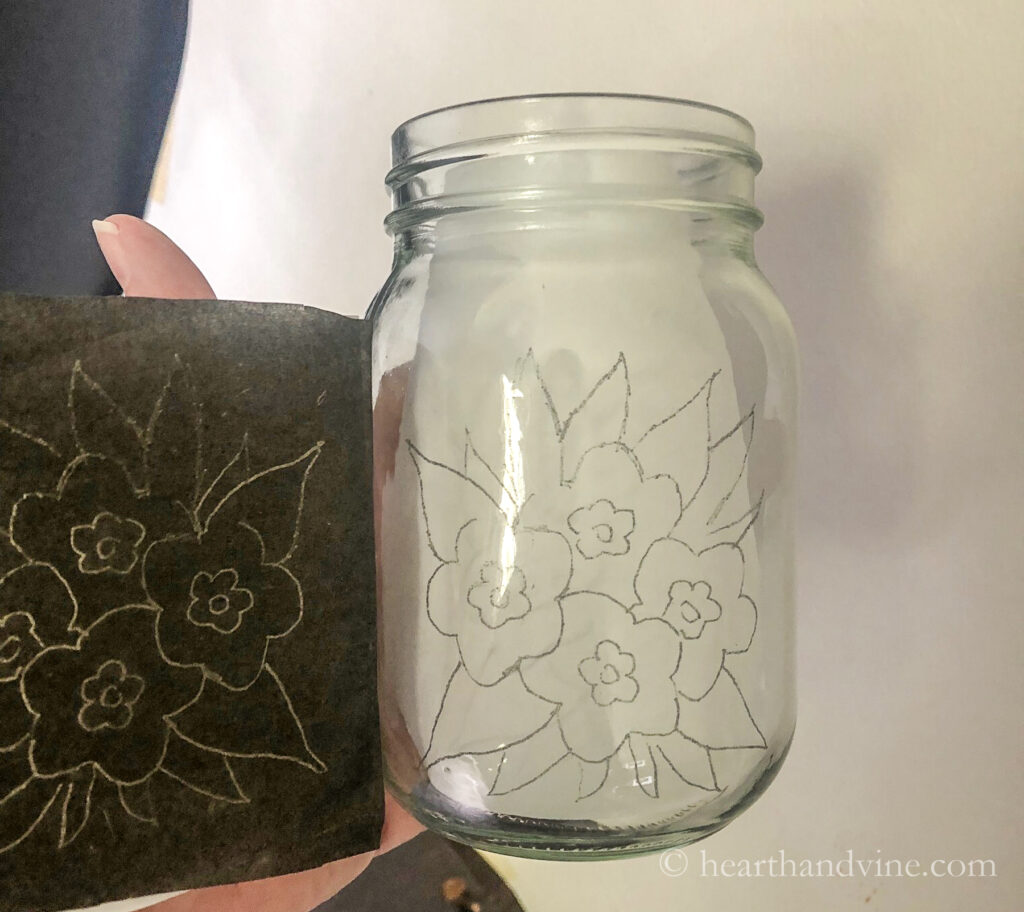
This was the easy part. Just go over your image with a pencil and the carbon will easily transfer to the glass. Just to be sure to pull off only one side when you are finished. This way you can see if you missed a spot and can easily place the carbon and pattern right back in place.
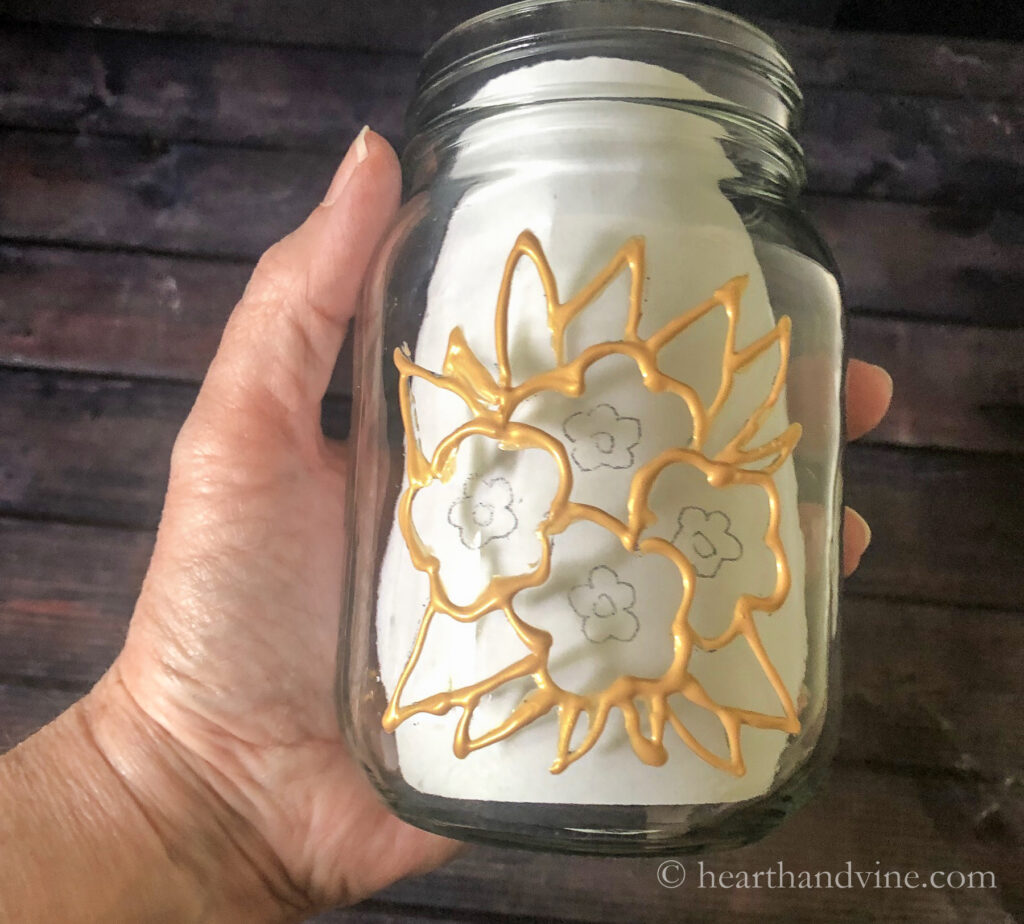
Another tip is to use a piece of paper on the inside. This will help you see the pattern easily when creating your outline or painting the inside of the outline. As you can see I created the first project using a gold outline that was pretty thick. Even though my pattern was nice and basic it was still a little difficult to use.
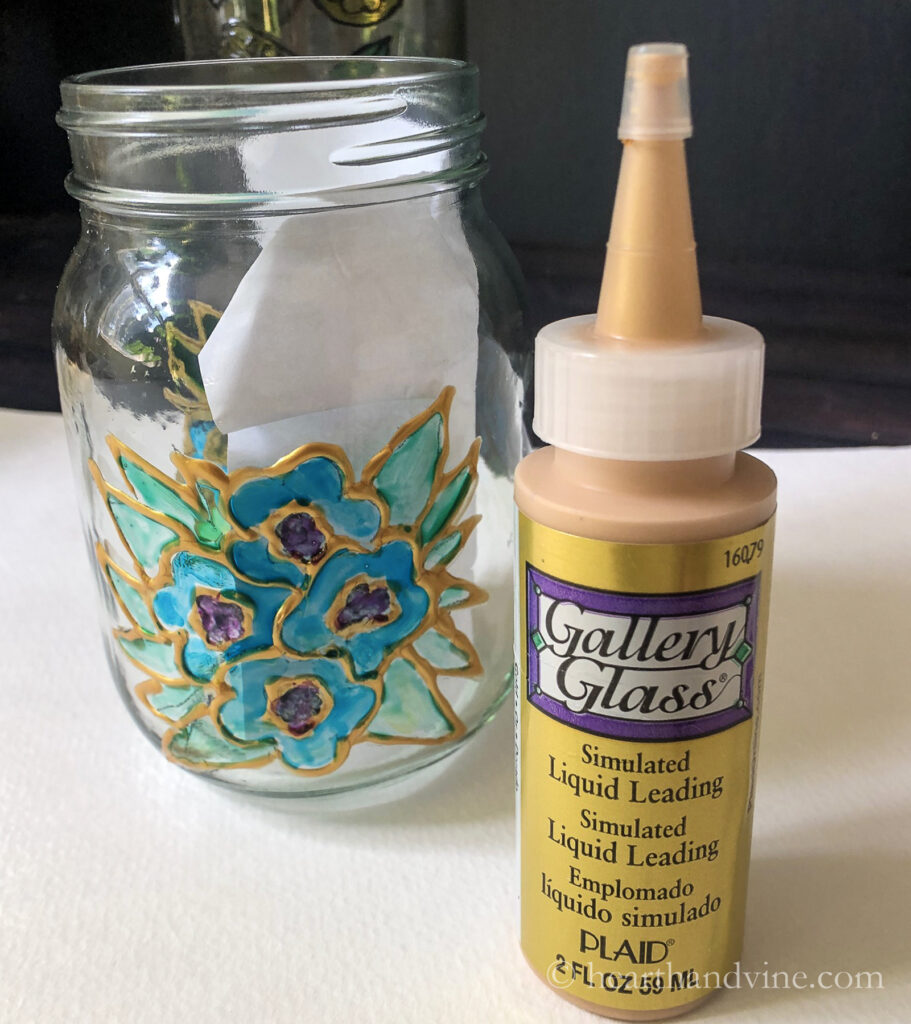
After the gold outline paint dried I was able to fill in the image with glass paints but the result was only ok. However, I do like the idea of creating a soap dispenser with a mason jar so I'll have to try this again. Just make sure that you purchase a mason jar without markings and then you can buy a soap dispenser pump lid.
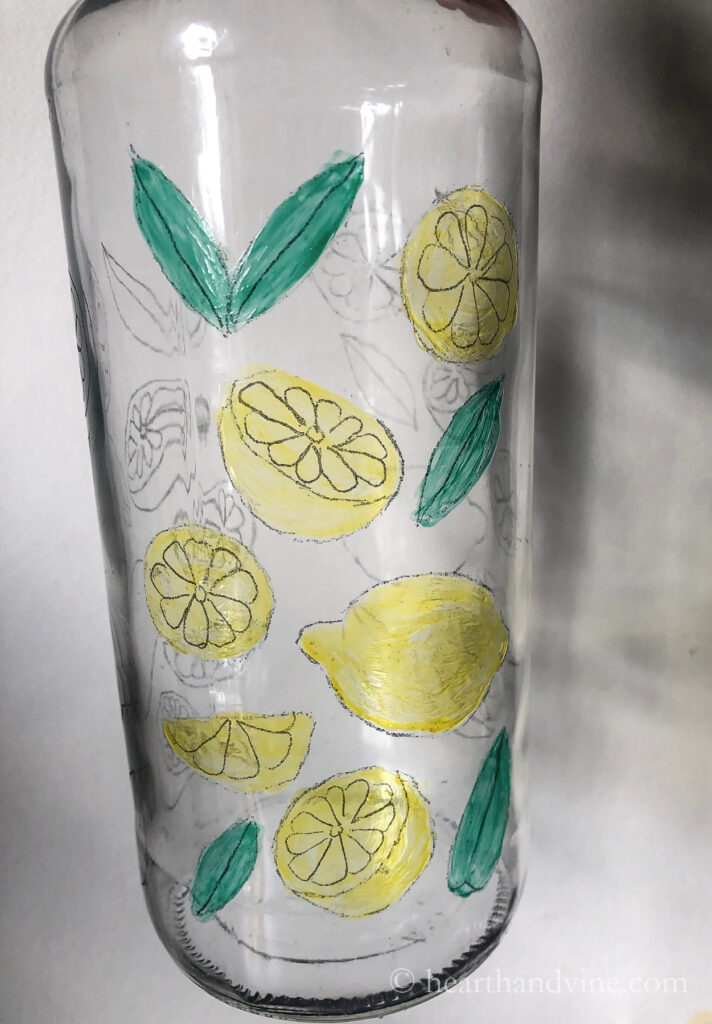
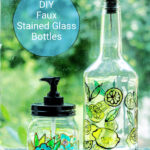
Next, I tried using an old wine bottle. This time I painted the pattern on the glass before outlining it. Since it was hard to place a piece of paper inside the bottle I made sure to work on a white background to make it easier to see my work. For this bottle, once I finished the first pattern I transferred a second and third set to fill in the entire bottle.

The black outlining paint comes in a nice narrow tipped tube making it much easier to use. Practice on paper or an old glass container to get the hang of it. I found that placing the nozzle on the glass and squeezing the tube as you glide the nozzle over the outline worked pretty well.
Tip: Keep some cotton swabs nearby for easy cleanup and mistakes.
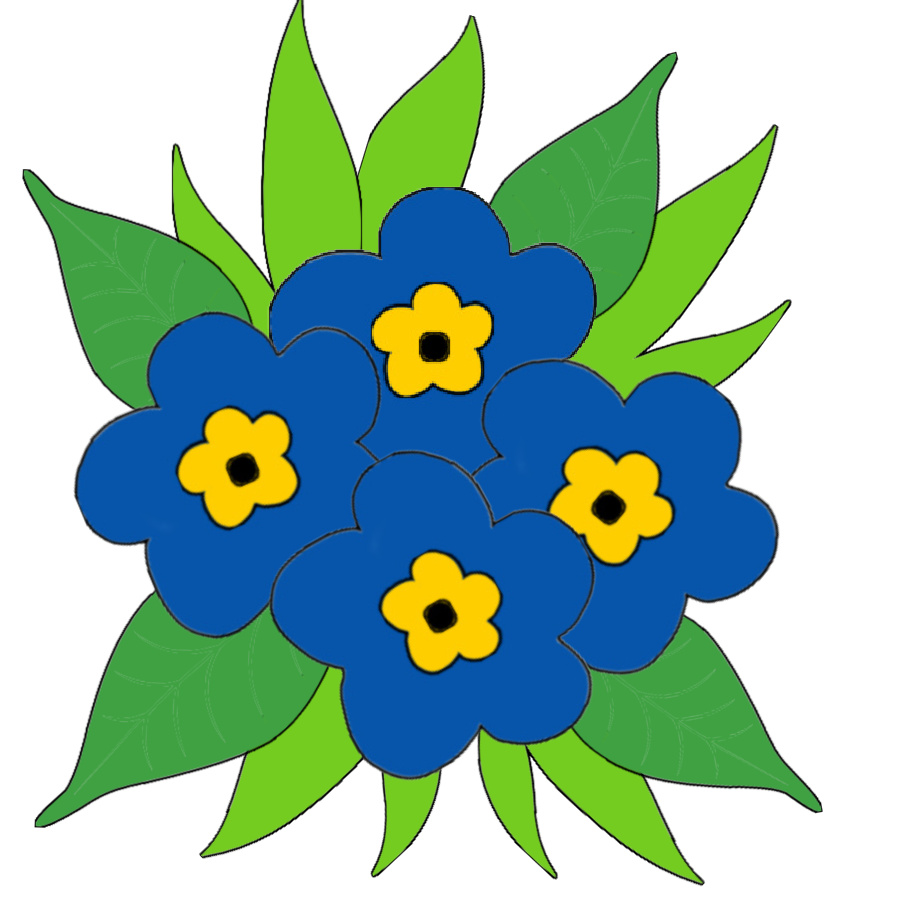
I used two different patterns. I kept them simple since this was a new art challenge for me and I don't have a very steady hand.
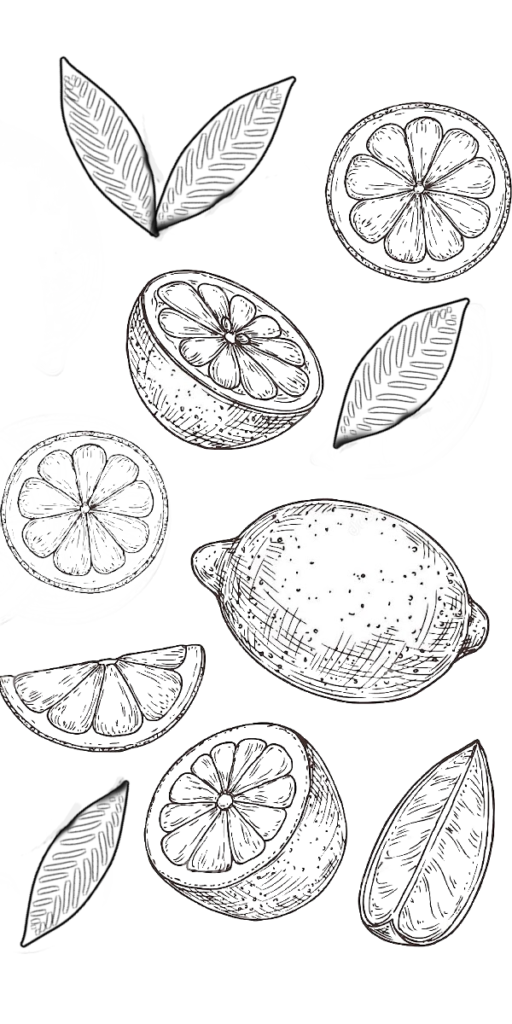
Feel free to use these for your own bottles. My free patterns here. You can also find other stain-glass patterns here that you may like.
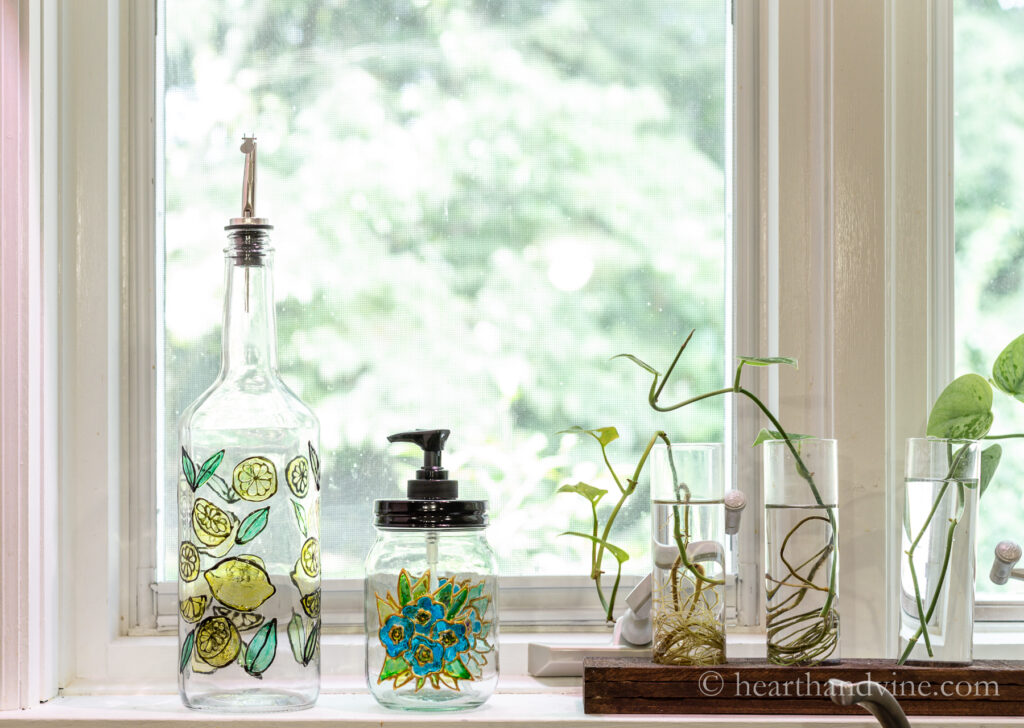
In the end, this bottle art painting was a little challenging. I really like the way the lemons bottle turned out. I could see using this for olive oil or as a dispenser for dish detergent on the sink. I'm not as happy with the mason jar soap dispenser, though I do like the idea. So I'll have to give it another try one day soon.

More Fun Bottle Projects
Stained Glass Bottle Art Painting Tutorial
Equipment
- Computer and printer
- Paintbruses
- Scissors
- pencil
Materials
- Empty wine bottles and mason jars
- Stained glass paint
- Glass Paint Outliner
- Carbon paper
- Tape
- Acetone or rubbing alcohol for cleaning
Instructions
- Thoroughly clean and dry your bottle.
- Print out a pattern and cut it to fit the bottle.
- Cut out a piece of carbon paper the same size as your pattern.
- Tape the carbon paper and pattern to the bottle with the carbon facing the bottle.
- Use a pencil to trace the pattern onto the bottle.
- Lift up one side carefully to inspect all areas to make sure every area is covered.
- Trace a second or third pattern around the bottle if desired to cover the entire bottle.
- Paint the colors you like inside the pattern lines.
- After the paint dries give it a second coat if desired.
- Outline the areas with a raised paint outliner in black.
- To set bake at 176 degrees for 2 hours or wait until after 7 days for natural air drying.
Leave a Reply