

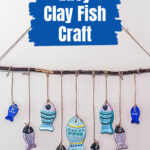
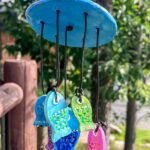
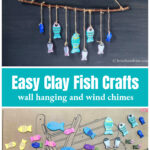
Learn how to create these fun and easy clay fish that can be used in a variety of ways, including a wall hanging or a decorative wind chime.
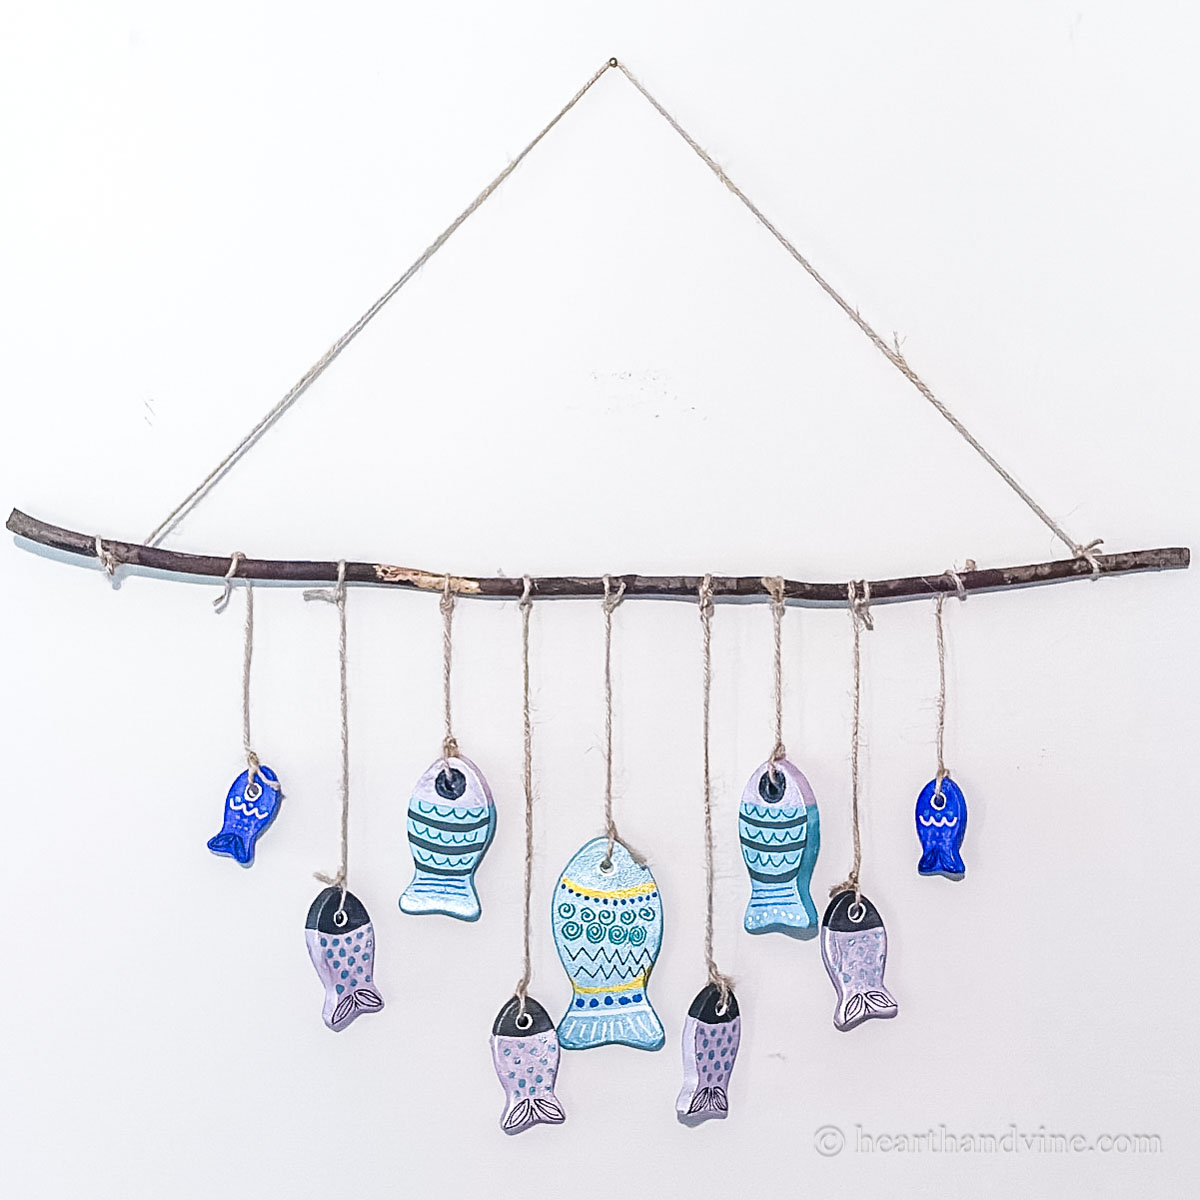
This was a fun craft I made with my sister on vacation. We made a wall hanging and two wind chimes. We cut out fish and round clay discs a couple of days ahead of time, then enjoyed an afternoon painting the fish and putting the pieces together.
More Air Dry Clay Crafts: Pressed Flower Tray.....Wall Pocket Vase.....DIY Flower Frogs
This post contains some affiliate links (that means if you make a purchase after clicking a link, there’s no additional cost to you, but I will earn a very small commission. ) i.e. as an Amazon Associate, I earn from qualifying purchases. Click here to read my full disclosure policy.
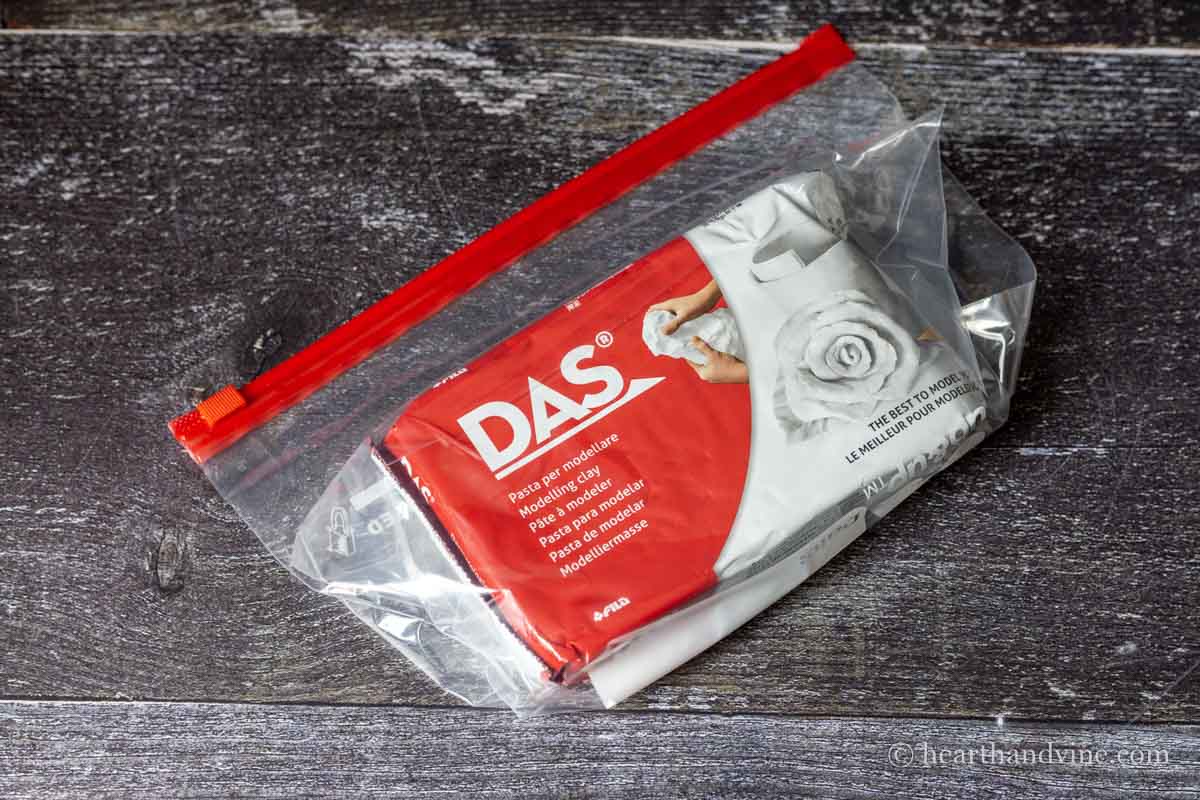
Supplies
- Scissors
- Craft Rolling Pin for Clay
- Wooden Skewer
- Fish Cookie Cutters and a round lid for wind chimes
- Paint brushes
- Plastic Mat
- Air Dry Clay
- A long, thin branch for a wall hanging.
- Acrylic Paints
- Acrylic Paint Pens
- Polyurethane Spray
- Twine or Cording
- Round Ring or D-ring for hanging
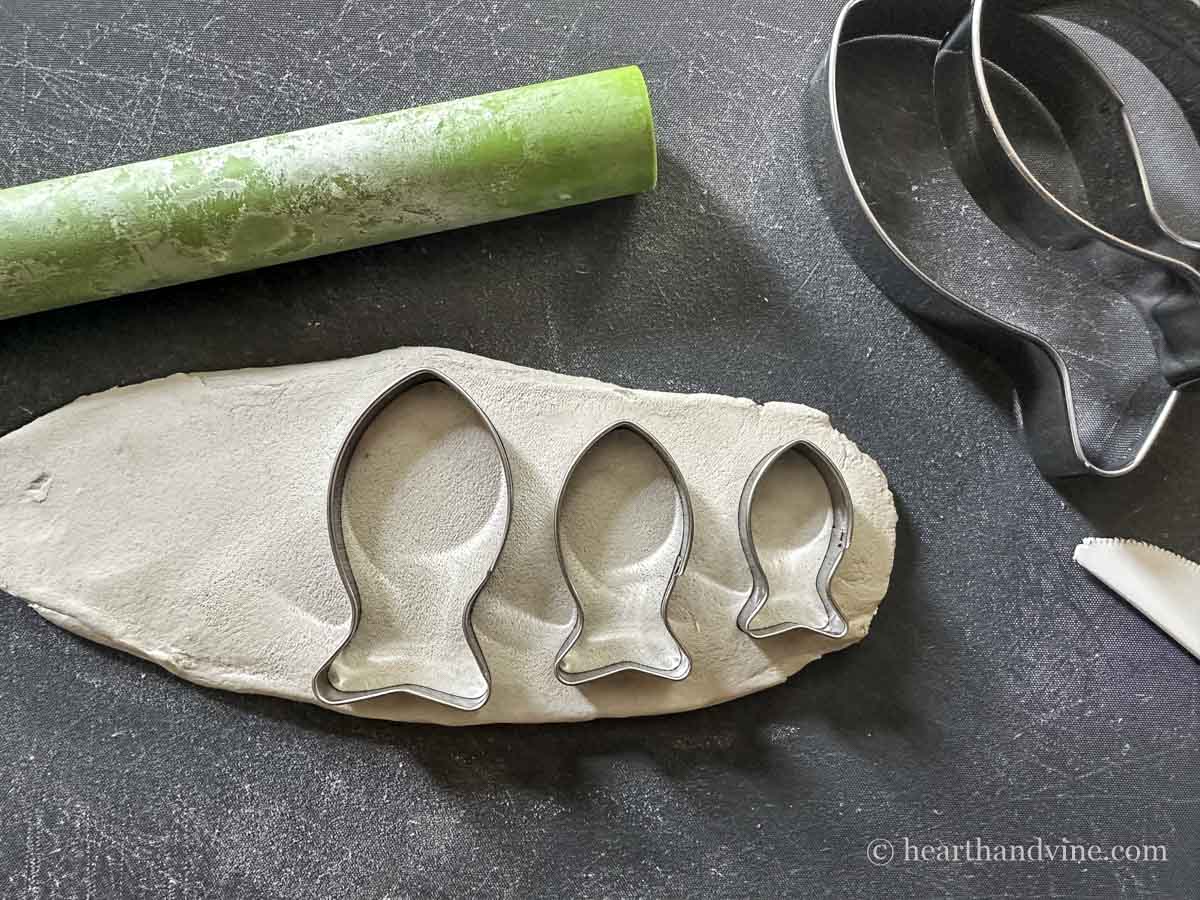
Making Clay Fish
Step 1. Roll out air-dry clay about 1/4 inch thick. If you don't have a clay rolling pin, you can use a smooth bottle or jar. Flip the clay a few times between rolling so it doesn't stick. Cut out the fish using cookie cutters. You could also make a template with thin cardboard and cut around it. If you want to make a wind chime, also cut out a round disc about 3-4 inches in diameter. You can do this with a lid, old jar, or freehand.
Note: For safety reasons, keep rolling pins, cookie cutters, or any materials separate from those you'd use for cooking.
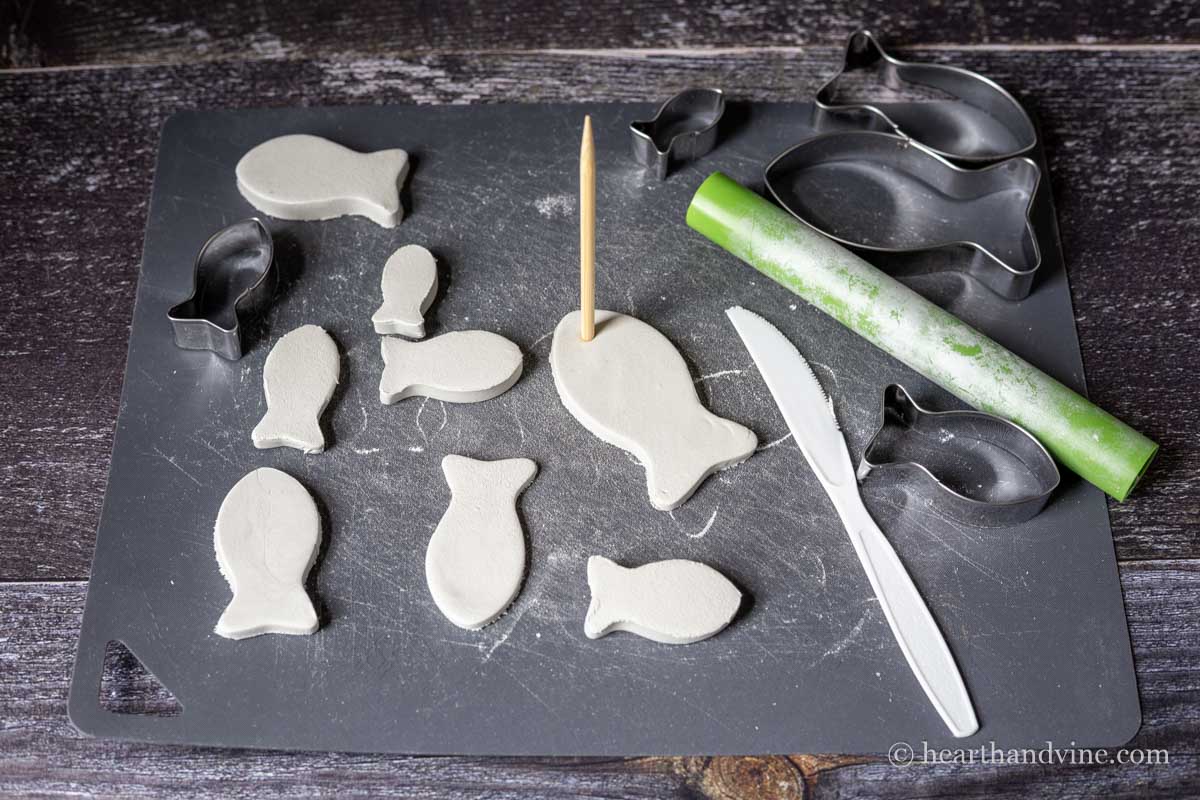
Step 2. Use the flat end of a skewer to make a hole in the eye area. For the wind chimes, make a center hole and a few holes around the edges of your disc.
Smooth the edges of the fish with your fingers. You can also use a skewer or plasticware to add texture to the tail fins or fish body at this point.
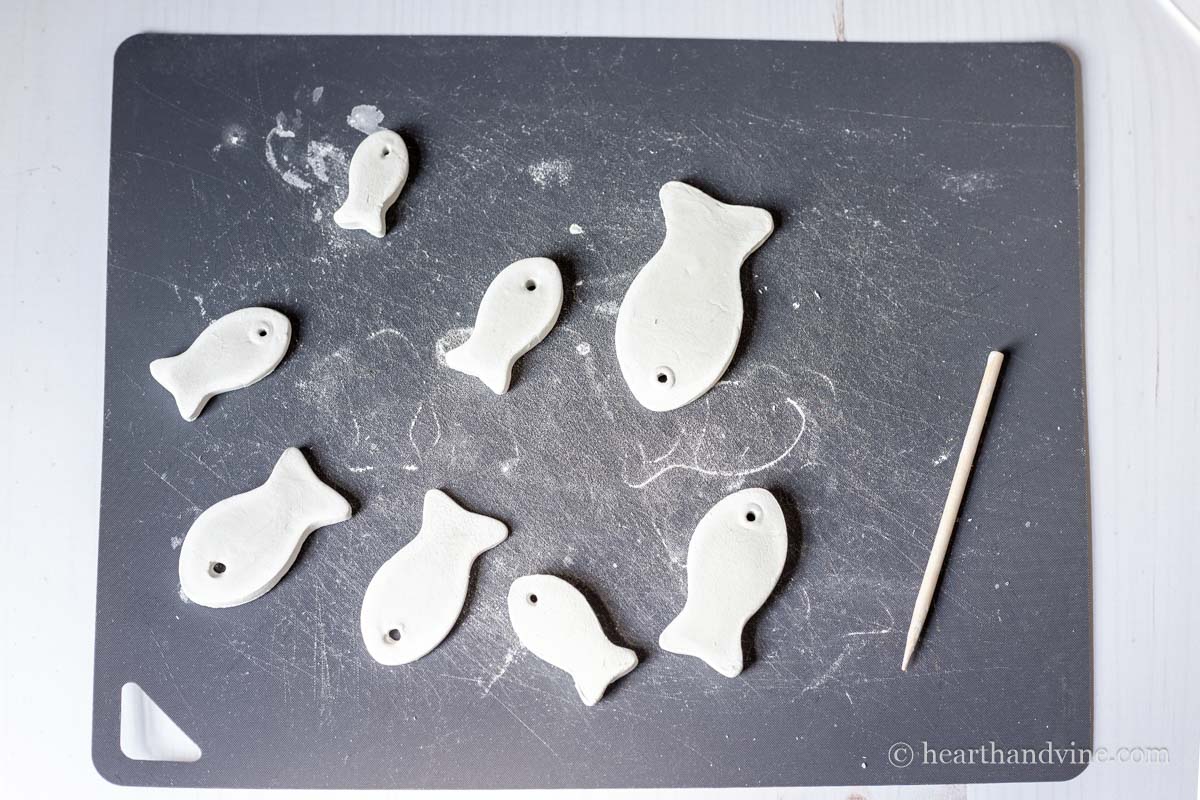
Step 3. Let the fish dry completely, turning them over a few times while drying. This took over 2 days for me and will vary depending on the temperature and humidity.
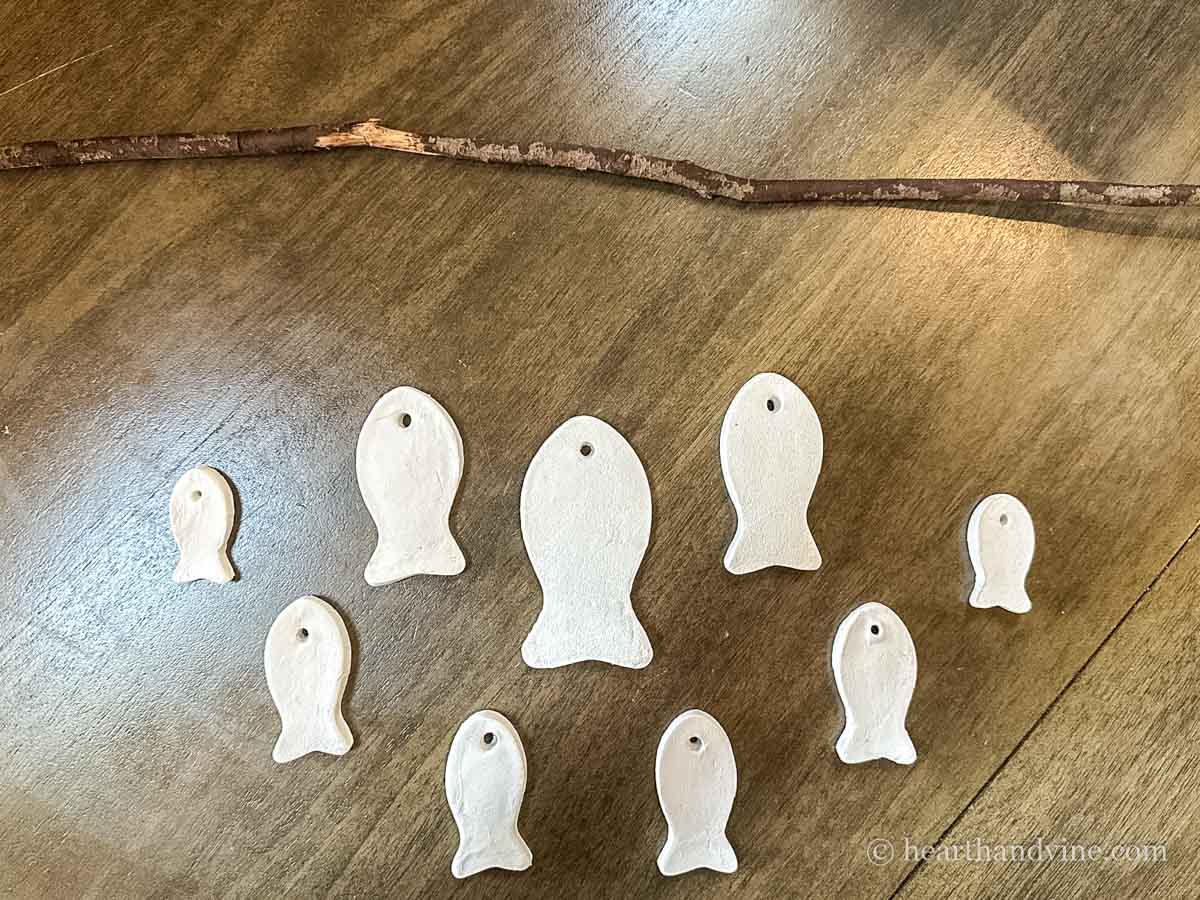
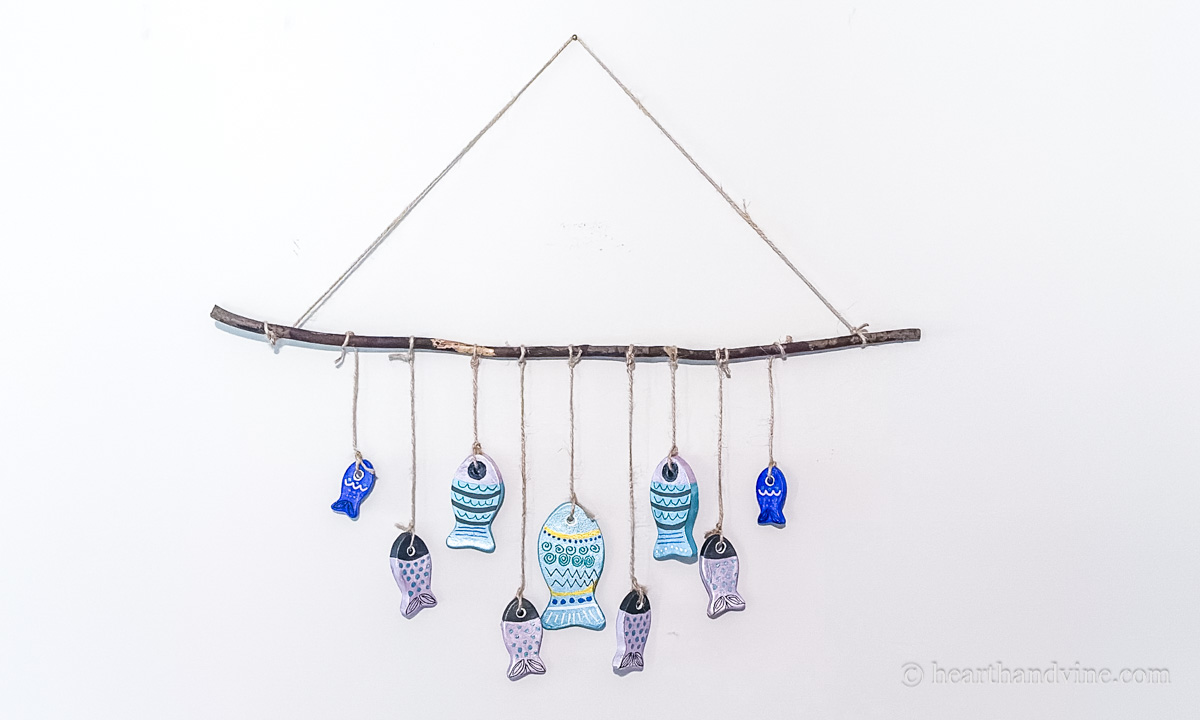
Step 4. Make a plan. I was making a wall hanging, so I laid out my fish below a branch to see how I wanted the final look. Then I took a pic with my phone for future reference.
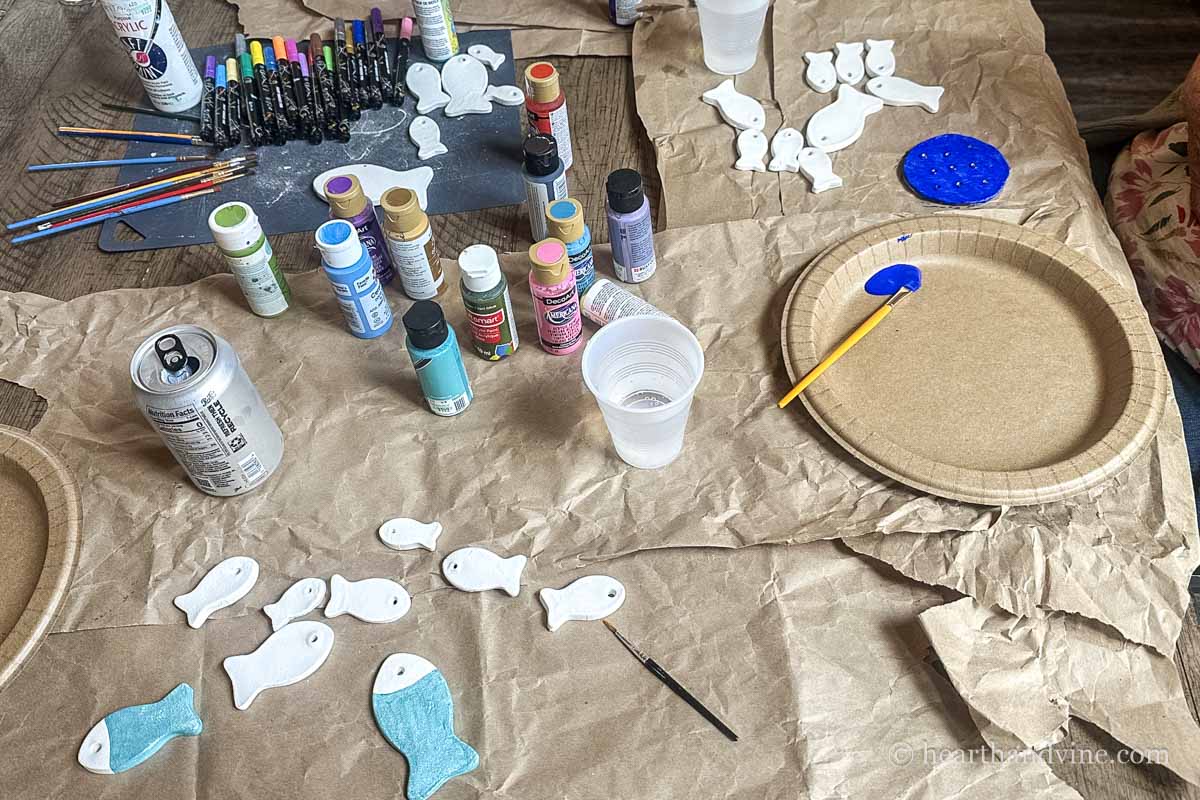
Step 4. Once the clay is dry, use basic acrylic paints to decorate them. You'll want to paint both sides. However, acrylic paint dries pretty fast. We used brushes to paint larger areas, then added designs with paint pens on top.
Note: You can find all kinds of inspiration for painting ideas from ours, places like Pinterest, so simply Google clay fish.
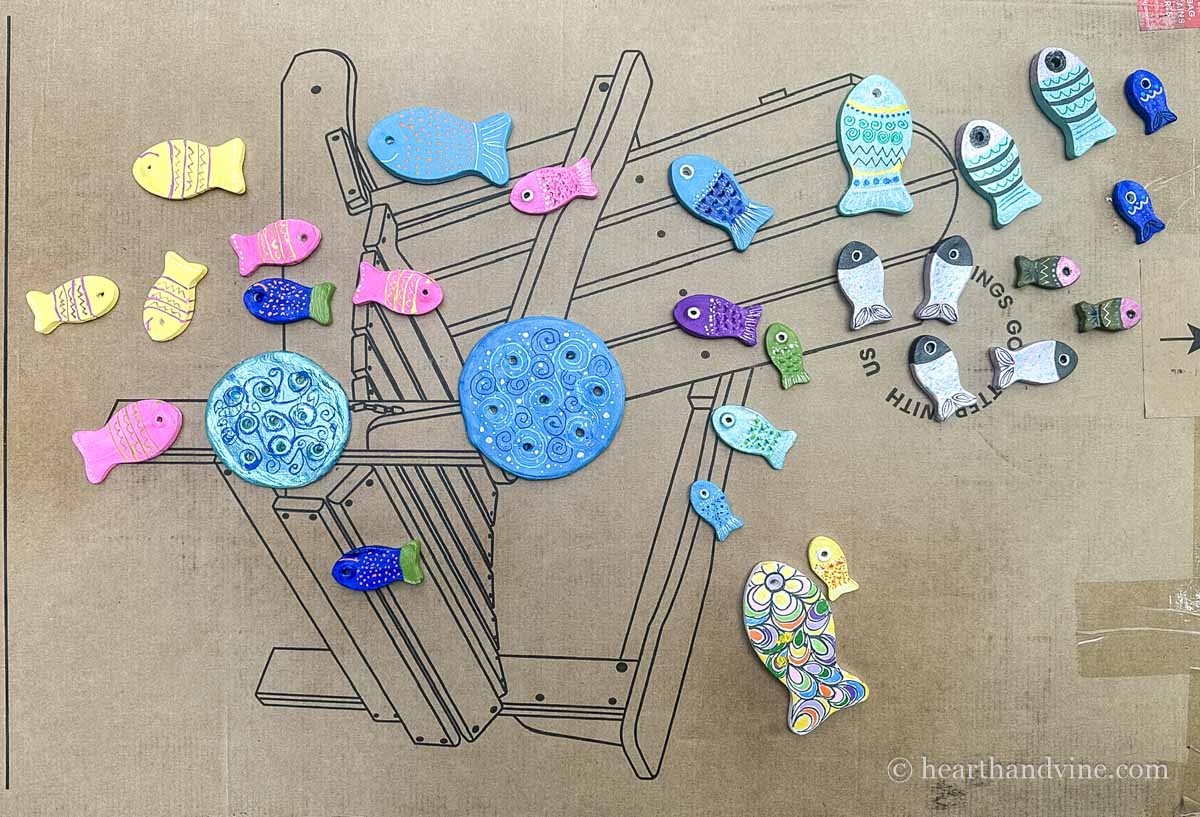
Step 5. Once they were finished and dry, we sprayed them outside on some cardboard with a fast-drying polyurethane, using two applications on each side.
Note: The poly spray will protect the clay, but I would caution hanging them outdoors. A covered porch may be fine.
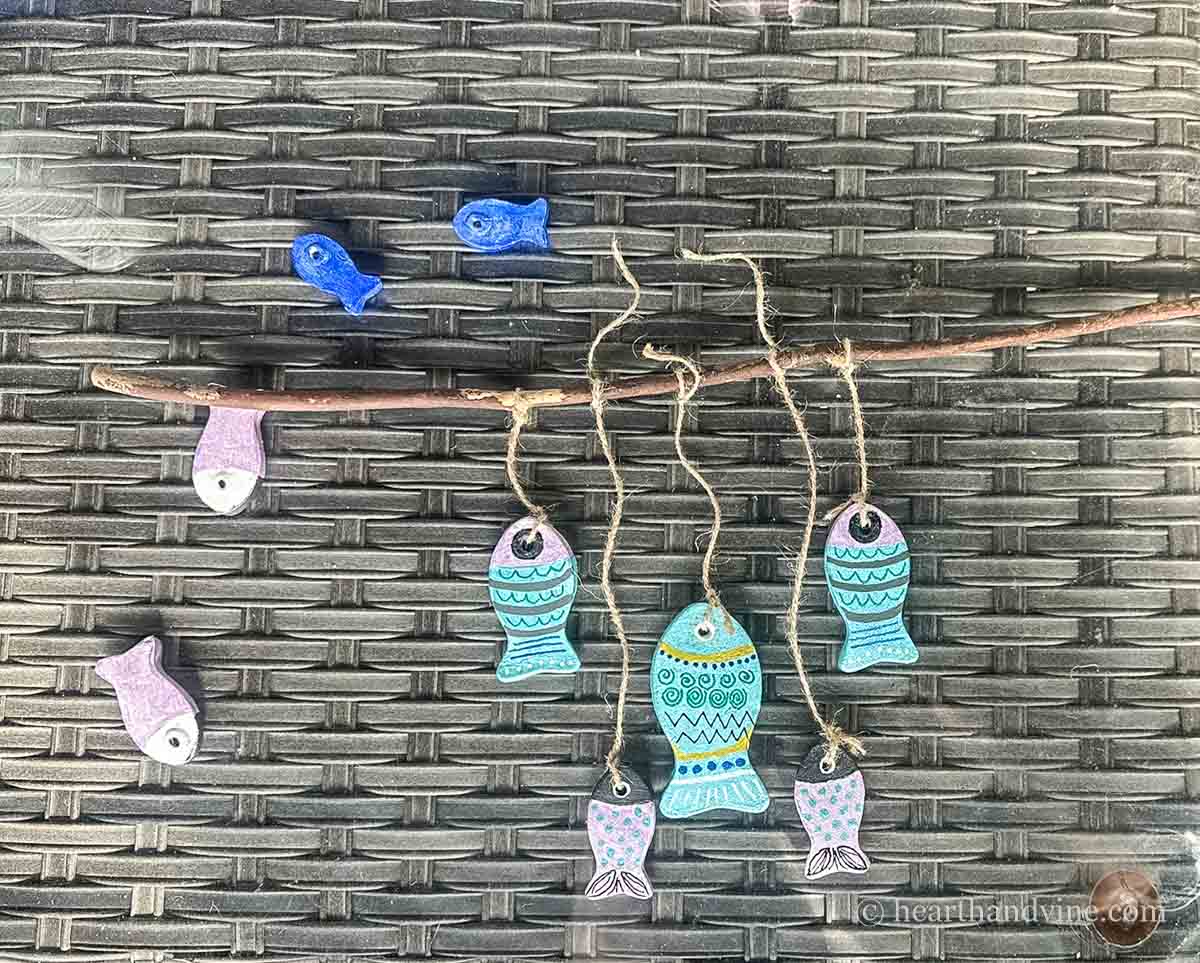
Making a Clay Fish Wall Hanging
Gather a branch from outside and clean it well. You can put it in the oven at 170 degrees for 30 minutes to kill any critters. Use some sandpaper or a rag to smooth any rough spots.
Refer to your picture and use twine or cording to tie a double knot through each eye. Then tie them to your branch with another double knot. Tie a long piece of twine to each end of the branch to act as a hanger.
Making a Clay Fish Wind Chime
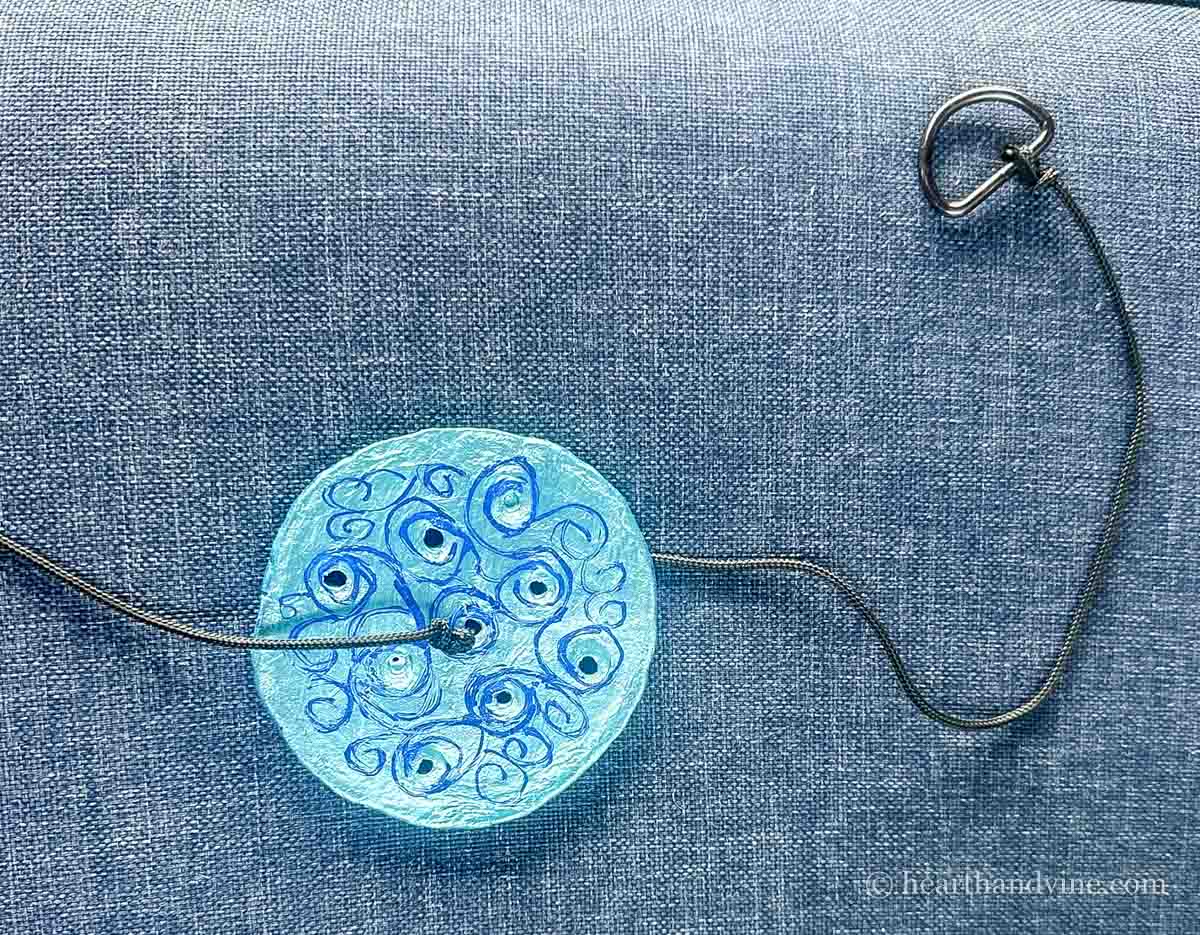
Cut a long piece of cord the length you want to hang plus a little extra. Tie one end to a ring for hanging. I had some D-rings in my craft stash, so that's what we used.
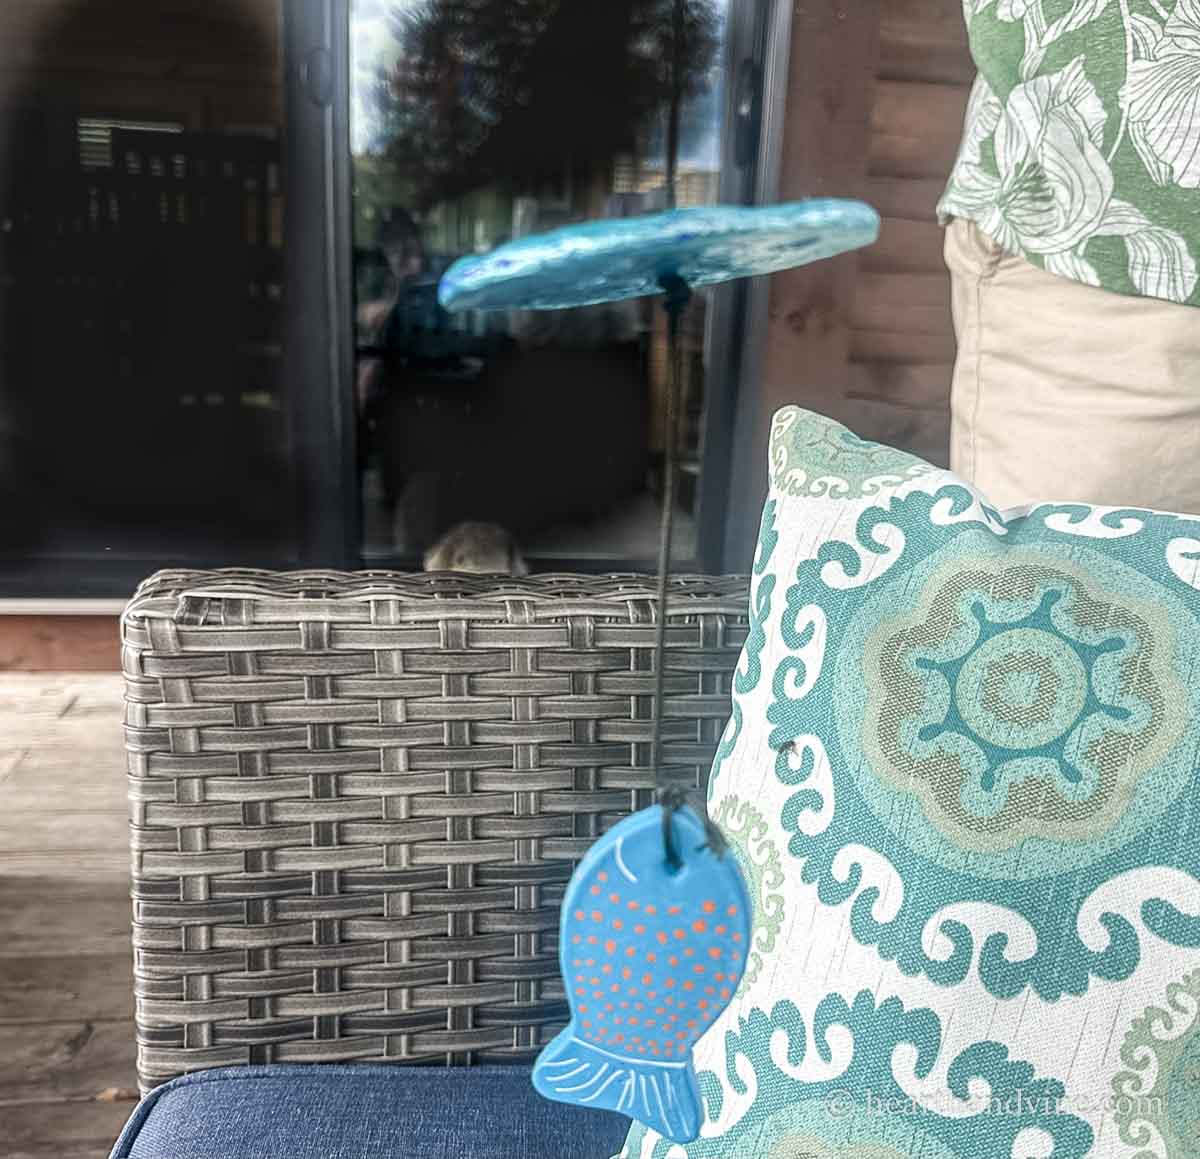
Then slide on your disc, making a double knot on the underside of the disc several inches below the ring.
Then tie your largest fish to the end through the eye hole.
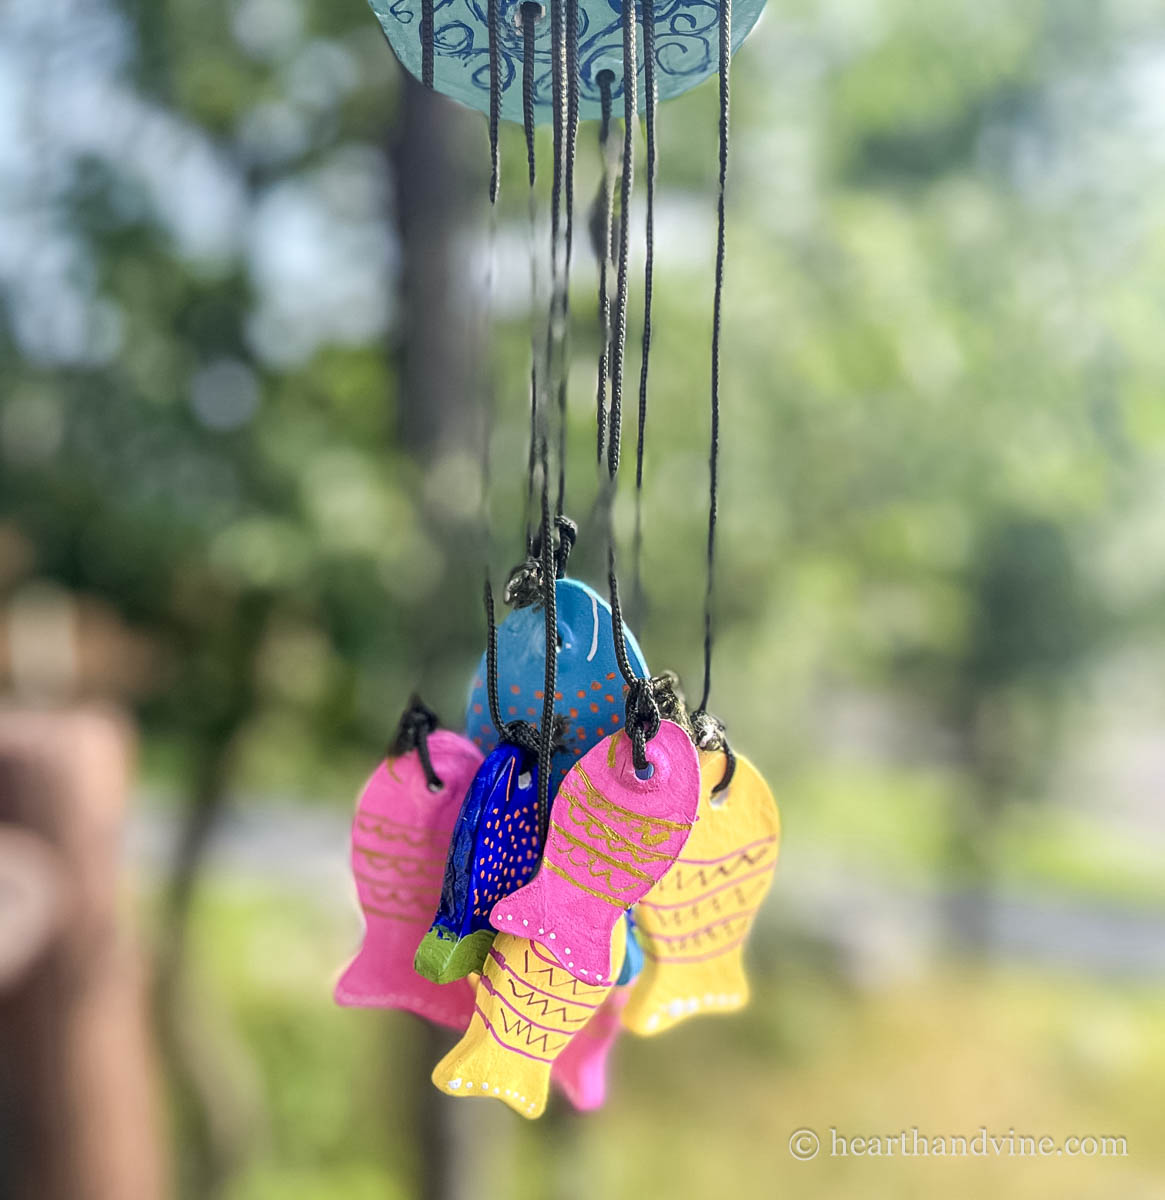
Finish by tying the smaller fish around the center fish through the holes you made in the disc. They can be longer, shorter, or about the same length. Though it is meant to look like chimes, the clay will not actually make much noise.
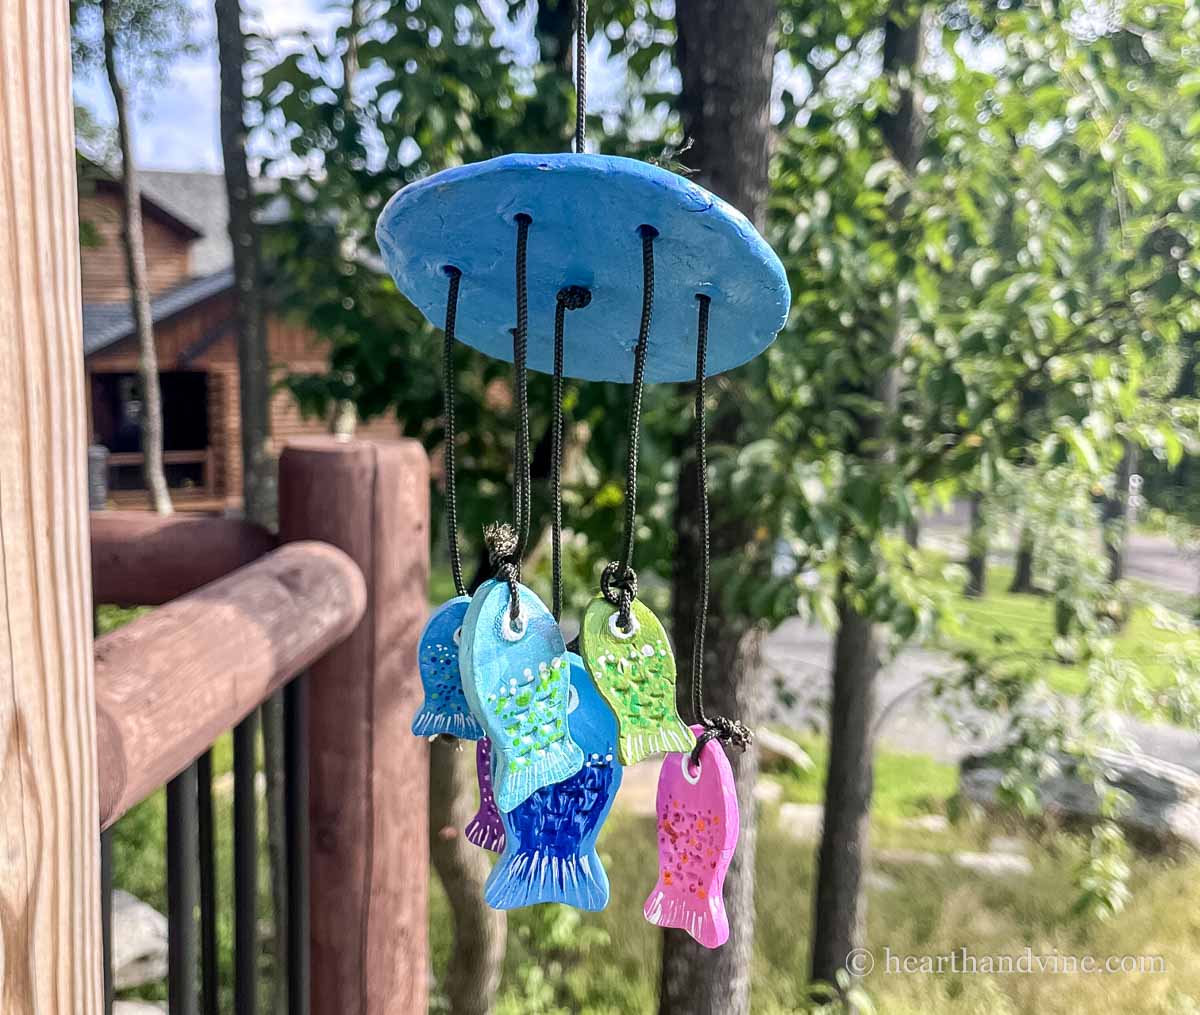
Aren't they cute! It's another fun activity to create with others, and you really can't go wrong.
So gather your friends and get the kids involved for a fun summer or anytime craft day.

Easy Clay Fish Craft
Equipment
- Scissors
- Fish Cookie Cutters and a round lid for wind chimes
- Paint brushes
- Plastic Mat
Materials
- Air Dry Clay
- A long, thin branch for a wall hanging.
- Acrylic Paints
- Acrylic Paint Pens optional
- Polyurethane Spray
- Twine or Cording
- Round Ring or D-ring for hanging
Instructions
- Roll out the clay to about 1/4 inch thick. Flip the clay as you go to keep it from sticking too much.
- Use the fish cookie cutters to cut out as many fish in the sizes you want.
- If you want to make a wind chime, cut out a round disc with a lid or cup.
- Smooth edges with your fingers.
- Use the flat end of the skewer to make a hole where an eye would be. For the wind chime, make a center hole and holes around the edges for fish.
- Let the clay dry completely. Flip the pieces over every 12 hours or so. This will take a good 2 days. You will be able to see and feel if they are dry.
- Plan out the fish sizes and layout. Take a pic with your phone.
- Paint the fish on one side with acrylic paints. Let them dry before turning over and painting the other side. Do the same to the disc for the wind chimes.
- Spray all the pieces on both sides with polyurethane.
- For the wall hanging, refer to your pic and tie the fish to the branch. Then tie more twine to the ends of the branch and hang it from the middle.
- For the wind chimes, tie the cording to a ring, then slide the round disc on and tie a knot below it to hold it in place. Then tie a larger fish to the bottom of the same cord.
- Tie the other fish onto the remaining holes at various lengths as you like.
Denise
This was lots of fun and I pretty easy to do. I want to buy some of this clay and try the pocket vase next. Thanks for the cool project!
Patti Estep
It was fun, and yours turned out great. Air dry clay is pretty easy to work with.