

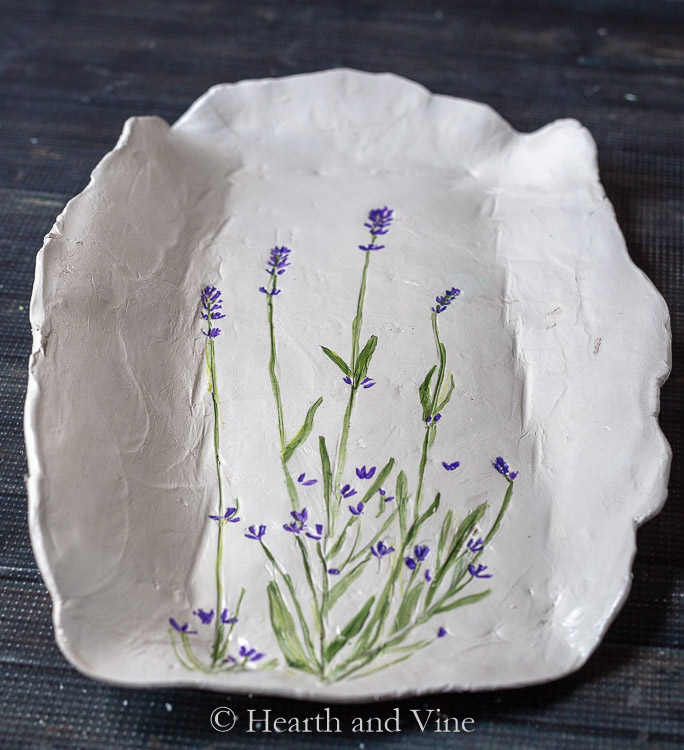
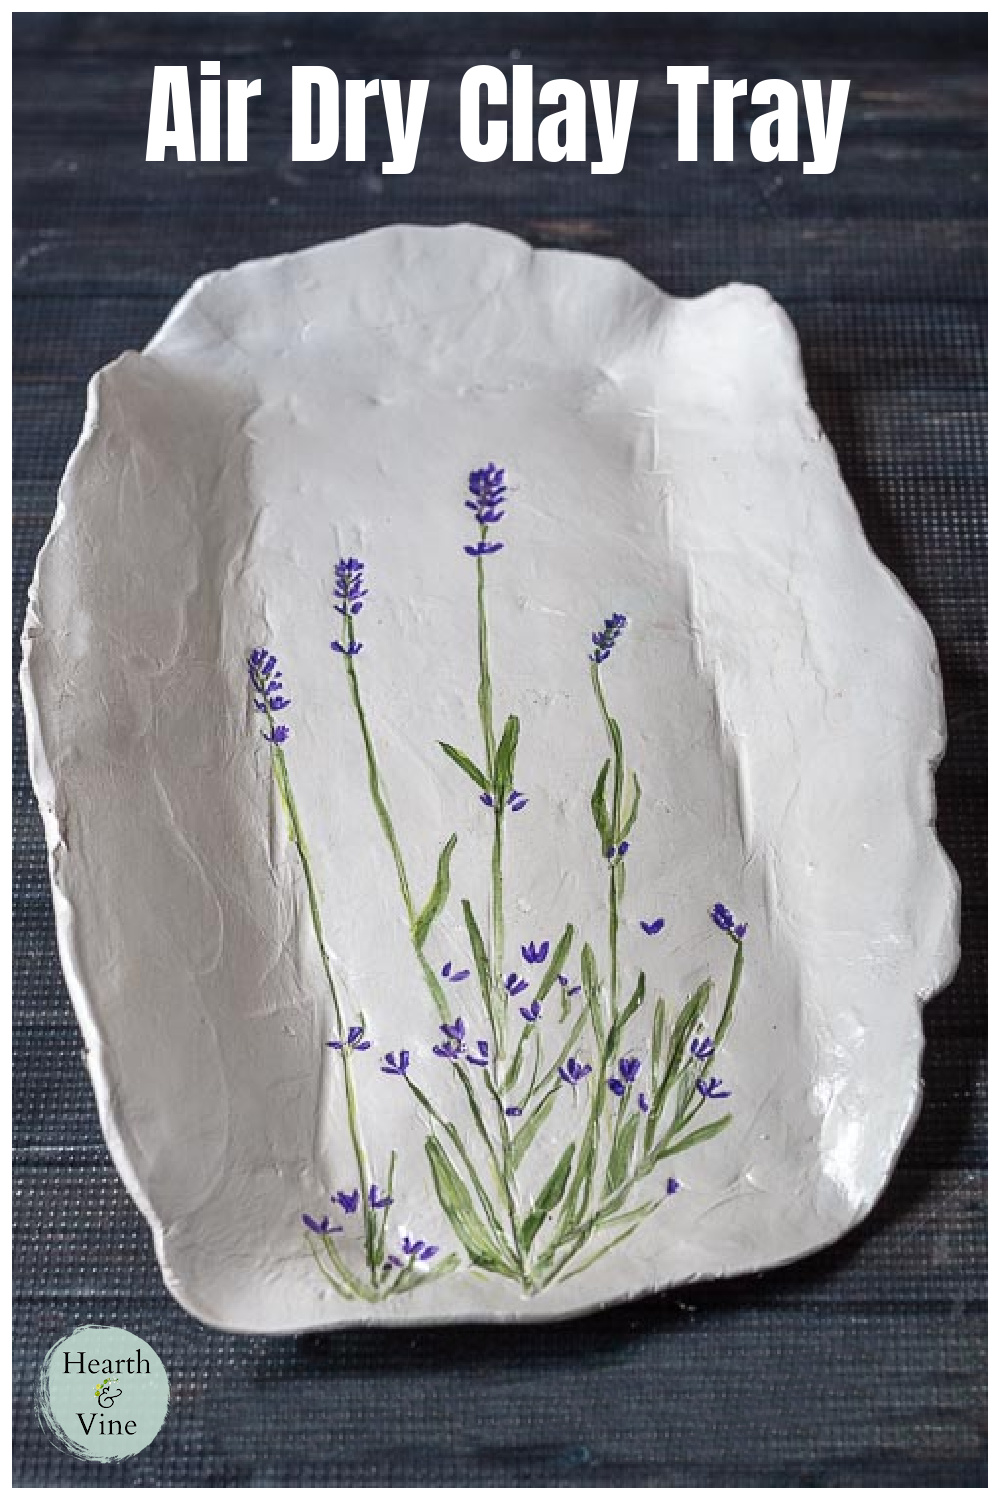
Learn how to make an air dry clay tray with flowers from the garden. It's really easy and makes a nice statement in your home.
A long time ago I took a clay class with my older sister at The Penn View Art Center. The center was run by, Sr. Edith Nemeth from the neighboring Divine Redeemer motherhouse.
Sr. Edith was a wonderful person, always smiling and sharing her love of ceramics, painting, and other art forms. She received her MFA from Carnegie Mellon University and loved to share her knowledge with others. Sadly she passed away in 2013. I know those whose lives she touched will remember her always.
One of the projects we made in the clay class was a decorative tray or bowl. Today I'm sharing a similar idea in remembrance of Sr. Edith. Since I don't own a kiln (but that would be so fun,) or have access to one, I'm working with air dry clay . This is very similar to the trinket jewelry dish I made. However, it uses polymer clay.
Sections At A Glance
This post contains some affiliate links (that means if you make a purchase after clicking a link, there's no additional cost to you, but I will earn a very small commission. ) i.e. as an Amazon Associate, I earn from qualifying purchases. Click here to read my full disclosure policy.
Supplies
- Rolling Pin or Clay Roller
- Craft Knife
- Paintbrush
- Air Dry Clay
- Fresh or Artificial Flowers
- Craft Paints or Paint Pens
- Polycrylic Sealer
- Wax Paper
- Basket or Bowl for shaping
Making a Handmade Clay Tray
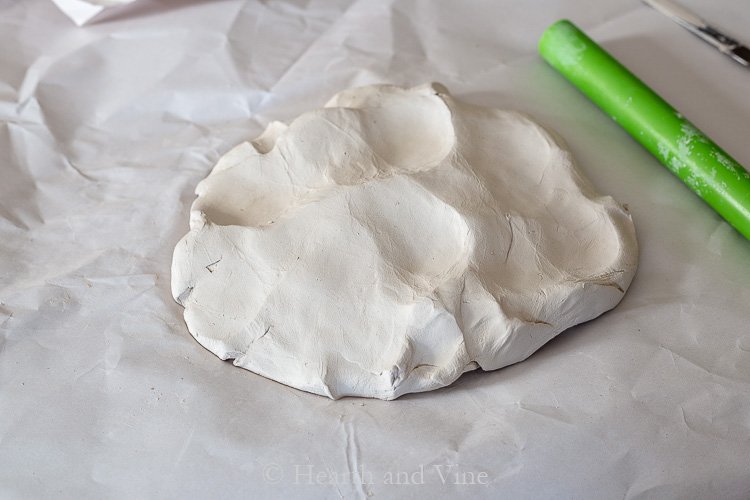
Step 1. The first thing you need to do is work the clay to distribute the moisture and soften the clay.
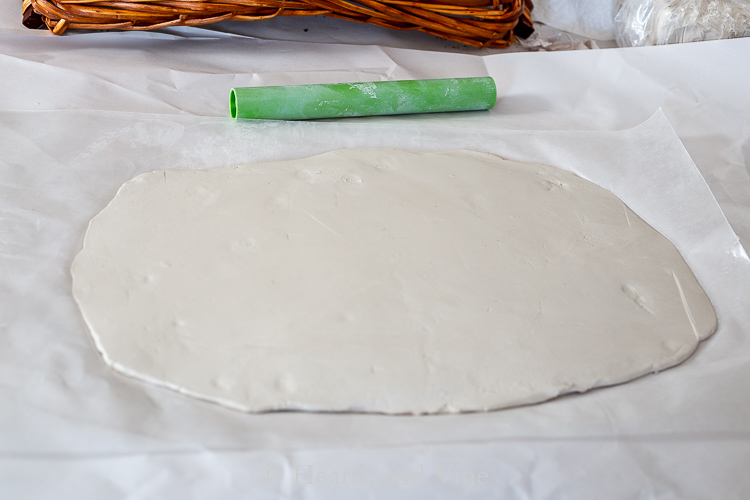
Step 2. Use a clay roller or an old rolling pin to roll out the clay on some wax paper. This one is rolled out about 1/4 inch thick.
Step 3. Cut and smooth the edges to make a more perfect shape or leave it rough, as I did.
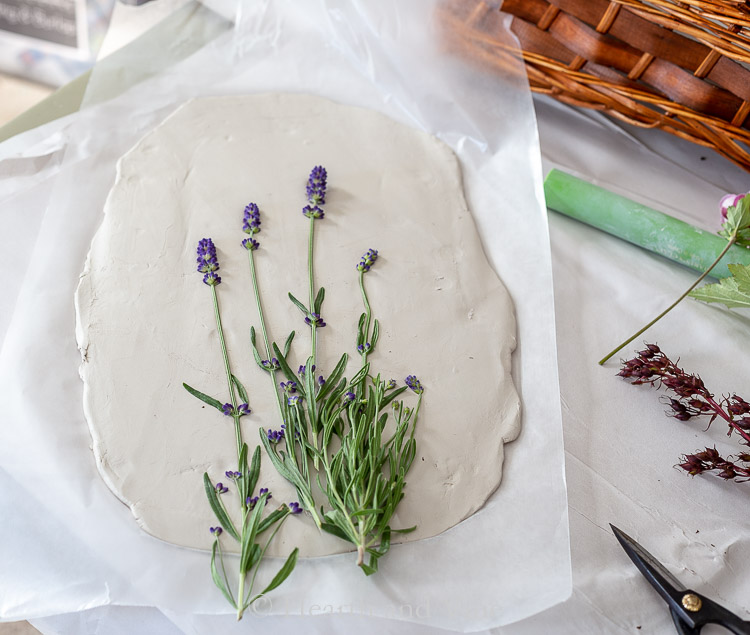
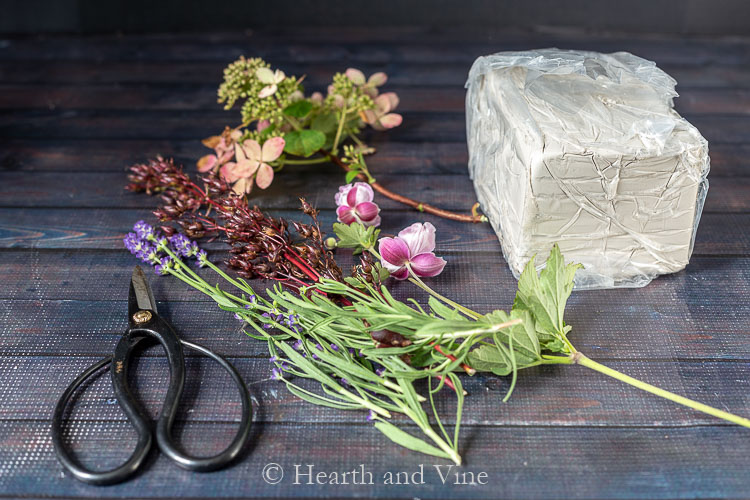
Step 4. Next, pick some flowers or branches from your garden. Wash and dry the plant material and gently press them into the clay.

This lavender left a beautiful imprint.
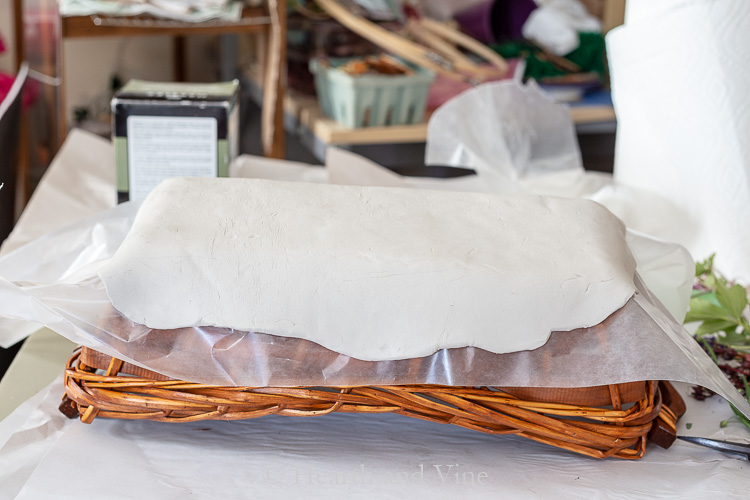
Step 5. Cover the clay with another piece of wax paper on top and then flip it over onto a bowl or basket as shown here.
Step 6. Allow the clay to dry. After a day or two, the tray should be dry enough to remove.
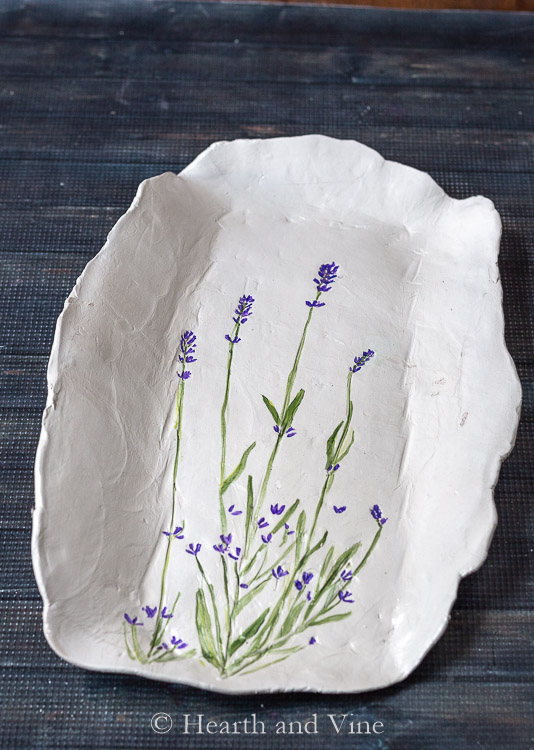
Step 7. Use craft paints or paint pens to fill in indentations from the blossoms and leaves.
Note: If you want to remove the texture and rough spots use some sandpaper to sand them away before you paint the piece.
Step 8. Let the paint dry and then apply a coat of polyacrylic
 for protection and a nice glaze finish. I used one with a satin finish but you can also use a matte or gloss finish.
Note: This is purely a decorative piece. You cannot serve food on it and it cannot be washed. However, you could place some parchment on the plate and set the food on the paper.
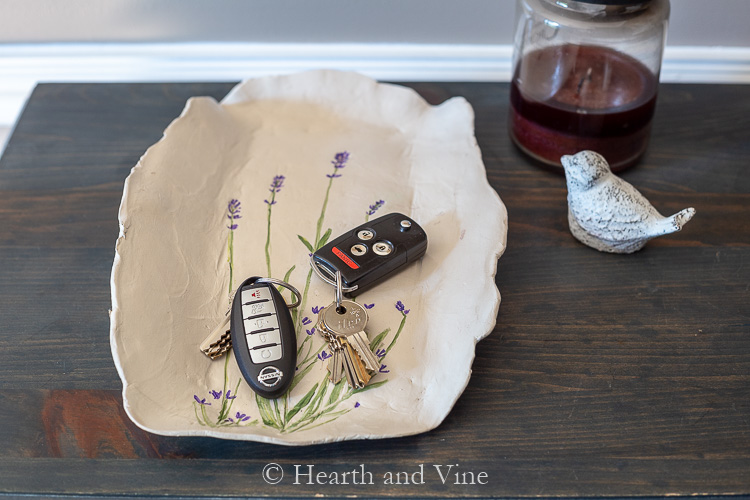
We currently are using this clay dish as a place to toss keys, mail, and loose change. It is very rustic. The edges are rough and the sides could have been more even but you get the idea.
Use your own creative sense to make it as perfect or as rough as you like.


DIY Handmade Air Dry Clay Tray
Equipment
- Rolling Pin or Clay Roller
- Knife for Clay
- Small paintbrush
- Foam brush
Materials
- Air Dry Clay
- Fresh or Artificial Flowers
- Craft Paints or Paint Pens
- Polycrylic Sealer
- Wax Paper
- Basket or Bowl for shaping
Instructions
- Work the clay with your hands to soften it.
- Roll the clay out to 1/4 inch thickness in the shape you like, ie square, or rectangle onto wax paper.
- Cut and smooth out edges as desired.
- Press clean dry flowers into the tray with a rolling pin.
- Place another piece of wax paper on top and flip the clay onto a basket or bowl for shape.
- Once the clay is dry flip it back over and paint the indentations with craft paint.
- Let the paint dry then coat the entire tray with a polycrylic sealer using a foam brush.
Notes
Kathleen Pisacano
WHERE CAN I FIND AIR-DRY CLAY?
Patti Estep
Kathleen, there is a link on the words "air dry clay" in the post to buy it on amazon. However, most craft stores should carry it too.
MrsSW
Hi Patty - this is one of the best projects you've done - beautiful and perfect with the lavender impression. Thanks for sharing.
Sheila
Patti Estep
Aww. Thank you Sheila. What a great way to start off the week.
MrsSW
OOPS! Spelled your name wrong - sorry, I meant to correct but hit post too soon.
Patti Estep
No worries. In fact, I didn't even notice. 🙂
Linda Jarvi
Where can I find more air dry clay projects?
Patti Estep
Linda, I would just Google "air dry clay crafts" or search the same in Pinterest.
Mickey Davenport
Patty, I too took a weaving class from Sr Edith Nemeth! She was such a wonderful and inspiring teacher! I will always treasure my time spent with her!
Patti Estep
Oh Mickey, that's so nice to hear. I wish she was still around. I'd love to take any of her classes today.
Carole West
What a neat idea and the perfect gift too. A series of these would also be nice hanging on a wall somewhere indoors. I'm thinking a christmas themed one would be neat imprinting with pine, cedar and cones.
Patti Estep
Carole, that's an excellent idea!