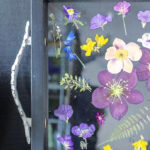
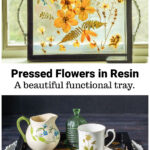
This tutorial shows you how to create a pressed flower resin tray from a photo frame and liquid glass. Makes a great gift for someone special in your life.
I was inspired by a photo I saw recently of an old window frame that was decorated with gems and sea glass and hung as art. I thought about trying something like this with pressed flowers, but I never found the right window.
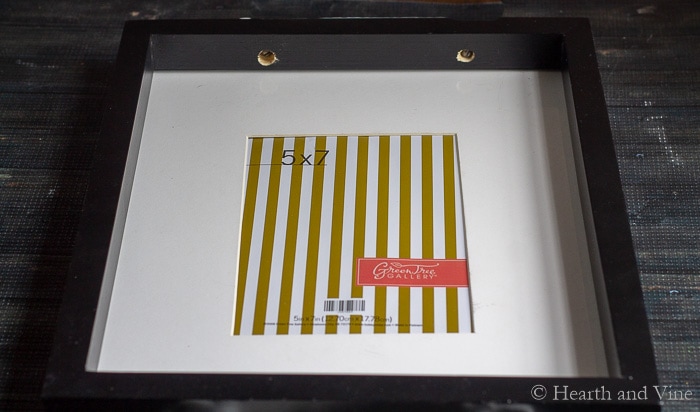
So one day while I was at Hobby Lobby, I noticed some shadow boxes and thought they might work. Well, I ended up buying this photo frame and turned it into a serving tray. Heads up. This one takes a few days to make due to drying times, and you'll need to press flowers a few weeks before or buy them.
In addition, if you enjoy this project you can try making similar resin art such as resin coasters or resin jewelry pendants with dry flowers.
This post contains some affiliate links (that means if you make a purchase after clicking a link, there's no additional cost to you, but I will earn a very small commission.) i.e. as an Amazon Associate, I earn from qualifying purchases. Click here to read my full disclosure policy.
Supplies
Deep Picture Frame
Handles
Mod Podge
Pressed Flowers
Tri-Art Liquid Glass
Clear Caulk
How to Make a Tray with Pressed Flowers in Resin
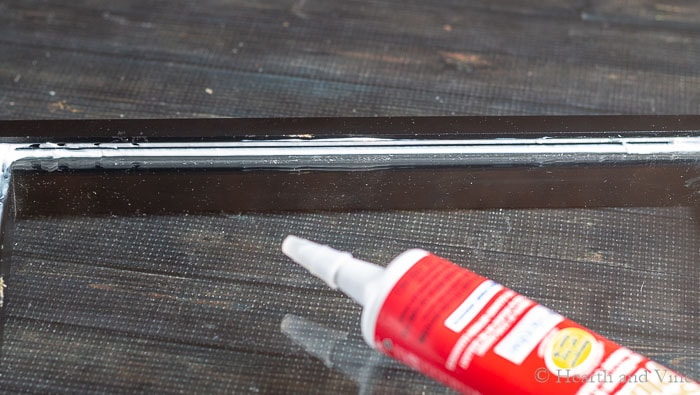
To make this pressed flower resin tray start by removing the back and paper. Then run a bead of clear caulk around the edge of the glass on the backside. It comes out white so that you can see what you are doing, but will dry clear.
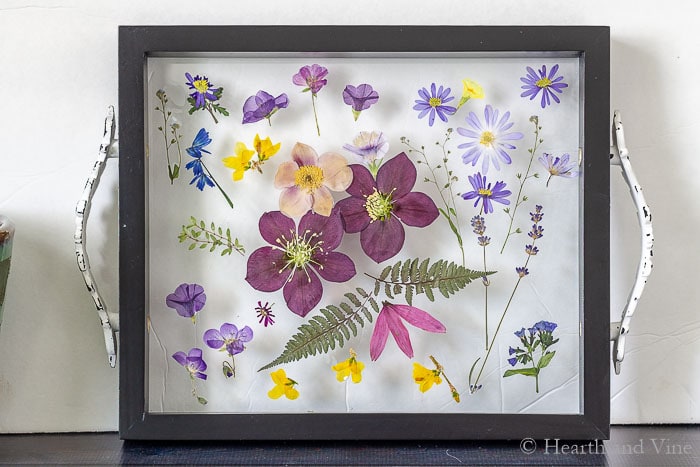
Next drill holes in the sides and screw in the handles.
Make sure you press your flowers and leaves a few weeks beforehand. To press flowers you can use a heavy book, the microwave, or silica gel. Or if you are short on time buy some pressed flowers online.
You could also try dried flowers but then you'd need more resin and a deep enough frame to cover them.
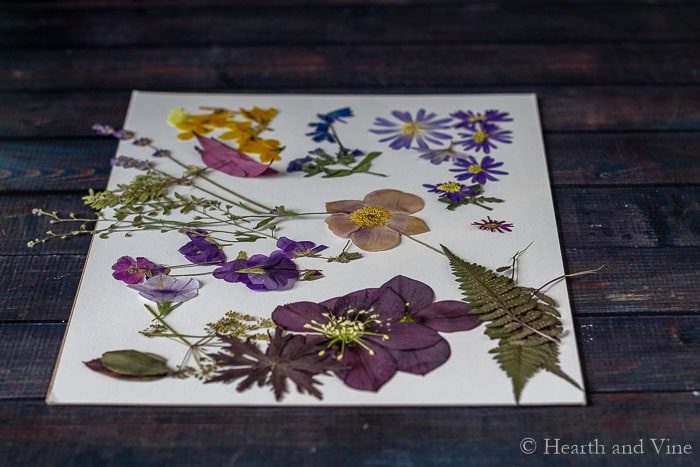
Using Mod Podge or any glue that will dry clear, carefully glue your flowers to the glass.
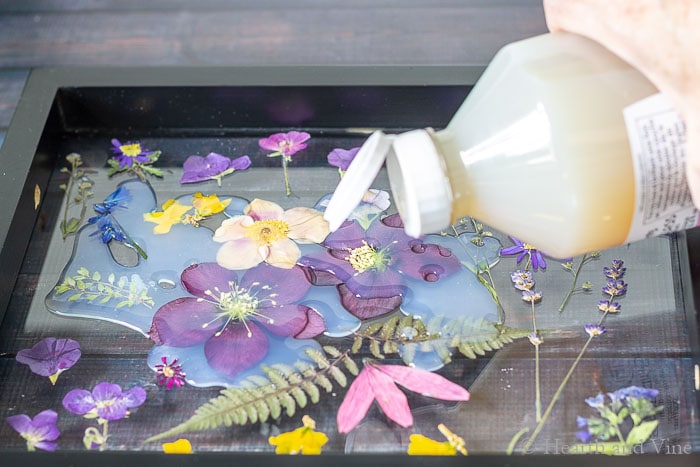
Wait for the glue to dry, and then carefully pour the liquid glass all over, using just enough to cover the plant material.
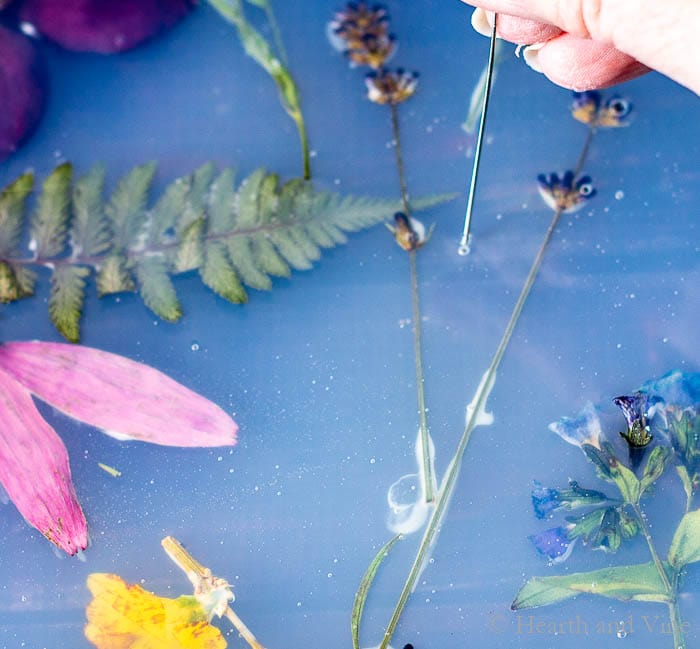
You can see here that I didn't wait long enough for the Mod Podge to dry. However, eventually, it did dry.
If you have bubbles you can use a pin or toothpick to break them. Or try a heat gun on very low heat.
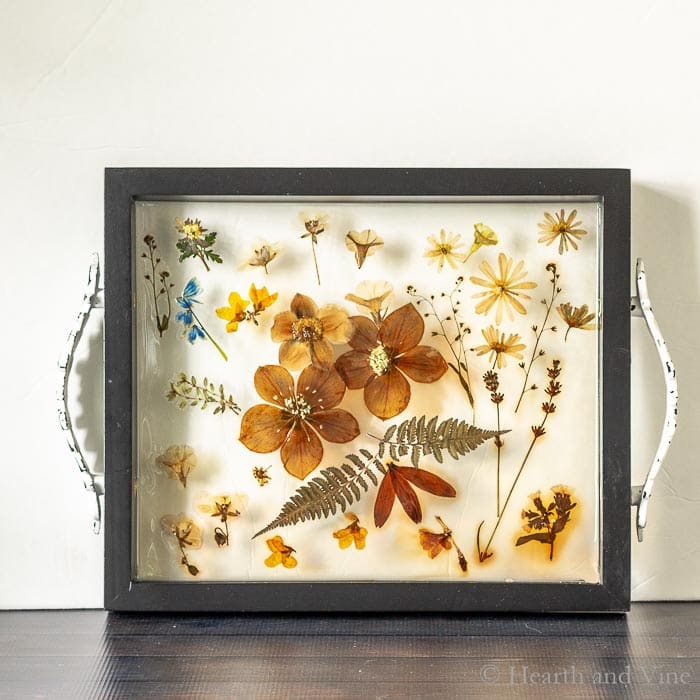
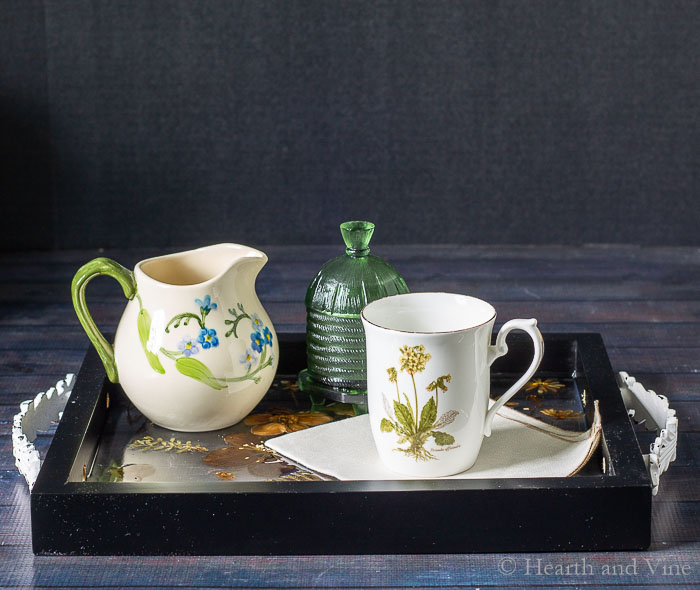
Here's what the tray looks like after 2 days. The liquid glass is still a little tacky.
It didn't totally harden until about day 3.

Though it did turn out pretty, I'll admit that I was disappointed that the colors changed with the liquid glass.
Another option would be to get a piece of glass or Plexiglas cut the same size, similar to the bleeding tissue paper tray I made last year. This could be placed over the flowers and glued in with caulk.
It was fun trying a new product, and I imagine that it would work well with inorganic materials too.
Wouldn't this be great for special bouquets such as a wedding bouquet preserving flowers from that special day?


Pressed Flower in Resin Tray Tutorial
Equipment
- Tweezers
Materials
- Deep Picture Frame
- Handles
- Mod Podge
- Pressed Flowers
- Tri-Art Liquid Glass
- Clear Caulk
Instructions
- Remove the back and paper of the picture frame.
- Run a bead of clear caulk around the edge of the glass on the backside.
- Drill holes in the sides and screw in the handles.
- Make sure you press your flowers, petals, and leaves a few weeks beforehand. If there is any moisture the resin may not cure properly.
- Carefully glue your flowers to the glass with mod podge or any glue that will dry clear.
- Allow the glue to dry.
- Carefully pour the liquid glass mixture all over, using just enough to cover the plant material.
- Remove any bubbles with a pin.
- Let dry overnight. Note: the drying process may take a few days.
Dionne
Beautiful. Would make a wonderful gift <3
Patti Estep
Thanks Dionne. I agree. It would make a nice gift.
Julie Briones
Love this project! (Though, I would have been disappointed about the colors changing, too! 😉 )
Diane
I LOVE this for my front porch. Fun idea for a coffee or tea tray or just left out there. Just about anywhere really. So cute!
Phyllis
Lovely! Can I come live in your workshop and play?! It always looks like such f•u•n!!
Patti Estep
Thanks Phyllis. One of these days I may start doing workshops but for now it's just one of those things on my ideas list.
Karen
This is gorgeous, Patti! It's a great way to save special flowers or to just showcase some of the season's best wherever you are.
Liquid glass is new to me and now I'm curious to give it a try.
This is such a great project - beautiful AND useful!
Patti Estep
Thanks Karen. This is my first attempt with liquid glass and it wasn't hard to work with but I am disappointed at the color loss of the flowers. I have no idea if another resin would work better, however, I have seen real flowers in resin necklace and the like so I'm sure it's possible.
Carole West
I love this idea cause you can also hang it on the wall when not using. Serving tray projects are the best and I'm finding a wonderful thing to have around the home. I need to get creative outside of using wood and I really like the idea of using plexiglas.
Patti Estep
Thanks Carole. I think it would be great as a wall hanging too.