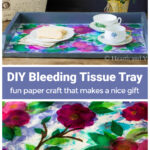
Bleeding tissue paper art is easy to work with and gives a wonderful watercolor look. Techniques vary, but all work well and make for beautiful artwork.

Bleeding tissue paper art is probably something that you may have seen before. Specifically, a kid's projects come to mind for me. It wasn't until I came across the painting Birds on Canvas, from Crafts by Amanda, that I realized the beauty and versatility of bleed art tissue paper. It's definitely one of those art activities for crafters of all ages.
This post contains some affiliate links (that means if you make a purchase after clicking a link, there's no additional cost to you, but I will earn a very small commission. ) i.e. as an Amazon Associate, I earn from qualifying purchases. Click here to read my full disclosure policy.
How to Make a Bleeding Tissue Paper Art Tray
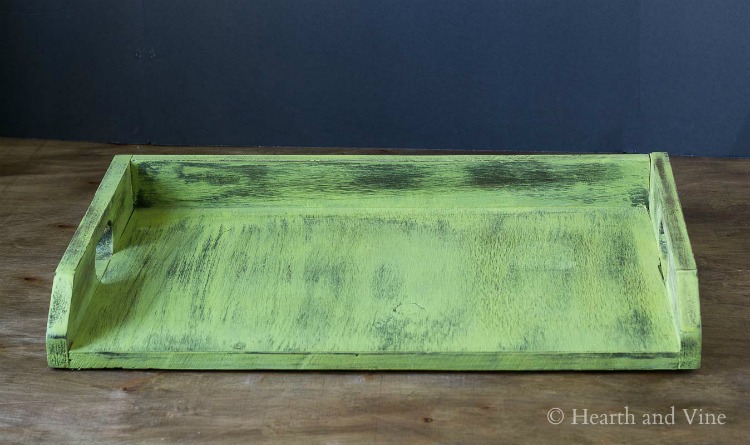
I found this sturdy tray at a thrift store. The shape was great, but not the color so I spray painted it a nice gray color. I thought it would be a great base for a painting.
So I cut a piece of watercolor paper to fit. If you are working in a smaller space you could also try white cardstock paper.
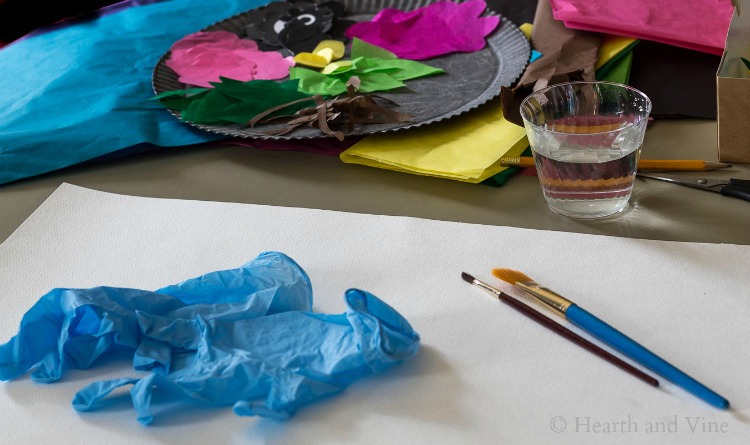
Amanda suggested wearing gloves, and I'm glad she did because the tissue paper comes off on your hands pretty easily.
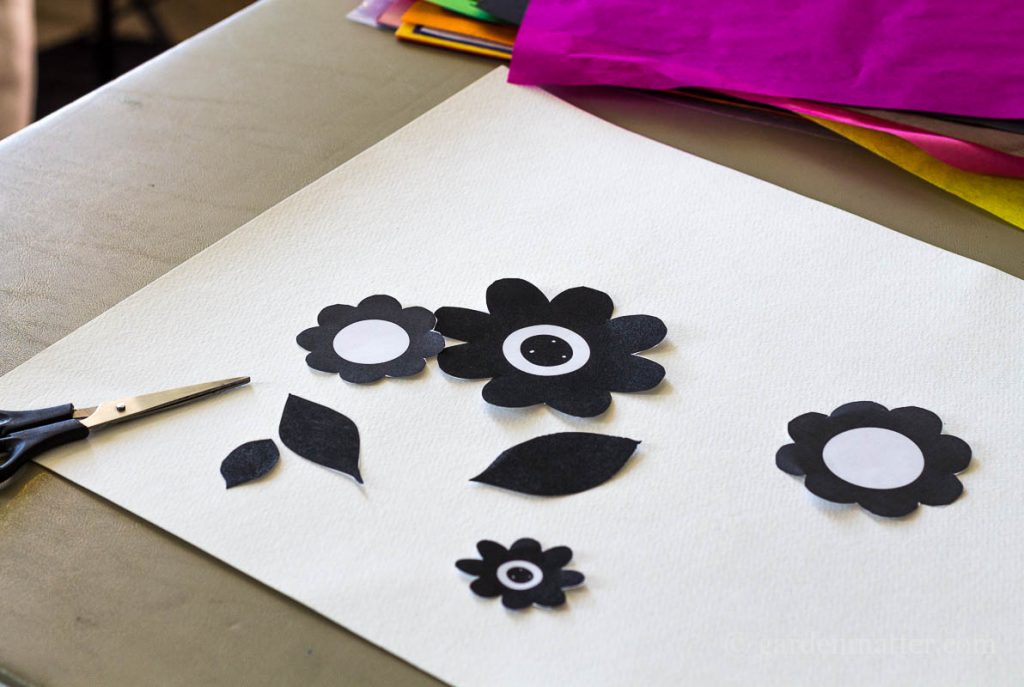
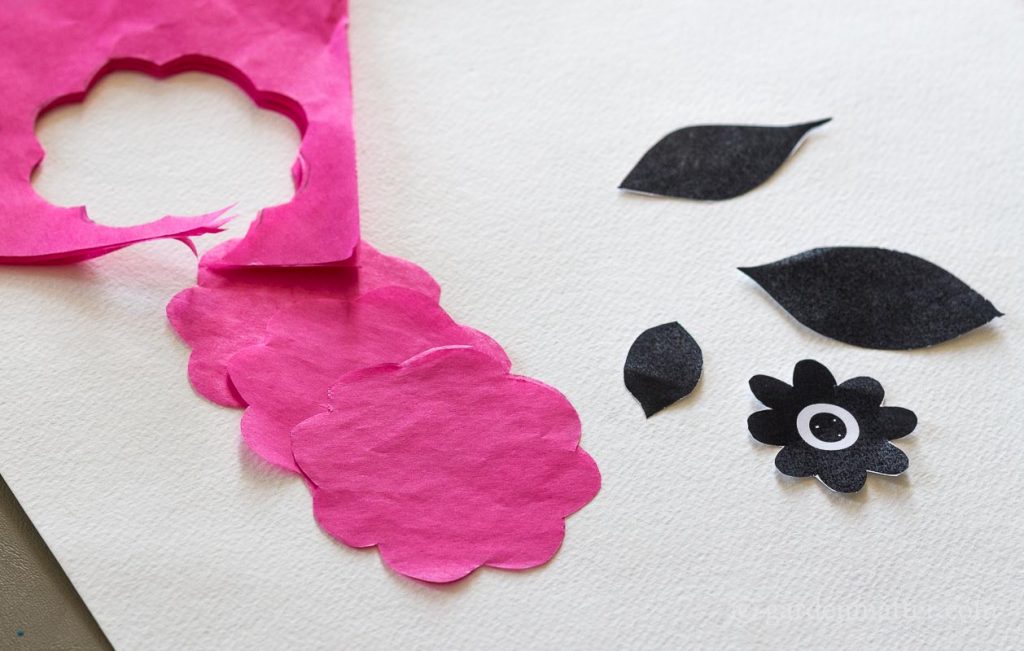
I cut out some basic flower shapes to use as a template but you could probably just draw your own right on the tissue paper.
For this project, you need to buy Bleeding Tissue Paper also called bleeding art tissue, or art tissue paper, not wrapping tissue paper.
Where to Buy Bleeding Art Tissue Paper
You can find this type of tissue paper at craft stores and many office supply stores. They typically come in large sheets of versatile colors but sometimes you find bleeding tissue paper squares to use that could be very convenient.
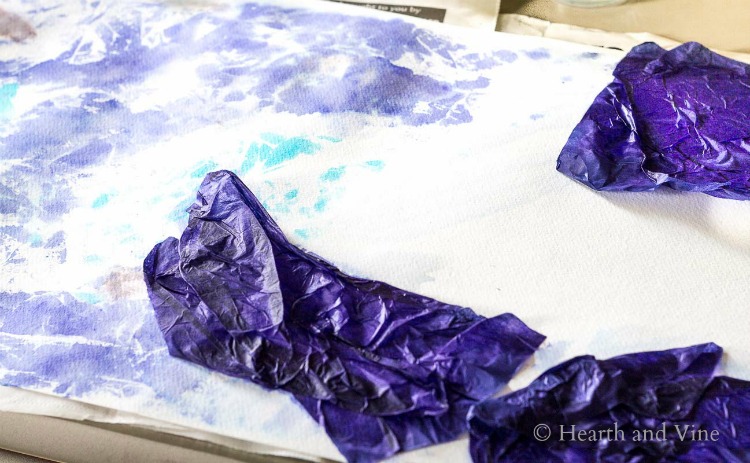
I started by using Amanda's method of wetting the base. Then crumpling the tissue paper, setting it around the base paper and wetting it more with a paintbrush, and then removing it.
This made a nice background for my painting.
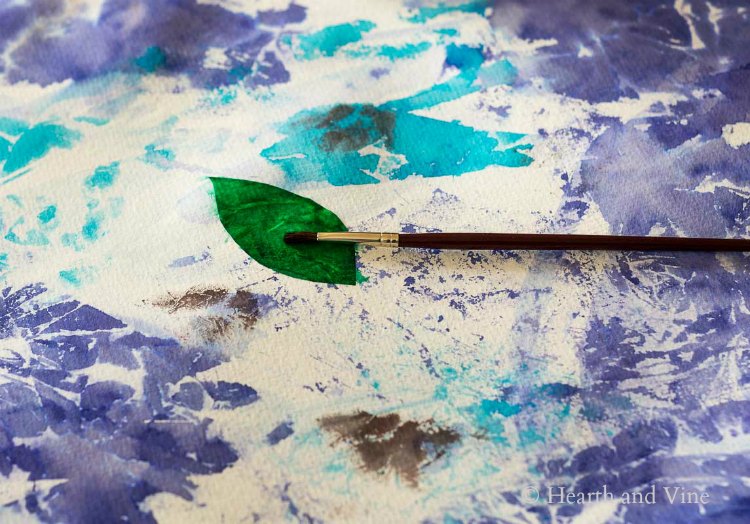
Next, I placed a leaf and painted over it with water using a regular paint brush.
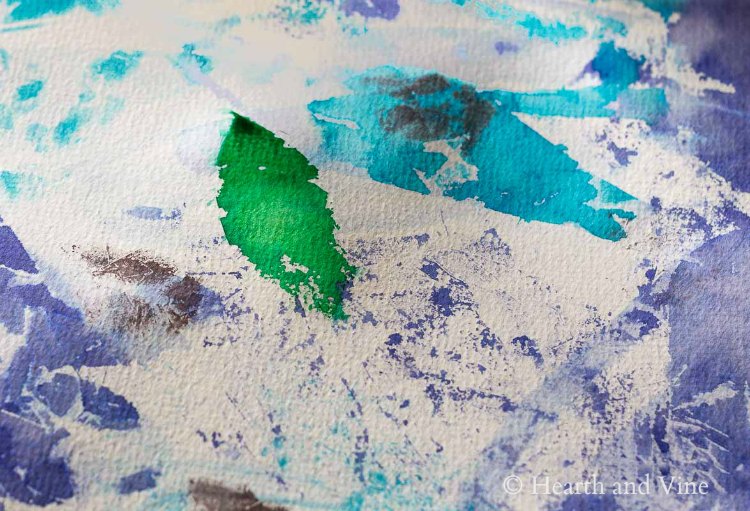
When I lifted the leaf tissue up, it left a nice watercolor print. Now, I know I said I wanted a watercolor painting, but for some reason, the day I made this painting, I fell in love with the tissue and decided to leave it on the painting.
You see in addition to Amanda's wonderful post, I watched this video by Leona. In this video, she uses water with glue and leaves the tissue on the paper.
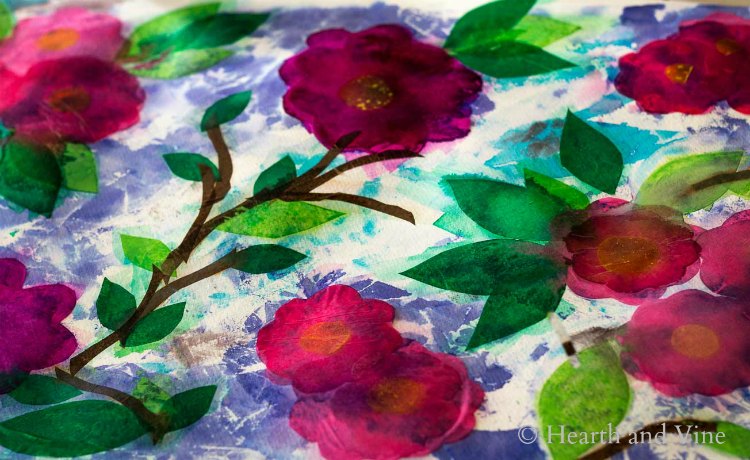
So, in the end, I ended up using a couple of different techniques.
It was super fun and creative. I'd recommend it to anyone.
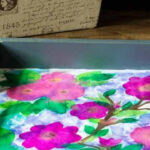
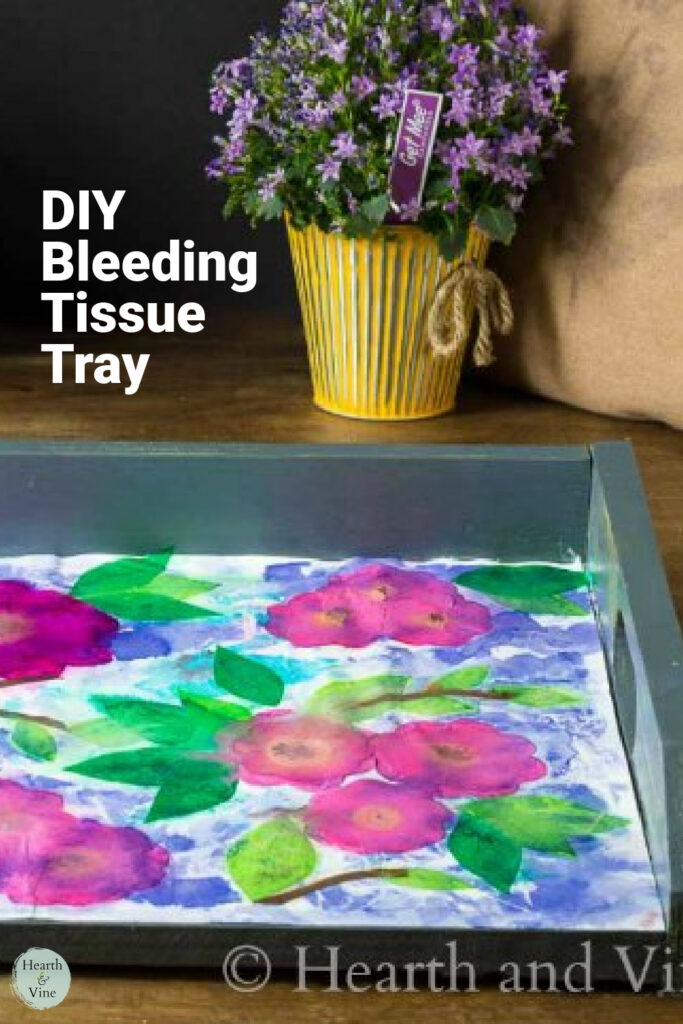
Once the painting dried I added a touch of black marker to outline and give a little definition to the flower and leaves.
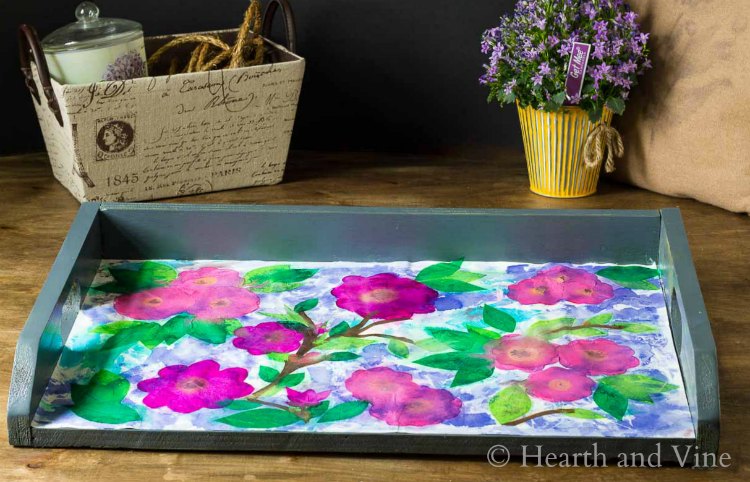
Then I used Mod Podge to glue it to my tray. I stopped at the local hardware store and they cut me a piece of Plexiglas to place on top.
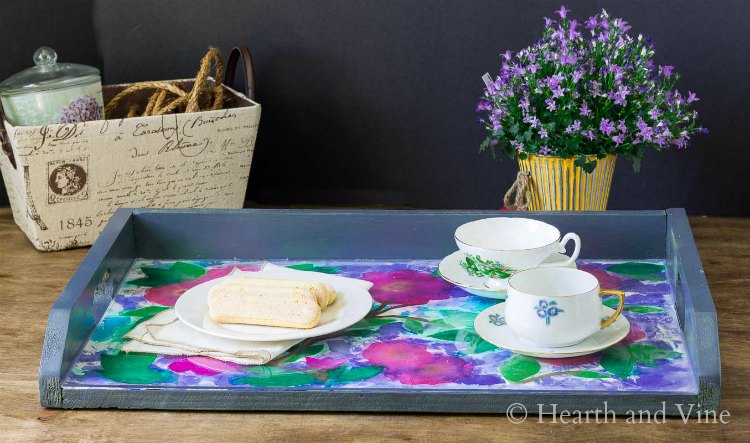
Then my husband helped by placing a bead of clear caulk around the back and sides, to protect the painting from any spills.
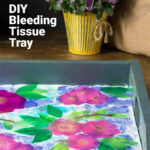
I'm thrilled with how well it turned out.
I can't decide if I want to give it as a gift or keep it for myself.

More Tissue Crafts
Bleeding Tissue Paper Art: Decorating a Serving Tray
Equipment
- Scissors
Materials
- Bleeding Tissue Paper
- Tray
- Watercolor Paper
- Gloves
- Mod Podge
Instructions
- Cut a piece of watercolor paper to fit your tray.
- Cut out some basic flower shapes on the tissue paper.
- Wet the base, then crumple the tissue paper.
- Set it around the base paper and wet it more with a paintbrush.
- Remove it.
- Place a leaf on top and paint over it with water.
- Let the painting dry.
- Add a touch of black marker to outline the flowers and leaves if desired.
Peggy
Wonderful! Thank you!
Patti Estep
Glad you like it Peggy.
Donna Harvey
I have never seen this done before. I am in awe, I love how you layered the paper, it gives it depth and an almost see through quality. I love to paint, but it takes awhile to finish, this would make a quicker gift. Just think of the things you could put it on. Thanks for sharing. Donna
Patti Estep
Hi Donna,
I could not believe how fun the tissue was to work with. I've been thinking about other ideas I can find a use for it. You will love it. I love watercolors and maybe this year I will actually try taking a class but this paper gives you the same feel. Definitely try it!
Thanks for stopping by and have a great week!
Patti
Karen R
This is fantastic!!
Patti Estep
Hi Karen,
I'm glad you think so. I had sooo much fun making it.
Patti
Donna H
Love the way you layered the tissue paper to get such deep and pretty colors for your flowers. Your tray is beautiful!
Patti Estep
You are so sweet. I was really happy with the way it turned out.
Thank you Donna!
Ellen
Sooo pretty!
Patti Estep
Thanks!