• Skip to primary navigation
  • Skip to main content
  • Skip to primary sidebar
  • Home
  • DIY Projects
    • Homemade Bath and Body
    • Sewing - Fabric Crafts
    • Flower Crafts/Decor
    • Thrift Store/Vintage
  • Gardening
    • Flower Gardens
    • Container Gardening
    • Houseplants
    • Indoor Gardening
    • Landscaping
    • DIY Garden Art
  • Decorate
    • Spring Decor
    • Summer Decor
    • Fall Decor
    • Winter Decor
    • Home Decor Projects
  • Recipes
    • Breakfast Recipes
    • Lunch Recipes
    • Dinner Recipes
    • Dessert
    • Salad Recipes
    • Soups and Stews
    • Side Dish Recipes
    • Appetizers and Snacks
    • Healthy Recipes
  • Holidays
    • Valentine's Day
    • Easter
    • Mother's Day
    • Halloween
    • Thanksgiving
    • Christmas
Hearth and Vine
menu icon
go to homepage
  • About
  • DIY
    • ...Flower/Gardening Crafts
    • ... Bath and Body
    • ...Sewing/Fabric Crafts
    • ...Thrift Store/Upcycle
  • Gardening
    • ...Flower Gardens
    • ...Container Gardening
    • ...Indoor Gardening
    • ...DIY Garden Art
  • Decorate
    • ...Home Decor Projects
    • ...Spring Decor
    • ...Summer Decor
    • ...Fall Decor
    • ...Winter Decor
    • ...Room Makeovers
  • Recipes
    • ...Appetizers and Snacks
    • ...Dinner Recipes
    • ...Side Dish Recipes
    • ...Salad Recipes
    • ...Dessert
    • ...Drinks
  • Holidays
    • ...Valentine's Day
    • ...Easter
    • ...Mother's Day
    • ...Halloween
    • ...Thanksgiving
    • ...Christmas
  • Subscribe
  • Instagram
    • Facebook
    • Instagram
    • Pinterest
    • Twitter
  • subscribe
    search icon
    Homepage link
    • About
    • DIY
      • ...Flower/Gardening Crafts
      • ... Bath and Body
      • ...Sewing/Fabric Crafts
      • ...Thrift Store/Upcycle
    • Gardening
      • ...Flower Gardens
      • ...Container Gardening
      • ...Indoor Gardening
      • ...DIY Garden Art
    • Decorate
      • ...Home Decor Projects
      • ...Spring Decor
      • ...Summer Decor
      • ...Fall Decor
      • ...Winter Decor
      • ...Room Makeovers
    • Recipes
      • ...Appetizers and Snacks
      • ...Dinner Recipes
      • ...Side Dish Recipes
      • ...Salad Recipes
      • ...Dessert
      • ...Drinks
    • Holidays
      • ...Valentine's Day
      • ...Easter
      • ...Mother's Day
      • ...Halloween
      • ...Thanksgiving
      • ...Christmas
    • Subscribe
    • Instagram
    • Facebook
    • Instagram
    • Pinterest
    • Twitter
  • ×
    Home » DIY Projects

    DIY Pressed Flower Luminaria

    by Patti Estep · Jul 12, 2021

    Jump to How-to Card

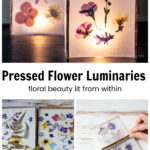
    Learn how to make pressed flower luminaria for any special occasion or create some for gifts. Charming small lanterns that show off the beauty of flowers with soft light.

    Pressed flower luminaria with lavender flowers.

    You might think of Christmas when you read the word luminaria but why couldn't they be used for any occasion? I've always loved it when communities lit up the roadway or sidewalks with paper bag luminaria at Christmastime however, I think this simple pressed flower craft, though similar, is worthy of any special occasion or just for fun.

    This post contains some affiliate links (that means if you make a purchase after clicking a link, there’s no additional cost to you, but I will earn a very small commission. ) i.e. as an Amazon Associate, I earn from qualifying purchases. Click here to read my full disclosure policy.

    Pressed flowers in a flower press book.

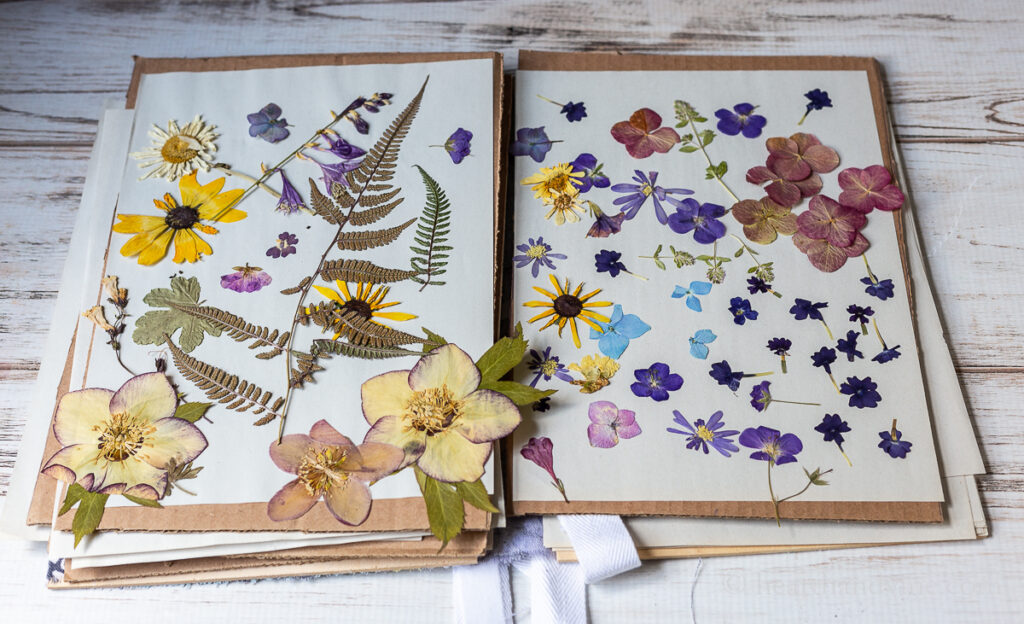
    I have slowly been pressing flowers in my simple travel flower press and have many to craft with. If you are in a hurry you can try pressing flowers in the microwave or with an iron but they have varying success depending the shape and moisture of the flowers.

    Square sheets of wax paper on a paper cutter.

    How to Make a Press Flower Lantern or Luminaria

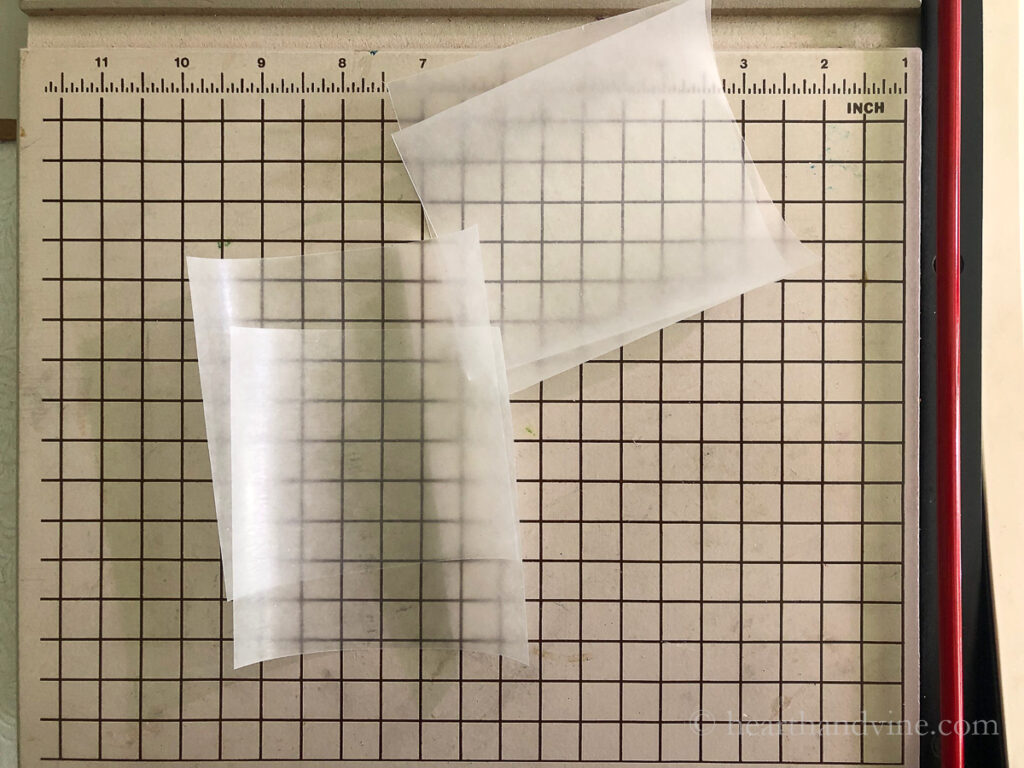
    For this project, you will need to cut several squares of wax paper. I love this paper cutter (see the image above) and have had it for over 20 years. If you do a lot of paper cutting a guillotine paper cutter may be worth the investment. It makes it so much easier to cut straight lines. Of course, you can just use scissors.

    Pressed flowers arranged on a square piece of waxed paper.

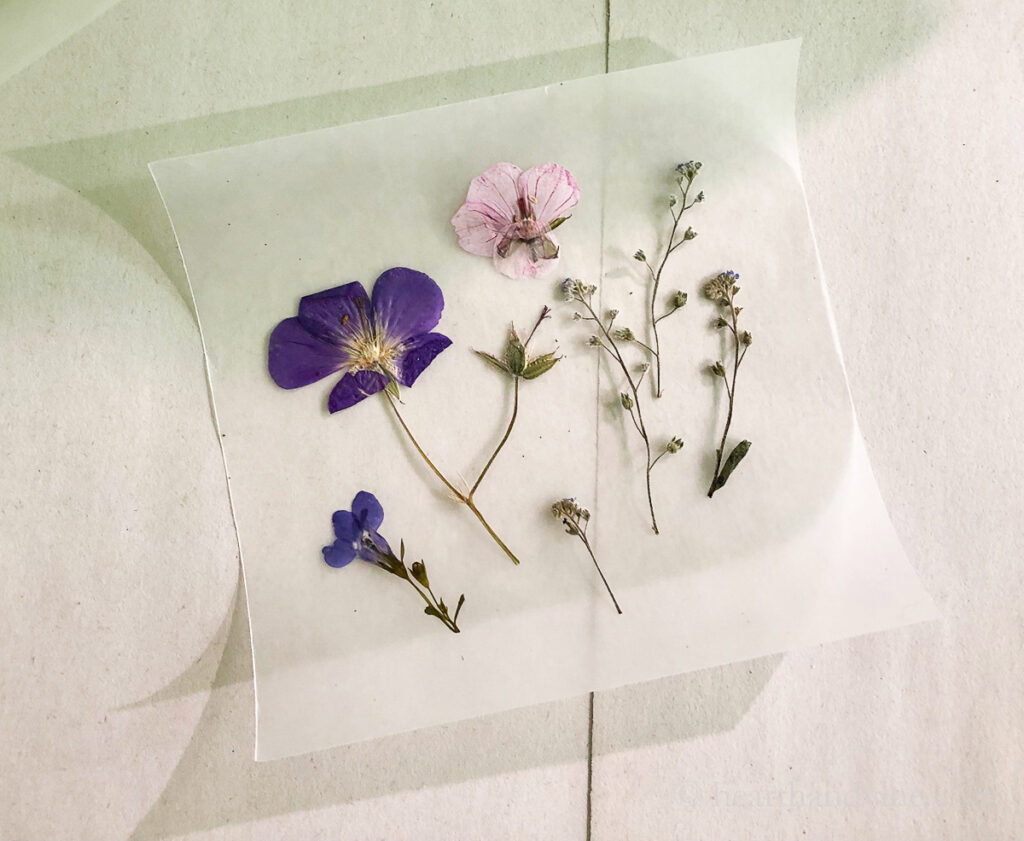
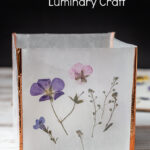
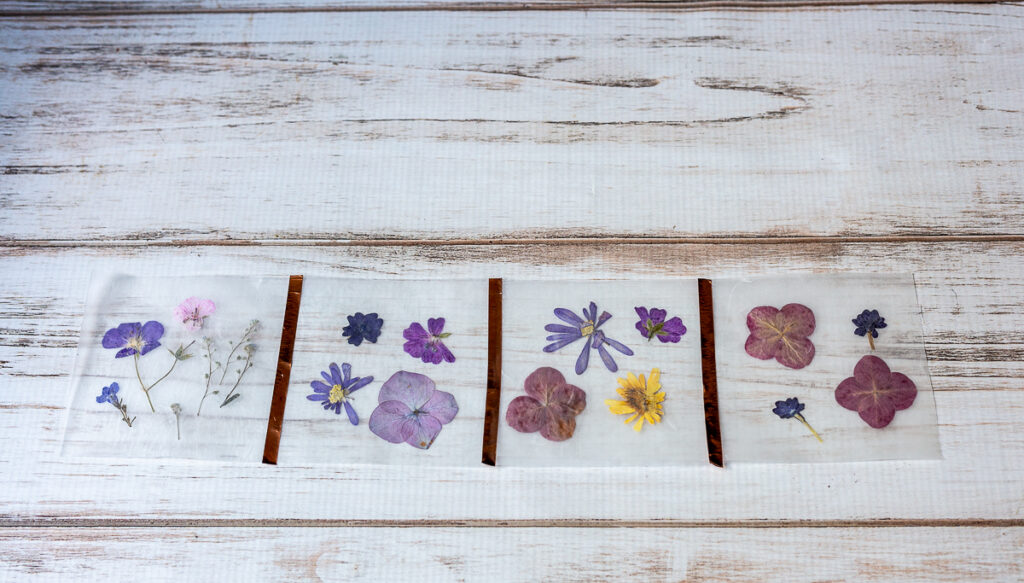
    Create a pleasing pattern with some of your favorite pressed flowers on one sheet of wax paper.

    Iron pressing a white tea towel.

    Cover the flowers with a second sheet of wax paper. Then use a thin piece of cotton or paper towel on top of the wax paper and flower sandwich and press with an iron. This only takes a couple of seconds to do.

    Newsletter Signup
    Join Our Newsletter List!

    Be the first to receive new posts and get access to our Subscribers Only Page.

    Repeat to create four pressed flower arrangements between wax paper.

    Two squares of pressed flowers between wax paper. A strip of copper tape holding to sides together.

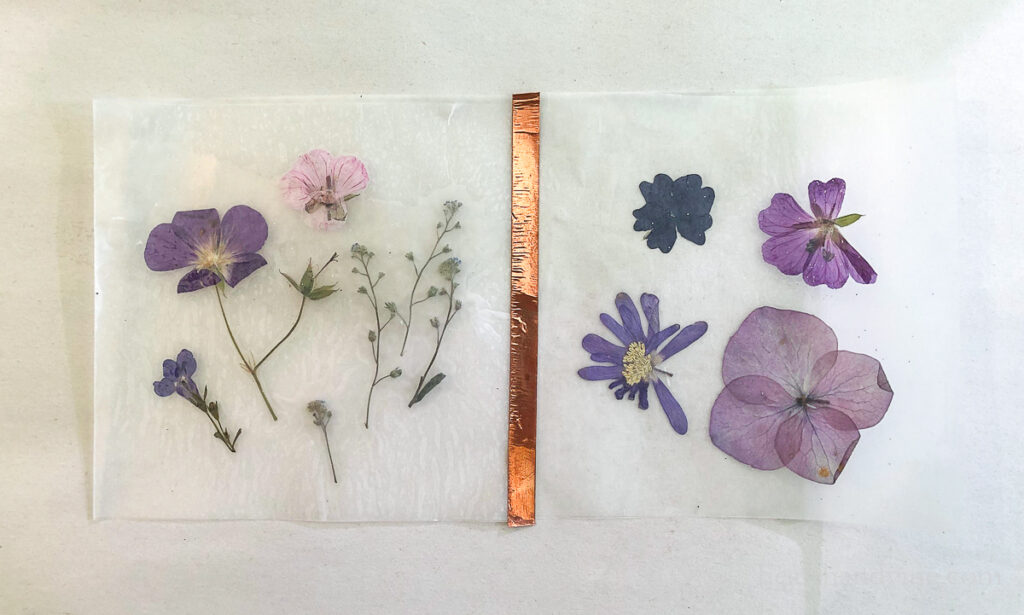
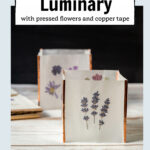
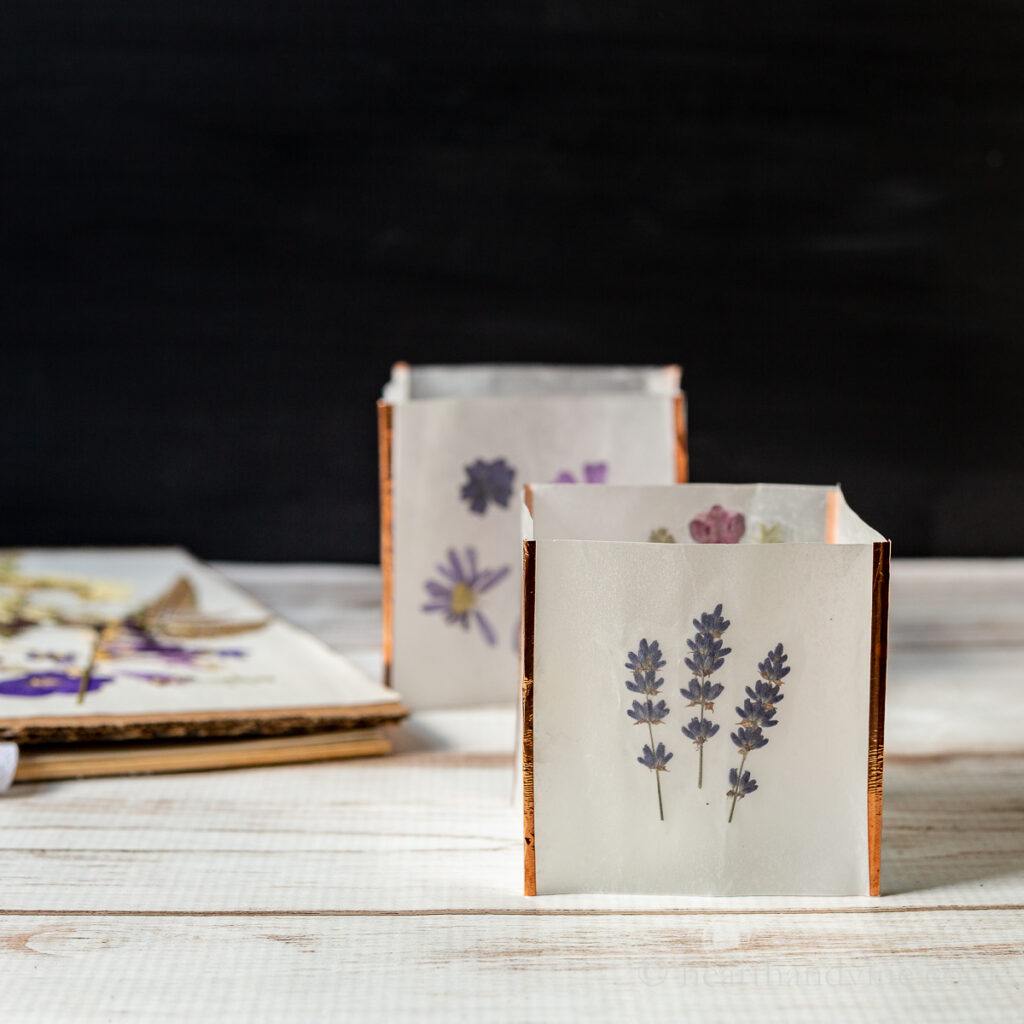
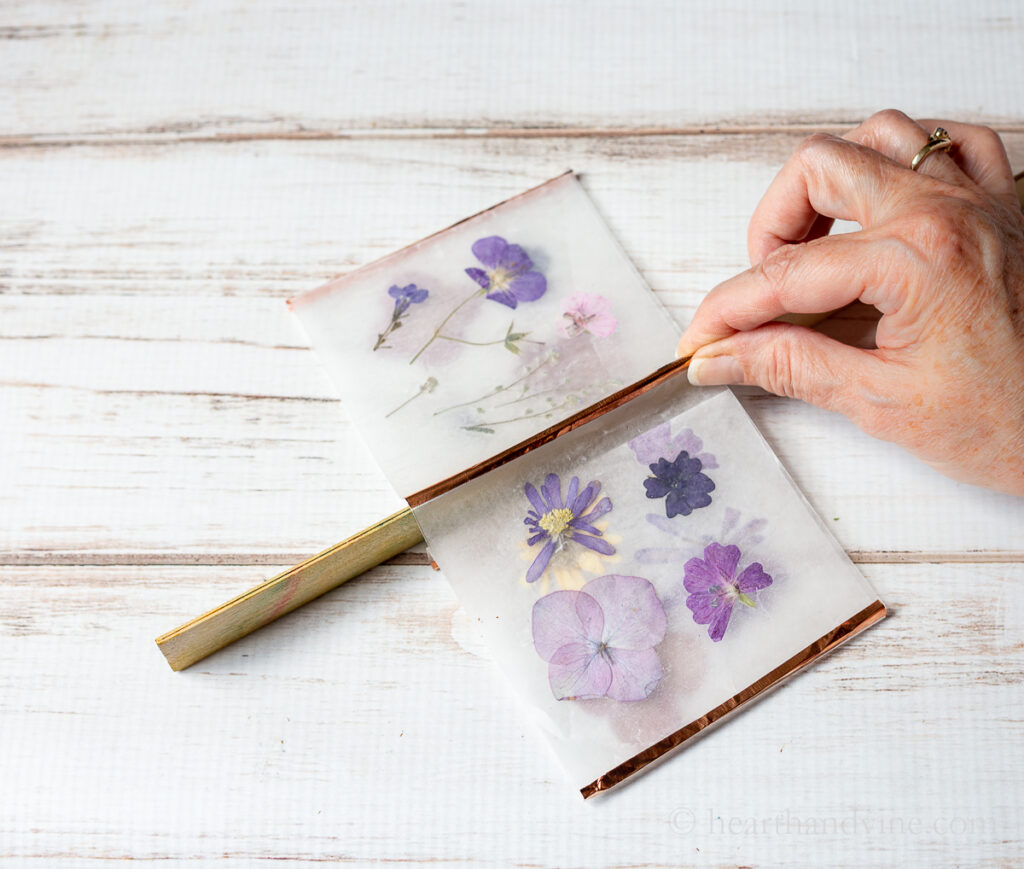
    Next, connect the sheets with some metallic copper tape. Be sure that the flowers are right side up as this will be the outside of the lantern. This is the same tape I used to make pressed flower glass coasters.

    Four wax paper pressed flower parts with strips of metallic tape connecting the sides.

    Once you have taped them side by side you can complete the luminaria by taping the first side to the last.

    A ruler under the copper tape to help make a crease on the pressed flower wax paper sections.

    Then you will want to make crisp edges. Do this with any straight edge like the ruler shown above.

    One pressed flower luminaria with copper tape edges.

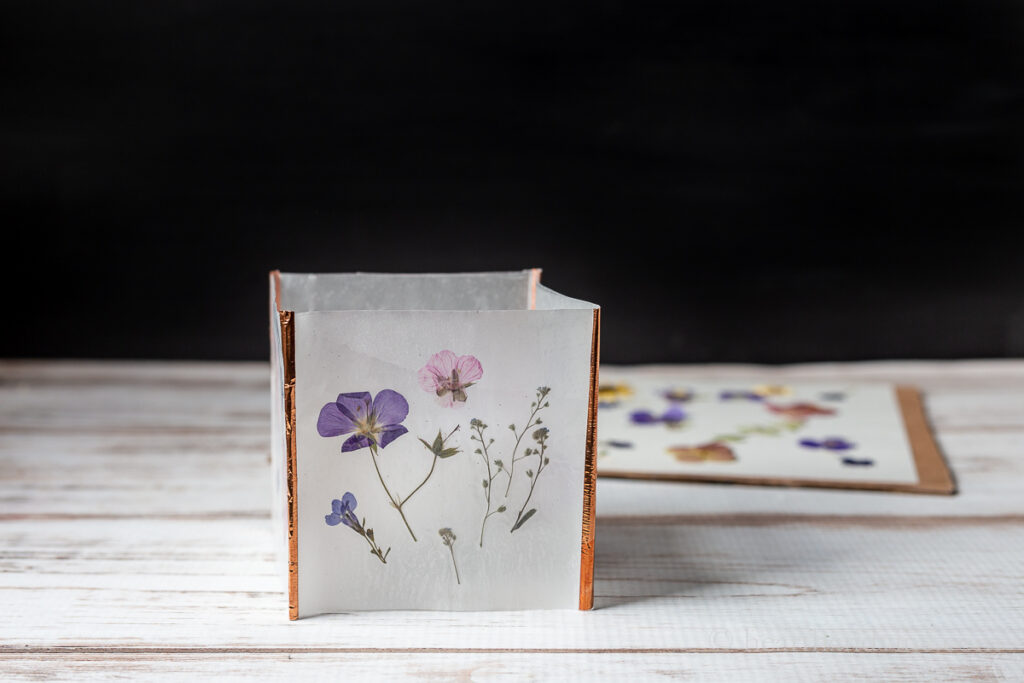
    Now you have a homemade paper flower lantern. So simple and so pretty.

    Two pressed flower luminaries with candles inside.

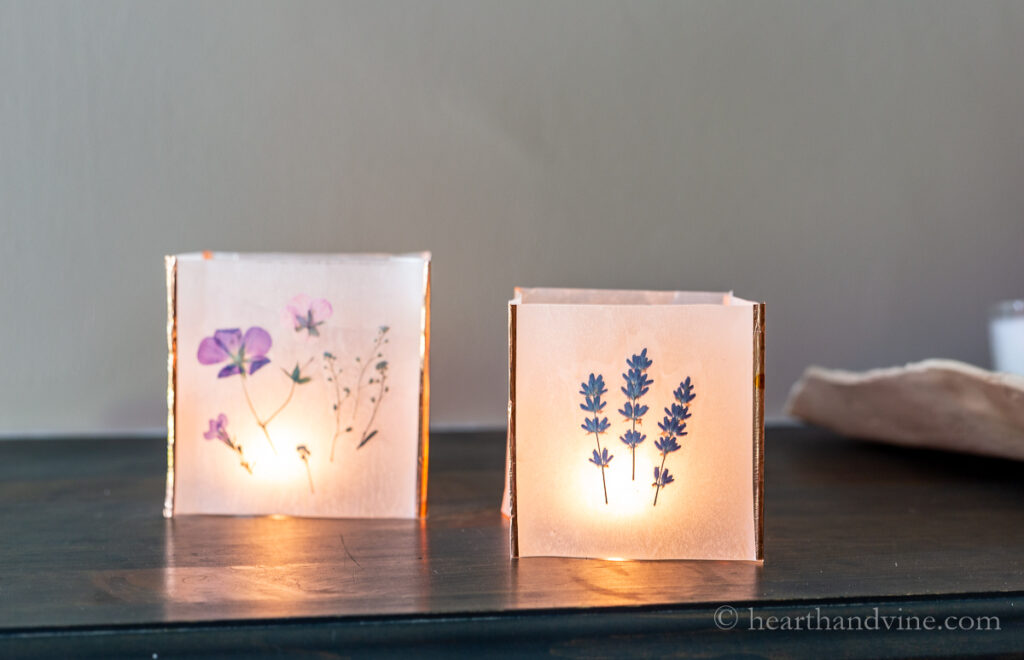
    Place a battery-powered tealight or votive candle inside and enjoy the warm glow.

    Two copper tape pressed flower luminaries with candles inside in a dark room.

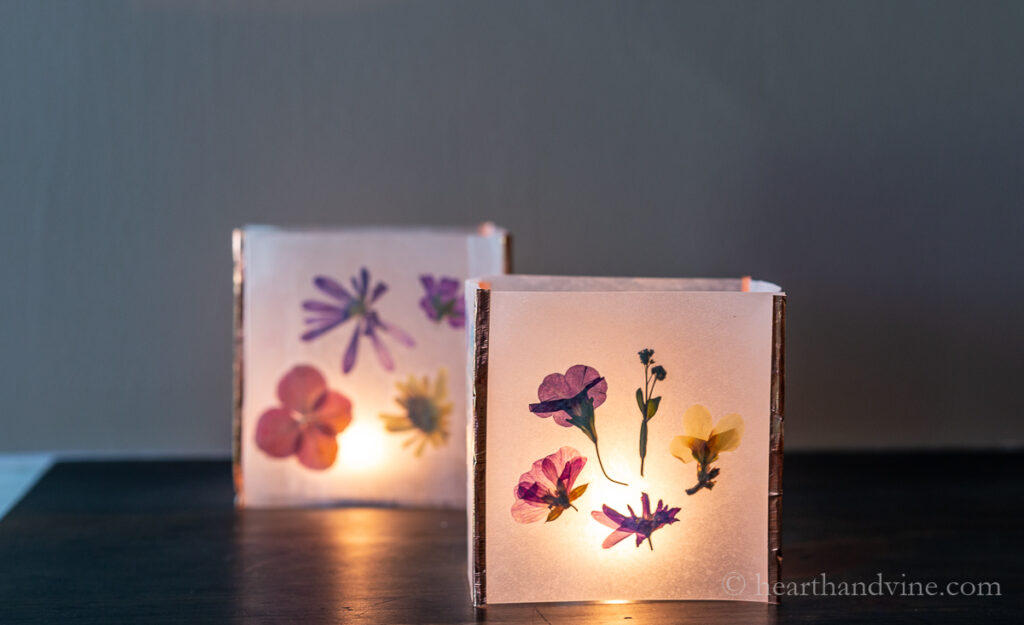
    Pressed flower luminaria. They would be beautiful outdoors at a warm summer evening dinner party, don't you think?

    Patti signature

    More Pressed Flower Crafts

    • Pressed Flower Wax Sachets
    • Resin Tray with Pressed Flowers
    • DIY Pressed Flower Art
    • Pressed Flower Suncatchers
    • Pressed Flower Vases
    • Pressed Flower Butterfly and Bird
    Two pressed flower luminaria
    Print
    5 from 1 vote

    DIY Pressed Flower Luminaria

    Learn how to make beautiful paper lanterns with flowers from the yard at home. These pressed flower luminarias are perfect for festive occasions or gifts.
    Active Time30 minutes mins
    Total Time30 minutes mins
    Course: Flower Crafts/Decor
    Yield: 1
    Author: install@adthrive.com

    Equipment

    • Paper cutter or scissors
    • Iron

    Materials

    • Pressed flowers
    • Waxed paper
    • Foil Tape

    Instructions

    • Cut square pieces of wax paper with a paper cutter or scissors. You'll need 8 of the same side to make one luminaria.
    • Set pressed flowers in a pleasing pattern on one of the squares of wax paper.
    • Cover with a second piece of wax paper.
    • Carefully set a piece of cotton or paper towel on top of the wax paper flower sandwich and iron the two pieces together.
    • Continue with the remaining three sets of paper.
    • With the right side of the flowers up, place two squares side by side and tape them together with the foil tape.
    • Continue adding the other two squares and finish by taping the last square to the first.
    • Use a ruler or straight edge to make a nice crease in the center of the tape.
    • Set the luminaria on top of an electric votive or tealight and enjoy.
    Tried this project?Tag @hearthnvine on Instagram
    « Baked Peach Fritters Recipe
    DIY Beautiful Tin Can Pendant Light »

    About Patti Estep

    Patti is the creator of Hearth and Vine, a home and garden blog filled with projects to inspire your creative side. She loves crafting, gardening, decorating and entertaining at her home in Pennsylvania. When she is not working on a project at home or searching for treasures at nurseries and thrift stores with her girlfriends, you’ll probably find her with family and friends, at a restaurant, or home party enjoying new and different food adventures.

    Reader Interactions

    Comments

    1. Kay Bowles

      July 16, 2021 at 9:51 am

      I love this idea Patti! My brain is already spinning with lots of ideas for special events! I was not familiar with the foil tape and already have it on my Amazon order! I also loved your zucchini and corn chowder recipe! I enjoy a craft day every Saturday with friends and I always bring the lunch because they share all of their talent and ideas with me! I get the better end of that bargain! One of my friends is a vegetarian so we all have been hooked on the recipes I try out. Can't wait to take this lunch with me! Have a great weekend!

      Reply
      • Patti Estep

        July 16, 2021 at 10:01 am

        Thanks, Kay. How nice that you get together with friends and craft on Saturdays. I've made a few of my crafts with friends but would love to make it a weekly event. I hope they enjoy the zucchini corn chowder as much as we did.

        Reply
    2. Paula@SweetPea

      July 12, 2021 at 6:14 am

      These are absolutely gorgeous, Patti! My grandmother dried flowers to make flower arrangements and pressed flowered projects. Pinned and schedule on my FB page!

      Reply
      • Patti Estep

        July 12, 2021 at 6:52 am

        Aww. Thank you, Paula. Sounds like your grandmother was pretty special.

        Reply
        • Jenn

          April 14, 2024 at 1:29 pm

          Hi there from Minnesota!! I love this tutorial! Thank you for sharing it!!

          My question is, which side of the wax paper should be where?? I am assuming that you would want the tacky sides to face in, but it's not always a good practice to assume things!! 🙂

          Also, I have another question which is somewhat similar...
          When using aluminum foil to cover left overs, a large bowl to bring to a family gathering with a cold pasta salad, and covering up my cats' wet food cans, etc., which side of the aluminum foil should be facing up? And which side should be near the food? And why?

          Maybe there isn't a right or wrong way to use aluminum foil, but it is curious that the sides of it are different. It makes me think that there is a reason for this and I don't know why!

          Any help and information would be much appreciated!!

          Fondly,
          Rescuecatmom24 AKA Jenn

          P. S. Your website is great!! It's very easy to navigate, it is neat organized and easy to follow!! I wish that I had found it earlier!! Thank you!!

        • Patti Estep

          April 14, 2024 at 2:23 pm

          My wax paper is the same on both sides so it doesn't matter. However, parchment paper is coated only on one side so then yes you want the wax side to sandwich the flowers. Regarding aluminum foil, I was always under the impression that it does not matter which side you use to cover or cook food. I never knew why but after looking it up the manufacturer Reynolds says both sides are ok to use unless you have their non-stick foil. In that case. you'll want the dull side facing up.

    5 from 1 vote (1 rating without comment)

    Leave a Reply Cancel reply

    Your email address will not be published. Required fields are marked *

    Recipe Rating


    Primary Sidebar

    Patti Estep Profile Picture

    Hi!

    I'm Patti

    Join me to create lots of fun DIY projects, including crafts, gardening, home decor, and tasty recipes

    More about me

    Popular Posts

    • Baked zucchini bite on a slated tray with a bowl of horseradish sauce.
      Make Tasty Zucchini Bites in Under an Hour
    • Three tin cans in descending sizes hanging from twine.
      DIY Wind Chimes with Tin Cans
    • Blue jean crossover bag
      DIY Crossbody Bag from Jeans
    • Ham barbecue sandwich on plate
      Chipped Ham Barbecue Sandwiches - A Pittsburgh Favorite
    • Echievera planter
      What to do With a Stretched Succulent
    • Make a Mason Jar Oil Candle Lamp with botanicals and essential oils. ~ gardenmatter.com
      DIY Oil Candle - Gifts for the Holidays

    Footer

    ^ back to top

    About
    Contact
    Privacy Policy
    Disclosure Policy

    Sign Up Here!
    for our
    newsletter &
    special offers

    Follow Me

    facebook
    Pinterest
    instagram

    As an Amazon Associate, I earn from qualifying purchases. i.e. as an Amazon Associate, I earn from qualifying purchases.

    Copyright © 2025 Hearth and Vine

    Rate This Recipe

    Your vote:


    A rating is required
    A name is required
    An email is required

    Recipe Ratings without Comment

    Something went wrong. Please try again.