

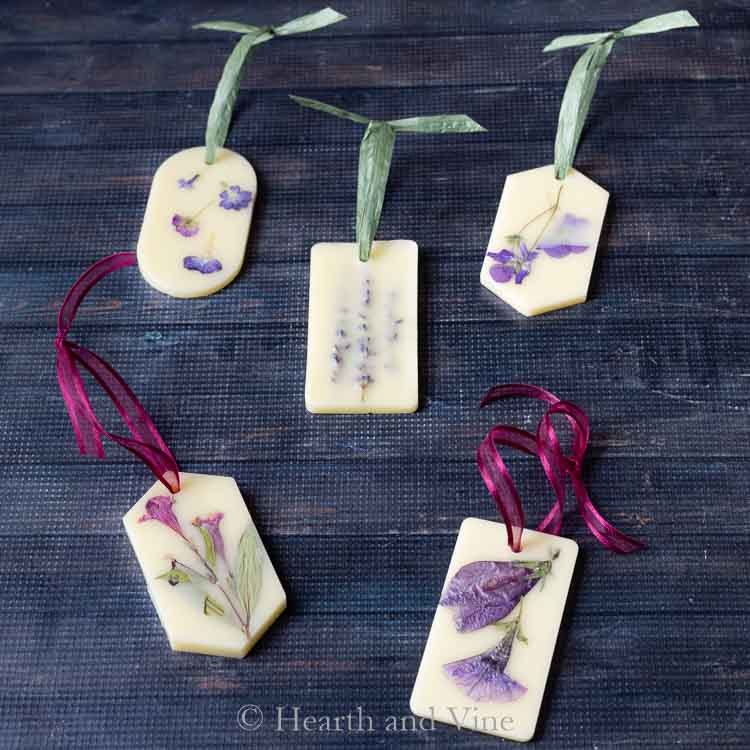
Learn how to create these beautiful scented wax sachets using wax, essential or fragrance oils, and pressed flowers.
While shopping with my sister and girlfriend, I came across some beautiful, fragrant wax sachets in a gift shop. They were new to me and looked like the perfect DIY project.
This post contains some affiliate links (that means if you make a purchase after clicking a link, there's no additional cost to you, but I will earn a very small commission. ) i.e. as an Amazon Associate, I earn from qualifying purchases. Click here to read my full disclosure policy.
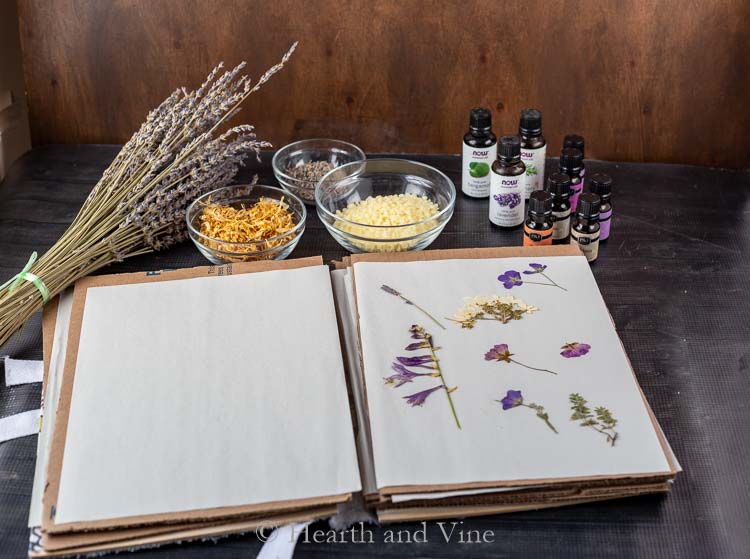
I already have lots of pressed flower material from my flower press. I also had some beeswax and several bottles of essential oil and fragrance oils.
All I needed was something to use for a mold.
I thought about using a soap mold but not filling it all the way or even a glass pan that I could cut up into individual sachets.
However, I found these silicone wax sachet molds online , and they were perfect. They even have a piece that makes a hole for hanging.
Supplies
- Beeswax pellets
- Pressed Flowers
- Silicone Molds
- Ribbon
- Fragrance oils or essential oils
How to Make Scented Wax Sachets
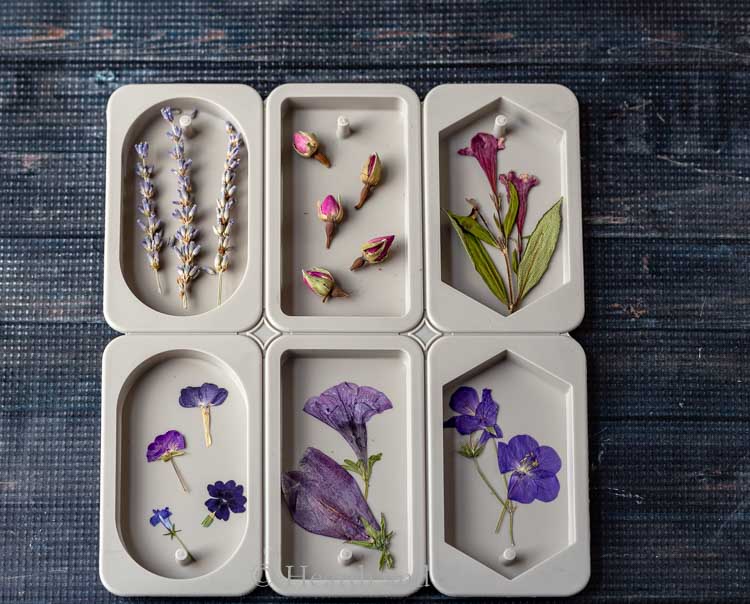
- First, place your plant material in the molds to get an idea of what they may look like.
- Then, melt some wax. I used beeswax pellets
 and melted them in a double boiler on the stove. You could use any candle wax for this project. You can also melt it in the microwave oven.
 - Once the wax is melted, remove it from the stove and pour it into smaller plastic cups.
- Next, add some scent to each one and stir. The amount of fragrance is up to you. I used about 50 drops of lavender for some and about 30 drops of lilac fragrance oil.
- Then, pour your wax into the molds. Note: the beeswax I had hardened very quickly, so you need to work fast.
- Pop out the wax sachets and thread a pretty ribbon through the holes.
 and melted them in a double boiler on the stove. You could use any candle wax for this project. You can also melt it in the microwave oven.
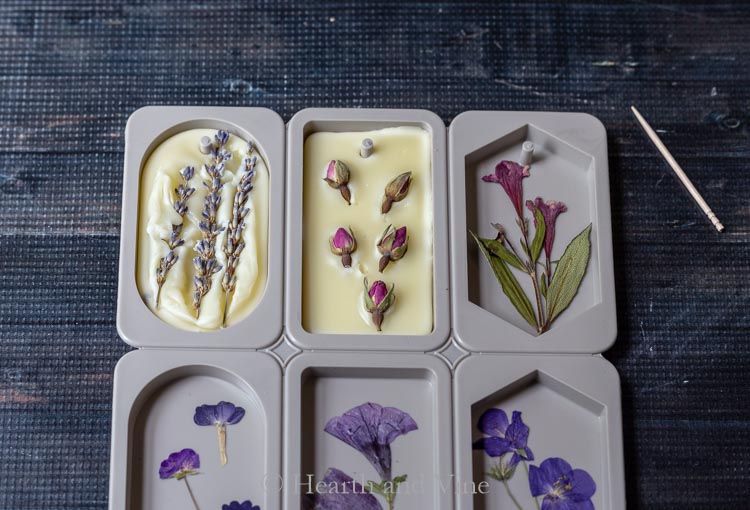
The first two I made didn't work out very well. I tried to pour the wax into the mold first and then add the plants. However, they ended up being too opaque.
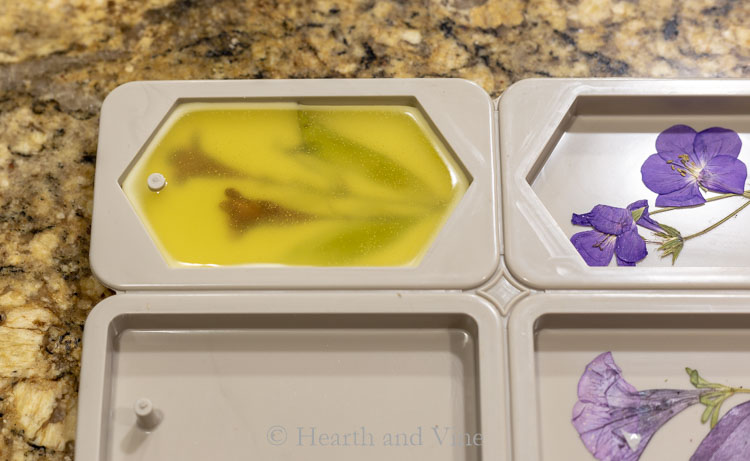
The next time, I let the plant material lay on the bottom (face down works best) of the mold and added the wax on top.
This worked much better. Especially for the pressed flowers.
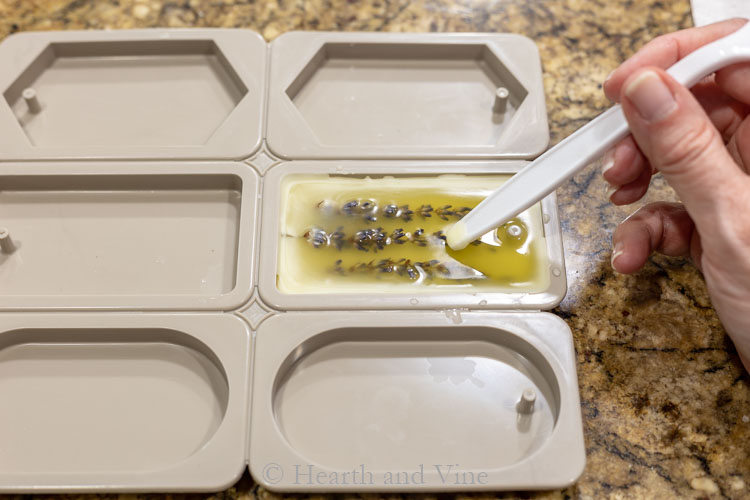
Larger plant material like this lavender may need a little help staying in place for a minute.
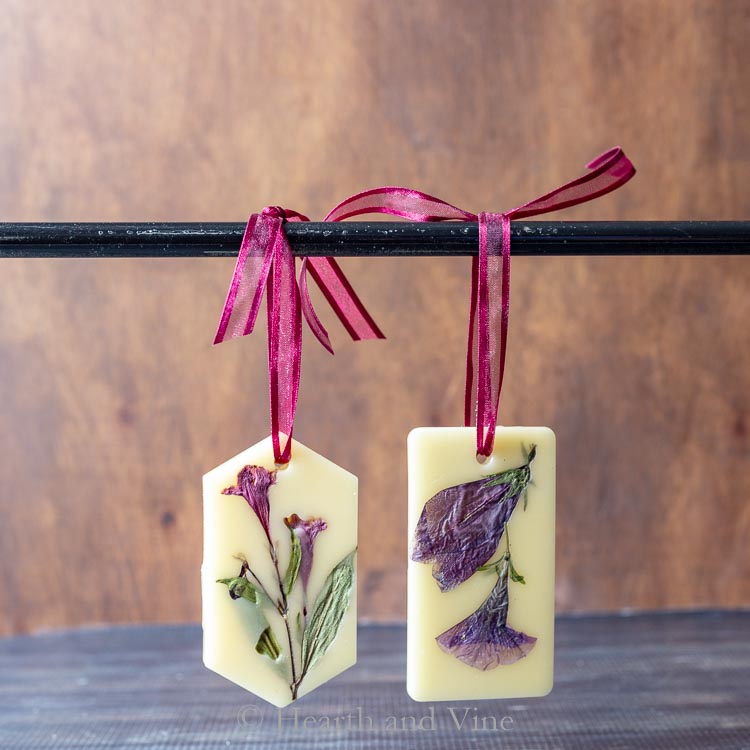
Don't they look beautiful?
Options and Substitutions
- You can use soy wax or paraffin if that's what you have on hand.
- If you don't have time to press flowers, you can use potpourri and other natural ingredients such as whole spices, dried herbs, and dried flower petals.
- Purchase fragrant blends for candle making instead of using essential oils.
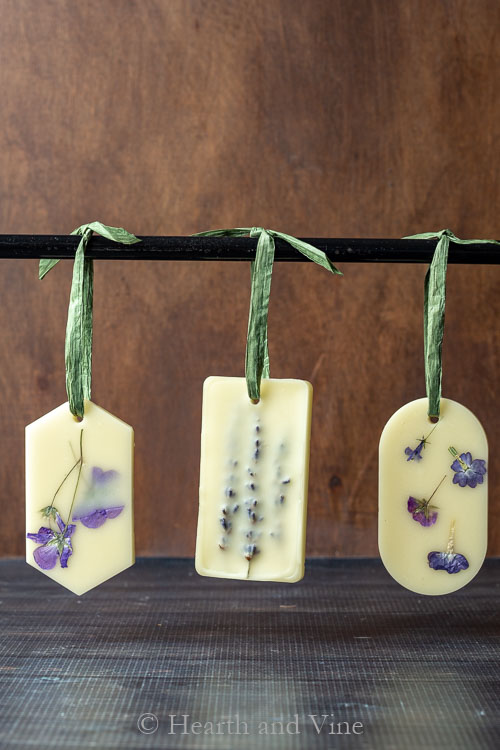
Here, you can see where the pressed flowers shine, and the lavender still looks good even though it's a little more opaque.
They hardened very quickly, about 20-30 minutes. This may vary depending on the temperature and humidity in your workspace. They also pop out incredibly easily from the mold, so you can keep the creativity going.
Place the sachets in closets and drawers like a traditional sachet. However, these decorative pieces might just need a place where they can be seen as well as smelled.


How to Make Pressed Flower Wax Sachets
Equipment
- Old pot for water
- Wax pitcher, old clean can or glass measuring cup
- Disposable plastic cups
Materials
- Beeswax pellets
- Pressed Flowers
- Silicone Molds
- Ribbon
- Fragrance oils or essential oils
Instructions
- Place your plant material in the molds.
- Melt the beeswax in a double boiler on the stove. You could use any candle wax for this project. You could also melt it in the microwave oven.
- Once the wax is melted remove it from the stove and pour it into smaller plastic cups.
- Add fragrance to each cup. The amount of fragrance is up to you. I used about 50 drops of lavender for some and about 30 drops of lilac fragrance oil.
- Then pour your wax into the molds.
- Once hardened, remove the wax from the molds and place a ribbon through the hole to use as a hanger.
Notes

Annie M
Wow. I definitely need to try this, Patti! I bought my mom similar wax sachets from a high end store; she liked them so much she asked for more! How cool would it be to make them next time? And definitely less expensive! 😀
PS--I so appreciate that you include supply lists along with ingredients! Thank you!
Patti Estep
I'm so glad you like this tutorial Annie. They were a lot of fun to make and I think your mom will love it that you made them.
Rebecca
Your sachets are beautiful. I can't wait to try making some myself.
Patti Estep
So glad you like them Rebecca. Have fun making them.
Leslie
Great idea! I do lots of craft swaps and this will be a great item to make.
Julie
These are so pretty, and useful too. What lovely gifts they would make.
Janet
I love these Patti and often work with wax myself, so will try it out.
Meegan
Patti,
Your talent and creativity never cease to amaze me. These wax sachets are not only beautiful, but are lovely scents, as well.
Thanks for sharing the tutorial.
Loren
This is so pretty and it does not look too difficult.
Patti Estep
Yes, Loren, they are really easy and fun to make.
Barbara Chapman
Your wax sachets are a perfect summer project, Patti! I bet their scents are heavenly... Happy to share them on my FB page for you as there are so many gardeners out there who'd love to make them, too. <3
Hugs,
Barb 🙂
Patti Estep
Thanks Barbara. I hope your readers love it.
Malorie
This may be a silly question, but I’ve never seen these sachets before. They are beautiful, but I wonder the best way to use them? Is it for the scent? Would they melt easily in a sunny window? Thank you!
Patti Estep
Malorie, I think of them as something pretty to hang around the house for its beauty and scent. I agree a sunny spot would not be ideal but I would hope that you have a few other areas that are not in direct sun.
Julie Briones
Super lovely, Patti... and I can just smell them from this side of the screen! Thanks for the idea and tutorial!
Patti Estep
Thanks Julie!
MrsSW
You do the neatest projects, Patti. 🙂
Sheila
Patti Estep
Thank you Sheila. I really appreciate your kind words.
Ellen T
About how much of the bees wax did it take to make the ones in your
Email?
I found the molds & pellets on Amazon just not sure how much pellets to order. I have some lavender growing now & also thinking about some of the
Hydrangeas I have too.
Love your projects...keep them coming!
Thanks
Patti Estep
Ellen, I'm so glad you like the wax sachets. It may depend on how thick your flowers are but I used about 1/2 cup beeswax pellets to then melt and fill the molds. Buying a 1 pound bag should be more than enough. In fact, you may be able to get 8-10 per pound depending on your flowers and pour.
Janice
I love this. Now I need to clip and press flowers out of the garden. I pinned to pintrest so this fall/winter will have for last min gifts plus enough to make house smell good. Thank you for great instructions with ideas. Wonder if using resin to make charms in these molds? Humm, another idea to work on.
Patti Estep
Thanks Janice. I believe these molds were made for resin work. I'll have to try that idea soon.
Carole West
Another awesome gift idea - I really love this one because it's a detail that is often overlooked. The dried flowers are the perfect addition. My grandma and mom both made sure I had sachets in my closet and drawers as a kid.
Patti Estep
Thanks Carole. Sachets are a nice little bonus for your drawers.