This tin can pendant light project is easy to put together. Decorate them with craft paint, and use a hammer and nail to create a pretty pattern of light.
What can you make with a tin can? The answer is so many things. I chose to make them into lanterns attached to a pendant light kit, I also had fun painting the can in faux verdigris, and punching a pattern with a nail to let the light stream through.
How to Make Tin Can Pendant Lights
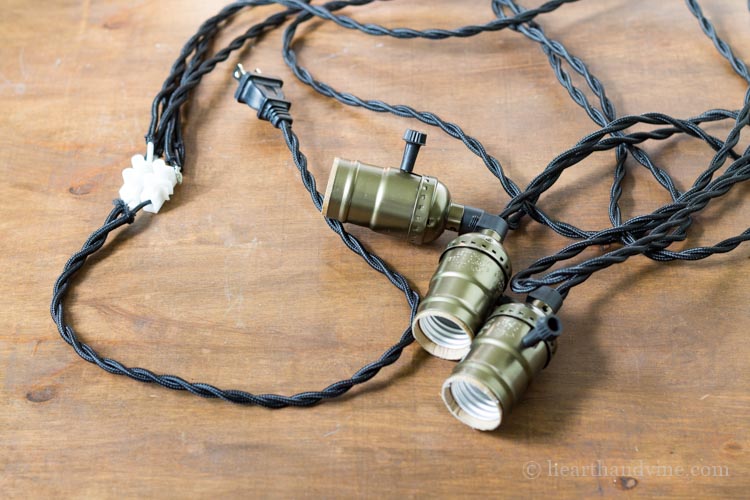
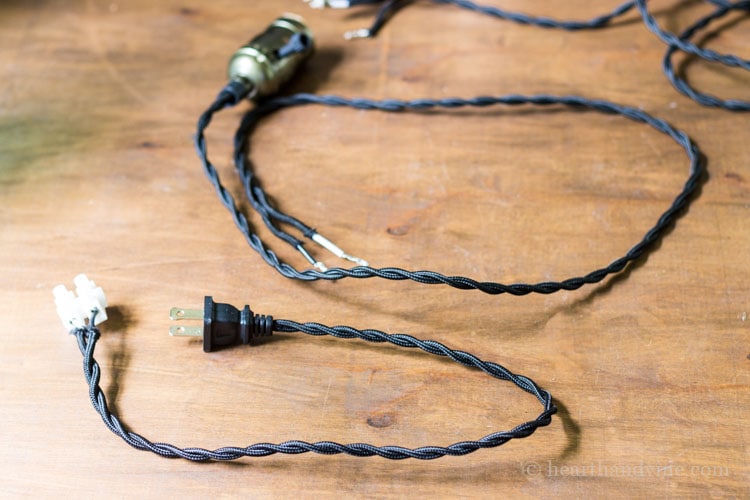
I purchased this pendant light kit to work with my tin can lanterns.
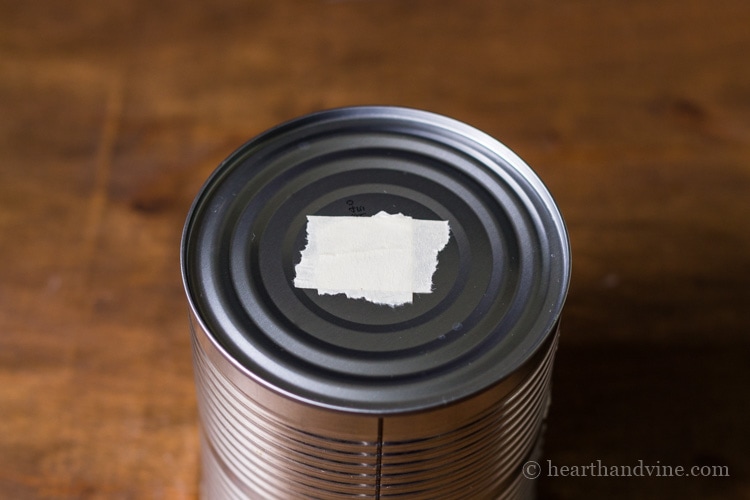
Tip: To keep the drill bit from moving use a little bit of masking tape in the area. I used a 3/8 inch bit that is sold for use on metal.
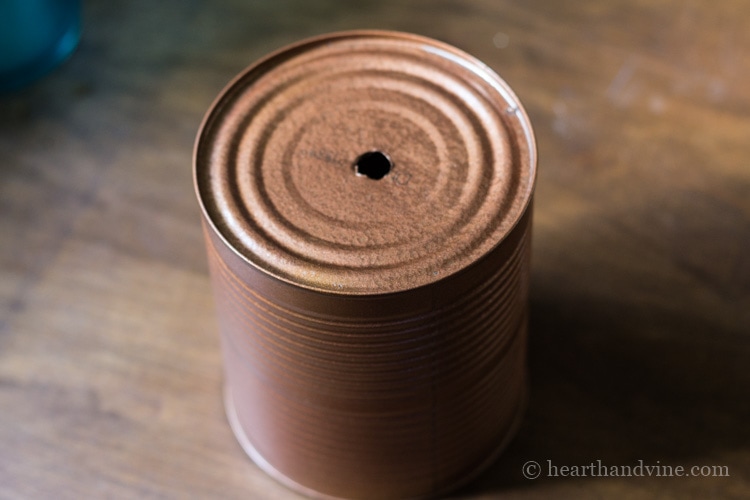
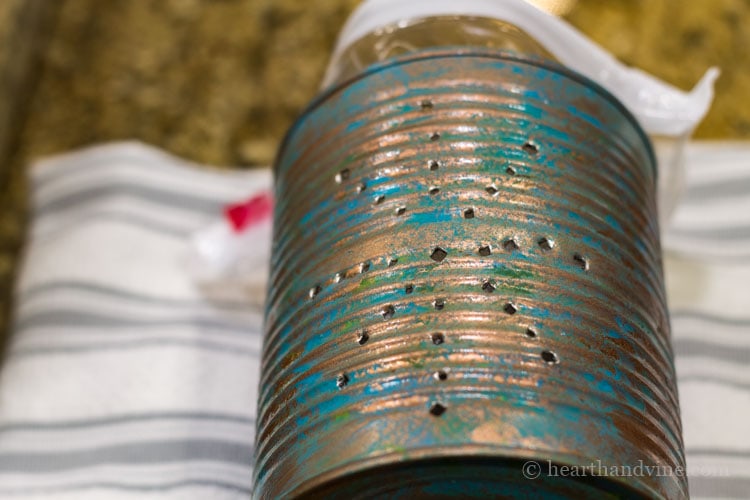
The cans are 32 oz. tomato cans. Instead of throwing them out, you can freeze the tomatoes for a future pot of sauce or chili. A little copper spray paint was applied first.
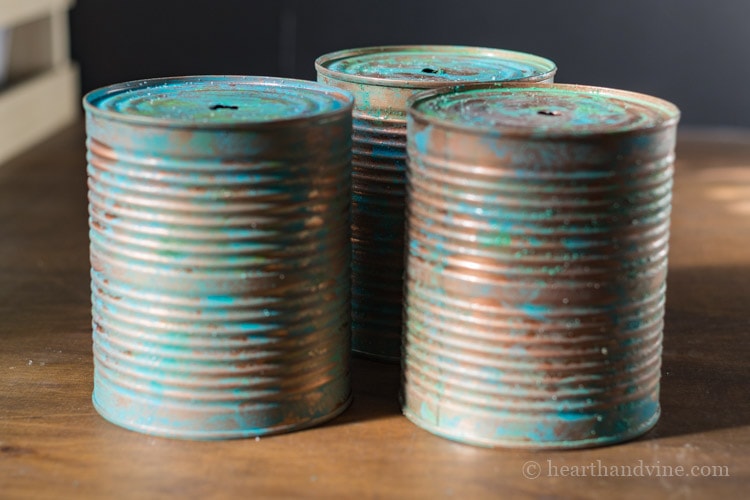
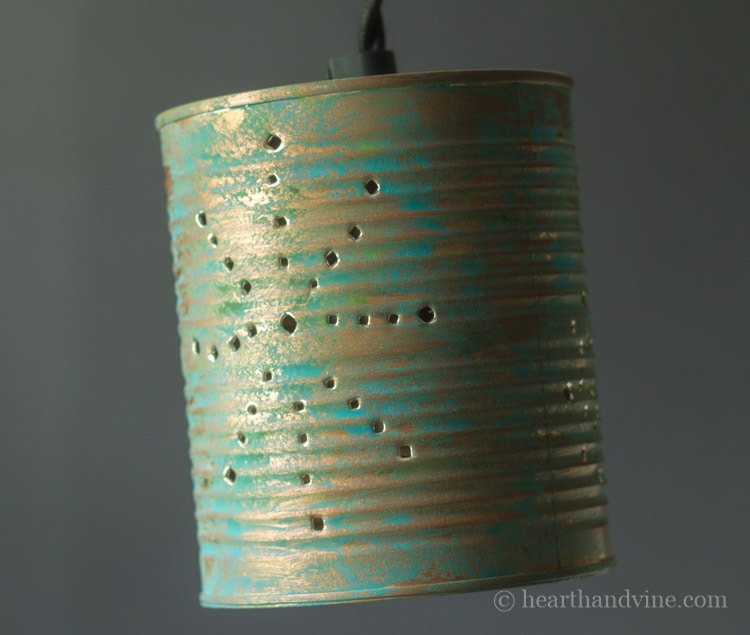
Then shades of aqua and green craft paint, and a little table salt, to give them a weathered verdigris look.
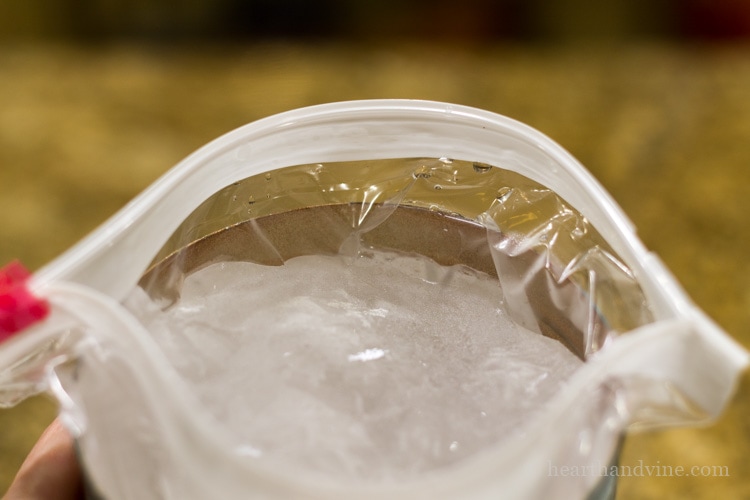
To be able to easily punch holes in the can, first place a quart baggie inside, fill it with water and freeze.

Here are a few templates you can use for your pattern. You can also print out something else that you like, or punch out a freehand pattern.
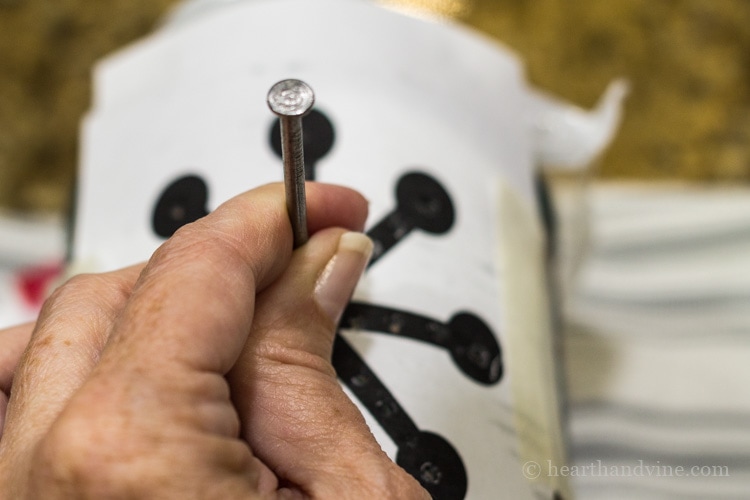
Place the frozen can on a towel to keep it steady. Tape on the template and punch holes with a hammer and nail.
I found that I could make varying hole sizes depending on how many times, or how deep, I hit the nail with the hammer.
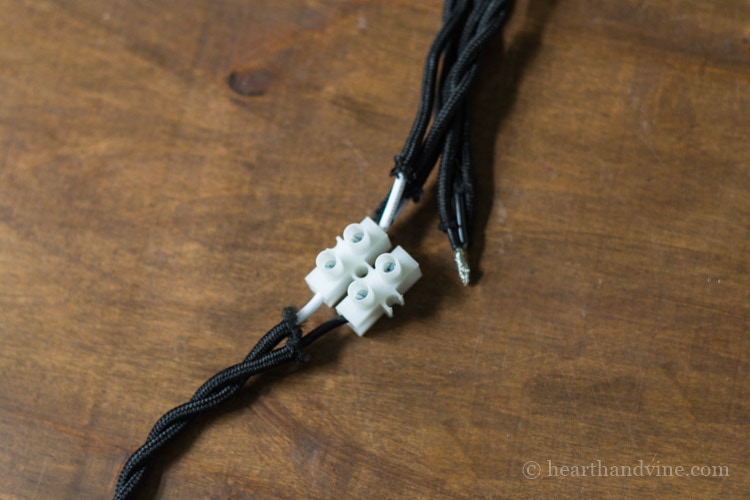
To attach the cans to the pendant kit you first need to separate the three different sockets. Do this by unscrewing the white plastic connector shown above. There will be one white and one black wire for each of the three sockets.
Next, you need to remove the black connector near the socket on each light. Loosen the screw on the side and then unscrew the connector from the socket.

Slide this connector completely off, and set it aside.
Now you can thread the wires up through the can.
Pull them through until the socket reaches the top of the can.
Now thread the socket connector back on with the threaded side down, and screw it back into the socket.

Then tighten the side screw.
Complete this task for all three cans and sockets.
Re-connect the wires to the white connector.
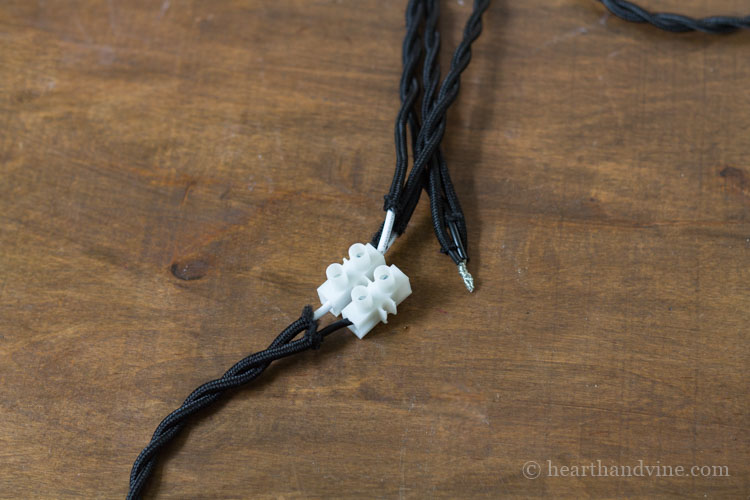
Making sure all white wires are placed together on the white wire side and all black wires on the black side.
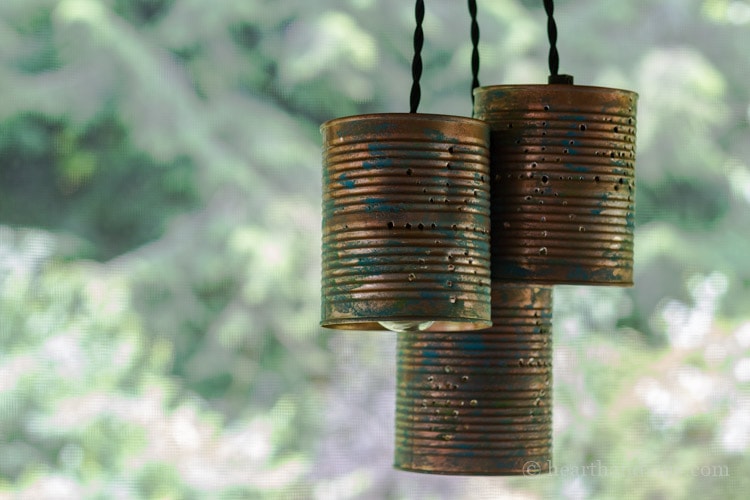
This light kit had each socket wire a different length. I assume it comes this way so you can hang them in a row from the ceiling. I wanted mine to be clustered together, so I cut some of the wires so that they are just a little different.
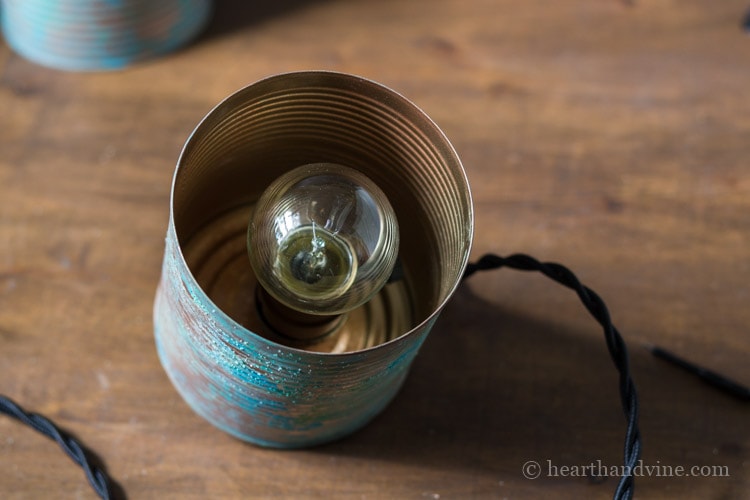
Depending on the cans you use, you will have to make sure the bulbs fit properly inside. I purchased small 40w decorative bulbs from a local hardware store.
The only thing that is missing is a main switch on the wire to turn them on and off. I think they sell that type of pendant kit too. There is a switch inside but that may get very hot. For now, I'll just unplug them from the wall.
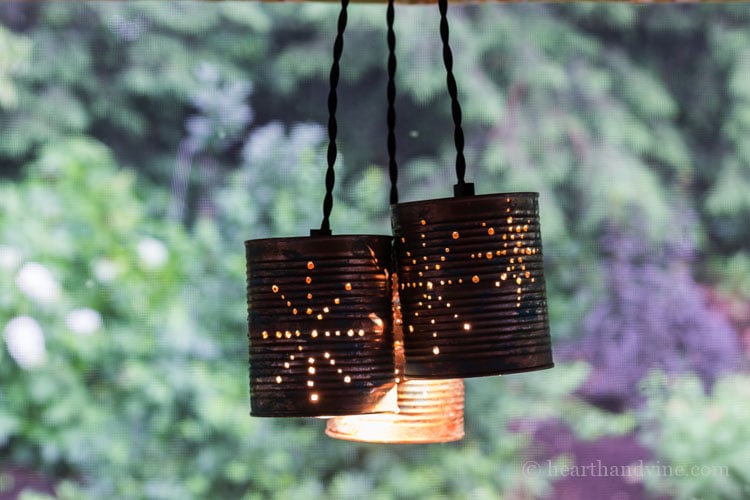
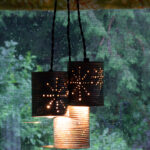
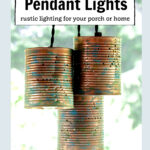
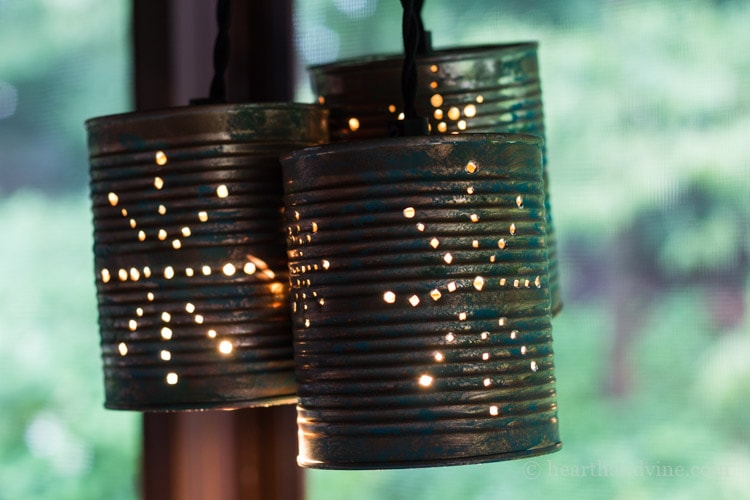
These tin can pendant lights turned out really cute. I love the rustic, aged look the paint gave them and the way the light twinkles through the nail holes. We have them hanging on our screened-in porch, perfect for a summer evening. Pretty cool looking for a tin can upcycle, right?

More Fun Upcycled Projects
DIY Beautiful Tin Can Pendant Light
Equipment
- Hammer
- Nail
- Paper
- Scissors
Materials
- Tin Cans 32 oz
- Craft Paint
- Pendant Light Kit
- Light bulbs
Instructions
- Paint your cans whatever you like. I started them with copper paint, then added shades of green and aqua and sprinkled a little table salt on top.
- Place a quart baggie inside the can, fill it with water, and freeze. This will make it easier to punch holes.
- Place the frozen can on a towel to keep it steady. Tape on the template and punch holes with a hammer and nail. Or just punch holes freehand.
- To attach the cans to the pendant kit you first need to separate the three different sockets. Do this by unscrewing the white plastic connector shown above. There will be one white and one black wire for each of the three sockets.
- Remove the black connector near the socket on each light. Loosen the screw on the side and then unscrew the connector from the socket.
- Slide this connector completely off, and set it aside.
- Thread the wires up through the can pulling them through until the socket reaches the top of the can.
- Thread the socket connector back on with the threaded side down, and screw it back into the socket and tighten the side screw.
- Repeat for all three cans and re-connect the wires to the white connector making sure all white wires are placed together on the white wire side and all black wires on the black side.
- Screw in small decorative 40 w bulbs into the sockets.
- Hang near an outlet or use an extension cord and enjoy.
Pamela @ FlowerPatchFarmhouse.com
These are so cool. I have seen some that you just set on surfaces with tea lights in them as luminaries but I really like the light kits. I would have to paint colorful flowers on mine, of course. 🙂
Patti Estep
Hi Pamela,
I'm so glad you like the pendant lights. Flower painted ones would be so pretty. Can't wait to see them!
Thanks for stopping by,
Patti
BonBon
Patti......these are beautiful. I love the copper, aged look of the paint. Fantastic. I think I am going to make some of these for our barn porch area. Thanks for the great idea.
Patti Estep
Hi Bonnie,
I'm so glad you like it and thank you for coming up with this fun challenge!
Looking forward to the next one,
Patti
laura {not a trophy wife}
Hi Patti
I would never have thought to add water and freeze first before creating the pattern with a nail. I need to re-read the details on the lights! laura
Patti Estep
Hi Laura,
I saw that trick on another post when I was trying to figure out what I wanted to do. It really helped me because my cans were somewhat thin and flimsy.
Thanks for stopping by,
Patti
Susan
I LOVE the weathered copper look of your can pendant lights. These are certainly a one of a kind light feature for your outdoor entertaining! Thanks also for the detailed tutorial on how to use the light kits. I think I'm going to have to explore a project using those.
Patti Estep
Hi Susan,
It took me a little while to see how I could work with the light kit. I feel like I saw one with a main switch and that would be so much better. Let me know if you do make something with them. I'd love to see it!
Have a great week!
Patti
carole
As always - Awesome and the finish is great. I'm going to try that on some pots. These lights are fun I could see several groups of them hanging at the center of a pergola or at the corners. I almost did lanterns but ended up using my frozen cans for cooler packs when we went to the property and then my brain went in another direction. Have a great week and can you believe it Summer is here - yeah!!
Patti Estep
Hi Carole,
Summer is definitely here. We have been having some hot weather lately and a fair amount of rain. Great for the garden! Thanks for sharing your great ideas as always. Pendants in a pergola would be awesome!
Have a great week!
Patti
Karen
This is a great summer idea, Patti. I'm sure the light added on summer evening is just perfect on your porch and I'd want to be there every evening, relaxing and soaking in their gentle, shimmering light. This is such a creative way to use an old tin can!
Patti Estep
Hi Karen,
Thank you. I does look so pretty in the evenings. I'm looking forward to having some friends over to show it off. Too bad you live so far away. One of these days we are all going to have to get together.
Have a great week,
Patti
Courtney
I love the pattern you chose for your cans, Patti! And the patina/copper paint technique is beautiful. It's amazing what you can do with a tin can!
Patti Estep
Hi Courtney,
That's what I love about these challenges. I probably never would have made this otherwise and I really like it.
Thanks for stopping by,
Patti