

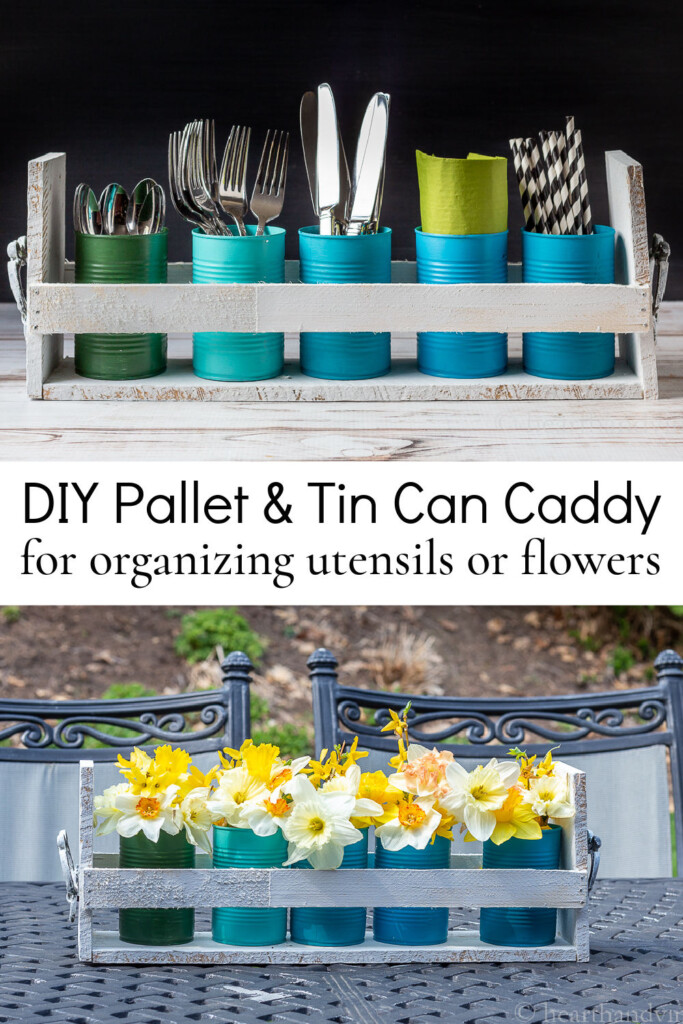
Learn how to make this beautiful tin can upcycled organizer. Take pallet wood, shims, and empty tin cans and turn them into a handy caddy for picnics to hold utensils or as a great centerpiece vase set for your backyard flowers
In celebration of Earth Day I thought I'd share a nice DIY project that you can make with recycled items you may already have or can easily get for just about nothing.
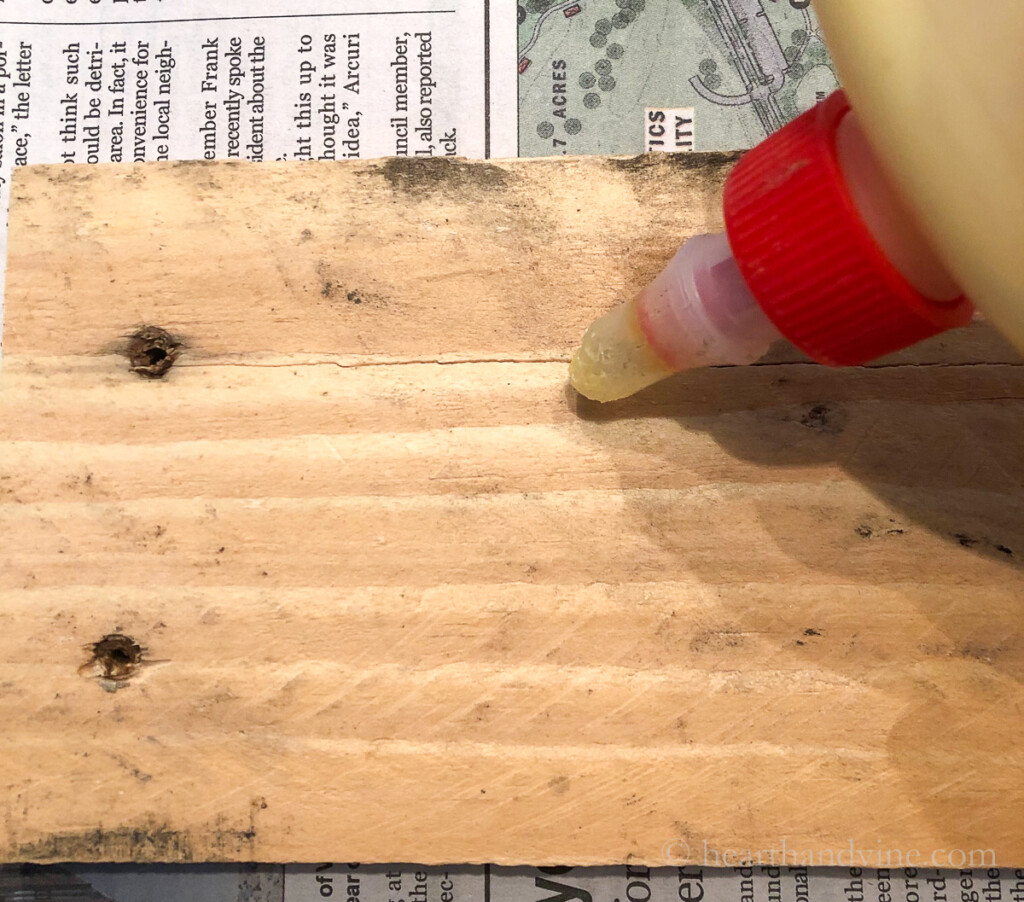
I used pallet wood for this project and some of it was splitting so a little wood glue fills in the cracks. Just let it sit for 24 hours to cure. You could also use scraps of wood that you already have in the garage or basement leftover from some other project.
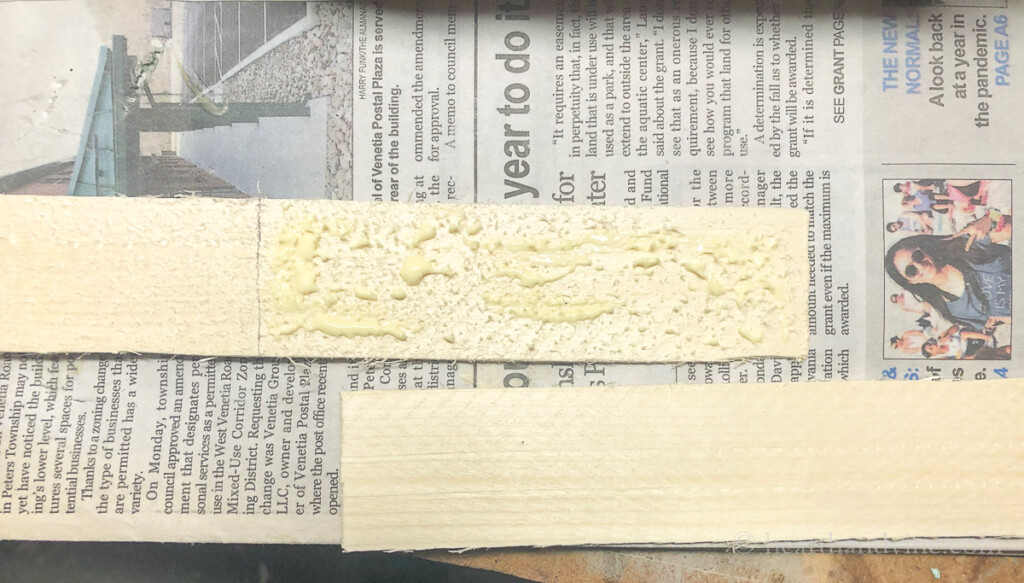
For the front and back, I used extra wood shims and glued them together at the narrow ends with more wood glue. Here's another place where you could use pallet wood or other leftover scrap wood.
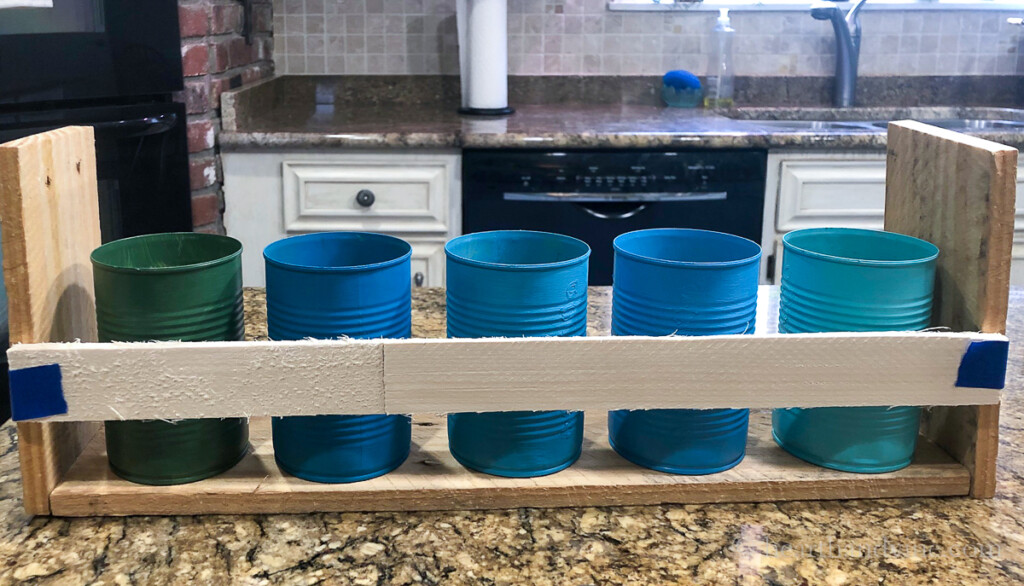
This little DIY caddy was made to fit five 15 oz cans that you would have leftover from vegetables or broth. You can use whatever size you like and you could also make the whole thing smaller with just 3 or 4 cans.
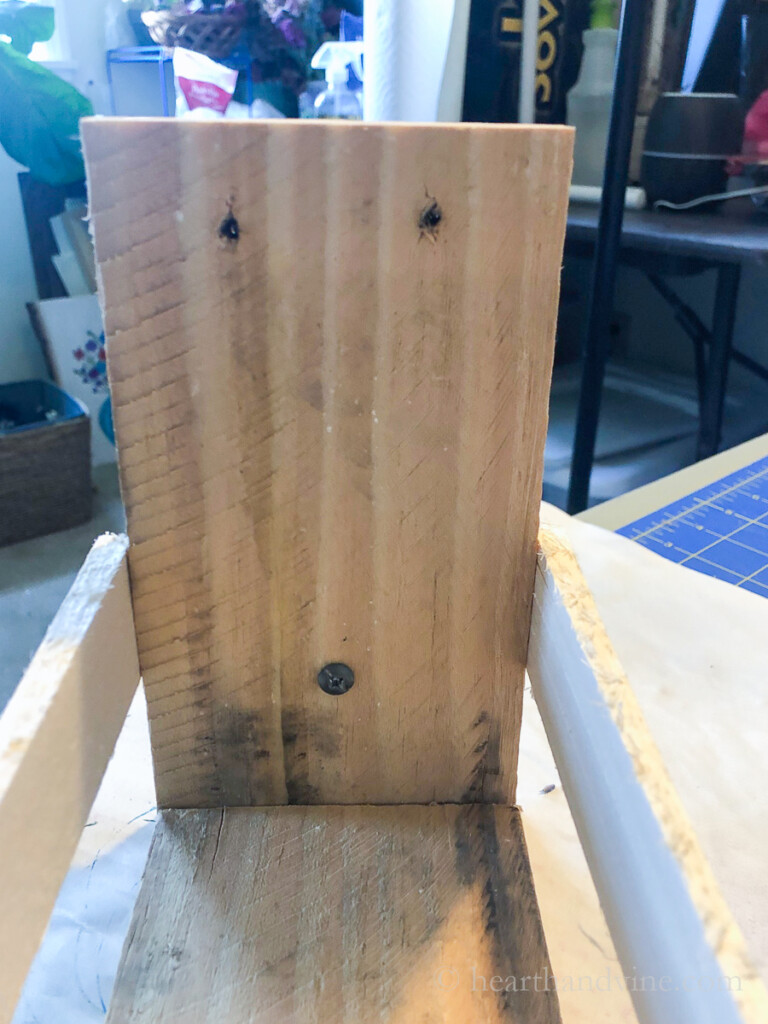
The image above shows the shims taped to the wood frame. This helped me determine exactly where I wanted the shims placed and then I used small brads to nail into the wood. After I got one nail in I was able to remove the tape and finish with two more nails.
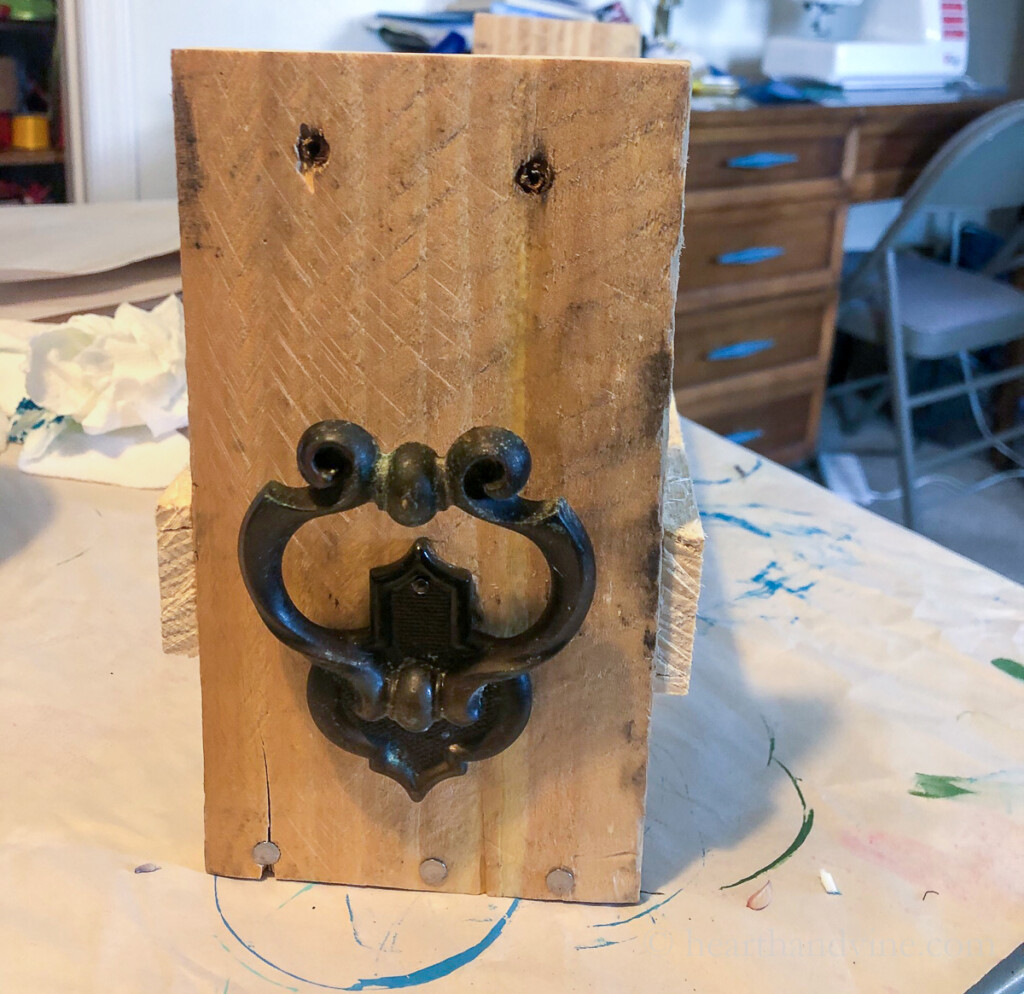
Here's an old metal hardware piece leftover from my bathroom vanity makeover. It makes a great handle. You can use any kind of old knob here or skip the handle part if you don't have anything that will work.
The cabinet handle is screwed on from the inside.
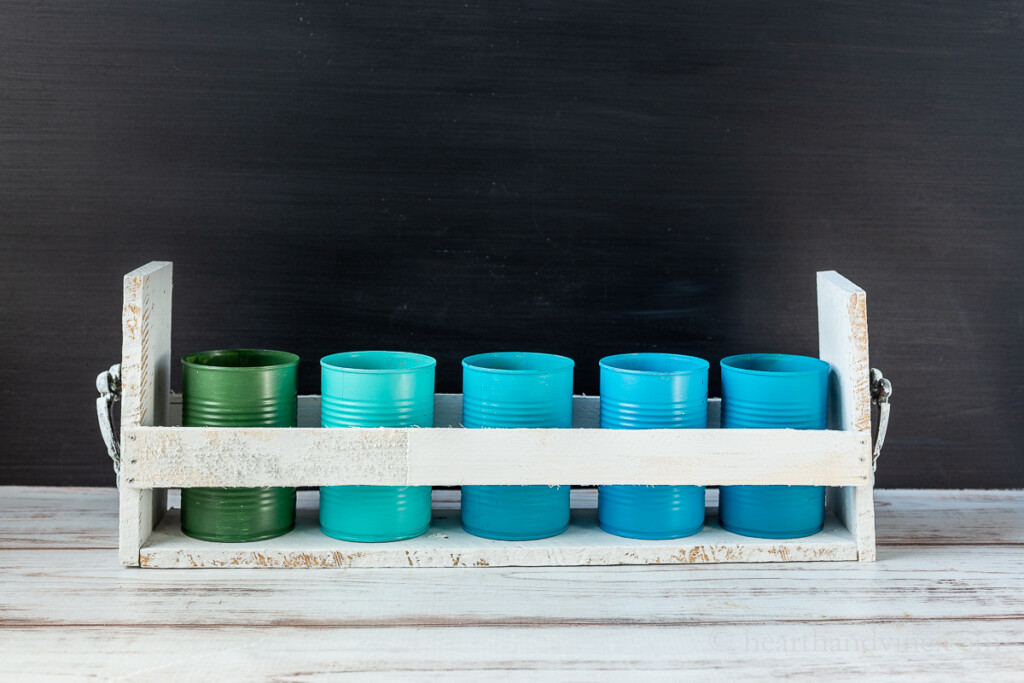
The entire piece gets a light coat of white paint to pull all the different woods and metal together.
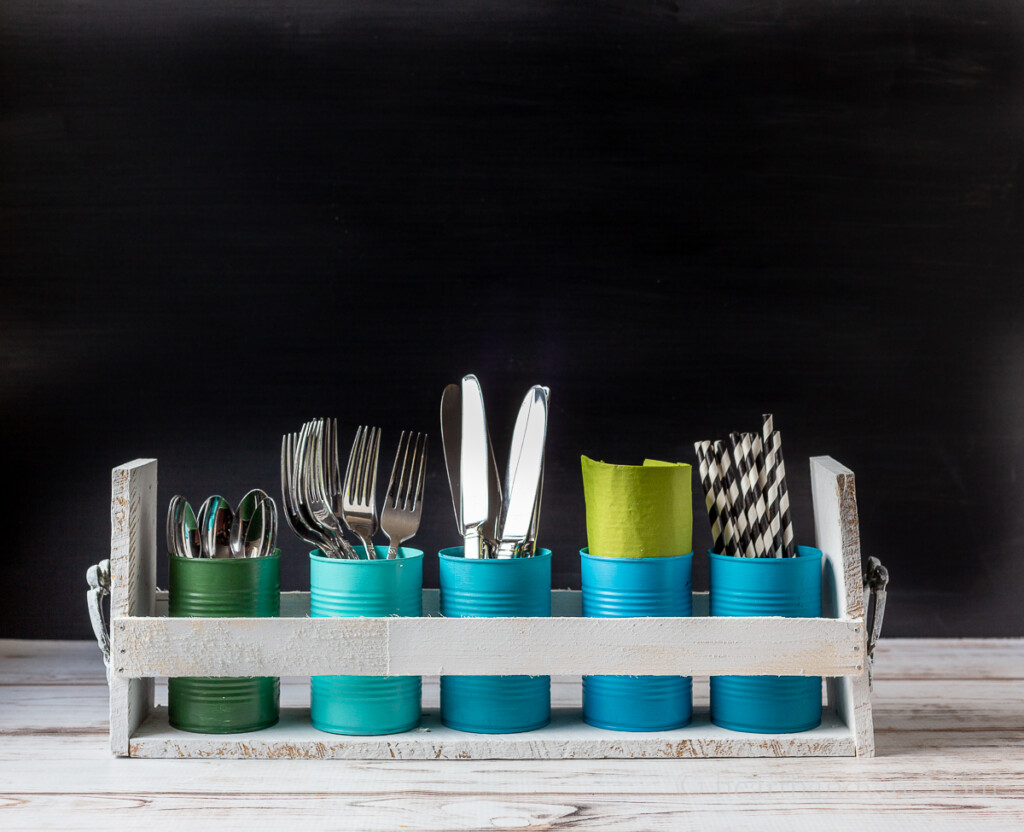
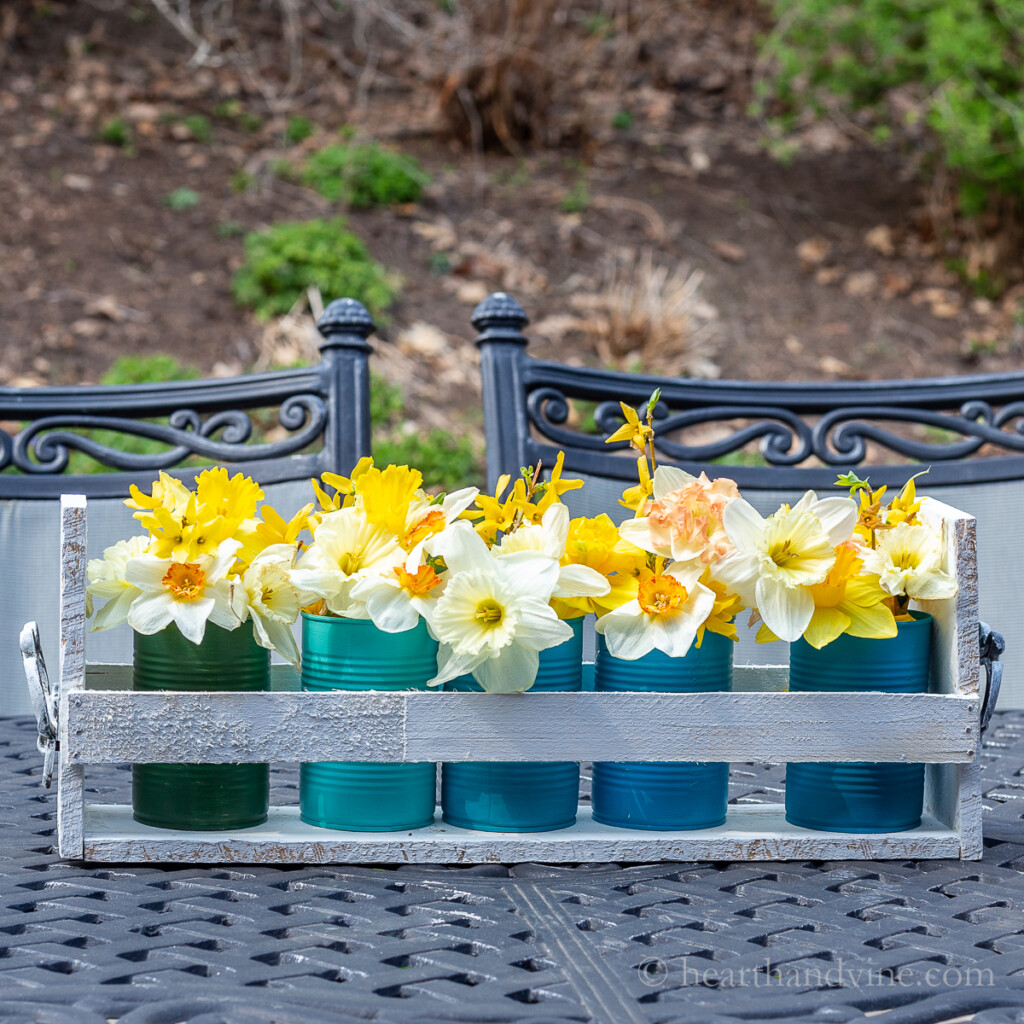
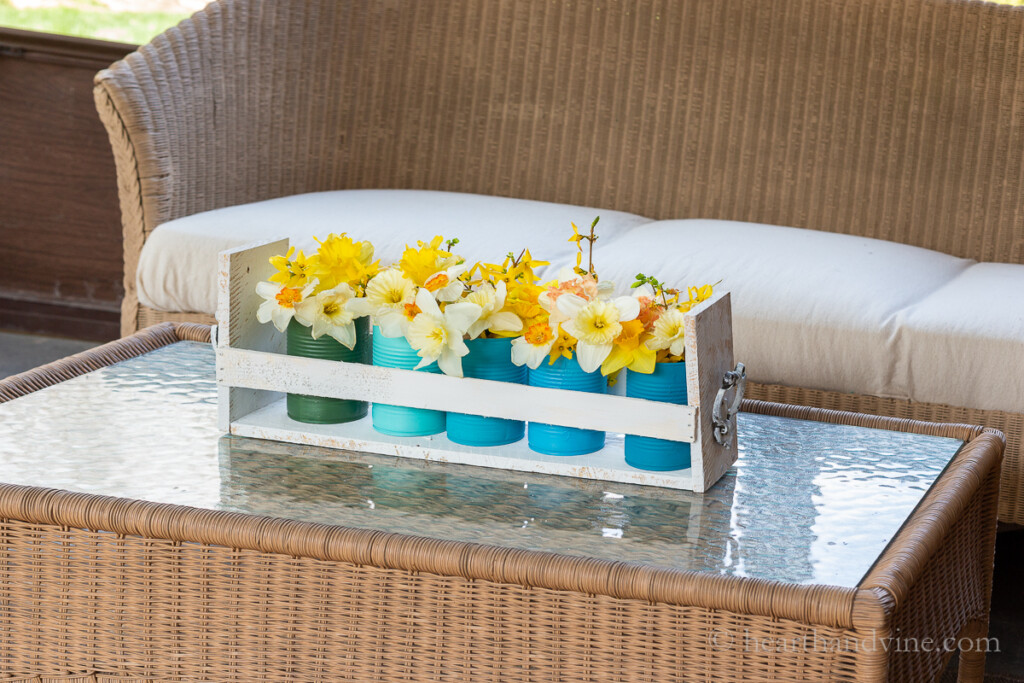
This would be great outside for summer entertaining.

It also looks very pretty displaying your favorite flowers. In fact, you could plant some pretty annuals in the cans and keep them there all season long. Try geraniums for a sunny spot or impatiens for shade.
Wouldn't this make a nice gift for someone? Mother's Day, teacher appreciation, welcome to the neighborhood, happy birthday, the ideas are endless.
More Recycled Projects

Tin Can Upcycle Organizer
Equipment
- Hammer
- Drill
- Saw
- paintbrushes
Materials
- pallet wood
- tin cans
- contractors' shims
- wood glue
- old cabinet hardware
- small nails or brads
- wood nails or screws
- craft paint
Instructions
- Cut pallet wood into three pieces. 19 inches for the bottom and two 7 inch pieces for the sides.
- Add wood glue to splits and let dry overnight.
- Use contractors' shims 2 for each side, and glue the narrow sides together to match the width of the organizer. (19 inches) Allow drying overnight also.
- Nail or screw the side pallet wood to the base wood piece at the bottom. You may need to create pilot holes with a drill first. This will prevent the wood from splitting and make it easier to hammer in the nails or screws.
- Tape the shims to the side and nail them into place with small nails.
- Add old cabinet hardware pulls to the outside to act as handles.
- Paint the wood all over with white craft or chalk paint.
- Clean and paint five (15 oz) cans from vegetables or broth etc..
- Place the cans into the caddy and fill them with flowers or utensils for outdoor entertaning.
Leave a Reply