This DIY Flower press is convenient and portable, so you can collect beautiful plant specimens where ever you go.
I've always loved the outdoors. Sometimes when we are out on a hike, I like to take a sample of a wildflower to take back home. However, it doesn't keep well, so I thought it would be fun to create a flower press, that could easily be packed in a suitcase or backpack.
This post contains some affiliate links (that means if you make a purchase after clicking a link, there’s no additional cost to you, but I will earn a very small commission. ) i.e. as an Amazon Associate, I earn from qualifying purchases. Click here to read my full disclosure policy.
DIY Flower Press Supplies
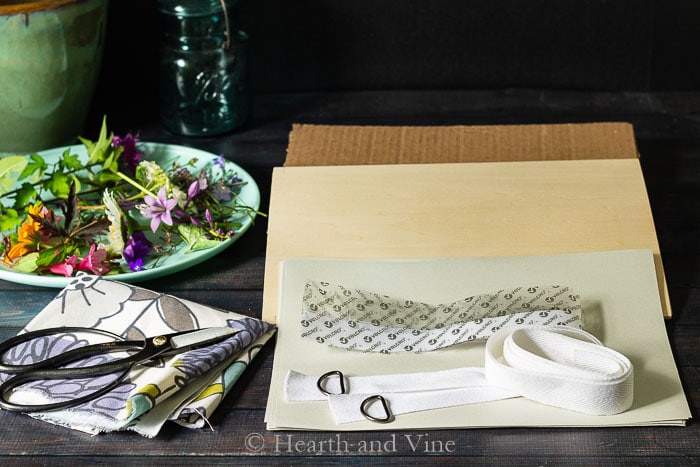
- 2 Basswood pieces for the cover - approx. 8 x 12 inches
- 8 sheets of corrugated cardboard the same size or slightly smaller than the basswood.
- 14 or more sheets of newsprint or blotter paper

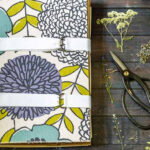
- fabric to cover the outside (approx. 12 inches x 24 inches)
- 2 - 24 inch lengths of cotton twill tape
- 2 - 1 inch D rings
- 2 - 3.5 inch lengths of 3/4 inch velcro


Don't be tempted to use paper towels. Newsprint is absorbent, holds up well, and will not leave any marks on your flowers like paper towels.

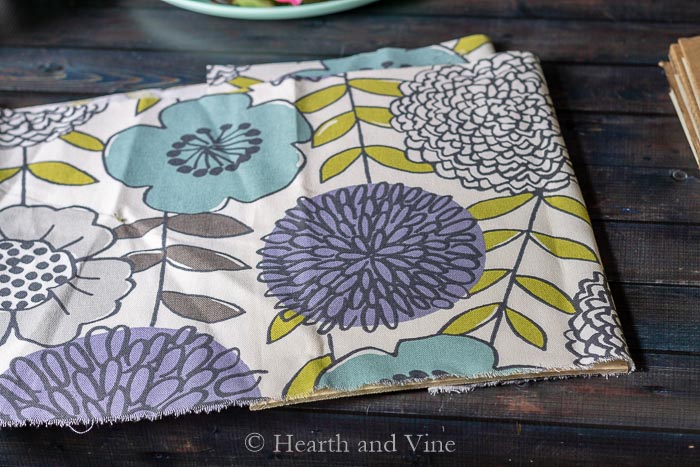
Start by placing the fabric on the cover, centering the pattern where you like best.
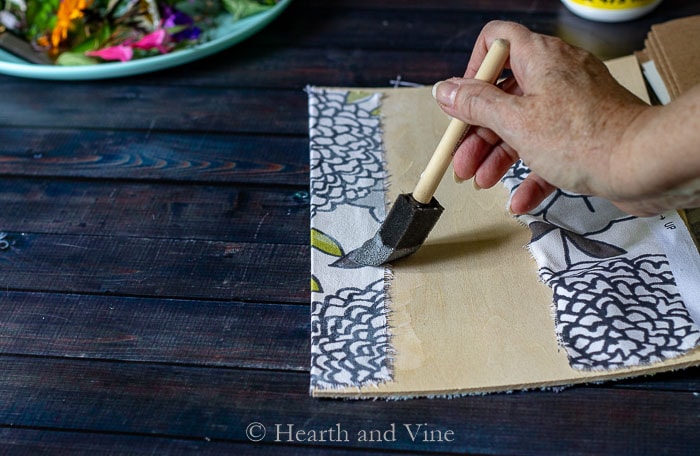
Cut and tear the excess off leaving an inch or so and glue the fabric to the wood. I used Mod Podge because I always have plenty of it around but you could use white glue or fabric glue. I placed some Mod Podge on the wood first and applied an additional layer of glue on top for extra staying power on the inside. I only used the glue on the wood for the outer cover, but you could go over it with Mod Podge too.
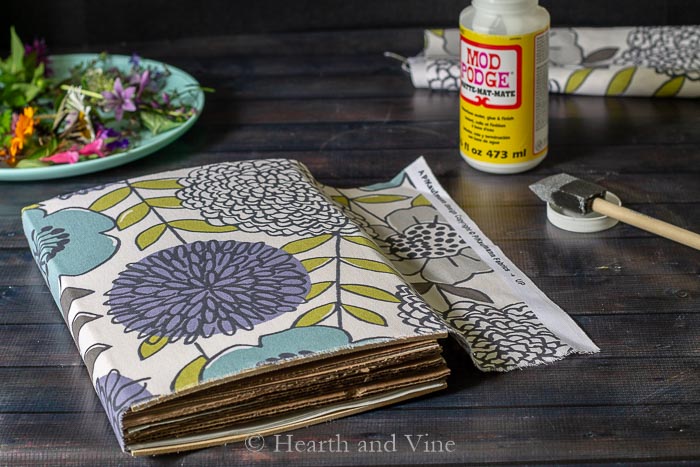
Place layers of cardboard sheets with two pieces of newsprint in between each layer, between the wooden cover pieces. Then wrap the fabric around the entire piece and glue the back the same way you glued the front.
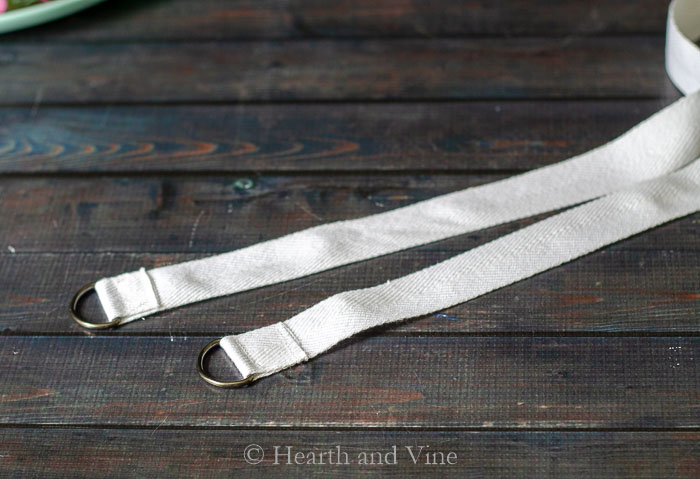
Next attach the D rings to the straps with glue, or by using a sewing machine. I stitched mine in a square for extra support.
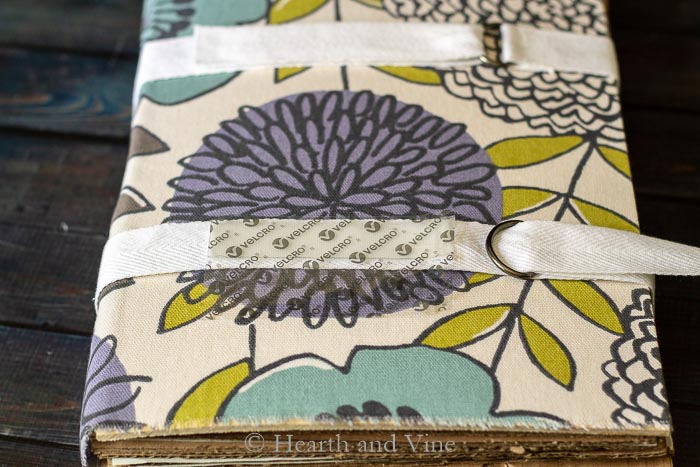
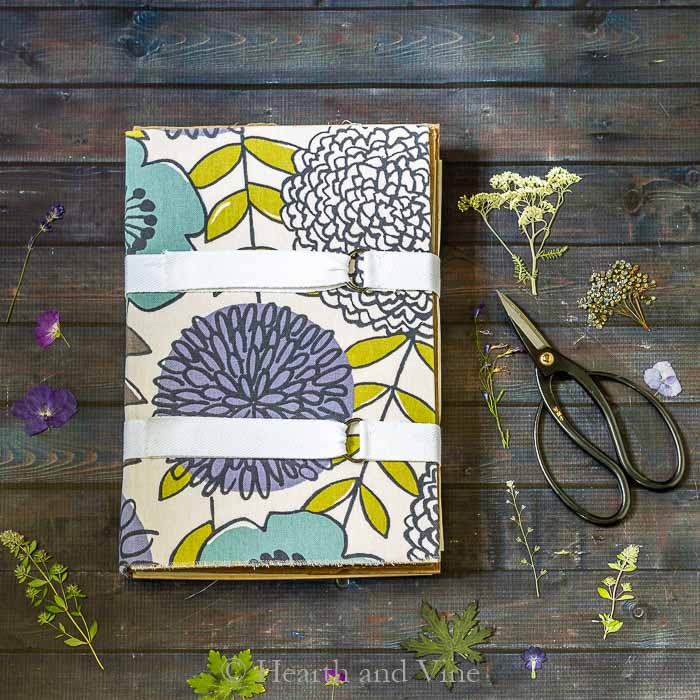
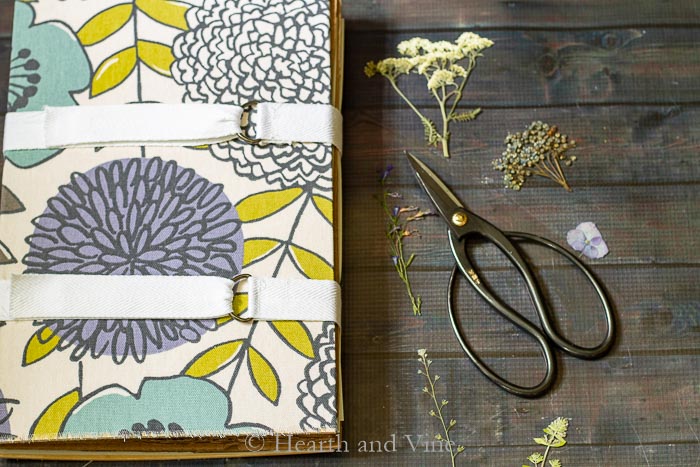
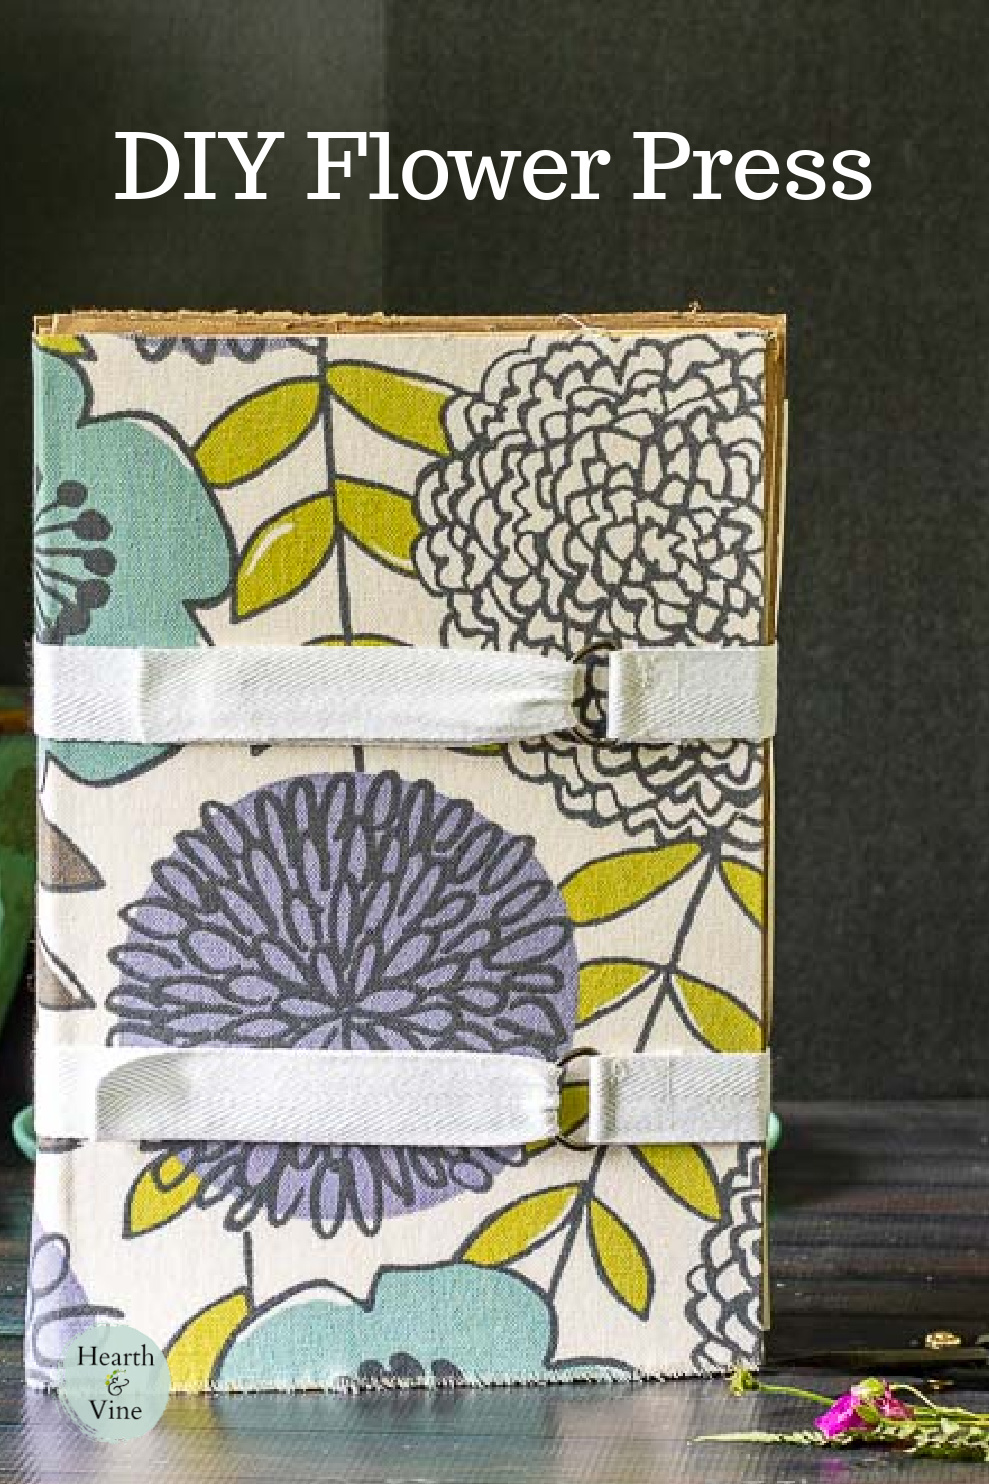
Position the straps around the book and add the velcro strips as shown above.
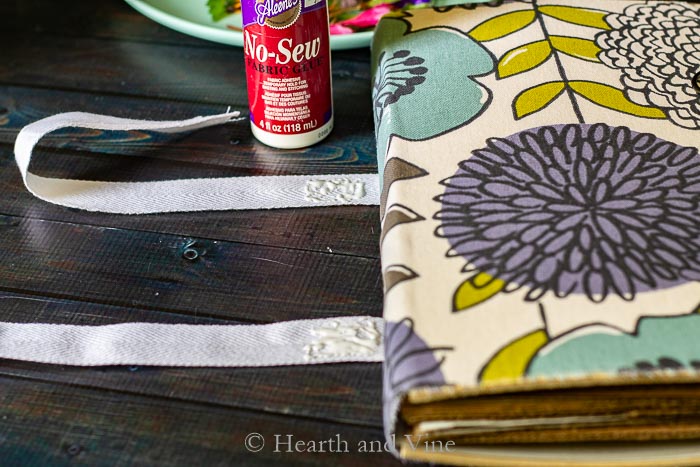
Finally, glue the straps to the spine using fabric glue. This will keep them in place, but also allow you to pull them tight through the D rings to maintain a snug book.
How to Use the Flower Press
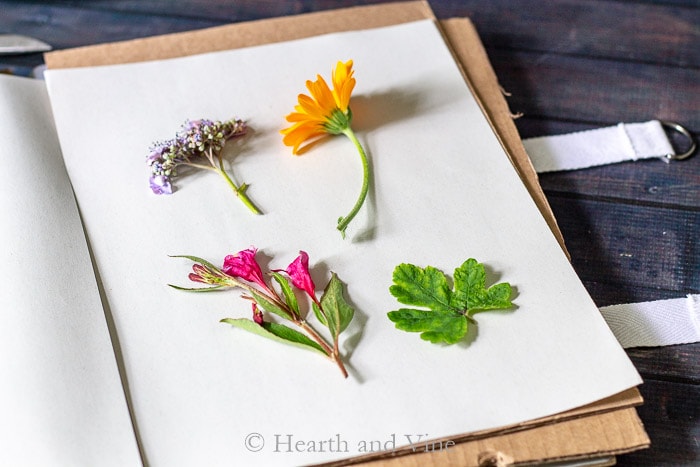
Gather your flower blooms, petals, and leaves. The easiest flowers to press are naturally flat blooms such as single-petal roses, daisies, violets, Queen Anne’s lace, or pansies. Ferns and herbs are also a great choice. Large flowers and bulky flowers such as carnations take forever to press and often don't look good pressed.
Place flowers and stems in between 2 pieces of newsprint within two pieces of cardboard and carefully close the press.
Pull the straps tightly through the D rings and secure them to the Velcro.
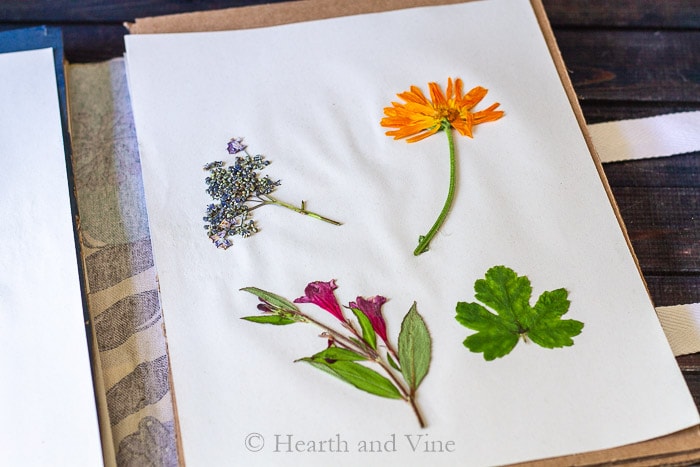
Here's how they look after only 3 days in the flower press.
This basic tutorial can be adapted to any size flower press you like.
You don't have to cover the book with fabric. If you prefer a natural look you could brush on a coat of wax, paint the wood, or burn a pretty pattern into the cover.
Get creative and make it your own. I know that you will love the final outcome.

Flower Press DIY For Travel
Equipment
Materials
- 2 Basswood pieces for the cover - approx. 8 x 12 inches
- 8 sheets of corrugated cardboard
- 14 or more sheets of newsprint or blotter paper
- fabric to cover the outside approx. 12 inches x 24 inches
- 2 - 24 inch lengths of cotton twill tape
- 2 - 1 inch D rings
- 2 - 3.5 inch lengths of 3/4 inch velcro
Instructions
- Place fabric on the cover, centering the pattern where you like best.
- Cut and tear the excess off leaving an inch or so.
- Glue the fabric to the wood.
- Place some Mod Podge on the wood first.
- Apply an additional layer of glue on top.
- Place the cardboard sheets with two pieces of newsprint in between each layer, between the wooden cover pieces.
- Wrap the fabric around the entire piece.
- Glue the back the same way you glued the front.
- Attach the D rings to the straps with glue.
- Position the straps around the book.
- Add the velcro strips.
- Glue the straps to the spine using fabric glue.
Melanie
Hi Patty,
Great craft! Did you use the bass wood for strength and/or is it necessary to the drying process? Could matt board or very dense cardboard be substituted?
Thank you
Patti Estep
Melanie, I just used it for the support you can certainly try cardboard instead.
Julie Briones
What a simple, yet brilliant idea! This is wonderful for those of us who want to take a little nature home with us! Pinned, Patti!
Patti Estep
Thanks Julie. I'm glad you like it!
Carole West, Garden Up Green
What a fun idea - I love gathering little stems of wonderful when I'm out and about. My next day off is Wednesday and I may have to acquire a spot in my afternoon to make this. In the meantime I shall gather everything to make it.
Patti Estep
Thanks Carole. I know you will have fun and make a beautiful flower press.