This DIY wall pocket craft is so fun to create. Use it to hold cut flowers or any small items for a pretty statement and easy access on the wall.
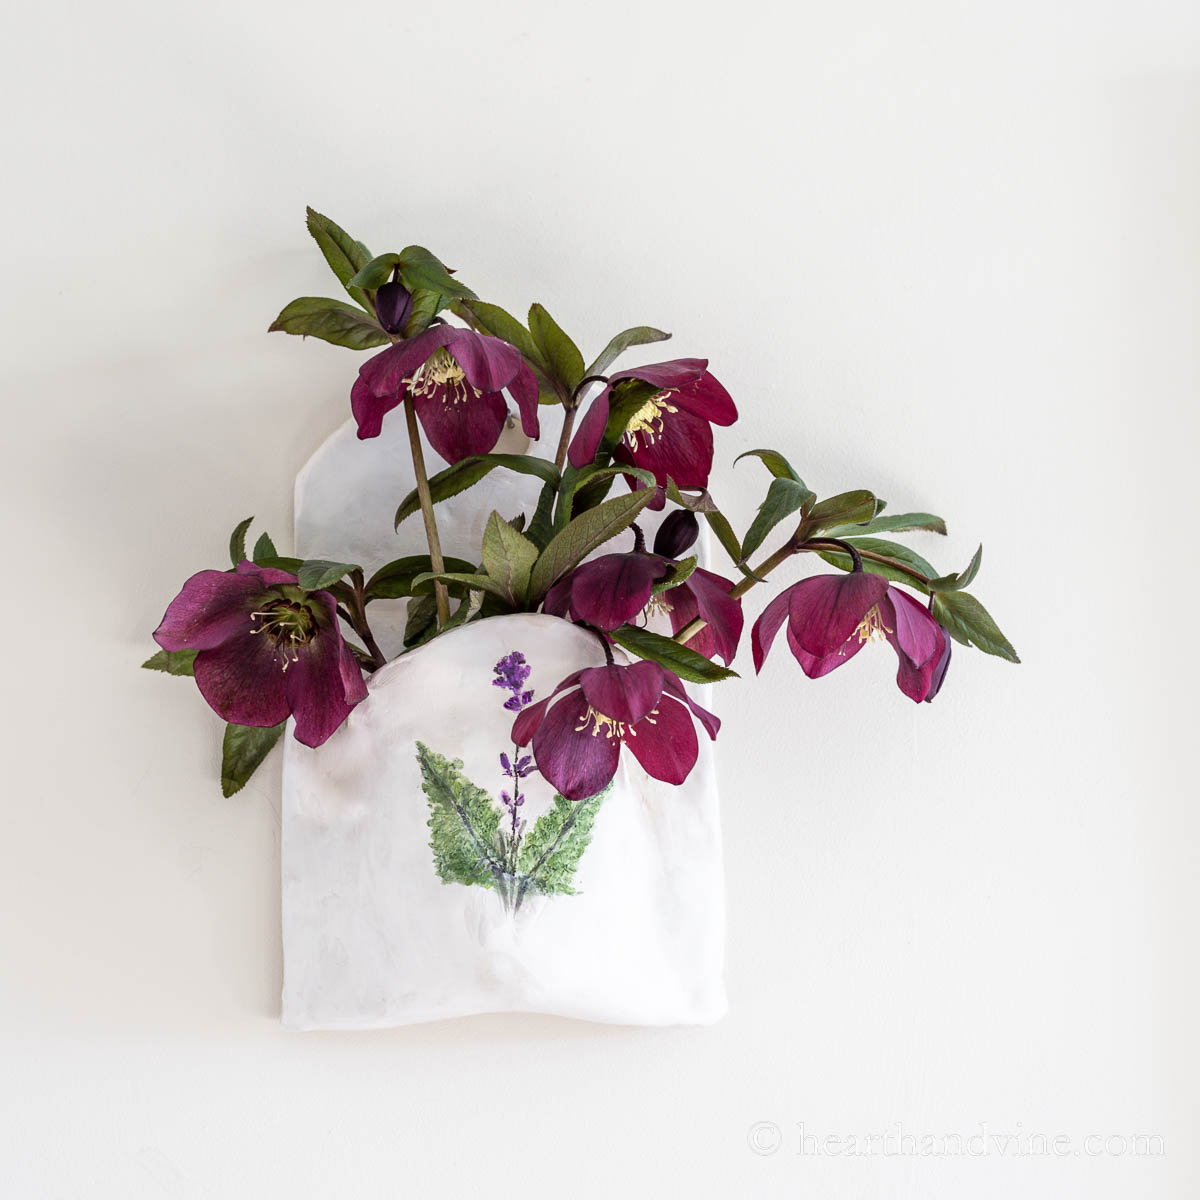
You can never have too many places to hold flowers and plants and this hanging wall pocket is my latest addition.
This post contains some affiliate links (that means if you make a purchase after clicking a link, there’s no additional cost to you, but I will earn a very small commission. ) i.e. as an Amazon Associate, I earn from qualifying purchases. Click here to read my full disclosure policy.
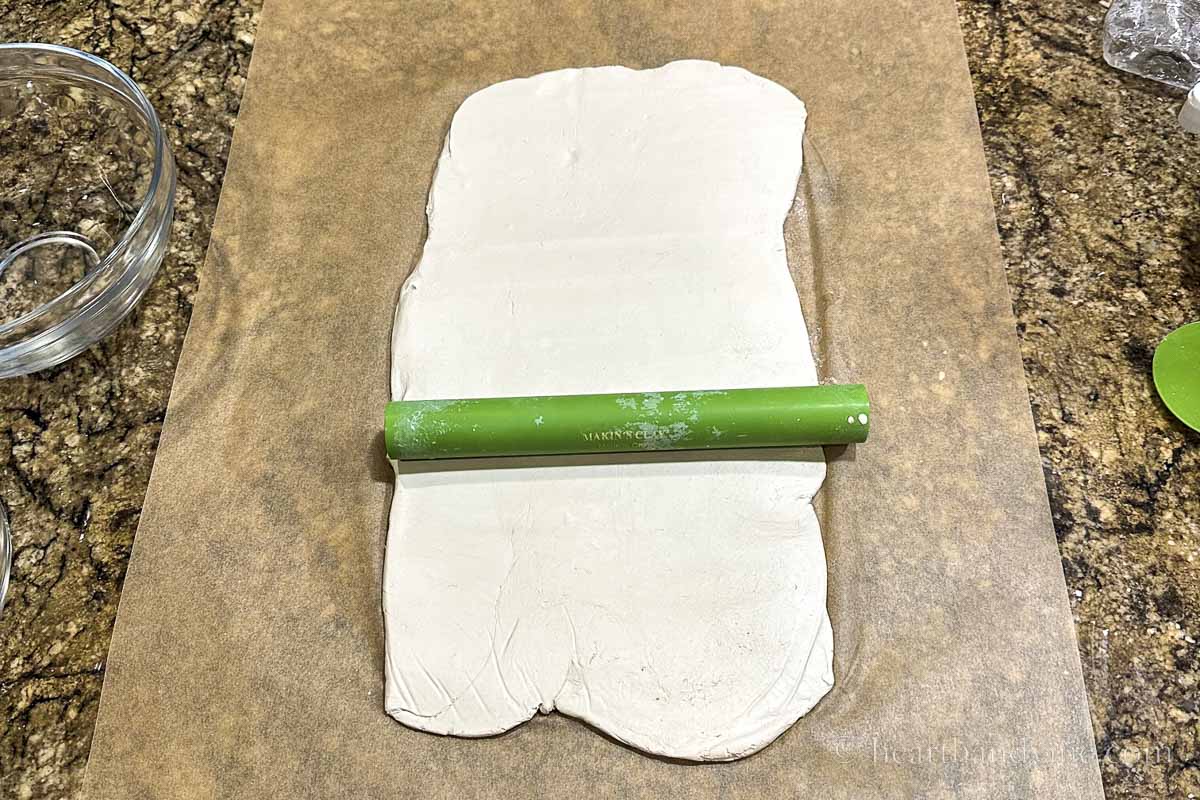
How to Make a Clay Wall Pocket
I'm using air dry clay. It's so easy to roll out and manipulate. Some people make wall pocket organizers out of canvas material but this DIY obviously does not require a sewing machine.
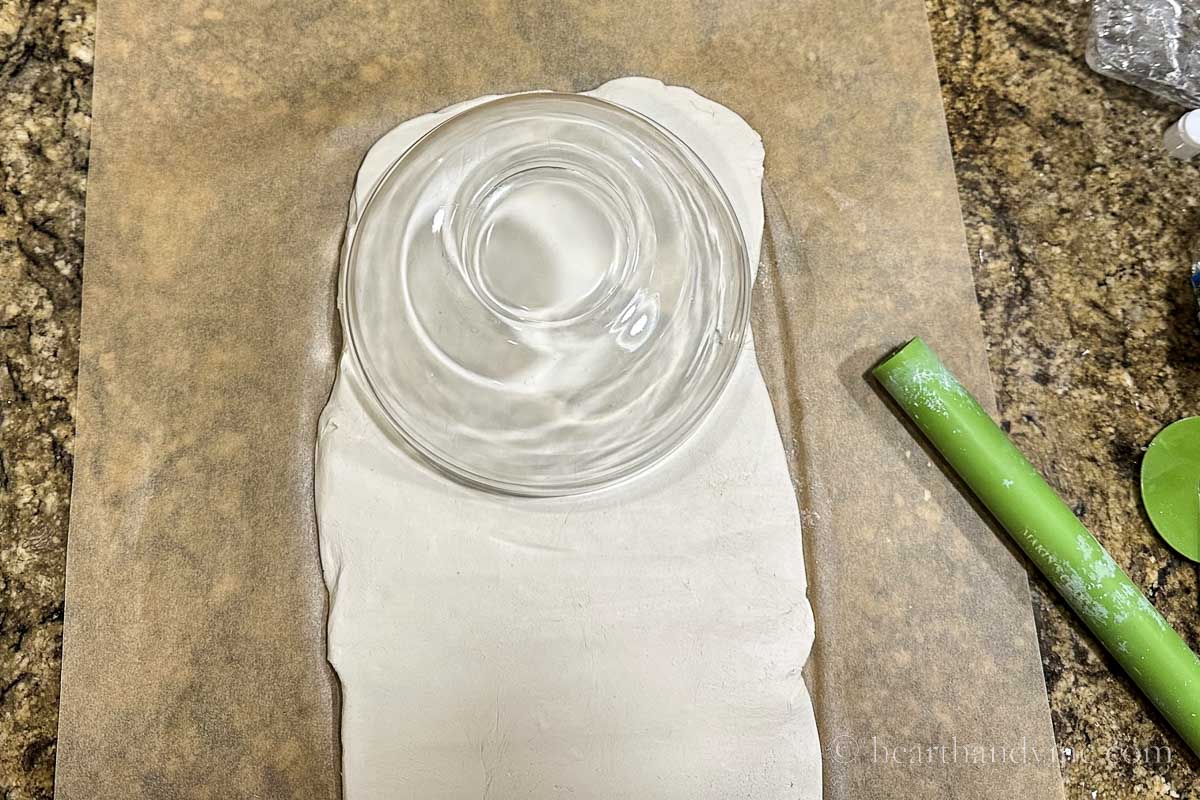
After you roll out the clay about 1/4 inch thick use anything with a rounded edge to form the top and bottom edge piece. You could also freehand this part or square it off creating a rectangular shape.
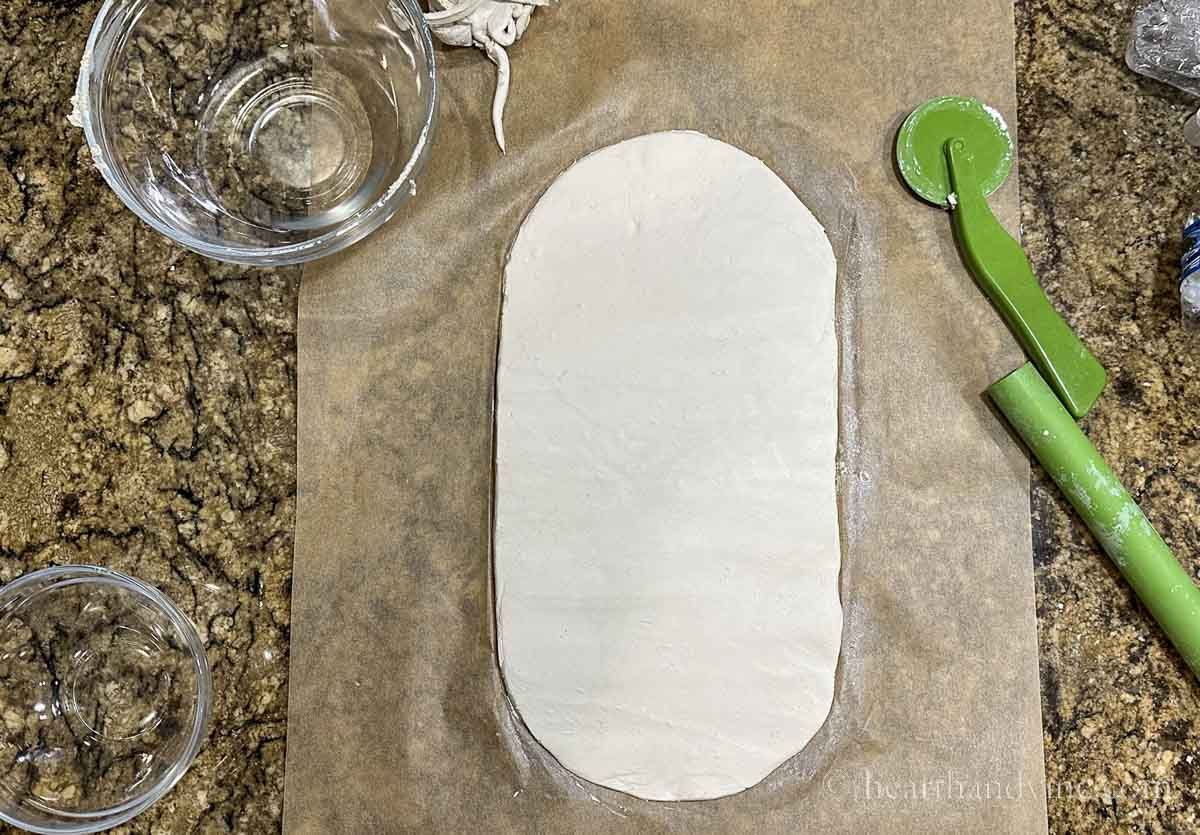
I used some basic tools for clay as shown above. The green plastic roller and the wheel cutter are great but you can use a bottle and a butter knife just as well.
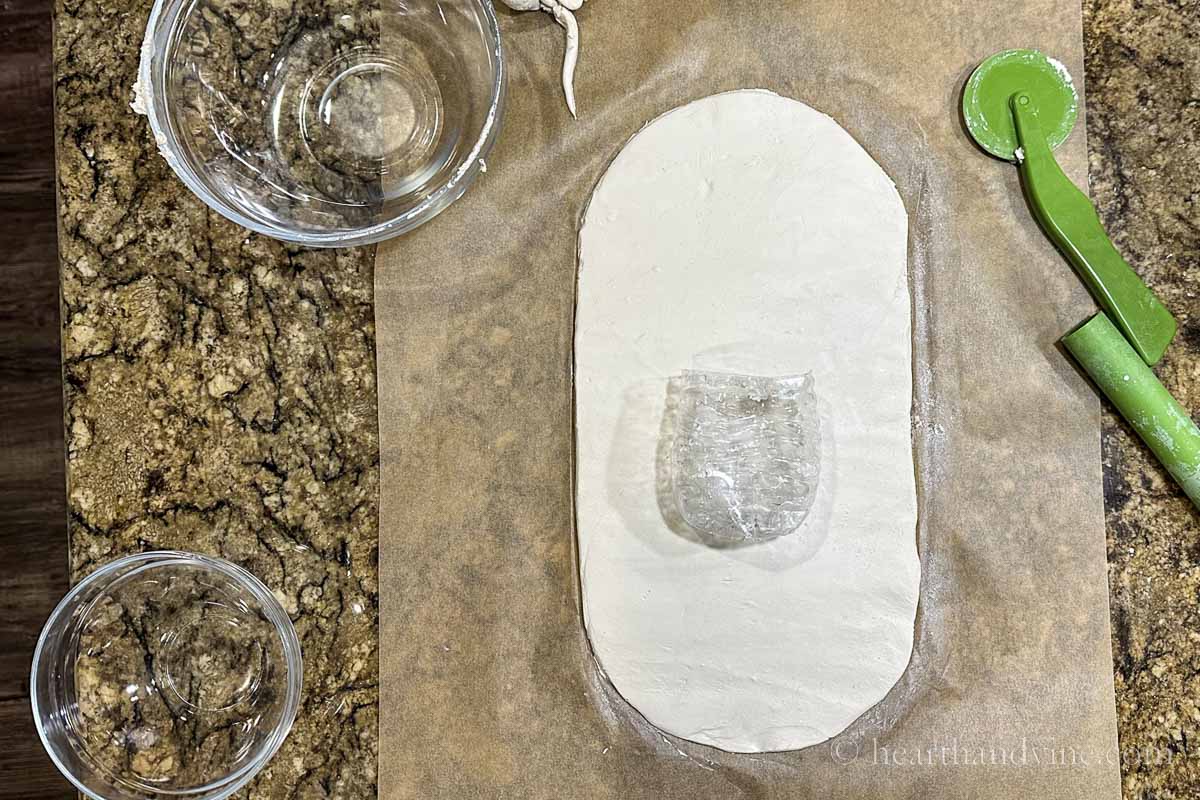
Cut off the bottom of a plastic water bottom to hold water. You could use a small plastic cup also. Just know that it will stay in the pocket.
I used this because the one disadvantage of air dry clay is that it will come apart and break up if you try to hold water in it.
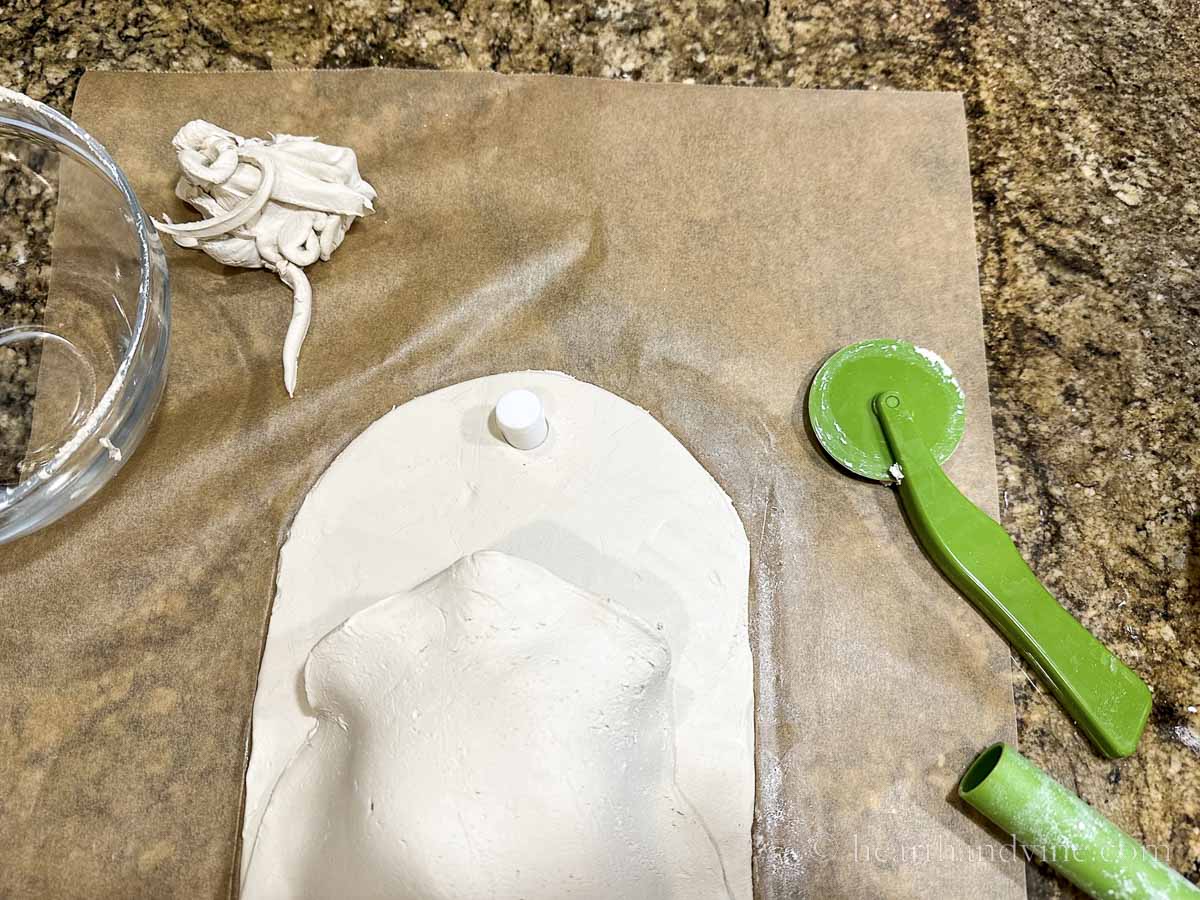
Use a round cap to create a hole in the top. You could also freehand cut this part too.
Fold the bottom of the clay over the plastic bottle and press the side edges to the base.
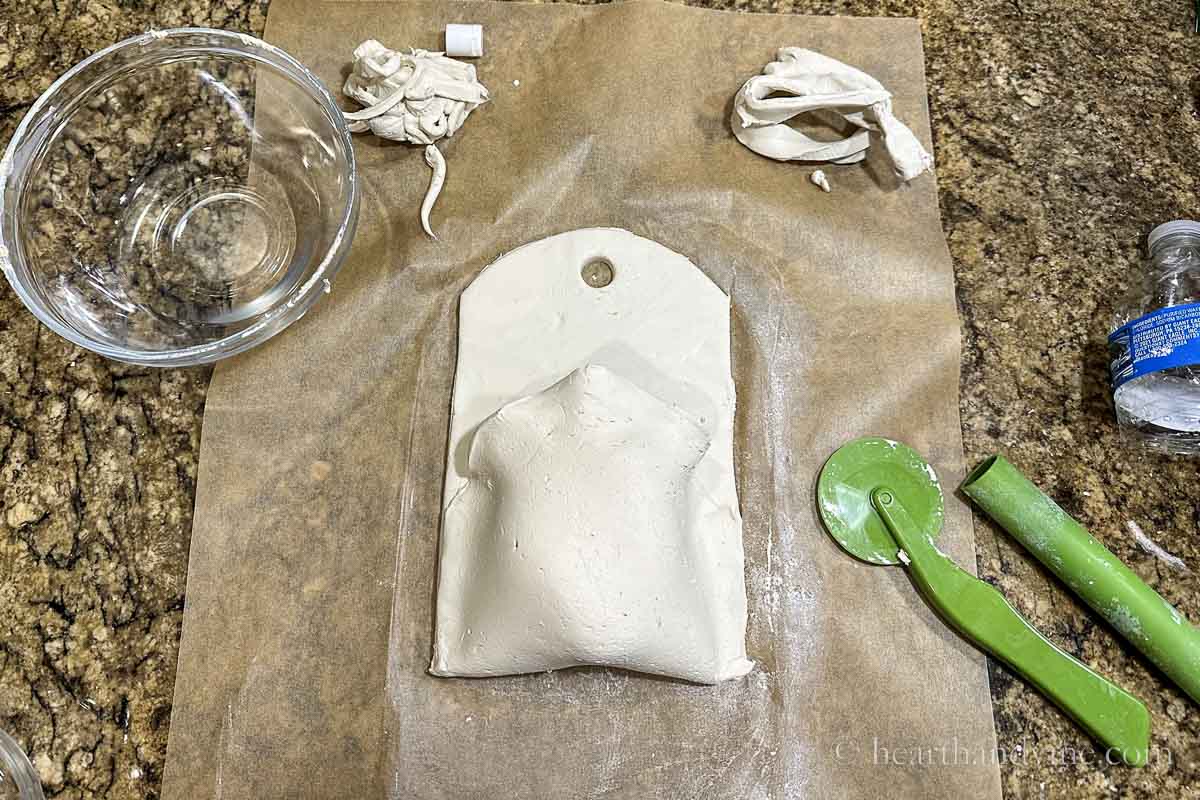
Next, trim the sides and make them nice and straight.
Don't forget to save the scraps for a future project.
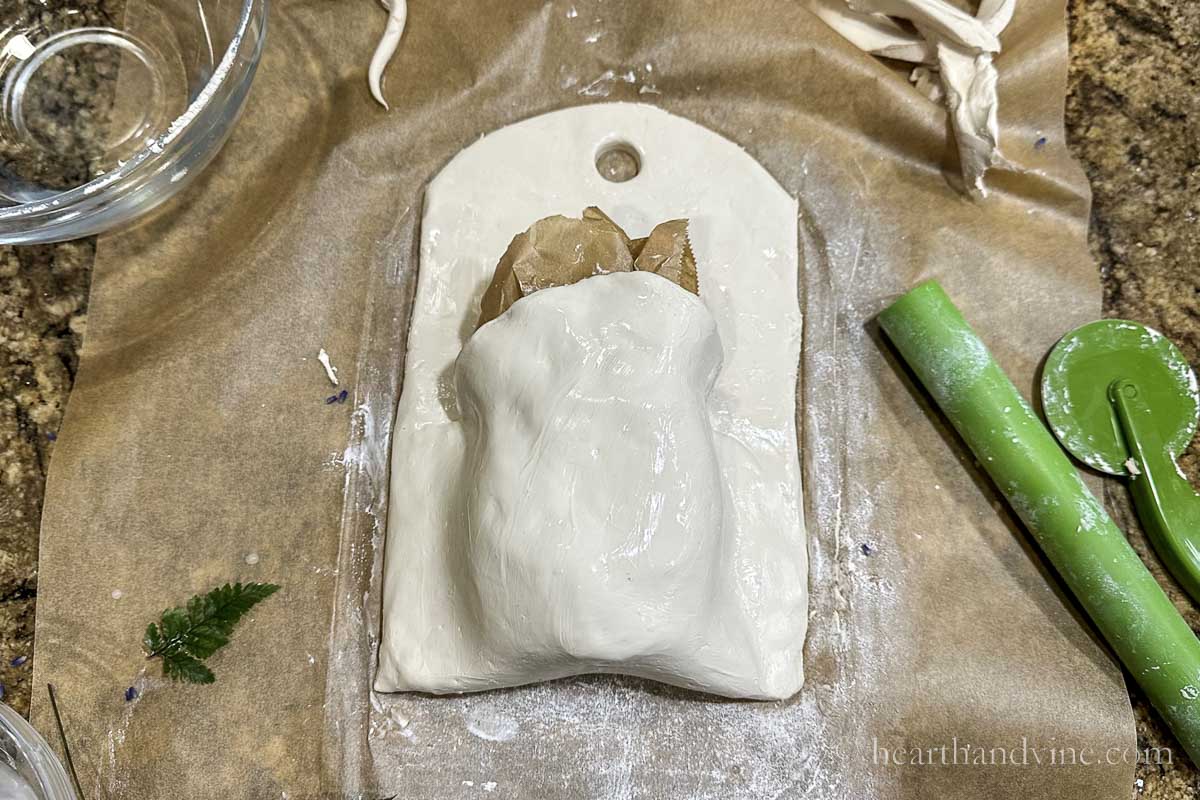
Use some water and your fingers to smooth out any imperfections and place some crumbled paper into the top to hold the clay in place until it dries.
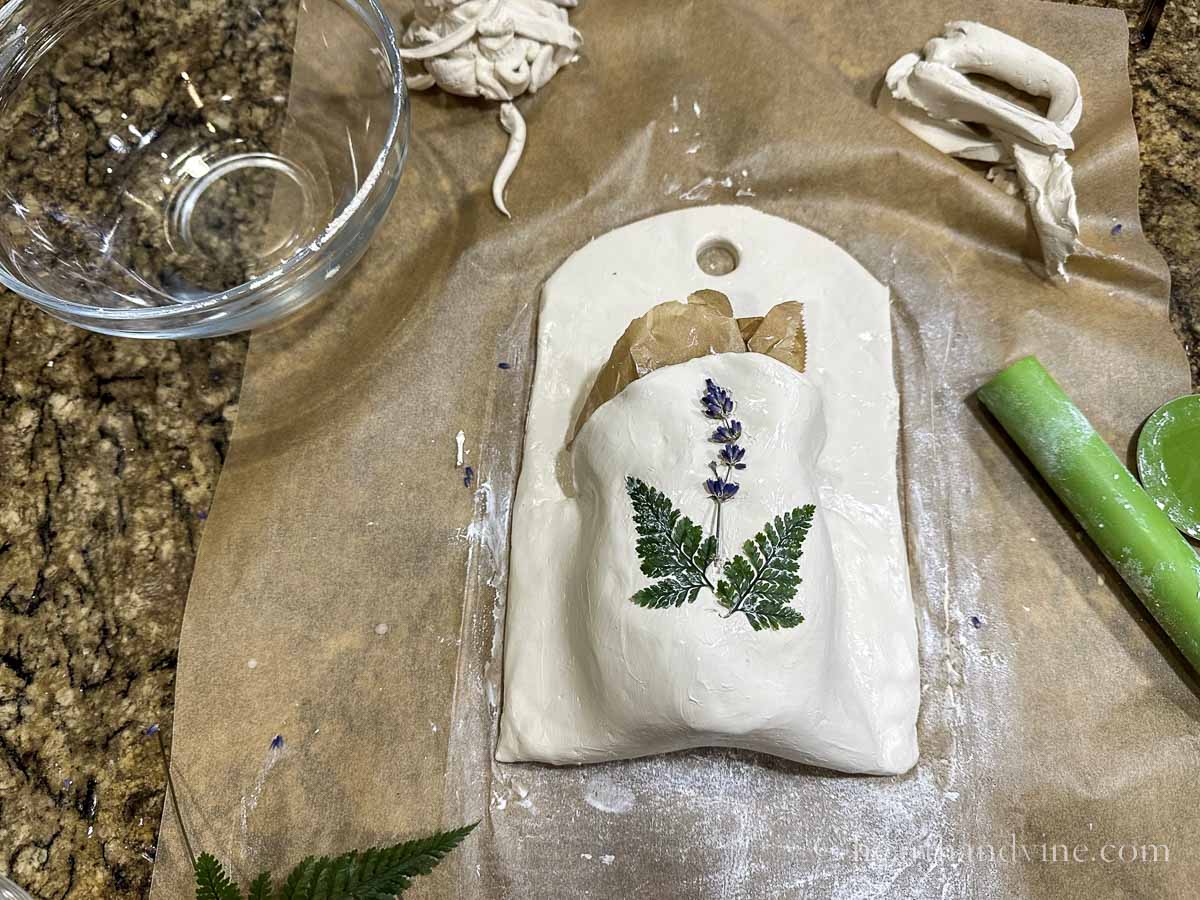
If you like you can press some flowers or leaves to create a pretty adornment on the front. Just press them in and gently lift them off.
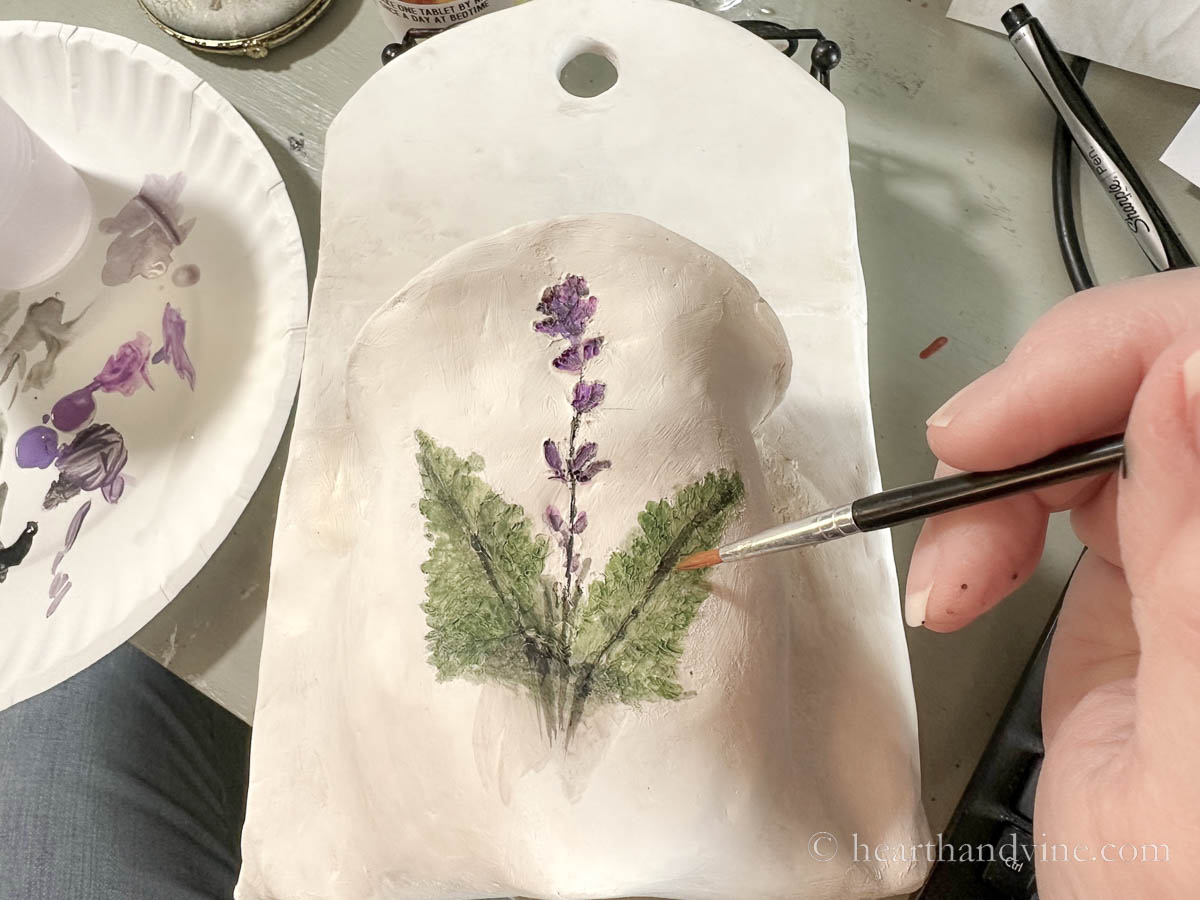
Once the piece is dry take some craft paint and water it down. Then fill in the depressions where the plant material was pressed.

When your clay pocket is completely dry, which will take a least a day possibly more, you can use some sandpaper to smooth any rough edges.
Note: As the clay dries you may find some cracking. You can fix this by taking additional pieces of air dry clay and some water to patch the area.
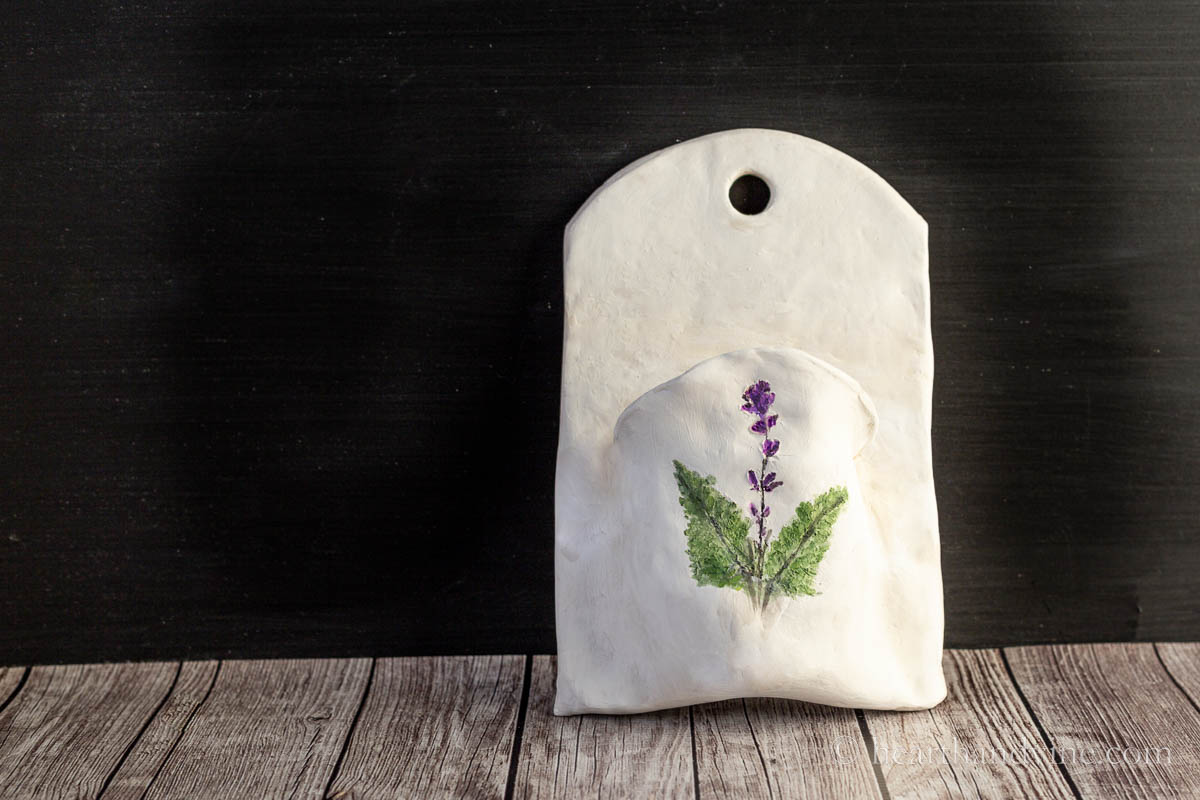
Pretty cute, huh?
I haven't done it but you could use 2-3 thin coats of spray polyurethane to protect the clay in either a matte or glossy finish.
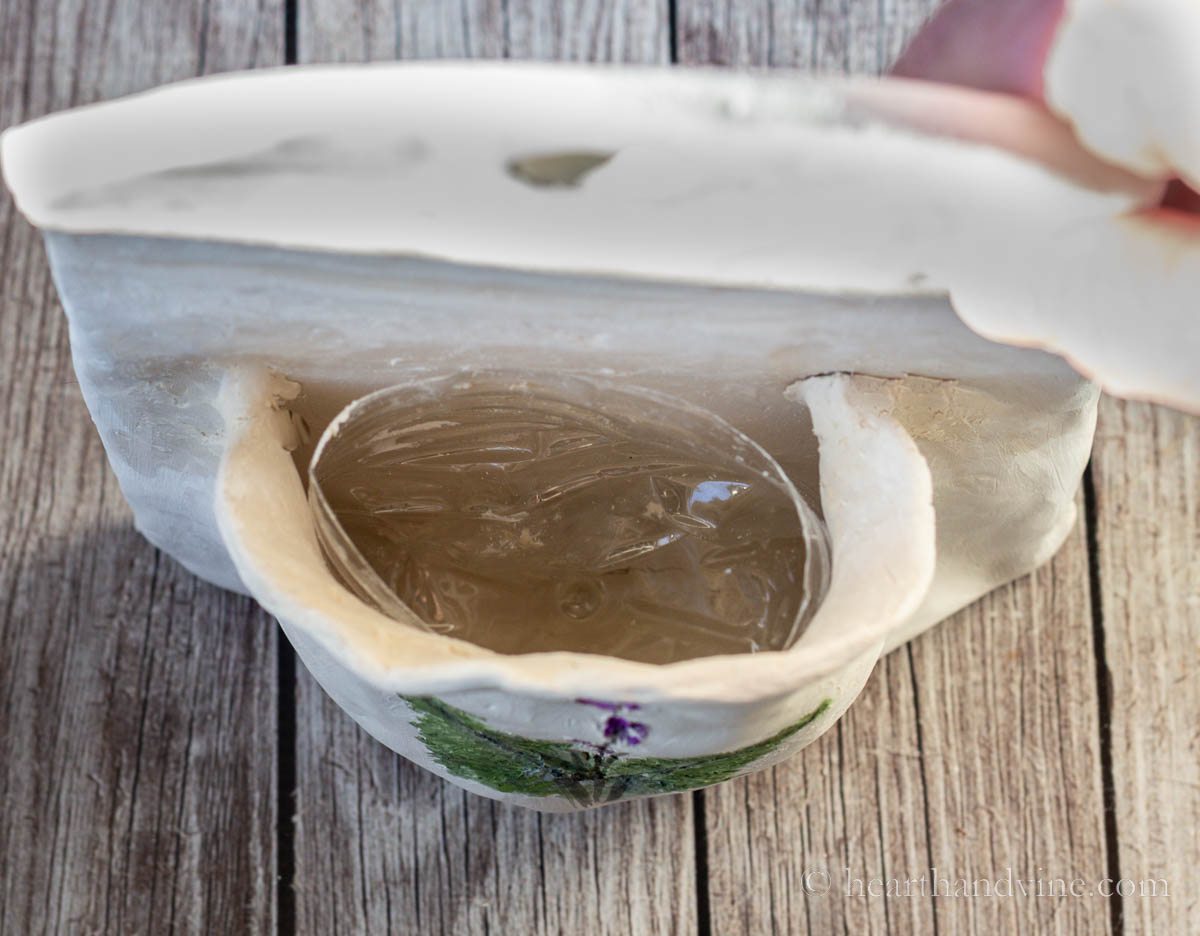
Here's an inside peek showing the plastic bottle inside.
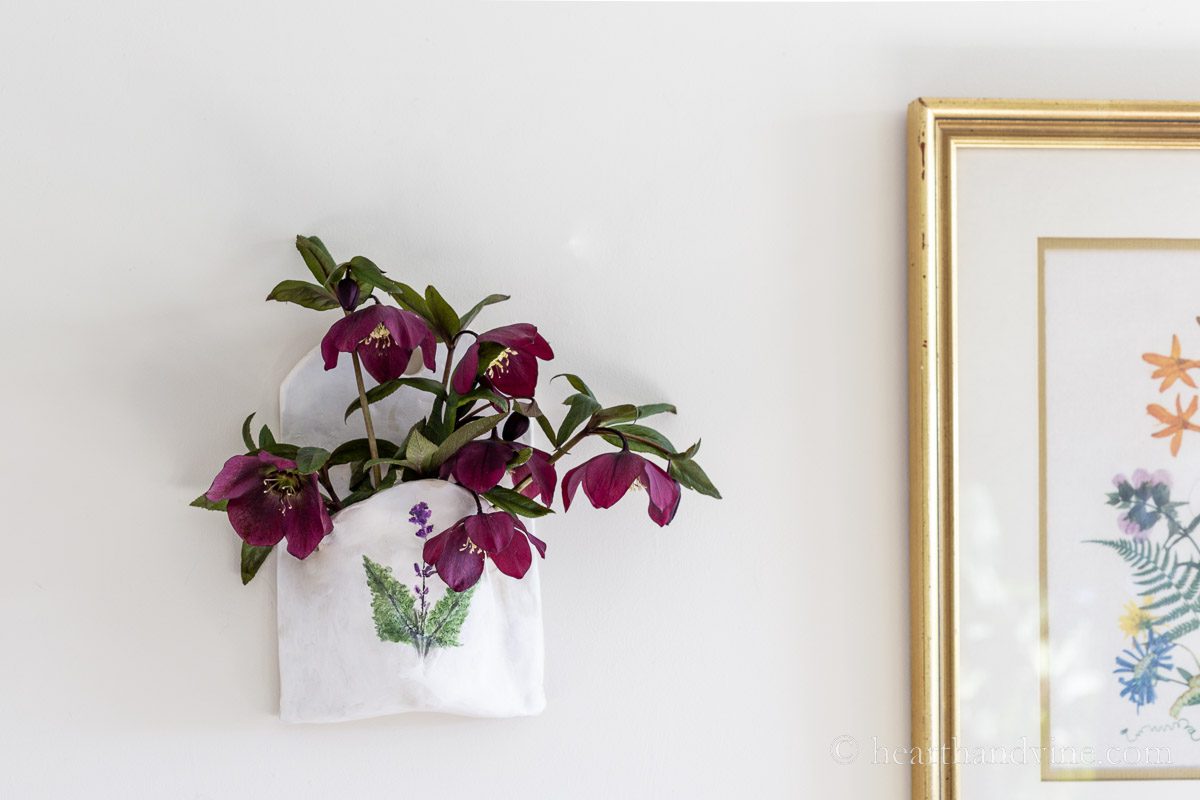
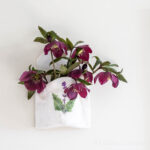
Hang it on the wall for a beautiful piece of home decor. I love the way these early spring blooming hellebores look in the clay pocket.
I plan on using it for live flowers and sometimes dried or faux flowers. However, you could use it as a hanging wall organizer to hold pens, paintbrushes, or other office supplies in your home office or craft room.
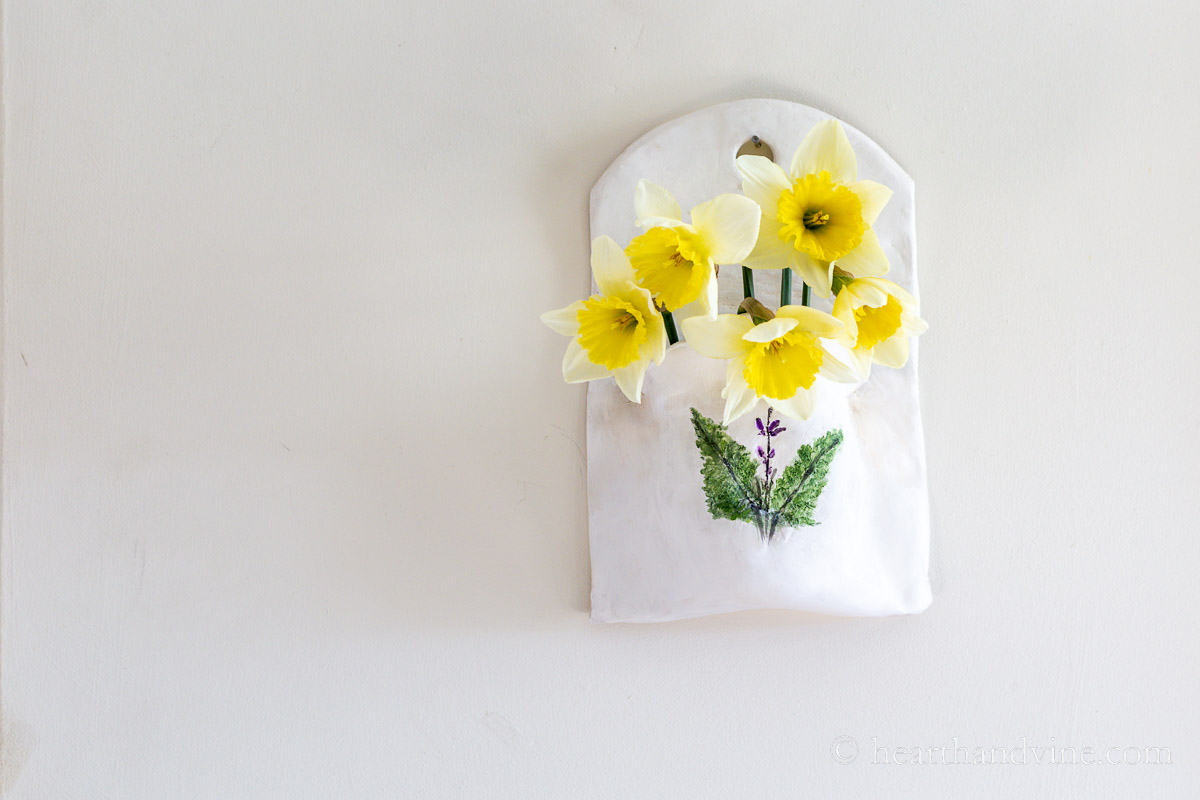
Just another easy fun craft that doesn't take long to make outside of waiting for it to dry.
Wouldn't it make a great gift?

More Air Dry Clay Projects
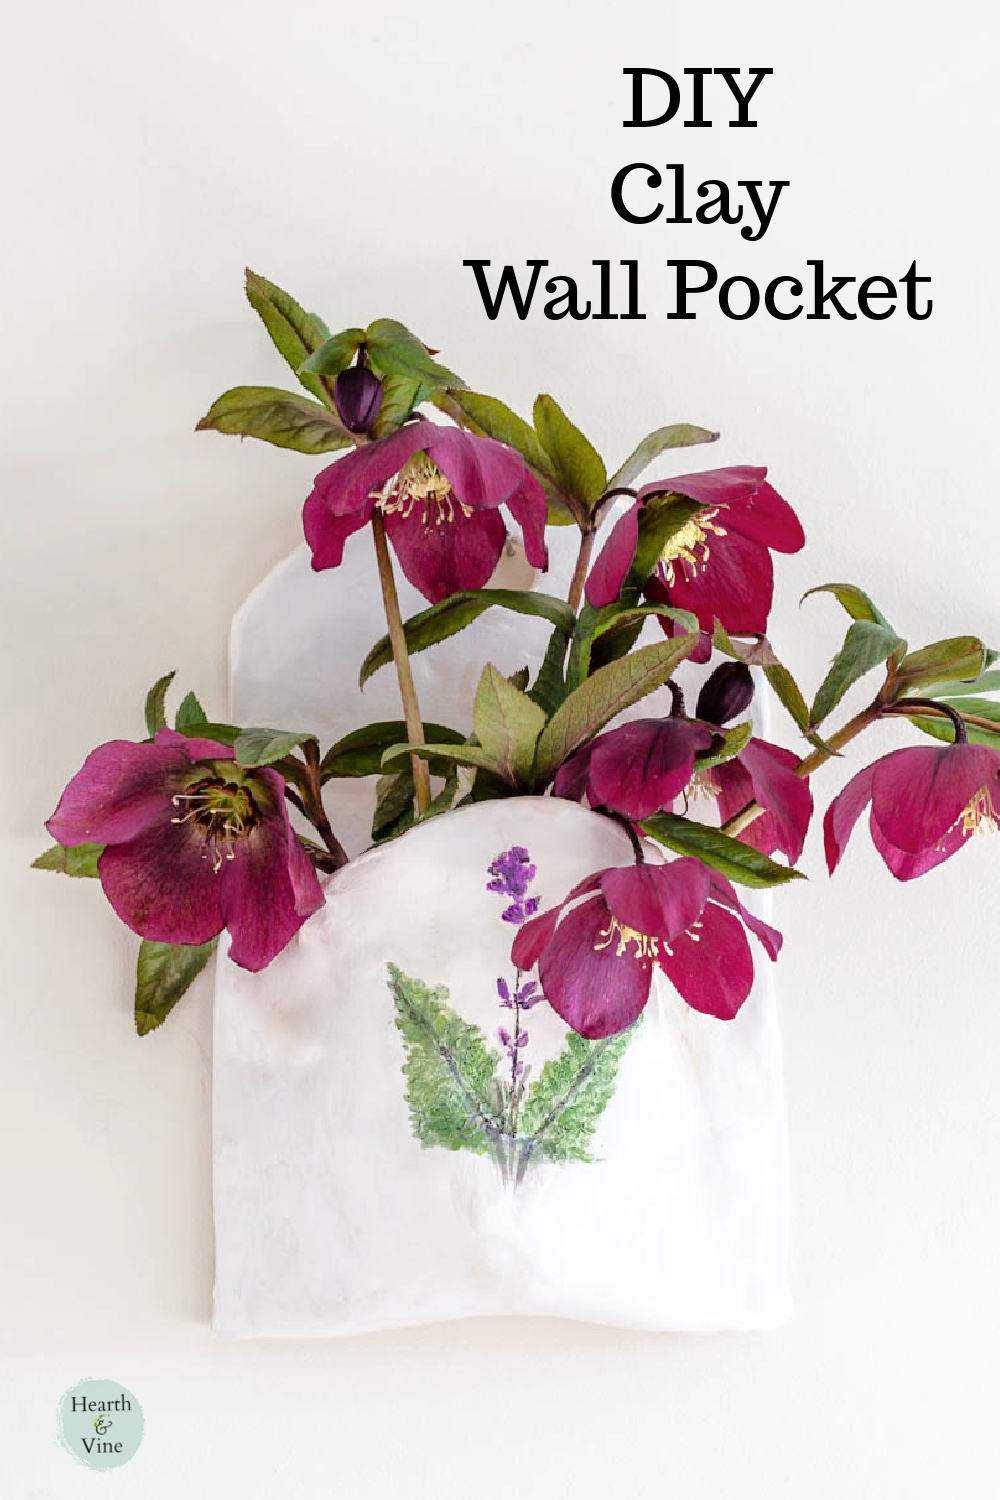
How to Make Wall Pockets with Clay
Equipment
- 1 Roller
- 1 clay cutting tool
- round bowl
Materials
- 1-2 pounds air dry clay
- 16 oz plastic water bottle
- piece sandpaper
- flowers and leaves (optional)
- craft paint (optional)
- polyurethane spray to protect the pocket (optional)
Instructions
- Round out the clay about 1/4 inch thick.
- Use a round bowl or plate to round off the top and the bottom of the clay.
- Cut the bottom 4-5 inches of a plastic 16 oz. water bottle and set it in the middle of the clay.
- Fold up the bottom of the clay to cover the water bottle.
- Press in the sides of the clay.
- Cut and straighten both sides.
- Use some water and your fingers to smooth out any imperfections or marks.
- Press in and then remove some flowers and/or leaves on the top for extra decoration.
- Use a small round cap to create a hole at the top for hanging.
- Allow the clay wall pocket to dry overnight or longer. This may take a couple of days.
- Gently sand any rough edges or spots with a piece of sandpaper.
- Use some watered down craft paint to color in the pressed flower marks.
- Continue to allow the clay pocket to dry thoroughly.
- Once dry protect the clay with a few coats of polyurethane spray if desired.
- Add a little water to the plastic water bottle and hang on the wall.
- Place your favorite cut flowers in the pocket and enjoy.




Claire
I love this, I fancy making one myself. They would make a lovely gift.
Patti Estep
So glad you like it Claire. I agree that it would make a great gift.