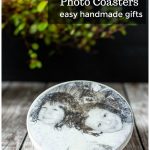
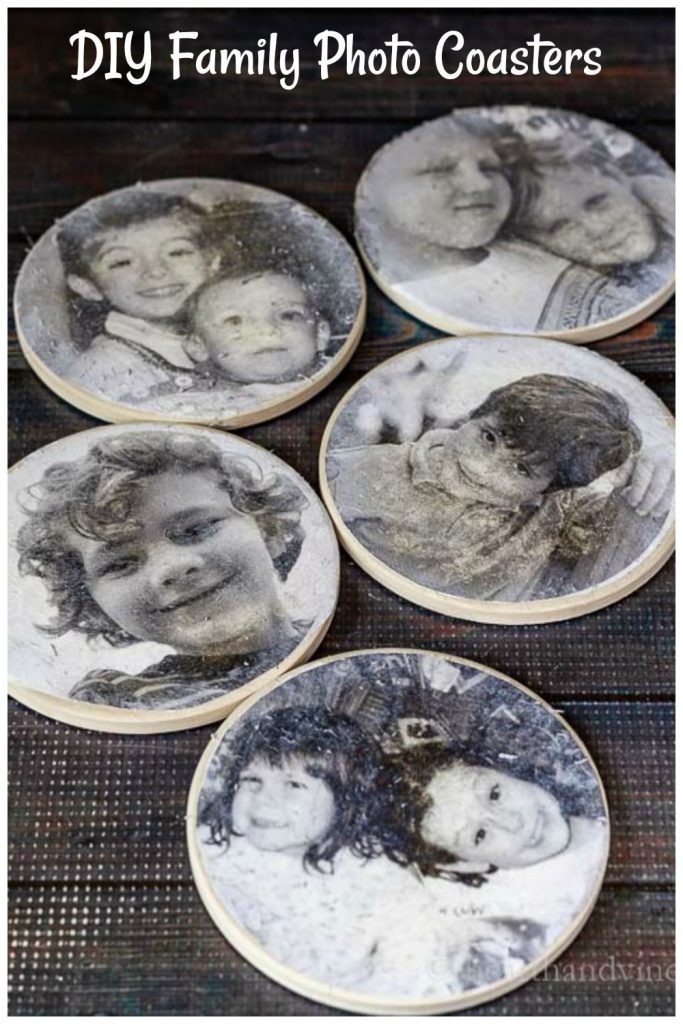
Learn how to make these family photo coasters. They are simple to create and are the perfect gift for mom or anyone in your life.
I always like to give a gift to my sisters and sisters-in-law on Mother's Day because my own mother and my mother-in-law both passed away at a young age.
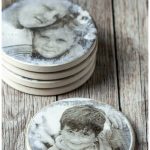
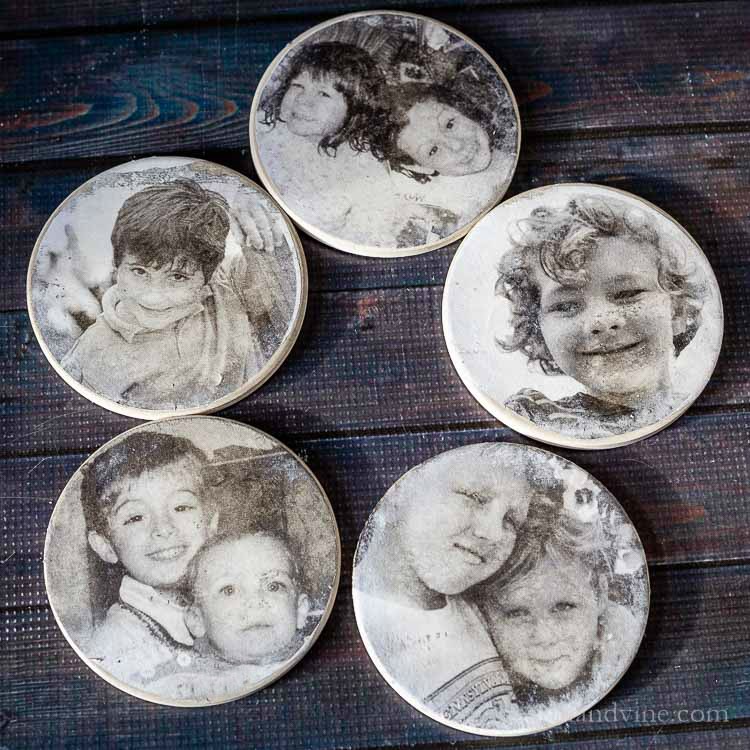
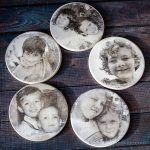
This year I gathered out some pics of their children at a young age and made these fun coasters.
I've made a photo transfer on fabric notebook in the past so I knew it would be a fun project for coasters.
This post contains some affiliate links (that means if you make a purchase after clicking a link, there's no additional cost to you, but I will earn a very small commission. ) i.e. as an Amazon Associate, I earn from qualifying purchases. Click here to read my full disclosure policy.

Supplies
- Coasters

- Mod Podge Photo Transfer Medium
- Photos
- Paintbrush
- Polycrylic or any protective finish


Creating Black and White Round Images
The first thing you need to do after you gather your photos is to scan them to the computer or take a photo with your phone and email it to yourself.
Note: You may want to make a reverse image if your photo has any words or parts that would look odd backward.
Next, use any program you are familiar with to transform them into black and white images. I used Google Drawing.
To do this open a new drawing then go to Insert, Image, upload from computer.
Click on the image. In the right panel go to recolor and choose greyscale.
You can also reverse the image at this step if necessary by clicking on the first flip icon (horizontally) also in the right panel under Rotate.
Next, crop the image into a circle by clicking on the arrow (mask image) to the right of the crop tool and choose Shapes. Choose the circle on the second line.
Then choose the correct size (2.5 inches) on the right panel to make the image fit the coaster.
Making Family Photo Coasters
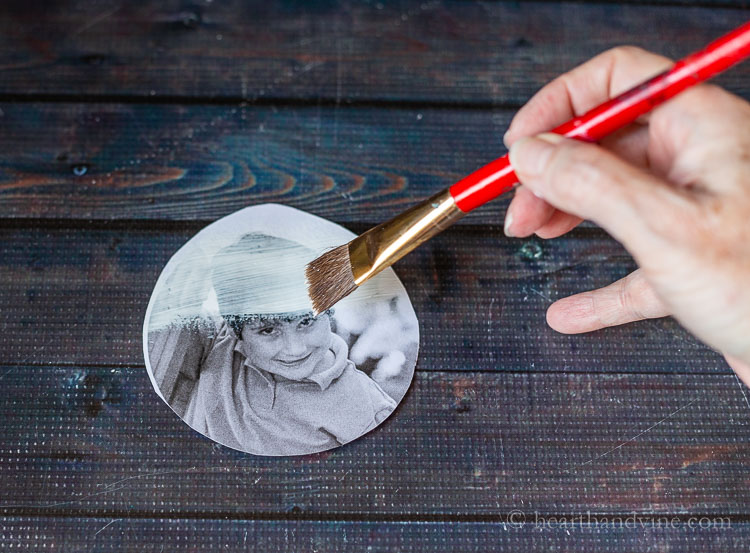
Cut out your image and coat the Mod Podge transfer medium over the top of the image.
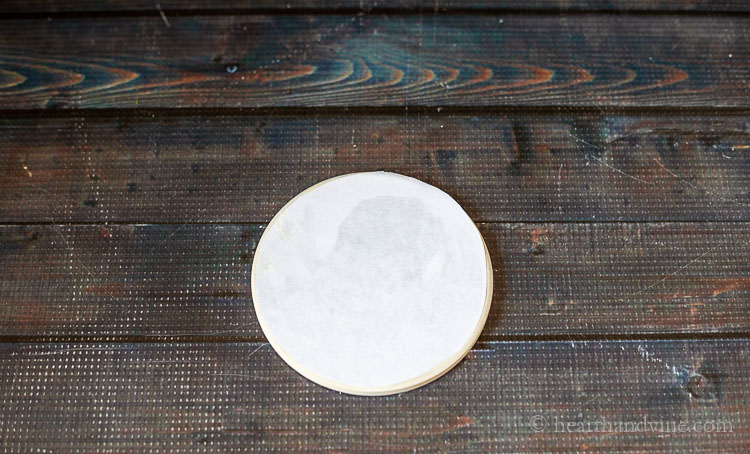
Flip it over onto the coaster and gently smooth out any bubbles or lines.
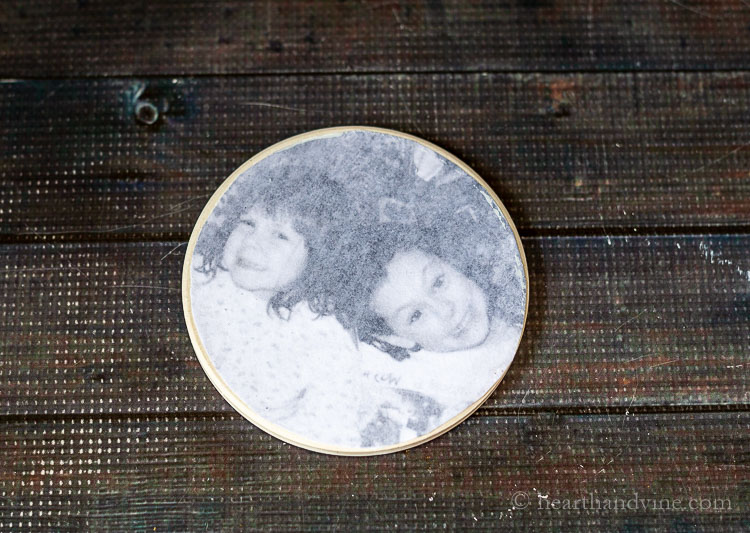
Wait for 24 hours. Then wet the top with a sponge. You will start to see the image come through.
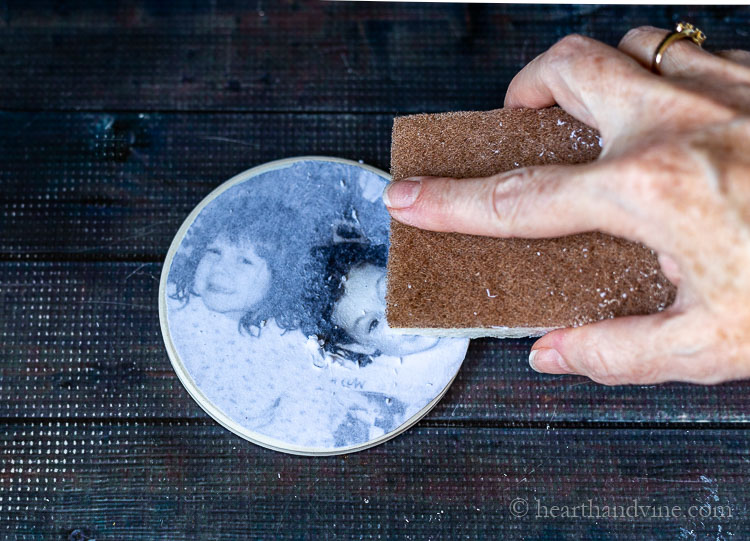
Gently rub the image in little circles and the glue will come off revealing the image below.
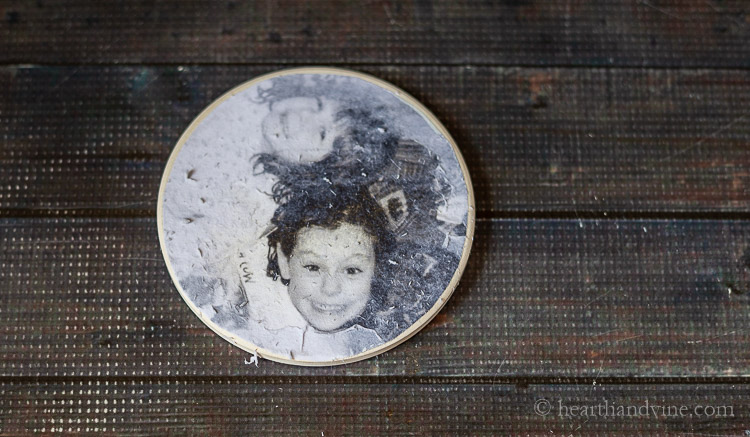
Take your time. In addition to the sponge, I used my finger to rub away the compound too. Once it dries again you may want to try wetting the coaster a second time to remove more of the film.
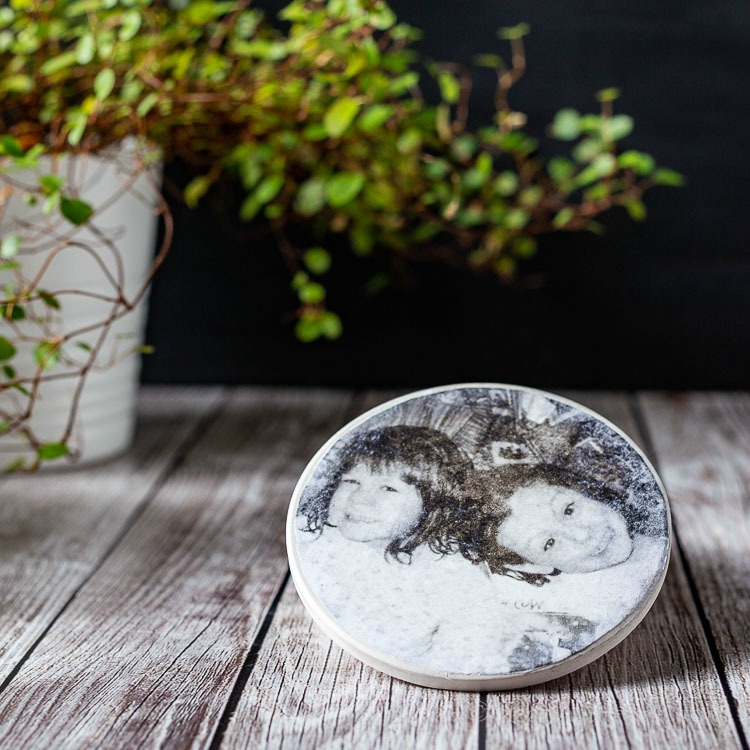
Finish by adding a coat or two of a protective finish. I ended up using a polyacrylic and coated the coasters 4 times just to make sure they were durable.
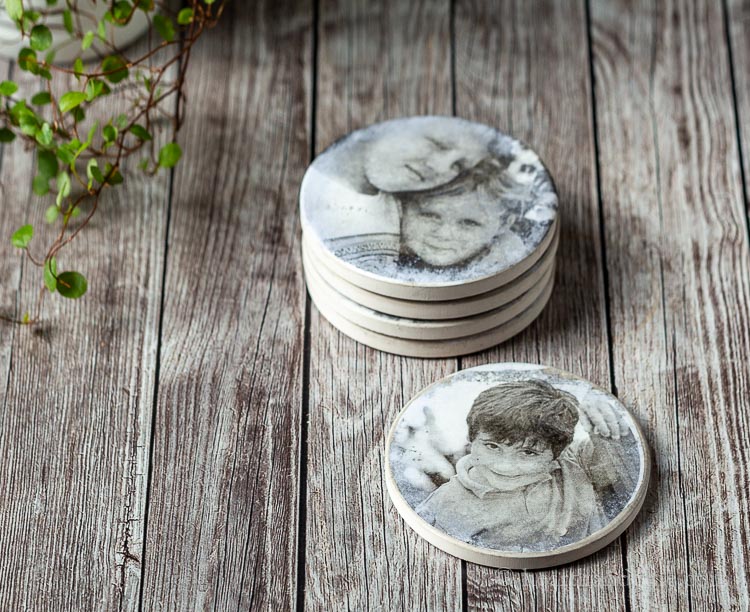
It was so fun looking at these adorable faces of my wonderful niece and nephews while I worked on this project.
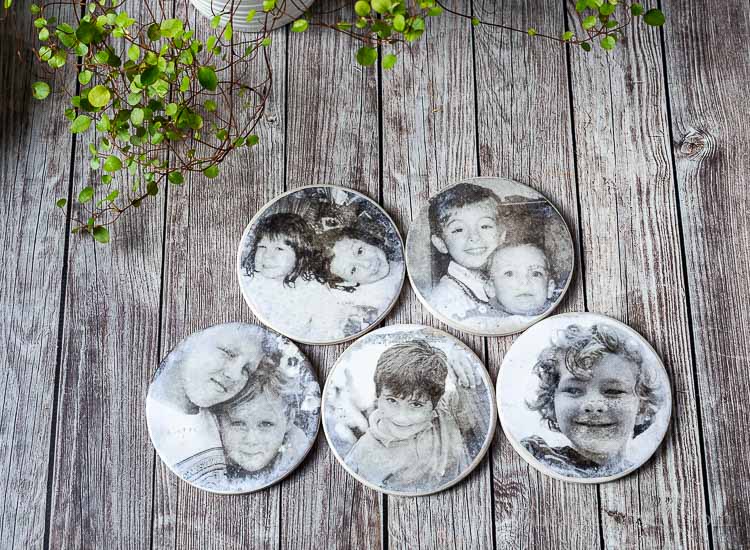
I think my sisters will love this Mother's Day present. How could they not?

How to Make Family Photo Coasters
Equipment
- Computer and printer
- Paintbrush
- Scissors
Materials
- Coasters
- Mod Podge Photo Transfer Medium
- Photos
- Polycrylic or any protective finish
Instructions
- Gather your photos and scan them to the computer or take a photo with your phone and email it to yourself.
- Use drawing software or the Google drawing app.
- Open a new drawing then go to Insert, Image, and upload from the computer.
- Click on the image. In the right panel go to recolor and choose greyscale. You can also reverse the image at this step if necessary by clicking on the first flip icon (horizontally) also in the right panel under Rotate.
- Next, crop the image into a circle by clicking on the arrow (mask image) to the right of the crop tool and choosing Shapes. Choose the circle on the second line.
- Then choose the correct size (2.5 inches) on the right panel to make the image fit the coaster.
- Print out the photos.
- Cut out your image and coat the Mod Podge transfer medium over the top of the image. Flip it over onto the coaster and gently smooth out any bubbles or lines.
- Wait for 24 hours. Then wet the top with a sponge. You will start to see the image come through. Gently rub the image in little circles and the glue will come off revealing the image below.
- Finish by adding a coat or two of a protective finish.
Carole West
Patti - these are so neat. I bet your family just loves getting gifts from you. The detail you put towards each project is a gift from within. Pinning this on my workshop board... Love!
Patti Estep
Thanks Carole. I loved looking at those sweet faces while I was making them.