
Learn how to make a flannel scarf with some fabric and scissors. It's a quick and easy gift idea or a fast way to create a new accessory.
I like the idea of creating a scarf from a piece of flannel fabric. It's super easy and I was able to make three scarves with 2 yards of fabric.
Sections At A Glance
This post contains some affiliate links (that means if you make a purchase after clicking a link, there’s no additional cost to you, but I will earn a very small commission. ) i.e. as an Amazon Associate, I earn from qualifying purchases. Click here to read my full disclosure policy.
Supplies
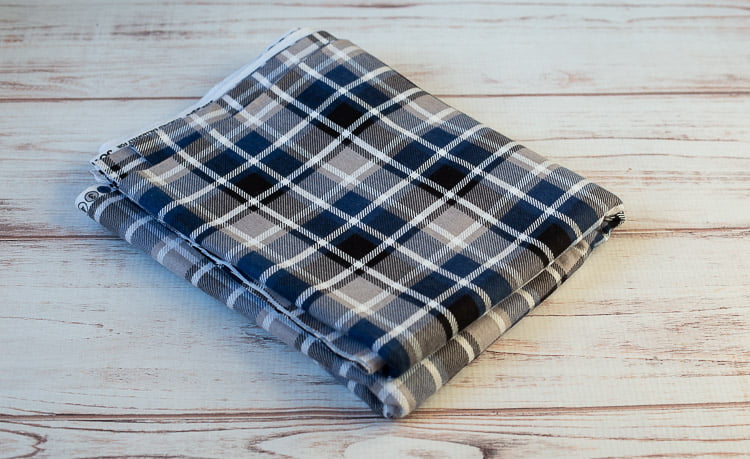
- 2 yards of plaid flannel fabric approx. 42" wide
- Scissors
- A sewing machine, or pinking shears, or fray check glue
What Type of Flannel Fabric Should You Use?
I purchased my fabric from Joann's online. I didn't realize that the backside would be white. Not a huge problem but I would have preferred it to be the same on both sides. When I called Joann's they said that all of their plaid flannel has a white backing. However, I believe you can find flannel fabric like this one that has the pattern on both sides. The ones that say double-napped appear to be double-sided however, I suggest calling first or going directly to a store if possible, so that you can see what you are getting.
Making Flannel Scarves
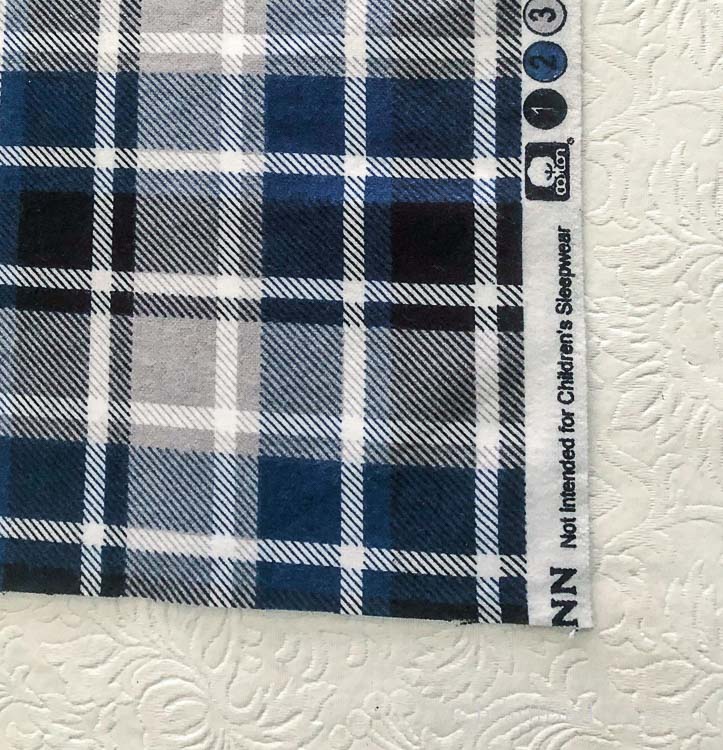
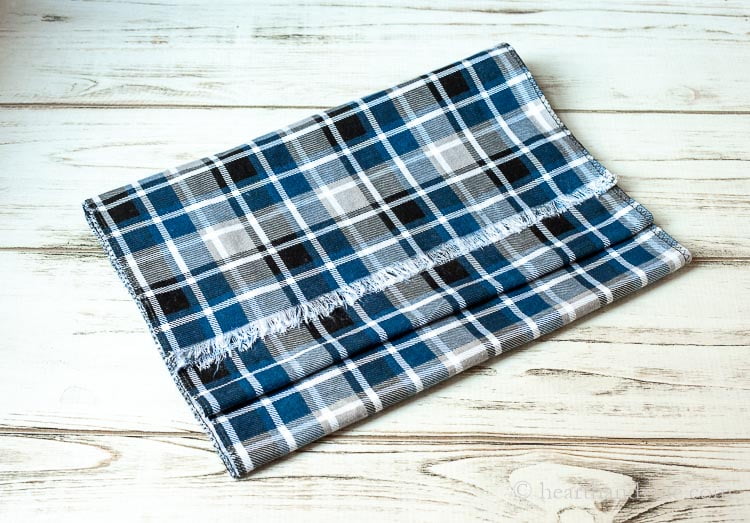
Step 1. Start by removing the selvage edge (see above) printed by the manufacturer.

Step 2. Next, clean up the edges of any sides that were cut unevenly. Find a line using the plaid pattern that runs the entire length and cut along it.
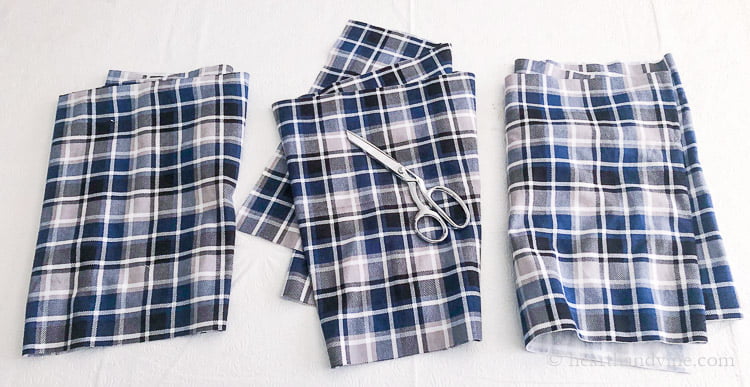
Step 3. Divide the fabric into 3 long sections. Since my fabric was 42" wide each of my scarves will be 14 inches wide. If your fabric is 56" wide you can make 4 scarves or make 3 scarves at 18 inches wide.
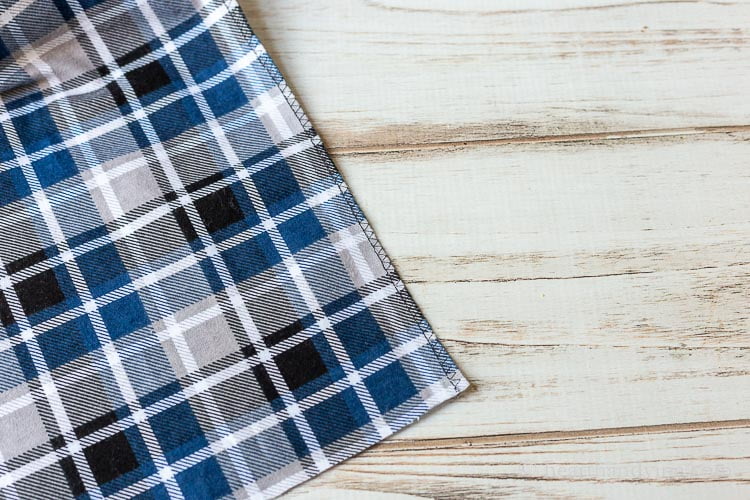
Step 4. If you want, you can serge or use an overcast stitch on your sewing machine to finish the long side edges. For a no-sew option, You could also use pinking shears. Or, you can fray it a bit and use something like fray check glue to keep it nice and neat without having to sew.
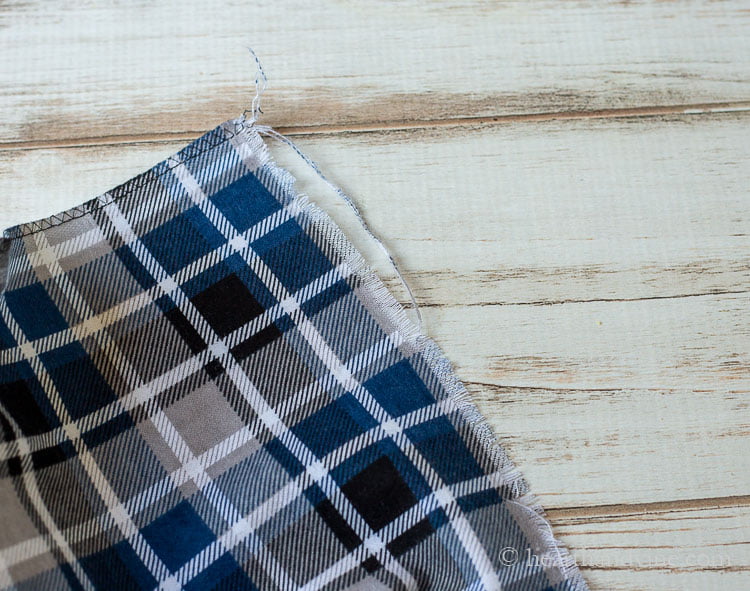
Step 5. Finish the scarf by pulling off the threads on the short edges of the fabric to create a fringe. You can make the fringe as long or short as you like by continuing to pull threads from the edge.
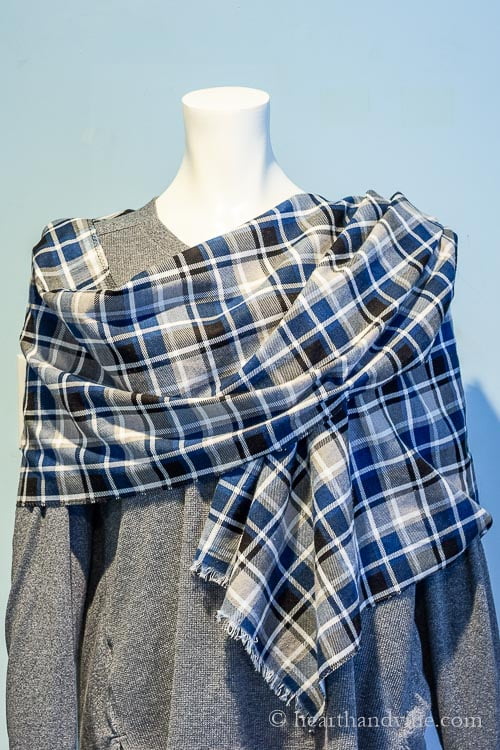
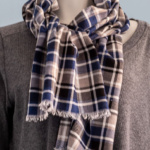
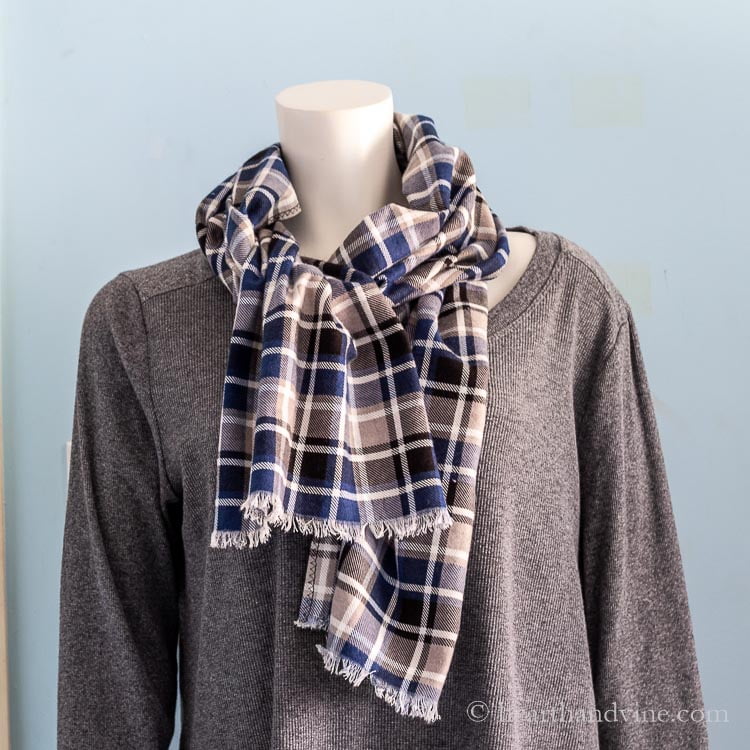
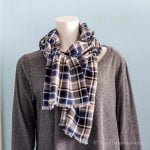
So now that you've made this fantastic cozy flannel scarf how do you wear it? Here you can see I've just wrapped the scarf around the shoulders of my daughter's mannequin Tiffany. However, here's a pretty good video showing you more ways to wear your scarf.
There are so many beautiful plaid fabrics on the market today, making this flannel scarf is a really easy and fun project to try for yourself. Create a few gifts for friends and family this holiday season or consider donating some to a shelter to help those in need.

DIY Flannel Scarf
Equipment
- Scissors
- Measuring tape
- A sewing machine or fray check glue
Materials
- 2 yards of plaid flannel fabric approx. 42" wide
Instructions
- Start by removing the selvage edge printed by the manufacturer.
- Clean up the edges of any sides that were cut unevenly. Find a line using the plaid pattern that runs the entire length and cut along it.
- Divide the fabric into 3 long sections. Since my fabric was 42" wide each of my scarves will be 14 inches wide.
- Serge or use an overcast stitch on your sewing machine to finish the long side edges.
- Or, use something like fray check glue or pinking shears to keep the raw edge nice and neat without having to sew at all.
- Finish the scarf by pulling off the threads on the short edges of the fabric to create a fringe.
Notes

Paula Harris
Thanks for the idea and instructions Patti. I have a couple hours so I'm headed to Hobby Lobby to look for some fabric.
Thanks again.. Paula
Patti Estep
That's great Paula, have fun!
Barbara Warner
What a great idea! Love making something with fabric and not having to bring out the sewing machine! And, love flannel and the coziness of the warmth against one's neck! Thanks for showing us how to do this!
Patti Estep
I'm so glad you to hear like it Barbara. Enjoy!
Sandy
I love the scarf! I found plaid flannel "shirting" fabric at Joann's that is woven so pattern is on both sides. It was in a different section from the white backed flannels. Thanks for sharing this idea!
Patti Estep
So glad you like it Sandy and that you were able to find a double sided print.
Carole West
I love this idea - great way to stay warm this winter and jazz up an outfit. I just got me a new winter coat from bass pro and was thinking a new hat and gloves set with a splash of color would be great but this would be even better.
Thanks for the idea... Carole
Patti Estep
Thanks Carole. I'm so glad you like it and you definitely deserve to treat yourself with something nice.