
This easy DIY laundry bag is perfect for your suitcase to keep dirty and clean clothes separate while traveling but it's also great to use at home. This beginner sewing tutorial takes about an hour to make so you may want to make several for everyone in the house.
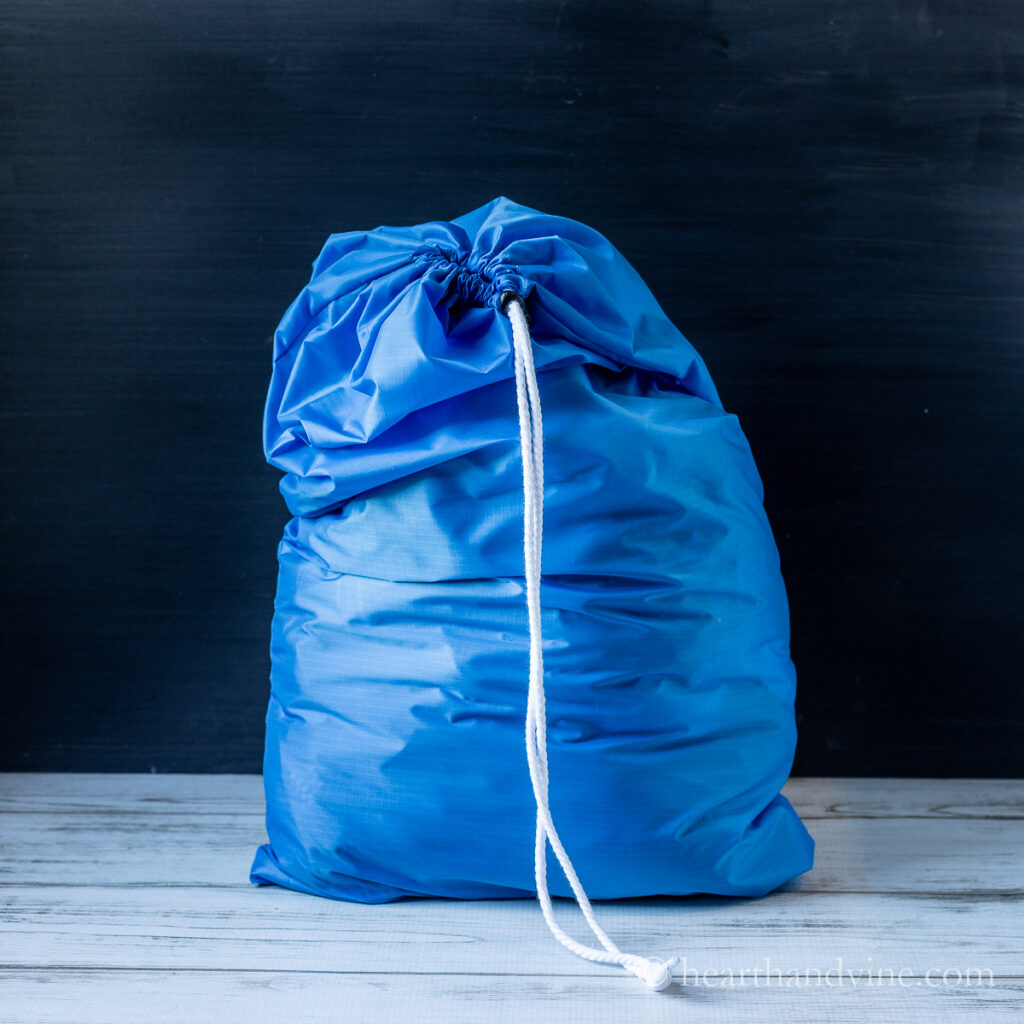
I needed an easy way to separate my clean clothes from the dirty when traveling so I thought I'd make a laundry bag. It couldn't be easier. Yes, you can easily buy one but where's the fun in that?
This post contains some affiliate links (that means if you make a purchase after clicking a link, there’s no additional cost to you, but I will earn a very small commission. ) i.e. as an Amazon Associate, I earn from qualifying purchases. Click here to read my full disclosure policy.
I got the idea from my husband who carries this bag with him while traveling. Often I'd throw my dirty laundry in with his but now I don't have to.
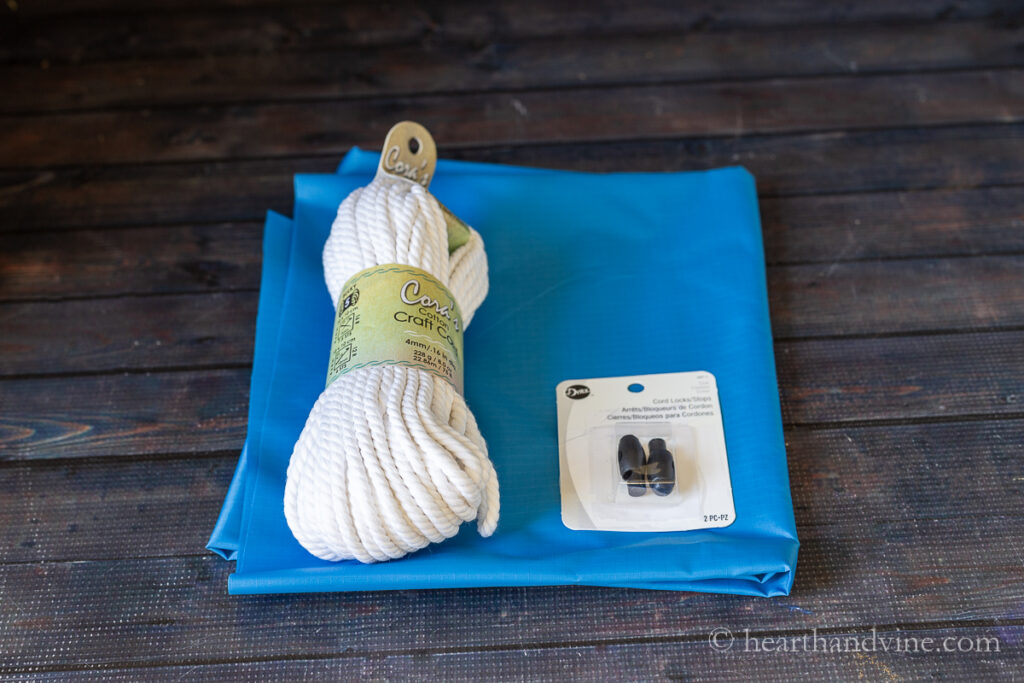
I used a nice nylon fabric similar to my husband's bag. The nylon fabric is very durable and easy to wipe off if you set it on a dirty car floor. Most of the time this fabric is sold in 60 inch widths so you will be able to make two drawstring bags with one yard of fabric.
I also bought craft drawstring and cord locks. However, you can use any kind of cording. My husband's was much thinner and it used a tube to contain the cords.
This post contains some affiliate links (that means if you make a purchase after clicking a link, there’s no additional cost to you, but I will earn a very small commission. ) i.e. as an Amazon Associate, I earn from qualifying purchases. Click here to read my full disclosure policy.
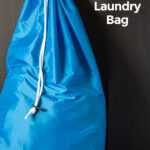
DIY Laundry Bag for Travel or Home
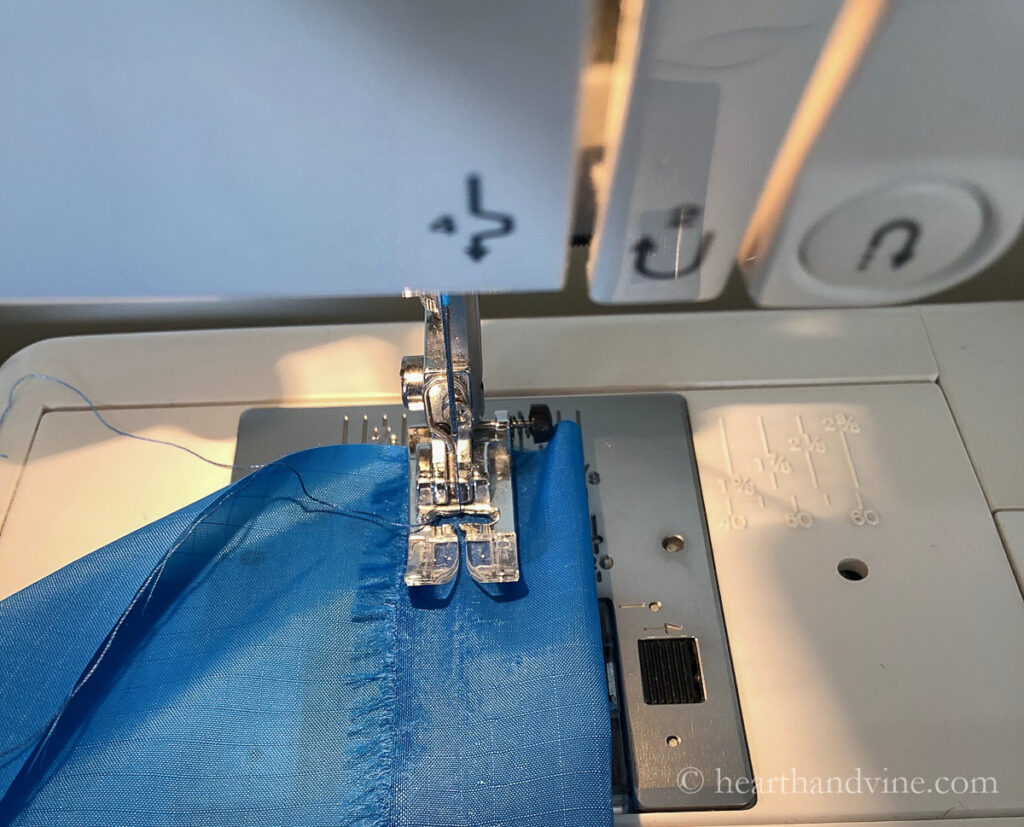
All you have to do is fold over the top raw edge of the fabric and sew a channel on each of the short sides.
Note: Do not attempt to use an iron. This material will melt on an iron and make a huge mess.
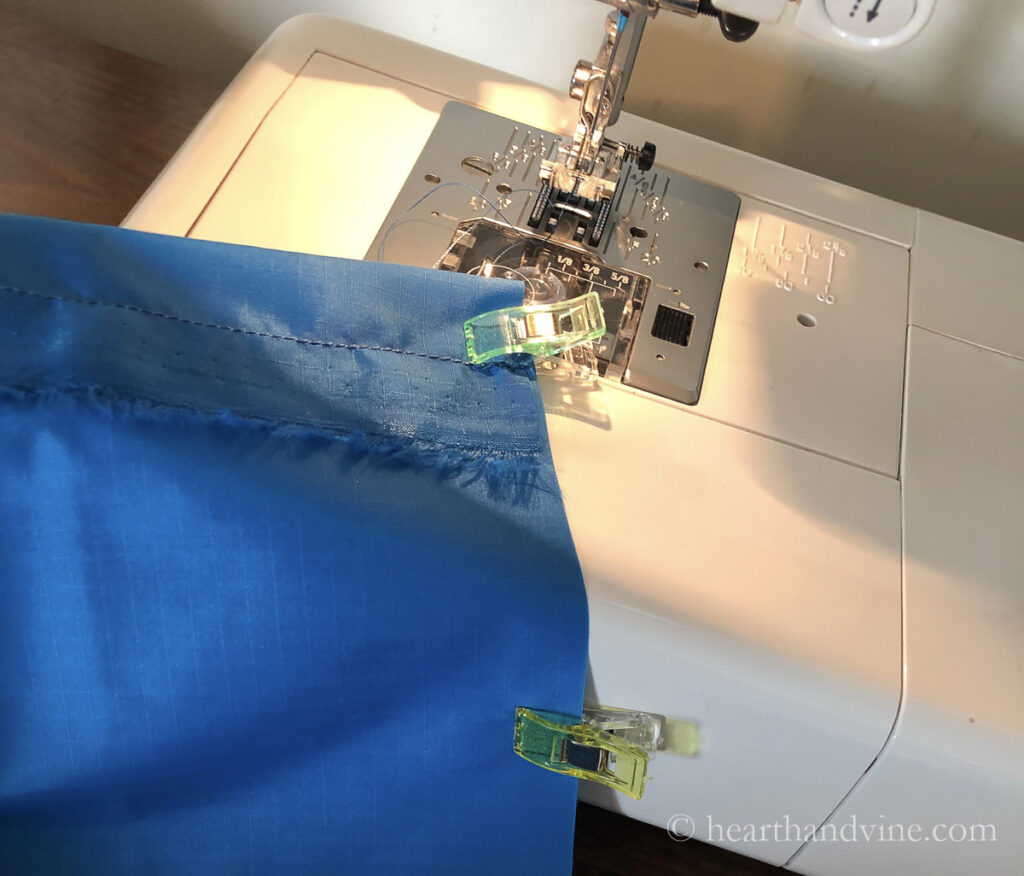
Also, consider using sewing clips instead of pins. Pins may make holes in your fabric. However, this fabric is very sturdy and you may find that you can keep it in place with your hands.
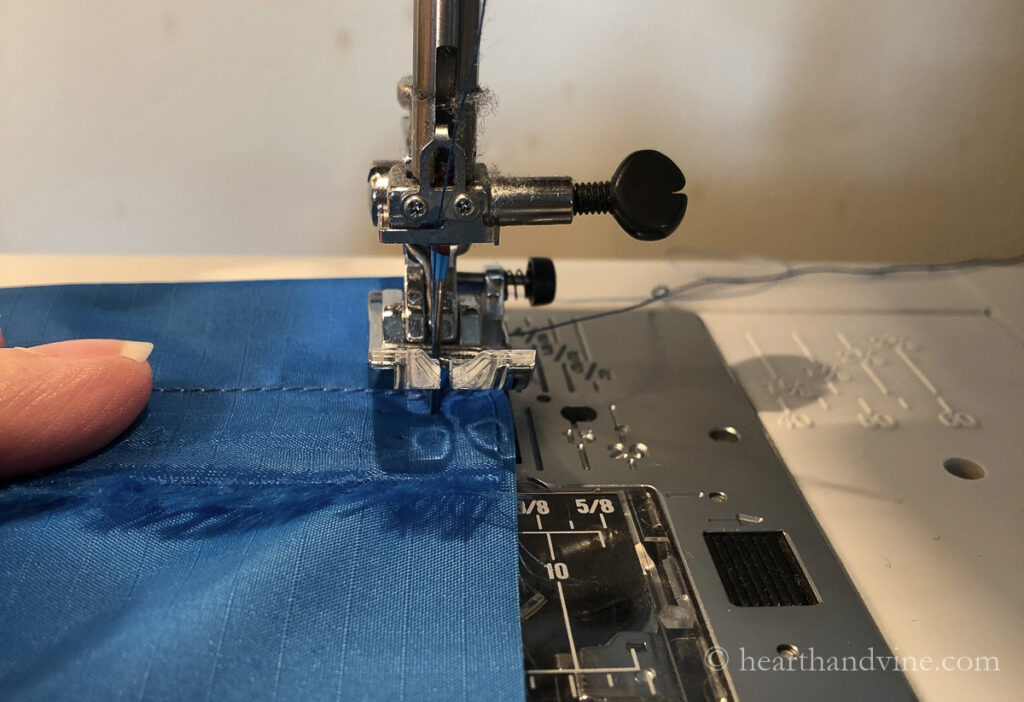
When sewing the side seams, start below the stitching from the channel you made on the top edge.
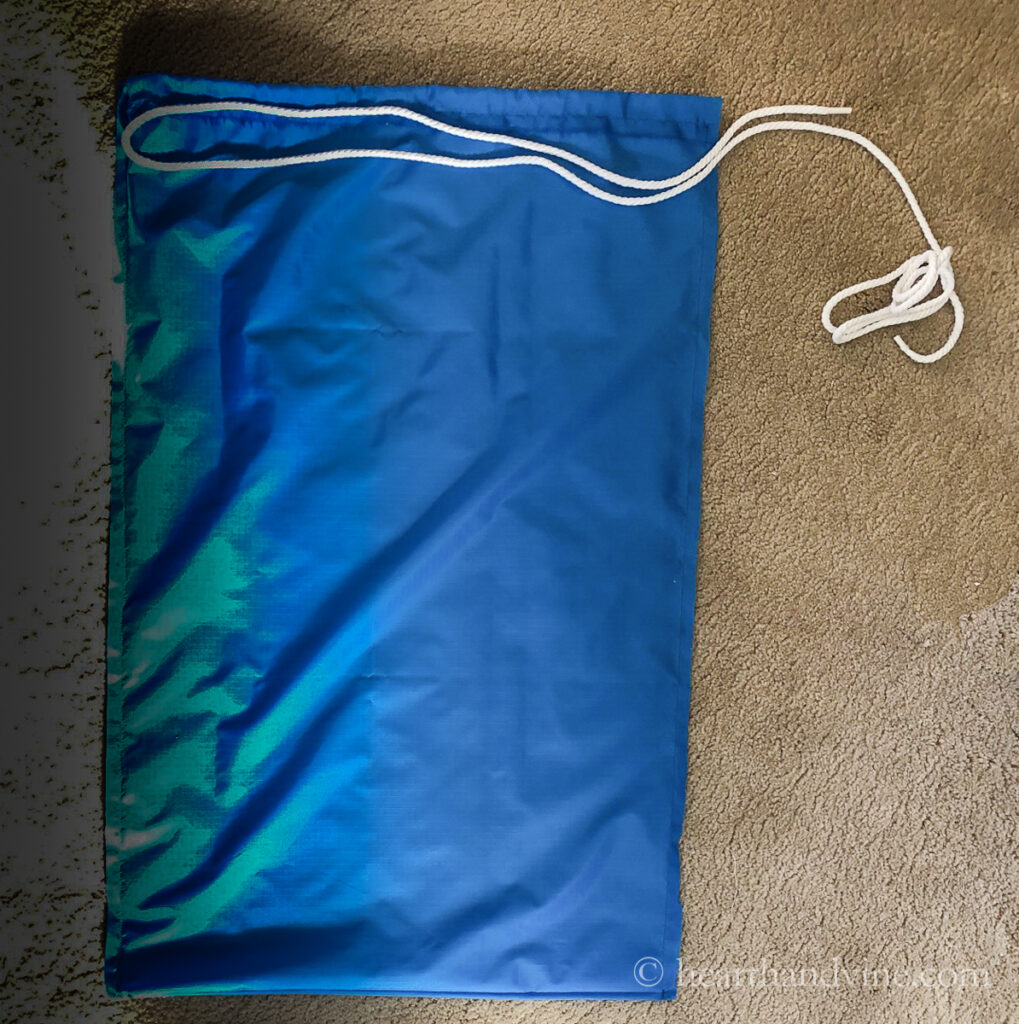
Use enough cording to cover the entire channel and a little extra as shown above. I ended up using about 48 inches on my 30 x 36 inch bag.

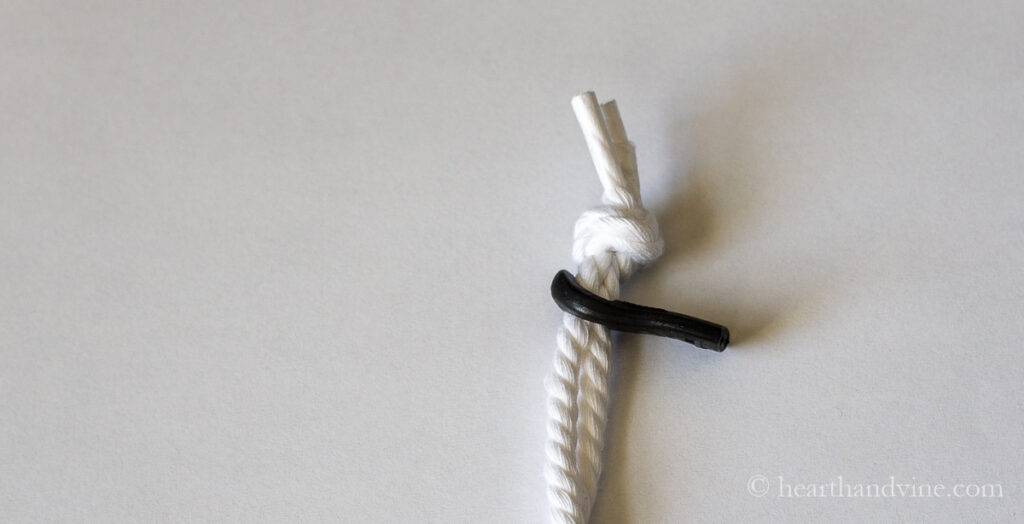
If your drawstring frays at the end like this one, just wrap some clear tape below the frayed area and cut it off.
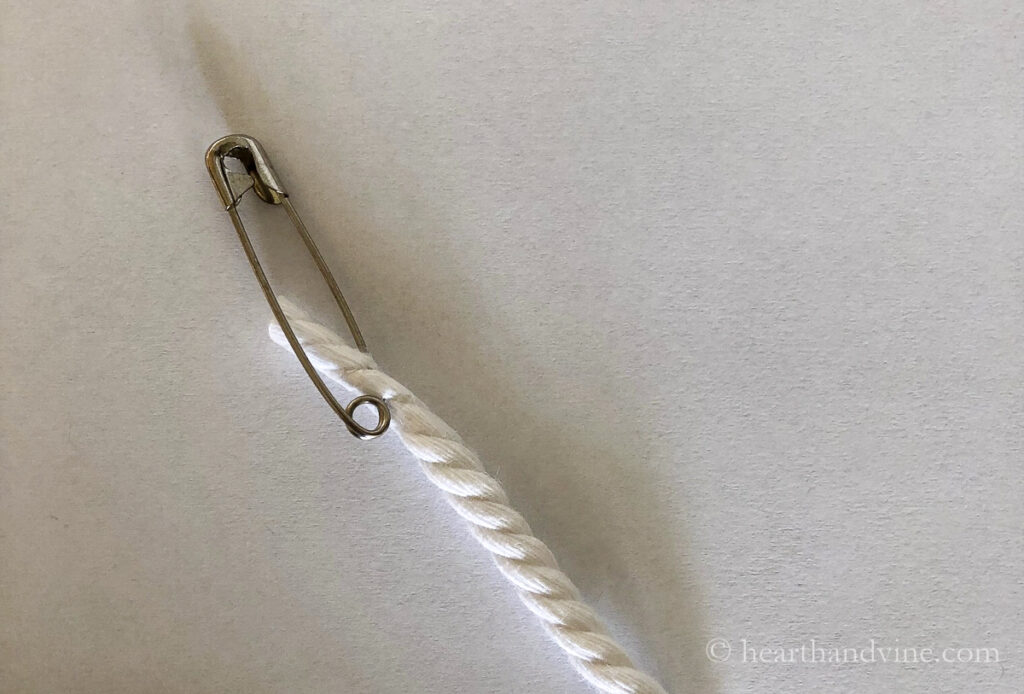
Use a large safety pin to help thread the cord through the vinyl bag.

Start at one end and push the pin through to the other side. Then continue threading the pin through the next section until you come out to meet the beginning.
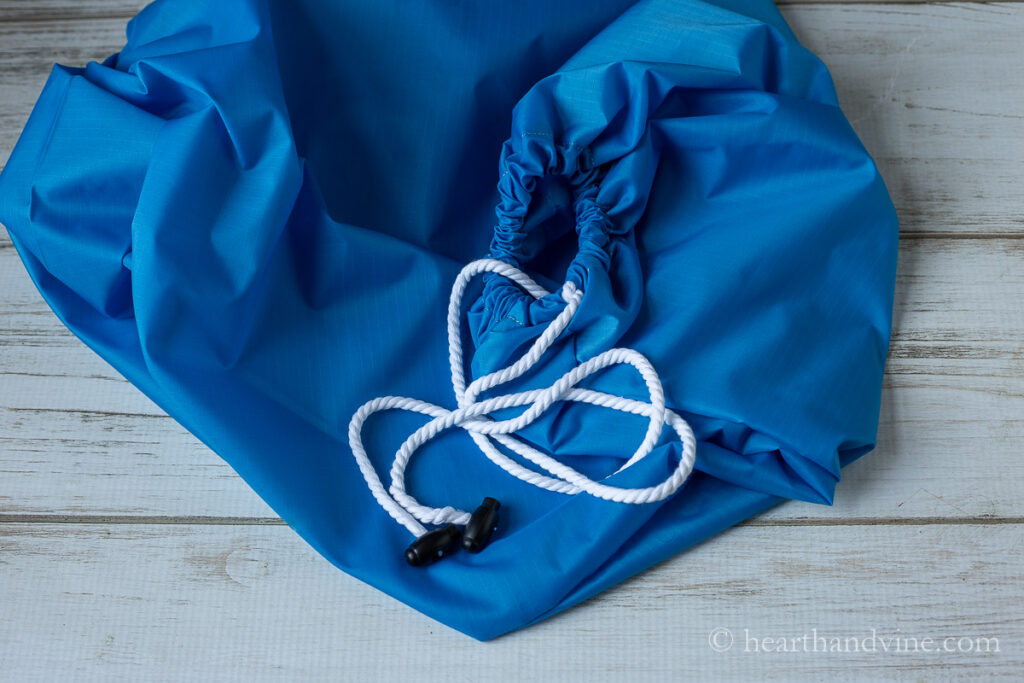
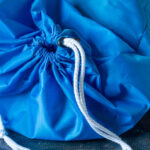
Attach toggle cord stops to each end of the cords. This will prevent them from slipping through the openings of the bag. Once you have your bag filled with clothes you can tie the cords in a simple overhand knot and pull it closed.
Other Options
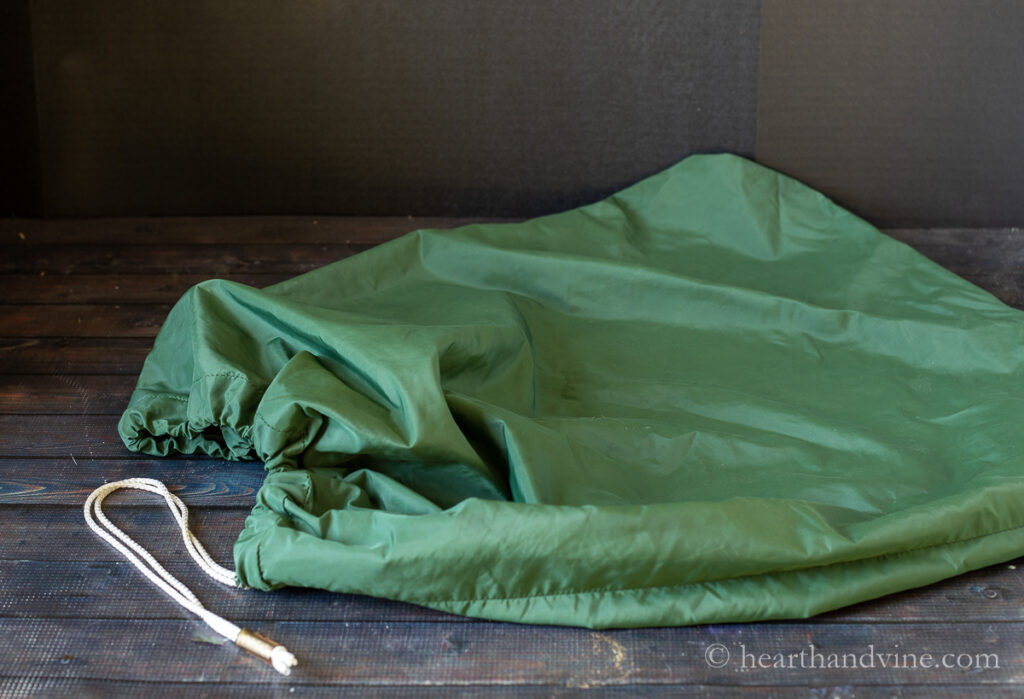
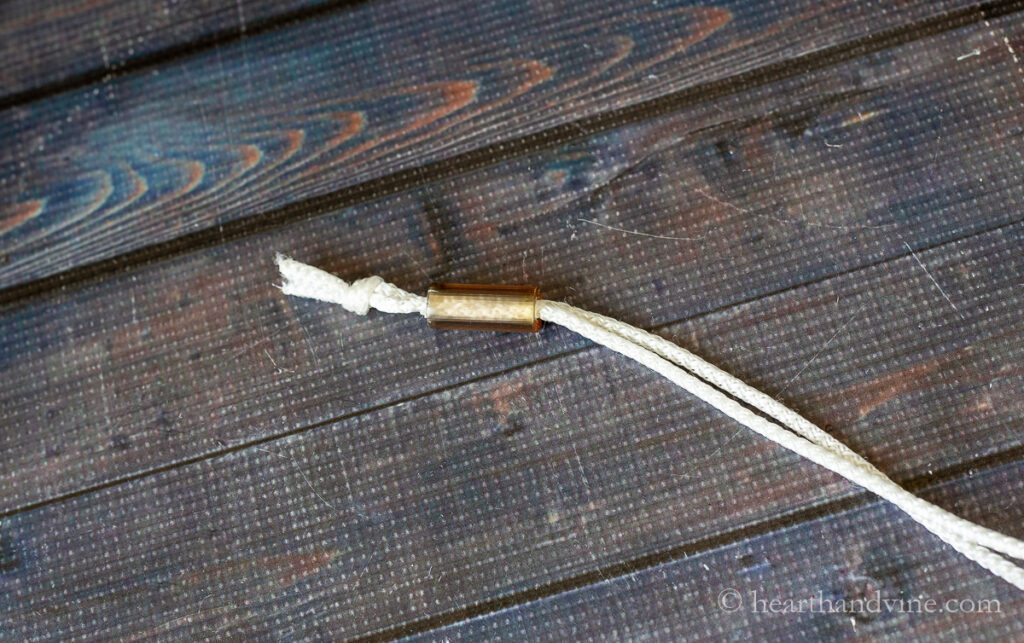
Here's the way my husband's bag is finished. A plastic tube holds both cords and then they are tied together in a knot.
I found this zipper pull in my stash and used it instead of a plastic tube.
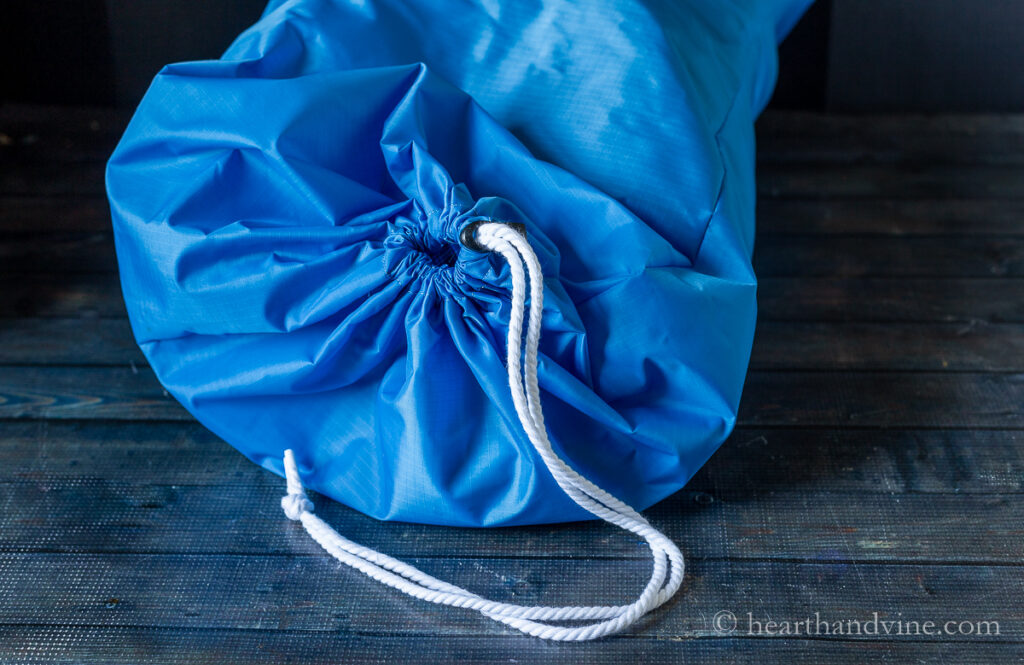
In this case, you simply push the zip pull or the tube all the way down to gather the top together.

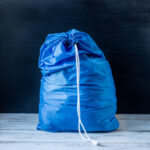
Either way, they both fold up very small saving you space in your suitcase. And at home, you may be able to use it inside your hamper as a liner.

More Easy Sewing Projects
How to Make a Travel Laundry Bag
Equipment
- Sewing machine and thread
- Scissors
- Clear tape
- Large safety pin
Materials
- 1 yard of nylon fabric 60 width
- 8 feet of drawstring
- Encloser - Cord locks tubes or other stopper
Instructions
- Cut the fabric in half so that you have two pieces measuring 30 inches by 36 inches.
- Fold over an inch or so on each of the short ends of the fabric and sew making a channel for the drawstring.
- With right sides together match up the sewn short ends and sew each side starting just below the stitching on the channels for each side. Be sure to backstitch a few times to secure the stitching.
- Turn the bag right side out.
- Cut enough drawstring to fit in the channel and a little extra. I used about 48 inches for each bag.
- Wrap the frayed ends with tape just below the frayed part and cut.
- Use a large safety pin and attach it to one end of the drawstring.
- Thread the safety pin and string through the hole in the channel and all the way through the end. Continue into the next channel until you meet up with the beginning.
- Add toggle cord stops to each end or thread both drawstrings through another stopper such as a tube or zip pull and then tie them together.
Marie Dillon
Such a great idea. Thanks.
Patti Estep
Thanks Marie. I'm so glad you like it!