• Skip to primary navigation
  • Skip to main content
  • Skip to primary sidebar
  • Home
  • DIY Projects
    • Homemade Bath and Body
    • Sewing - Fabric Crafts
    • Flower Crafts/Decor
    • Thrift Store/Vintage
  • Gardening
    • Flower Gardens
    • Container Gardening
    • Houseplants
    • Indoor Gardening
    • Landscaping
    • DIY Garden Art
  • Decorate
    • Spring Decor
    • Summer Decor
    • Fall Decor
    • Winter Decor
    • Home Decor Projects
  • Recipes
    • Breakfast Recipes
    • Lunch Recipes
    • Dinner Recipes
    • Dessert
    • Salad Recipes
    • Soups and Stews
    • Side Dish Recipes
    • Appetizers and Snacks
    • Healthy Recipes
  • Holidays
    • Valentine's Day
    • Easter
    • Mother's Day
    • Halloween
    • Thanksgiving
    • Christmas
Hearth and Vine
menu icon
go to homepage
  • About
  • DIY
    • ...Flower/Gardening Crafts
    • ... Bath and Body
    • ...Sewing/Fabric Crafts
    • ...Thrift Store/Upcycle
  • Gardening
    • ...Flower Gardens
    • ...Container Gardening
    • ...Indoor Gardening
    • ...DIY Garden Art
  • Decorate
    • ...Home Decor Projects
    • ...Spring Decor
    • ...Summer Decor
    • ...Fall Decor
    • ...Winter Decor
    • ...Room Makeovers
  • Recipes
    • ...Appetizers and Snacks
    • ...Dinner Recipes
    • ...Side Dish Recipes
    • ...Salad Recipes
    • ...Dessert
    • ...Drinks
  • Holidays
    • ...Valentine's Day
    • ...Easter
    • ...Mother's Day
    • ...Halloween
    • ...Thanksgiving
    • ...Christmas
  • Subscribe
  • Instagram
    • Facebook
    • Instagram
    • Pinterest
    • Twitter
  • subscribe
    search icon
    Homepage link
    • About
    • DIY
      • ...Flower/Gardening Crafts
      • ... Bath and Body
      • ...Sewing/Fabric Crafts
      • ...Thrift Store/Upcycle
    • Gardening
      • ...Flower Gardens
      • ...Container Gardening
      • ...Indoor Gardening
      • ...DIY Garden Art
    • Decorate
      • ...Home Decor Projects
      • ...Spring Decor
      • ...Summer Decor
      • ...Fall Decor
      • ...Winter Decor
      • ...Room Makeovers
    • Recipes
      • ...Appetizers and Snacks
      • ...Dinner Recipes
      • ...Side Dish Recipes
      • ...Salad Recipes
      • ...Dessert
      • ...Drinks
    • Holidays
      • ...Valentine's Day
      • ...Easter
      • ...Mother's Day
      • ...Halloween
      • ...Thanksgiving
      • ...Christmas
    • Subscribe
    • Instagram
    • Facebook
    • Instagram
    • Pinterest
    • Twitter
  • ×
    Home » DIY Projects

    DIY Flower Cone to Dress up Any Bouquet

    by Patti Estep · Jan 5, 2024

    Jump to How-to Card
    A bouquet of flowers hanging on a door in a pretty lavender paper cone with pink ribbon edging.
    Purple paper cone with lace trim hold a bouquet of flowers over supplies including double faced tape, scissors, ribbons and a hole punch.

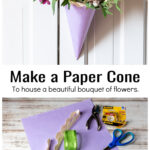
    Learn how to make a paper cone for flowers. It's a great way to add a little something to a gift of a flower bouquet.

    A lavender paper flower cone with pink ribbon edge holding a bouquet of flowers hanging on a door.

    Here's a fun and easy craft to dress up a bouquet of flowers for gift giving. You can use a bouquet from the store or fresh flowers from your own garden. It's a nice gift for a mom, a friend's birthday, or someone you love on Valentine's Day.

    Supplies including paper, ribbons, hole punch, scissors and double sided tape.

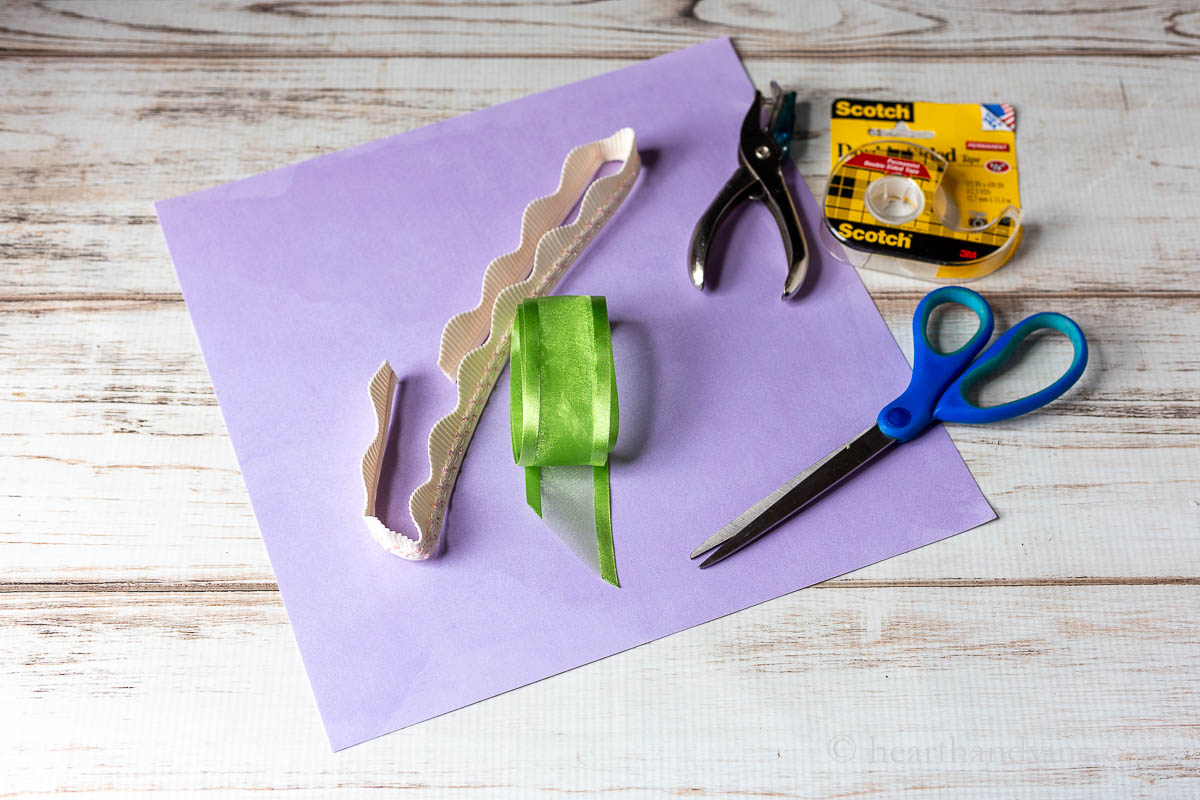
    You don't need a lot of supplies. In fact, if you enjoy DIY or crafting I bet you already have everything you need.

    Creating a square piece of paper by folding one corner to meet up with the side.

    To start you'll need a square piece of paper with some weight, such as cardstock. If you have a rectangle such as an 8.5" by 11" sheet of paper like ordinary printer paper you can easily make it a square by folding over one corner to meet the other side edge as shown in the image above.

    8.5 x 11 paper turned into a square by folding the one corner to meet the side and cutting off the excess.

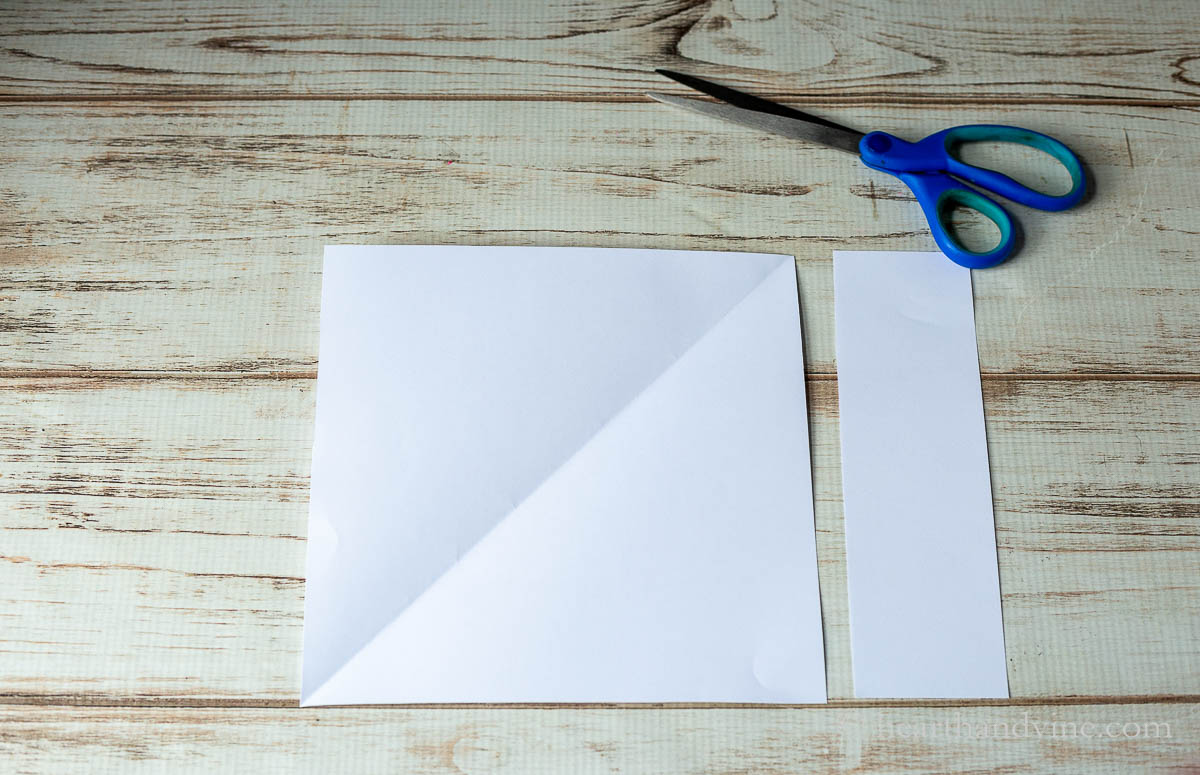
    Cut off the extra part that's not in the fold and you have a square.

    A square piece of paper with a line drawn from one point to the other making an arch.

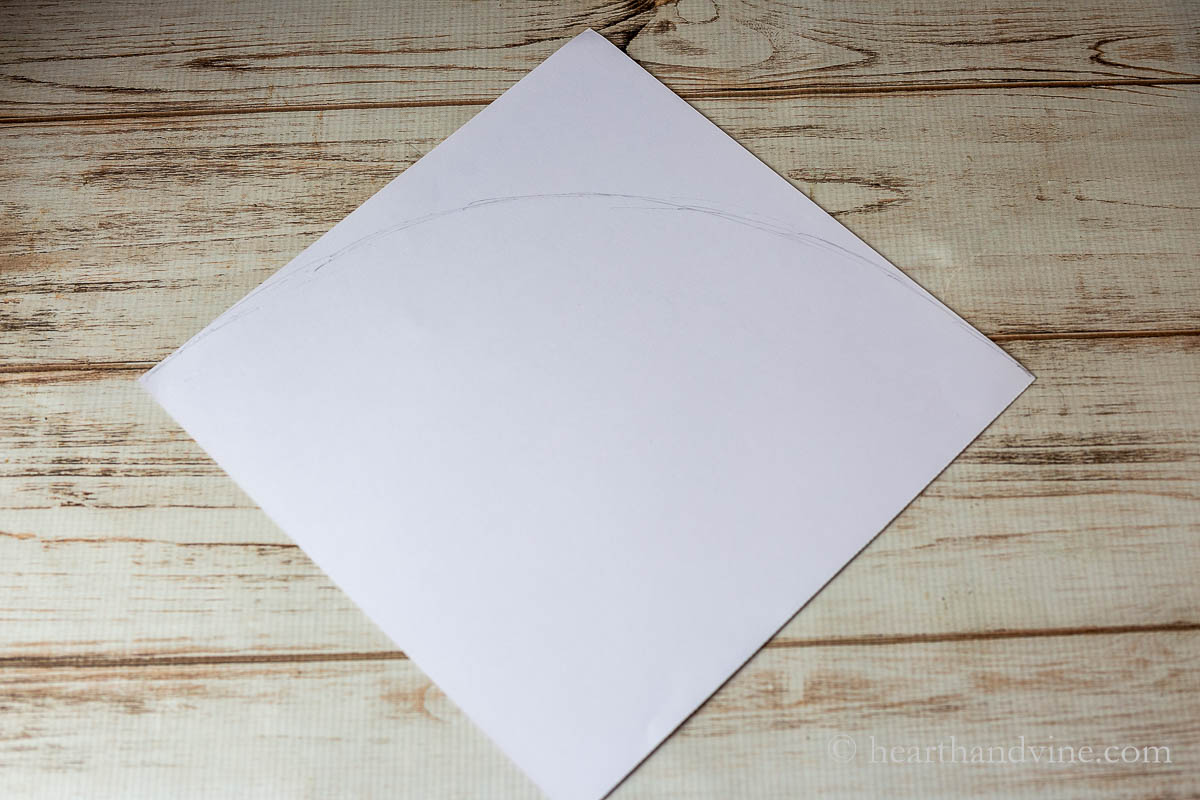
    I'm using a piece of heavy lavender colored scrapbook paper. I like the solid color with the mix of flowers but you could also use a pretty print. Start by making an arc on the back of the paper. You can freehand the drawn arc or use the round edge of a bowl to help create it.

    Then cut along the line.

    Newsletter Signup
    Join Our Newsletter List!

    Be the first to receive new posts and get access to our Subscribers Only Page.

    Double sided tape along one side on the back of the paper cone.

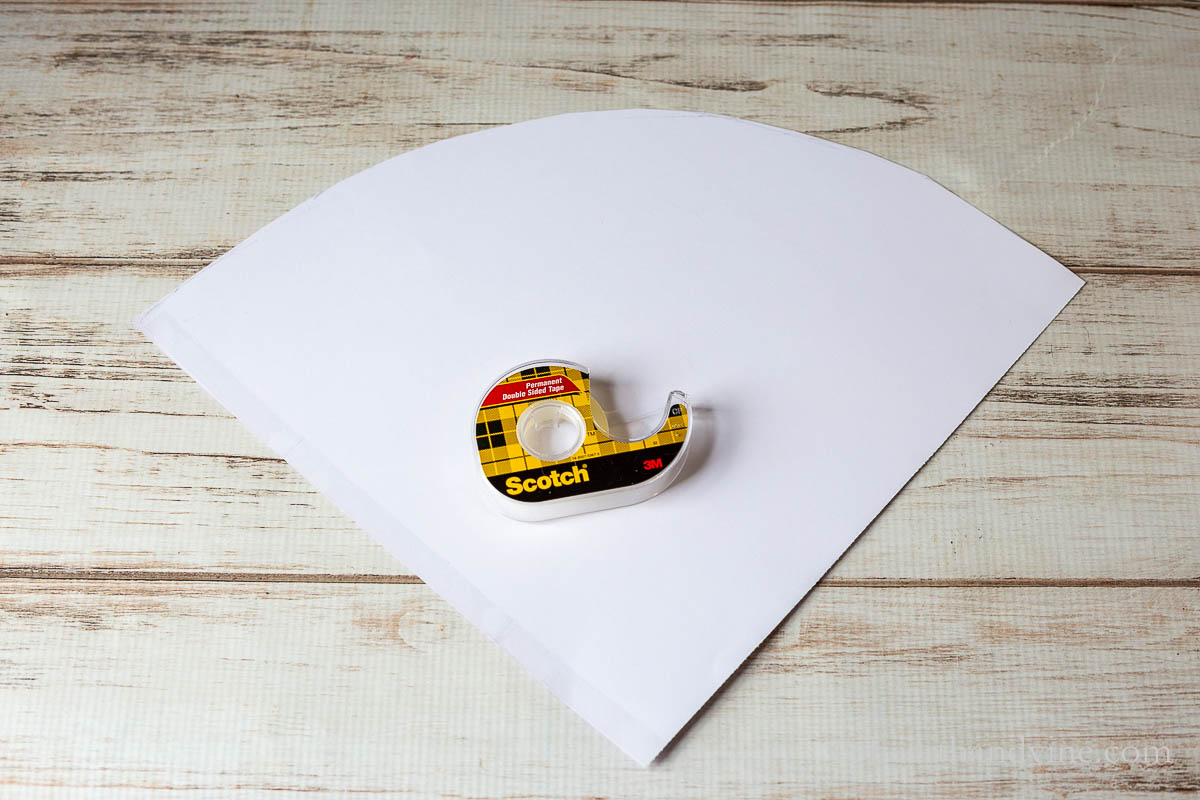
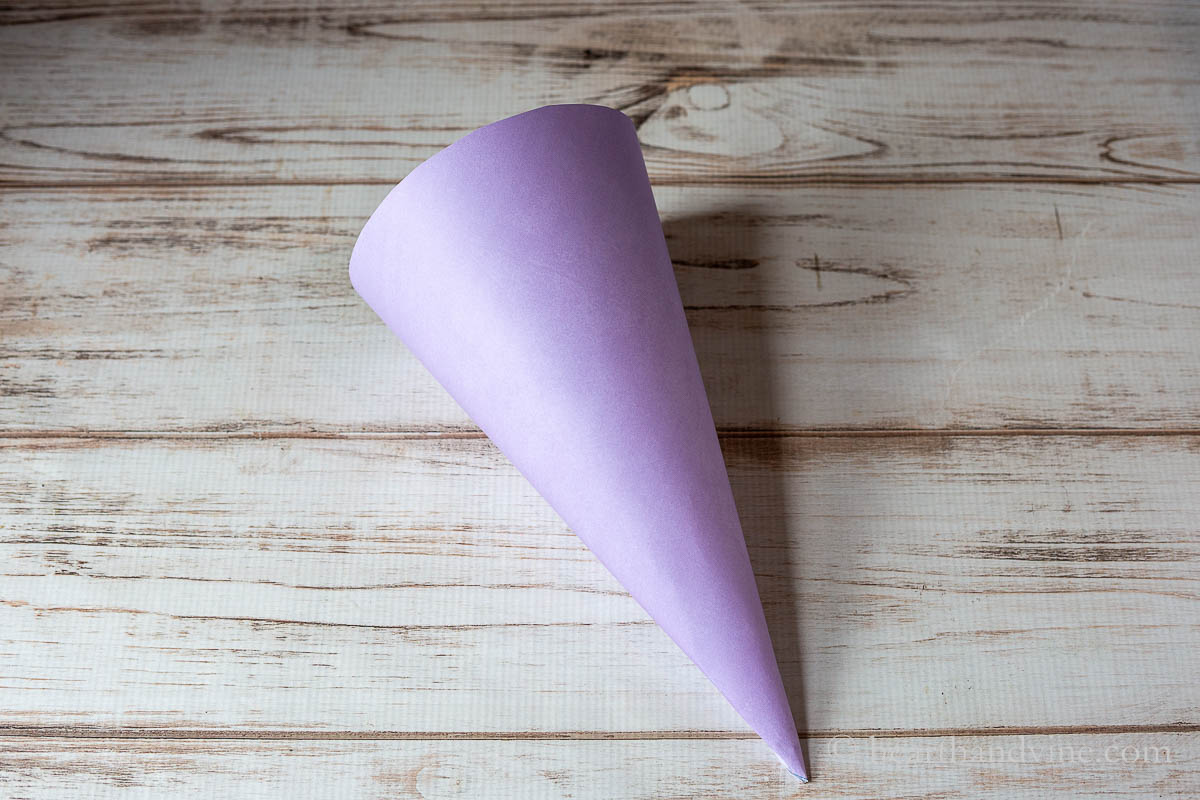
    You now have a cone shape. Place some double sided tape on one edge. Then roll the side over onto the rigth side making a cone.

    A large lavender paper cone.

    If you don't have double stick tape you can use hot glue or any craft glue will work. You may just have to hold it or clip it together until it dries.

    A pink scalloped ribbon trim is hot glued to the top edge of the flower cone.

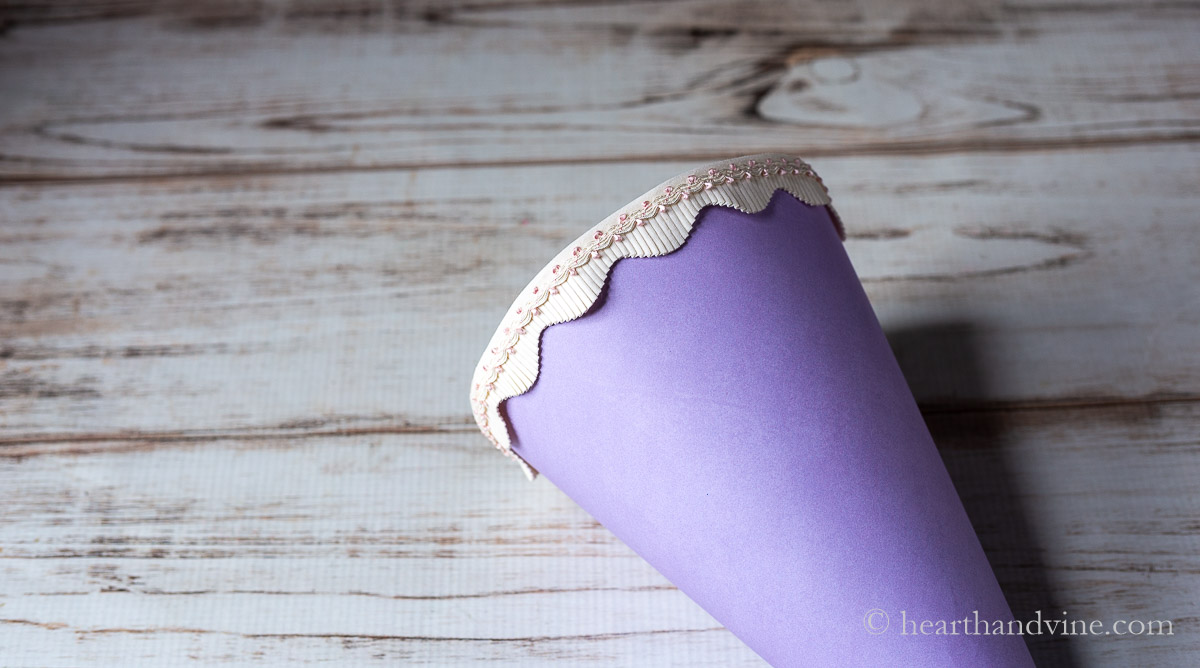
    Add some pretty trim or ribbon to the top to create a more finished look. I used a hot glue gun for this part because my trim was very thick.

    Two small holes are punched through the paper cone near the back just below the ribbon trim.

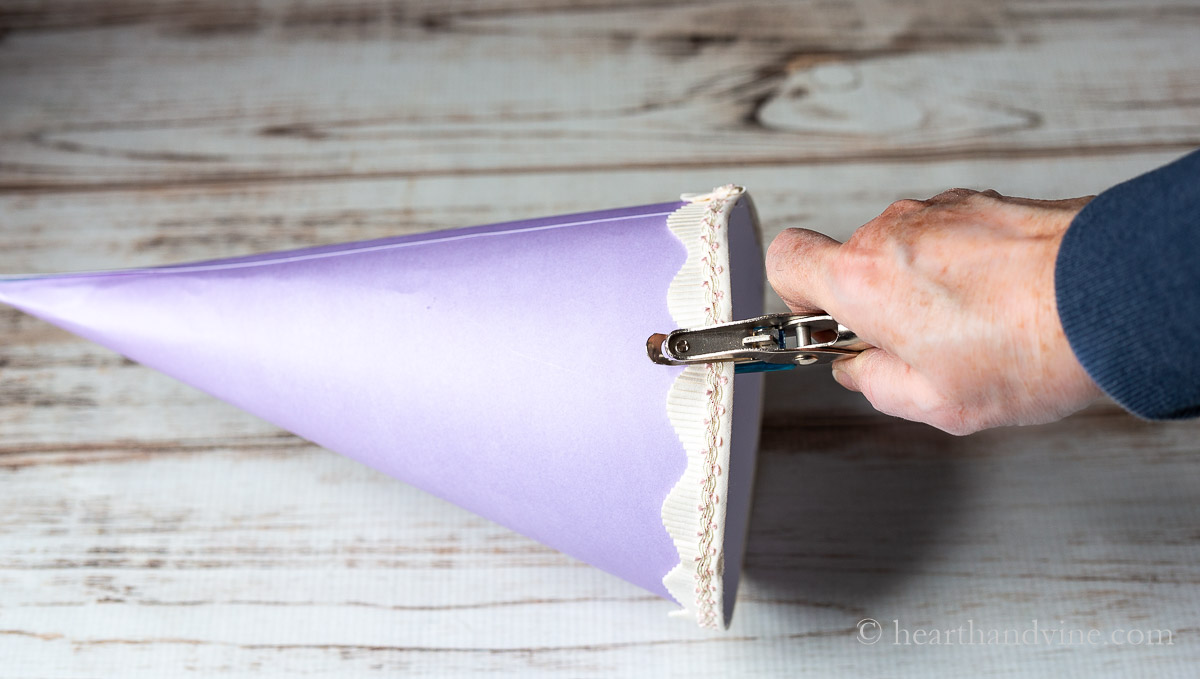
    Next, add some holes near the back seam on each side. I used a small paper punch. However, you can use a large one. You just may need to make large knots to keep your ribbon hanger in place.

    A green ribbon is tied into the paper cone through two punched holes.

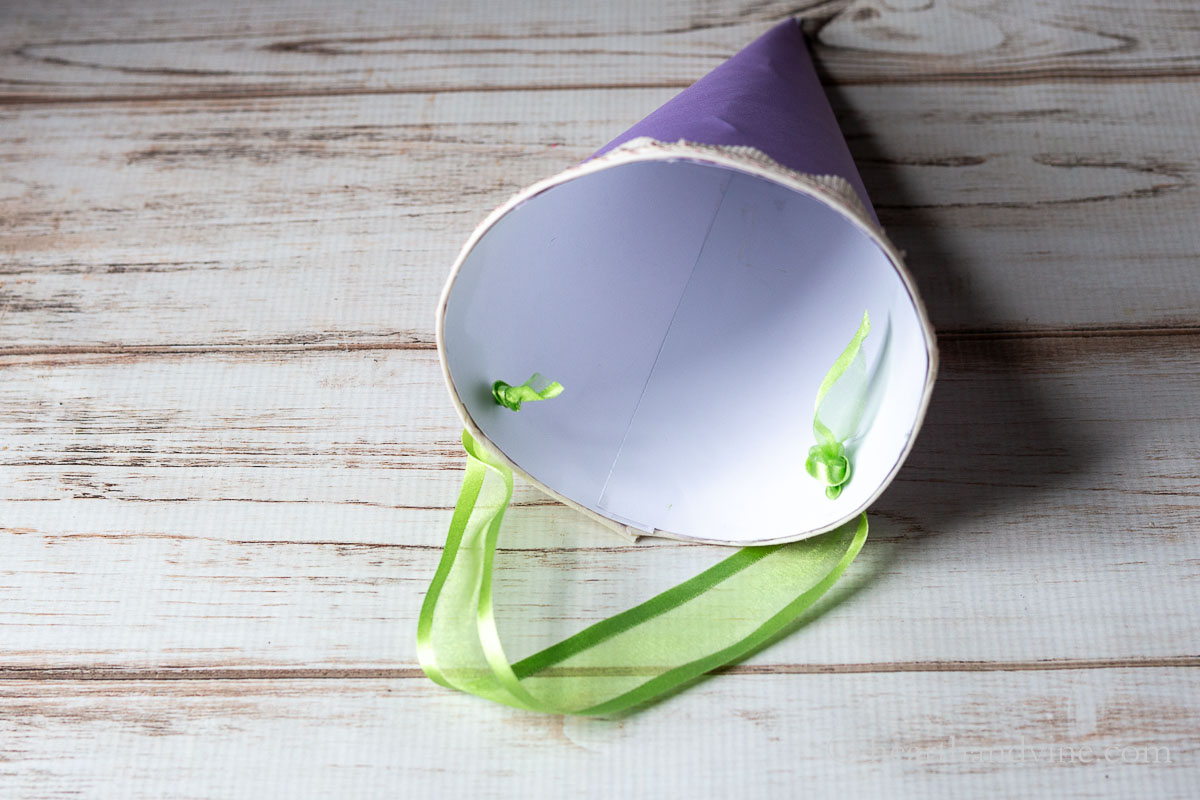
    Thread a pretty piece of ribbon through the holes from the outside and secure them with a knot(s) on the inside of the cone.

    A bouquet of fresh flowers with wet paper towel on the bottom stems. Covered with paper using a rubber band.

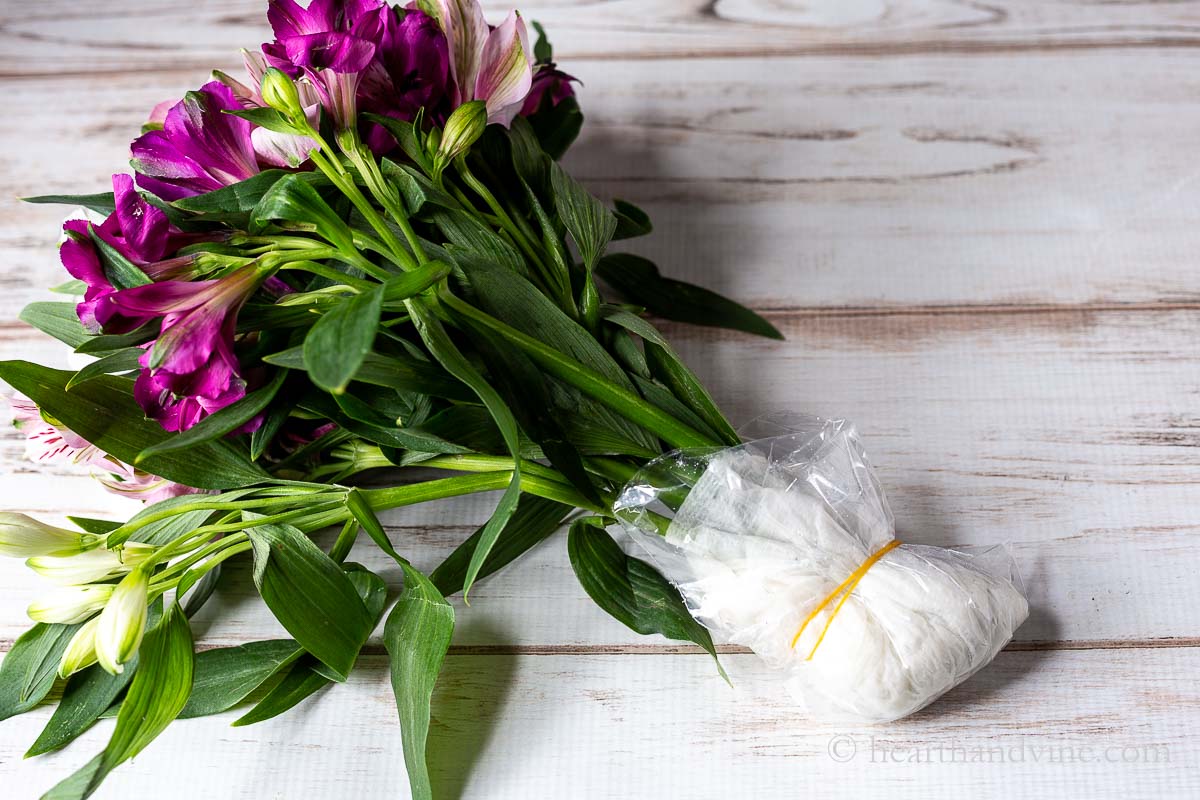
    To keep your flowers from fading fast add some wet paper towels covered with a plastic baggie and a rubber band.

    A lavender paper cone with pink ribbon edging holding a large bouquet of flowers hanging on a white door.

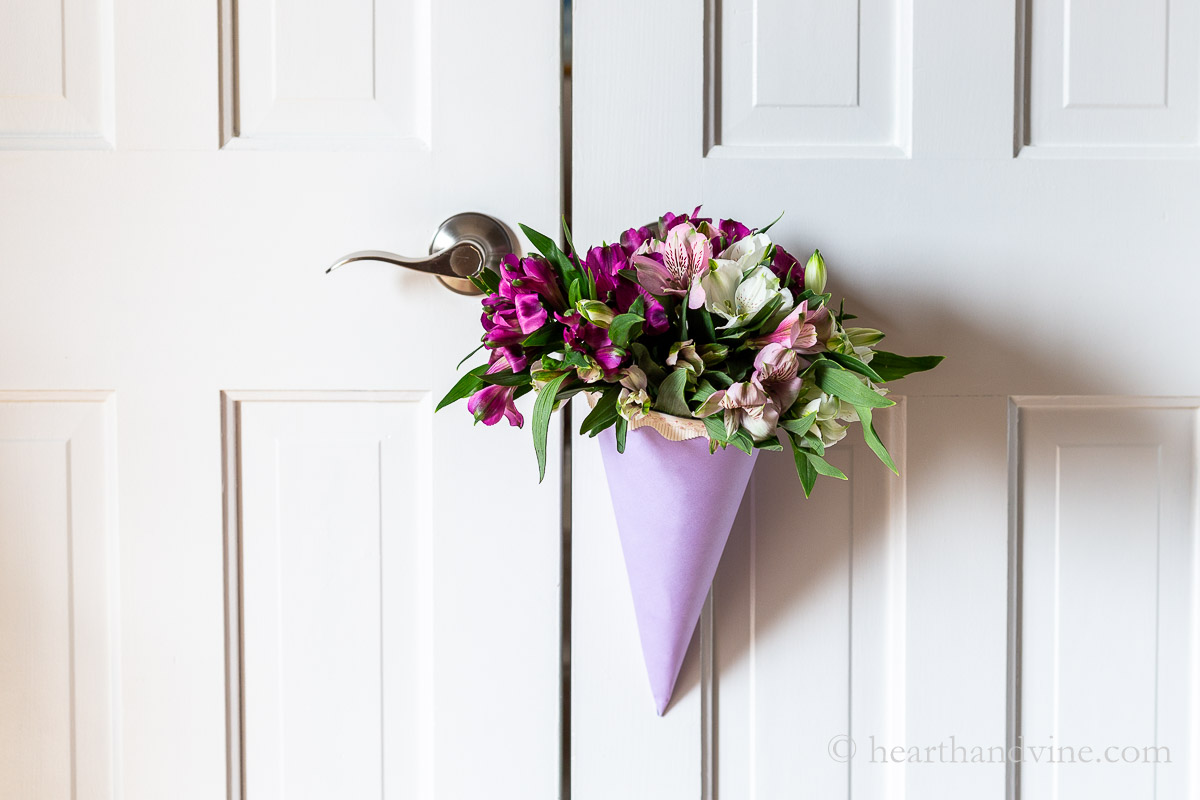
    Set your bouquet into your paper cone and hang it on the door.

    This one is on an interior door mainly for photography. However, wouldn't it be nice to hang on a front door handle with a little card stuck in the flowers? Just ring the doorbell and see what happens.

    Patti signature

    More Flower Crafts

    • DIY Flower Pot Centerpiece
    • Wood Crate Floral Centerpiece
    • Clay Flower Frogs
    • DIY Flower Pounding Tea Towel
    A lavender paper cone with pink ribbon edging holding a large bouquet of flowers hanging on a white door.
    A lavender paper flower cone with pink ribbon edge holding a bouquet of flowers hanging on a door.
    Print

    DIY Flower Cones

    This hanging flower cone is the perfect way to display the gift of flowers from the store or from your own backyard.
    Active Time20 minutes mins
    Total Time20 minutes mins
    Yield: 1

    Equipment

    • Scissors
    • Glue gun and glue sticks
    • Small Hole Punch

    Materials

    • 1 piece of heavy paper 12 inches square
    • double sided tape
    • decorative ribbon for the top edge around 20 inches
    • ribbon for the hanger 10 - 12 inches long

    Instructions

    • Make a pencil arc on the backside of the paper.
    • Cut out the arc.
    • Place double sided tape along one of the long edges.
    • Fold the taped edge over to meet the other creating a cone shape.
    • Hot glue a pretty ribbon along the top of the cone.
    • Make two holes on the back of the cone about 5 inches apart.
    • Thread the hanging ribbon from the outside in and tie a knot.
    • Repeat on the other hole.
    • Place a bouquet of flowers inside and hang.

    Notes

    This tutorial creates a rather large cone. However, you could make a very small cone that holds just a little nosegay or bouquet instead. 
    You can wrap some wet paper towels around the bottom of the stems of the flower bouquet and add a bag with a rubber band to secure it. This will help keep the flowers fresh.
    You can use a regular size hole punch. However, you may need to make a few knots to hold the ribbon in place.
    Tried this project?Tag @hearthnvine on Instagram
    « How to Press Flowers to Make Beautiful Gifts
    Lamb Shank in the Slow Cooker : Easy Dinner for Two »

    About Patti Estep

    Patti is the creator of Hearth and Vine, a home and garden blog filled with projects to inspire your creative side. She loves crafting, gardening, decorating and entertaining at her home in Pennsylvania. When she is not working on a project at home or searching for treasures at nurseries and thrift stores with her girlfriends, you’ll probably find her with family and friends, at a restaurant, or home party enjoying new and different food adventures.

    Reader Interactions

    Leave a Reply Cancel reply

    Your email address will not be published. Required fields are marked *

    Recipe Rating


    Primary Sidebar

    Patti Estep Profile Picture

    Hi!

    I'm Patti

    Join me to create lots of fun DIY projects, including crafts, gardening, home decor, and tasty recipes

    More about me

    Popular Posts

    • Baked zucchini bite on a slated tray with a bowl of horseradish sauce.
      Make Tasty Zucchini Bites in Under an Hour
    • Three tin cans in descending sizes hanging from twine.
      DIY Wind Chimes with Tin Cans
    • Blue jean crossover bag
      DIY Crossbody Bag from Jeans
    • Ham barbecue sandwich on plate
      Chipped Ham Barbecue Sandwiches - A Pittsburgh Favorite
    • Echievera planter
      What to do With a Stretched Succulent
    • Make a Mason Jar Oil Candle Lamp with botanicals and essential oils. ~ gardenmatter.com
      DIY Oil Candle - Gifts for the Holidays

    Footer

    ^ back to top

    About
    Contact
    Privacy Policy
    Disclosure Policy

    Sign Up Here!
    for our
    newsletter &
    special offers

    Follow Me

    facebook
    Pinterest
    instagram

    As an Amazon Associate, I earn from qualifying purchases. i.e. as an Amazon Associate, I earn from qualifying purchases.

    Copyright © 2025 Hearth and Vine

    Rate This Recipe

    Your vote:


    A rating is required
    A name is required
    An email is required