

This DIY makeup brush holder is easy to create. Great for a beginner sewing project to give as a gift or keep for yourself.
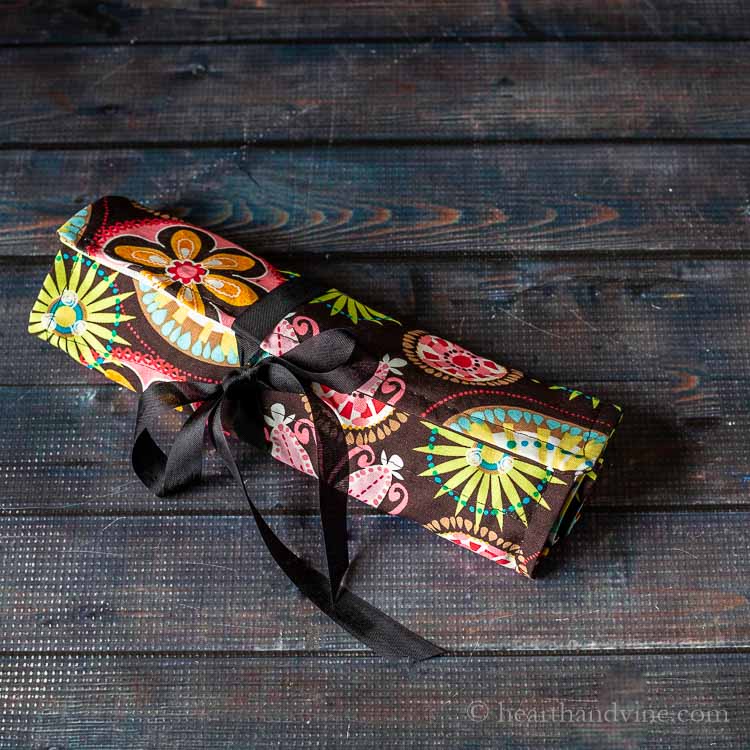
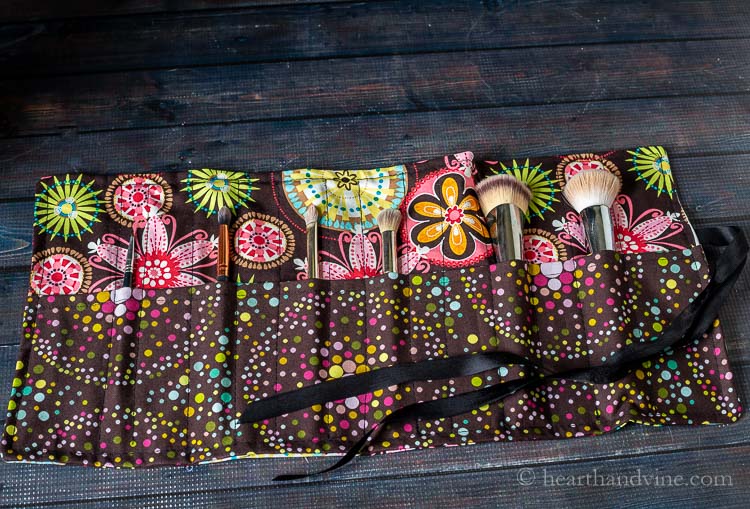
Instead of digging in your vanity drawer for your favorite makeup brushes, you can just unroll this makeup brush holder for easy access. It's also great for tossing in your suitcase when you travel.
Sections at a Glance
How to Make a Makeup Brush Roll
Supplies
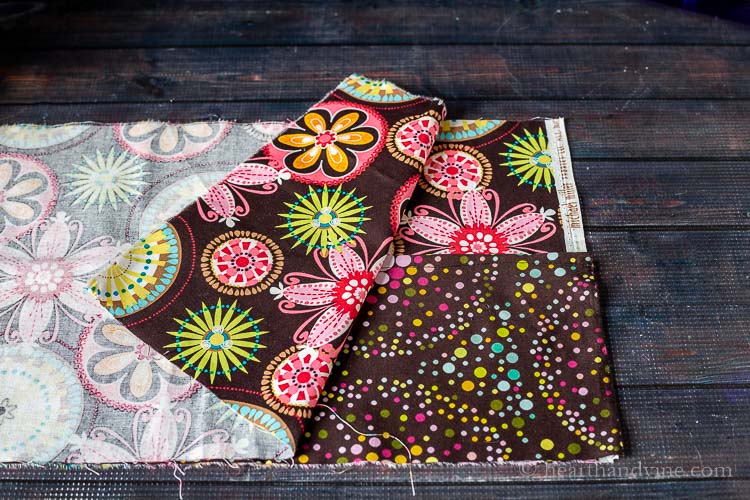
- Coordinating fabric in two different prints
- Ribbon or seam binding for the ties - Approx. 2 feet
- Coordinating thread
- Sewing Machine
Makeup Brush Holder Pattern

Instructions
Step 1. Cut out the pattern pieces as shown above.
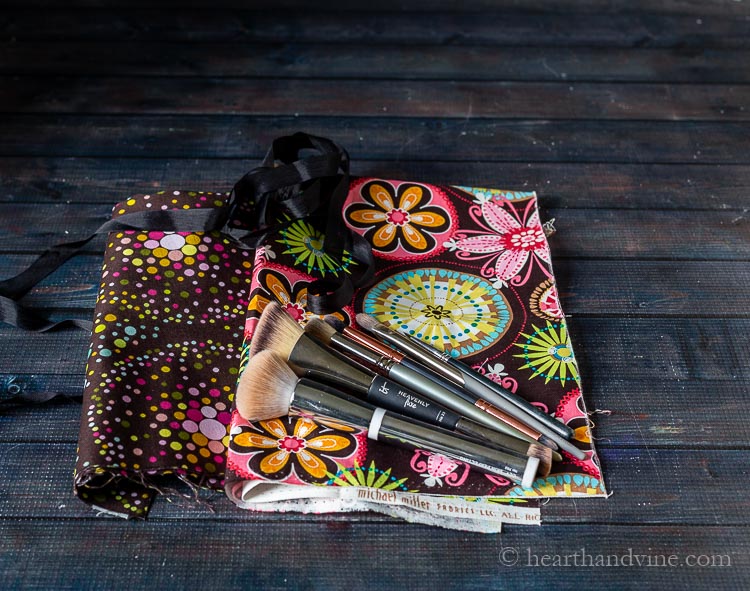
I used two different fabrics that went well together. One pattern for the main pieces and a different pattern for the pocket piece. However, you could use the same fabric for all three of the pieces.
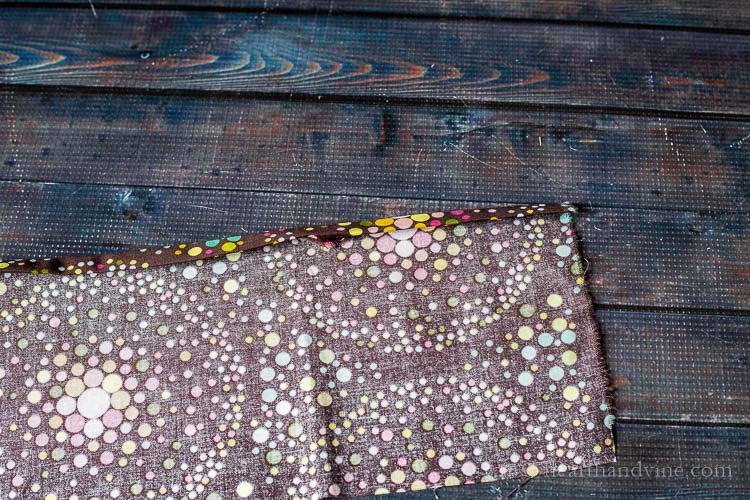
Step 2. Press 1/4 inch of the top edge of the pocket piece
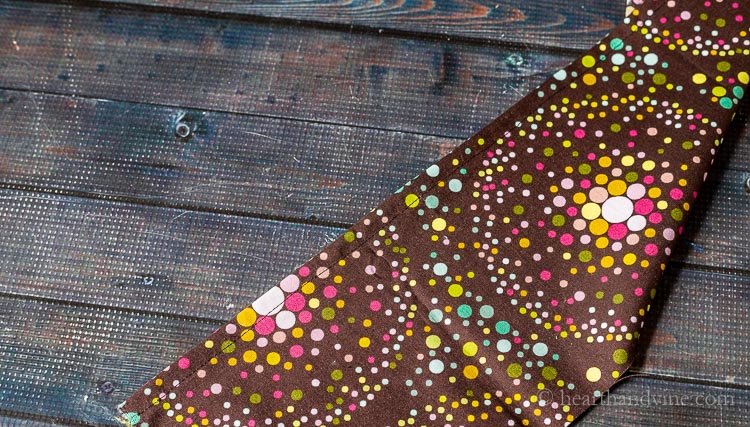
Step 3. Topstitch in place.
Step 4. Next, line up the pieces as shown above, matching raw edges. The pocket piece should lie on the back piece right side up, on top of the right side of the bottom piece (see above). Then place the second main piece right side down, facing the right side of the pocket piece and back.
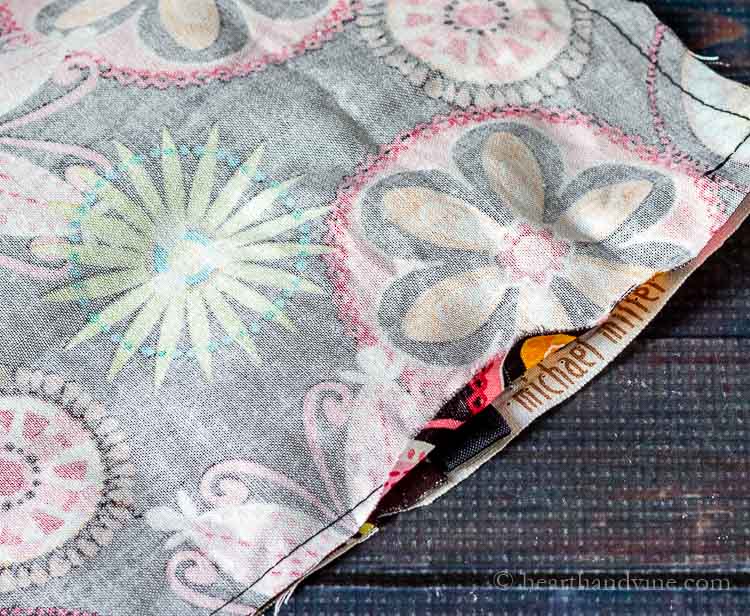
Step 5. Fold the ribbon or seam binding in half and place it inside just above the pocket as shown above. Sew around all edges leaving a 2 inch opening for turning, just above the ribbon.
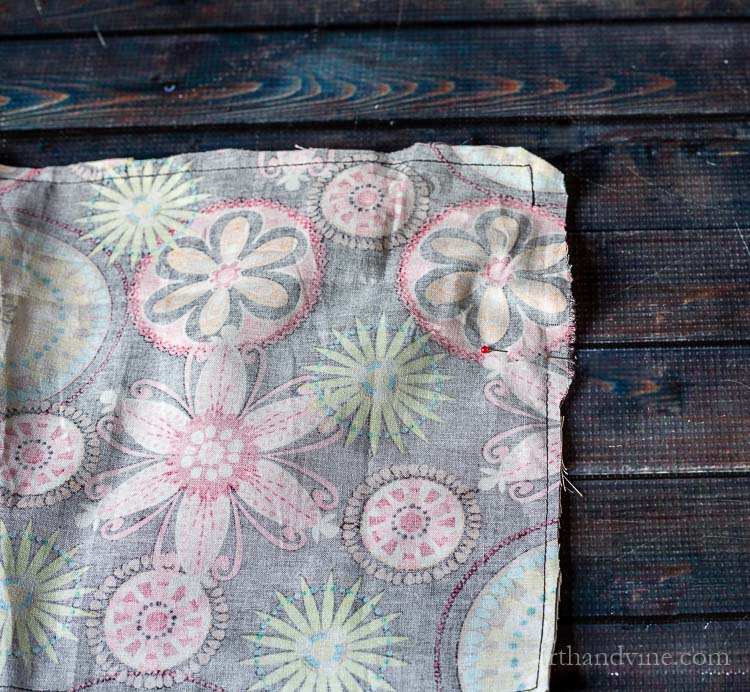
Step 6. Trim edges and cut corners.
Step 7. Next, turn the makeup brush roll right side out.
Step 8. Press and topstitch around sides.
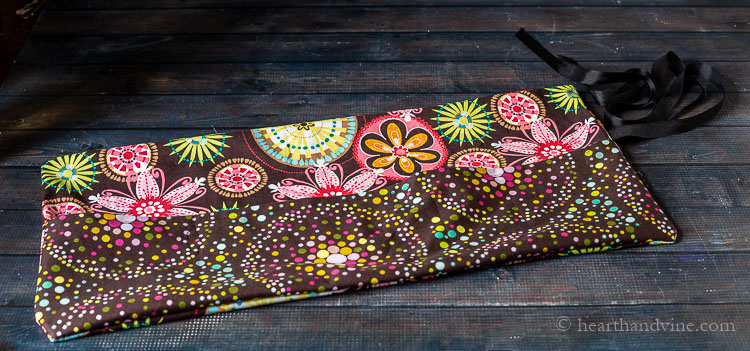
Step 9. Sew a line of stitching from the bottom to the top at several intervals, creating pockets for the brushes. If you want, you can use pins to determine where your sewing lines will be. Make them all the same width or vary the widths to hold different size brushes.
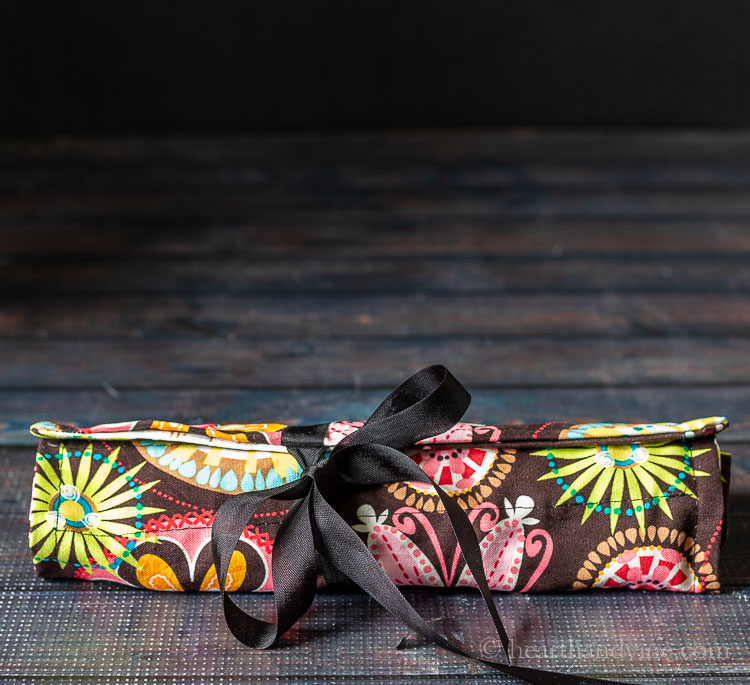
To close the makeup brush roll, start at the end opposite the ties. Roll inward, and when you get to the other side, pull one of the ribbons around and tie for a nice and neat package.
Wouldn't these make a nice gift?

More Easy Sewing Projects

DIY Makeup Brush Holder Tutorial
Equipment
- Sewing Machine
- Scissors
Materials
- 4 feet Main fabric for 2-- 20 x 10 inch pieces
- 2 feet Pocket Piece same fabric or contrasting fabric 1 --6 x 20 inch piece
- 2 feet Ribbon or seam binding for the ties
- Coordinating thread
Instructions
- Cut out the fabric from the pattern above.
- Press 1/4 inch of the top edge of the pocket piece, then topstitch in place.
- Align the raw edge of the pocket piece with the raw edge of one of the other pieces on the print or right side.
- Then place the other larger piece on top face down aligned with the bottom raw edges.
- Fold the ribbon in half and place the folded edge in the middle of the side between the pocket and top piece leaving the rest of the ribbon inside.
- Sew a 1/4 in straight stitch all around leaving two inches on the side open for turning just above the folded ribbon.
- Trim edges and cut corners.
- Turn the makeup brush holder right side out and press with an iron.
- Topstitch all around the edge enclosing the opening.
- Sew a line of stitching from the bottom to the top at several intervals creating pockets for the brushes. Make them all the same width or vary the widths to hold different size brushes.
- To close the makeup brush roll, start at the end opposite the ties. Roll inward and when you get to the other side pull one of the ribbons around and tie.

Carole West
Okay - I think you've convinced me to finally get a small sewing machine so I can make neat projects like these. I could make one for my watercolor brushes and would be so handy also takes up less space to store. Pinning for a summer project - love it...
Patti Estep
Thanks Carole. It would work great for your painting brushes too. Of course you can always hand stitch or use a fusible iron-on webbing to create some of the projects. Then again it might be fun to try and new hobby.