

Learn how to make a window valance for your kitchen in under an hour. It's a fast and simple way to update and refresh your room.
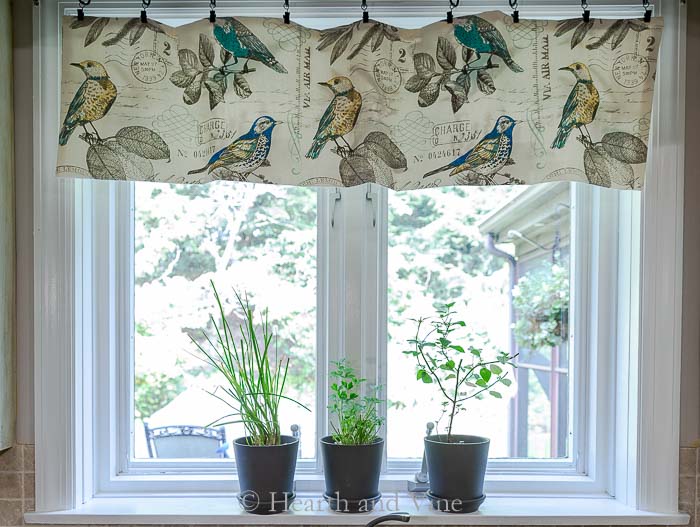
As part of our kitchen refresh makeover, I made a new valance for the window above the sink.
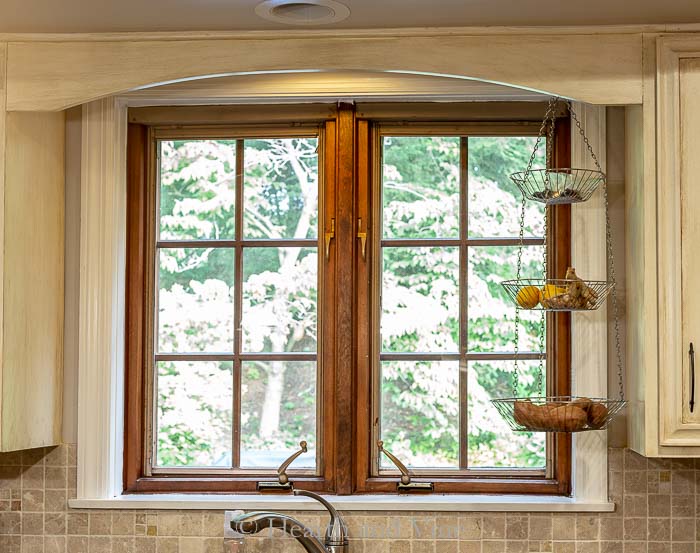
We painted all of the brown woodwork in the entire house white. We also decided to remove the dividing inserts in the windows. It gives the kitchen a much more modern feel, and I love being able to see the garden and birds while preparing food and cleaning dishes.
This post contains some affiliate links (that means if you make a purchase after clicking a link, there’s no additional cost to you, but I will earn a very small commission. ) i.e. as an Amazon Associate, I earn from qualifying purchases. Click here to read my full disclosure policy.
Making a Simple Window Valance
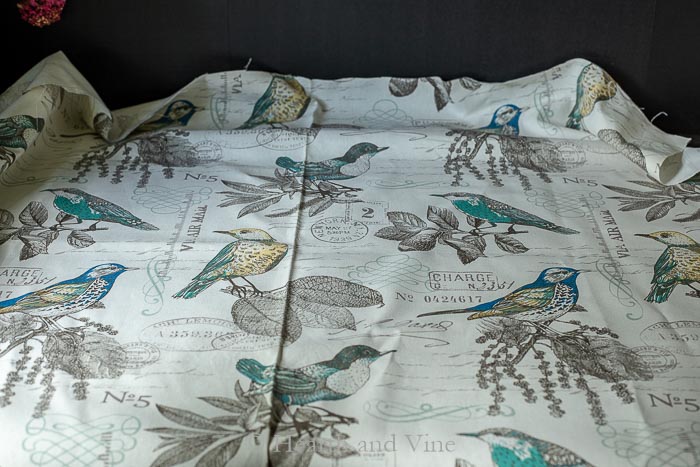
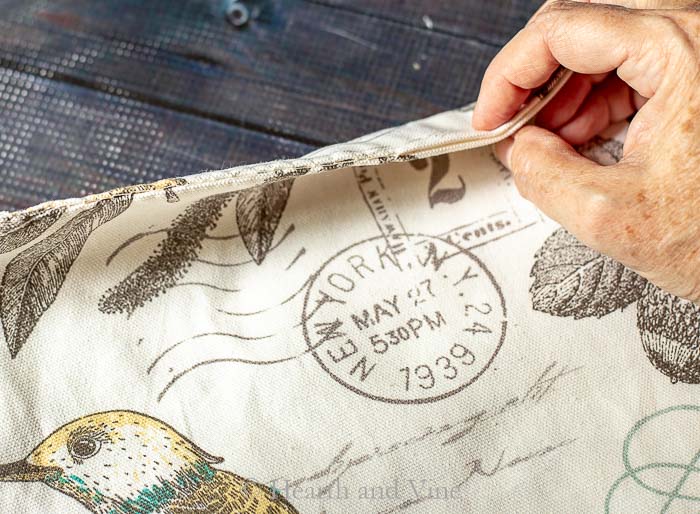
There are so many lovely decorator fabrics available these days. I chose this pretty cotton print from Hobby Lobby. It has that vintage feel similar to the new botanical prints on the walls.
To make this easy valance first decide how long you want it to be from the top of the window down.
I chose 11 inches. This means I will need about 23 inches of fabric for both sides and an extra inch for the seam allowance.
I purchased one yard of fabric. Since my window is just about 45 inches wide, the standard 44-inch fabric width is perfect. If you have a larger window, you may need to piece the fabric, or you can purchase as much yardage as you need to cover the window.
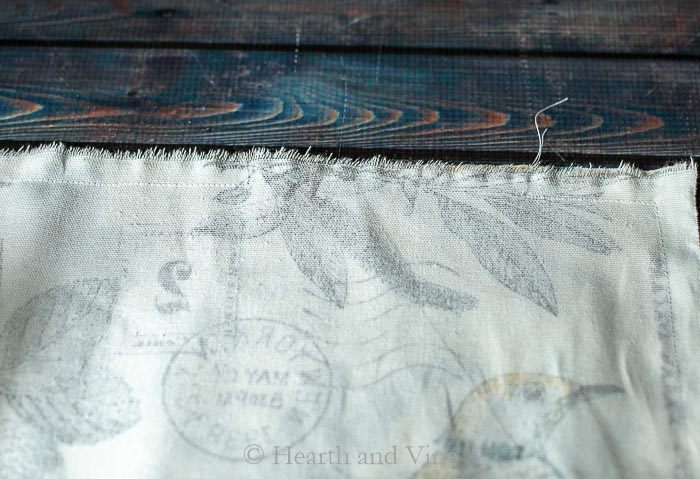
Choose a section of the pattern that covers about 12 inches that you want for the front.
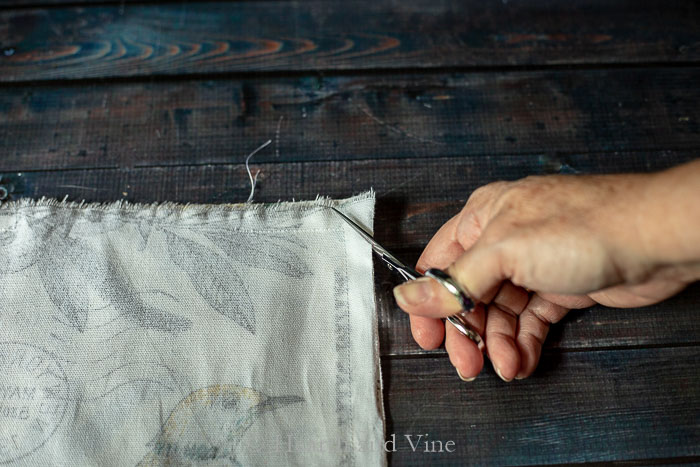
Cut just above that area, and then measure down 23 inches and cut again.
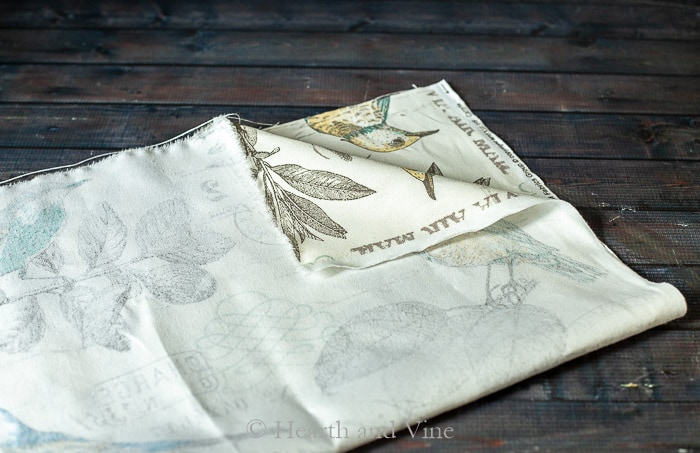
Then fold the fabric in half lengthwise, and pin with right sides together, and sew along the 3 open sides, leaving a 3-inch opening at the top.
Clip the corners. This will make the corners easier to press when you turn the fabric right side out.
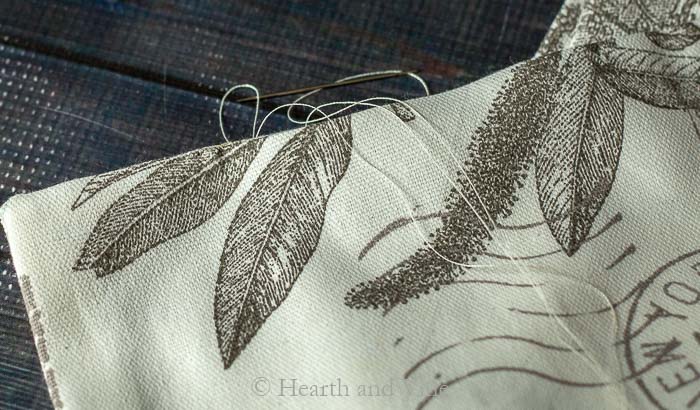
Press the valance to make a sharp crease and then stitch the opening closed by hand.
I like to use a blanket stitch, but you can sew it closed any way you like. You could also use stitch witchery or fabric glue
 .
.
Can I make this kitchen window valance without a sewing machine?
Yes, you could make this valance without a sewing machine. Just fold your fabric in half with the wrong sides together. But first, turn the edges under, about 1/4 inch, and press them with an iron. Then, use something like stitch witchery or fabric glue
 to join the fabric together into one large rectangle.
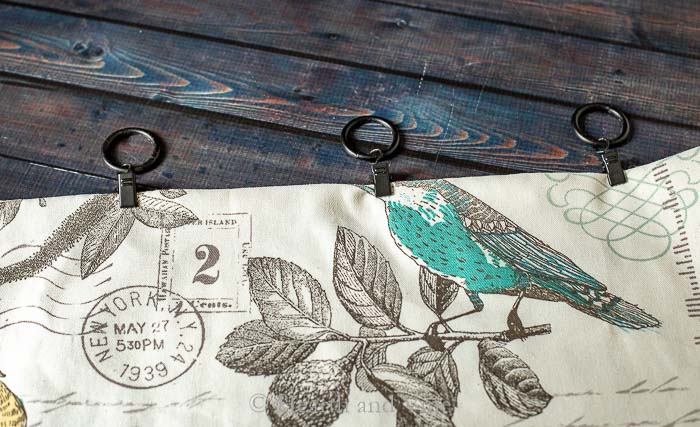
No need for grommets, although they would be so cute, or other fancy pleating. Just purchase some curtain clips and a cafe rod
 .
.
Space out your clips evenly on the valance and string them onto the rod.
It's that easy.
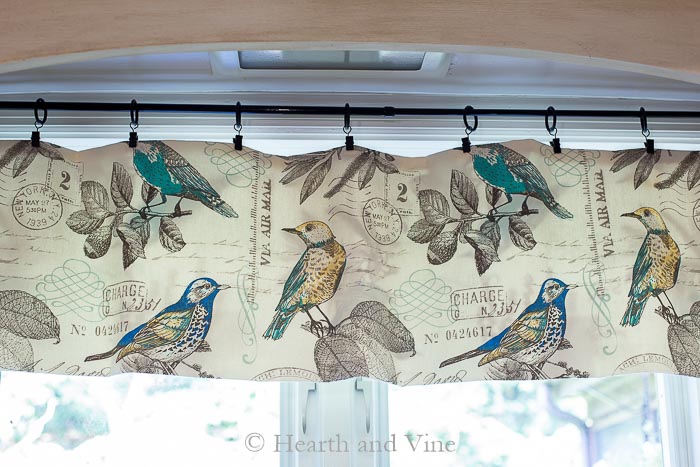
I like the fact that the valance is not very gathered. I think it looks more modern this way.
However, you could easily make your valance wider, and that would give you a more gathered and fuller look.
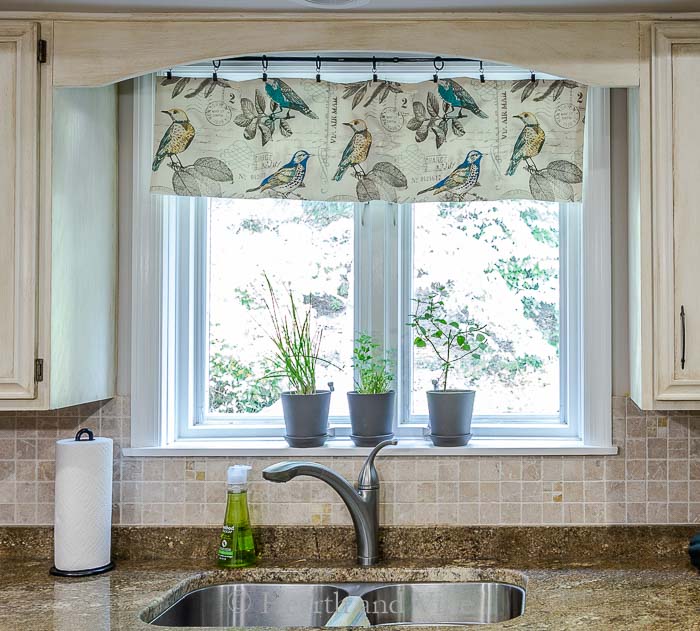
Super simple, easy, and fast to make, this kitchen window valance is just one more piece of the puzzle to help refresh our kitchen and give it a more modern, cleaner look.

More Simple Sewing Projects

How to Make a Window Valance for the Kitchen
Equipment
- Sewing Machine
- Scissors or rotary cutter
- sewing needle
Materials
- Fabric
- Coordinating thread
- Curtain Clips
- Cafe Rod
Instructions
- To determine how much fabric you need, measure the inside of the window, adding an inch to the measurement for seam allowance. Then, determine the length you want from the top down, adding another 1/2 inch for seams.
- Cut out the fabric.
- Fold the fabric lengthwise with right sides together.
- Sew 1/2 inch straight stitch seam on all three sides, leaving 3 inches open from the end for turning.
- Clip the corners.
- Turn the fabric right side out and press it flat with a warm iron.
- Hand stitch the opening closed.
- Attach curtain clips in equal intervals and hang them on a curtain rod.
Notes

Pam
Have you made swag curtains for kitchen window
Patti Estep
Not yet Pam but it might be something for the future.