

Learn how to make memory wire bracelets a in few easy steps. Get creative with friends and share beads while you make beautiful jewelry in an afternoon.
If you enjoy making jewelry, memory wire has to be the easiest way to make really pretty bracelets.
This post contains some affiliate links (that means if you make a purchase after clicking a link, there’s no additional cost to you, but I will earn a very small commission. ) i.e. as an Amazon Associate, I earn from qualifying purchases. Click here to read my full disclosure policy.
Sections At A Glance
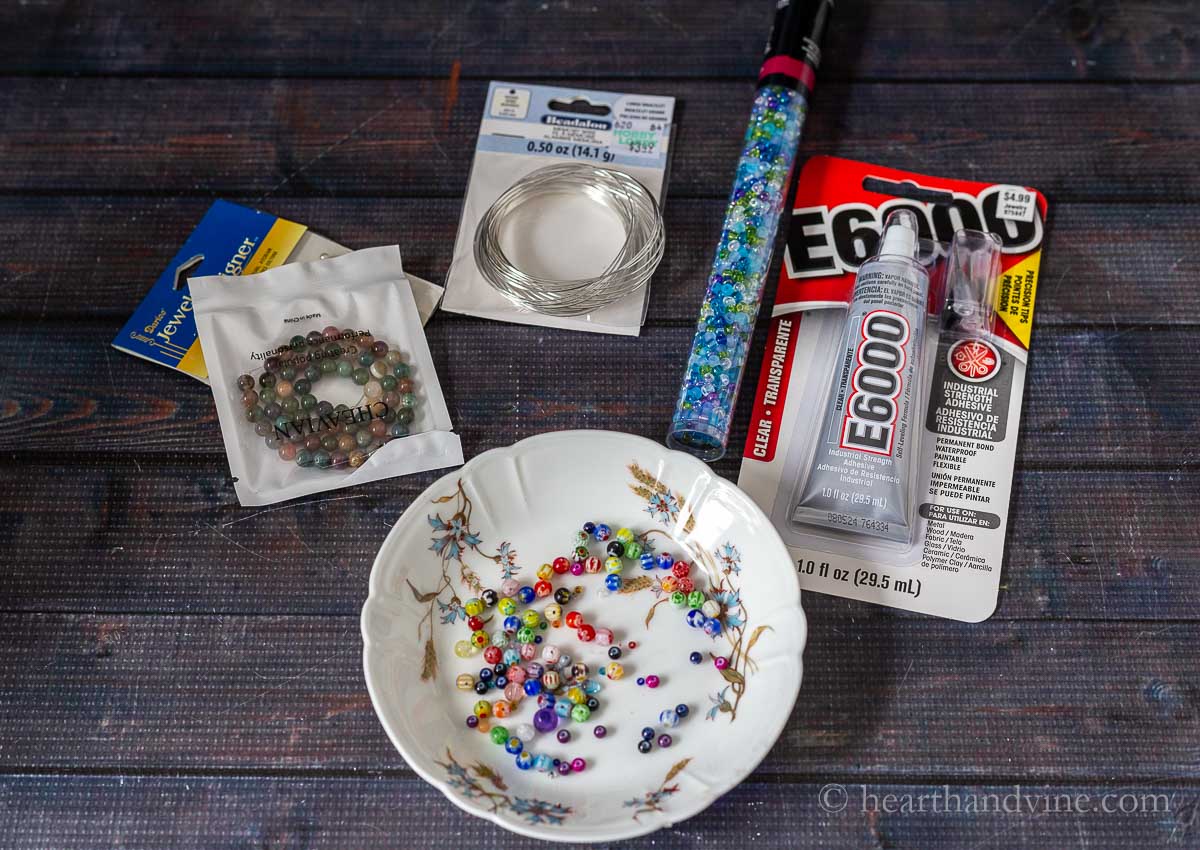
Supplies
- Needle nose pliers
- Memory wire
- Beads
- E6000 glue (optional)
You can buy memory wire that is round or oval-shaped. They work the same way. Some people like the look of the oval wire and say it fits better but I did not notice a big difference. Since the memory wire springs back into place it's great for both large or smaller wrists. Also, the diameter for both is .025 inches (.655 mm) which works well for most beads.
How to Make Memory Wire Bracelets
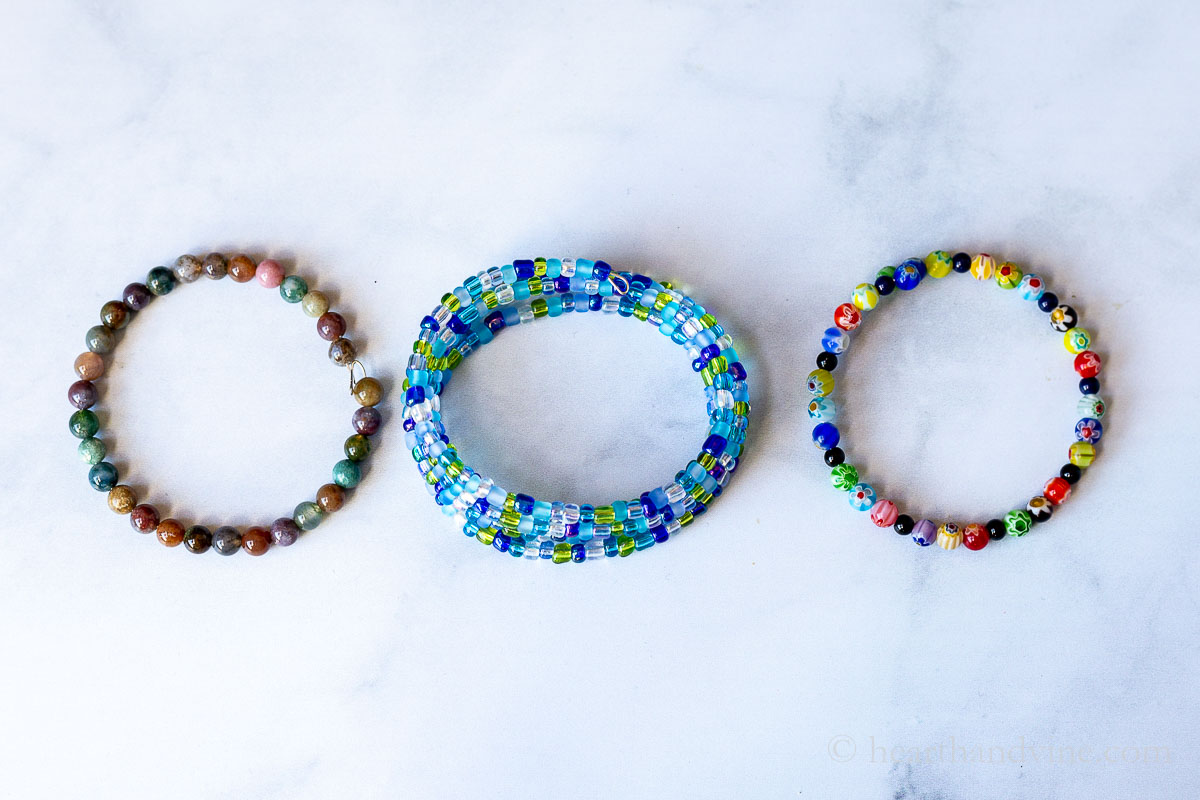
3 Ways
1. Single Bangle with a Hook and Loop
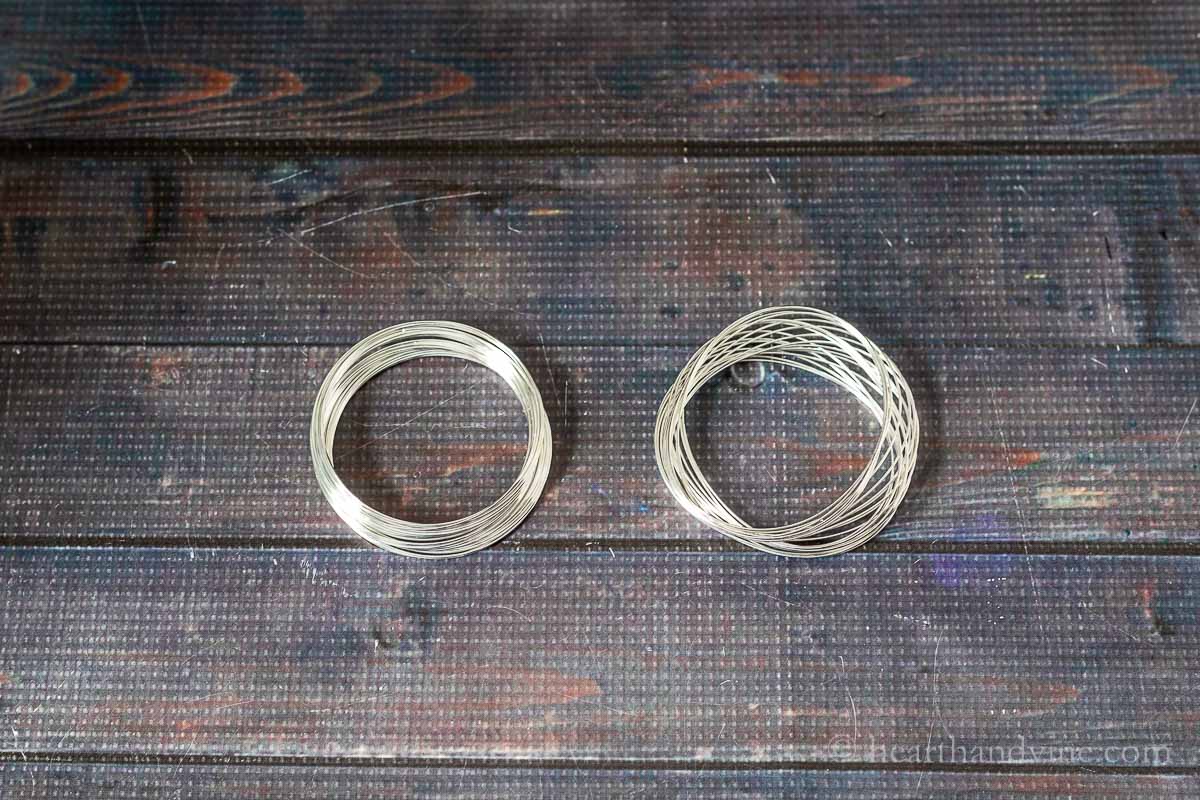
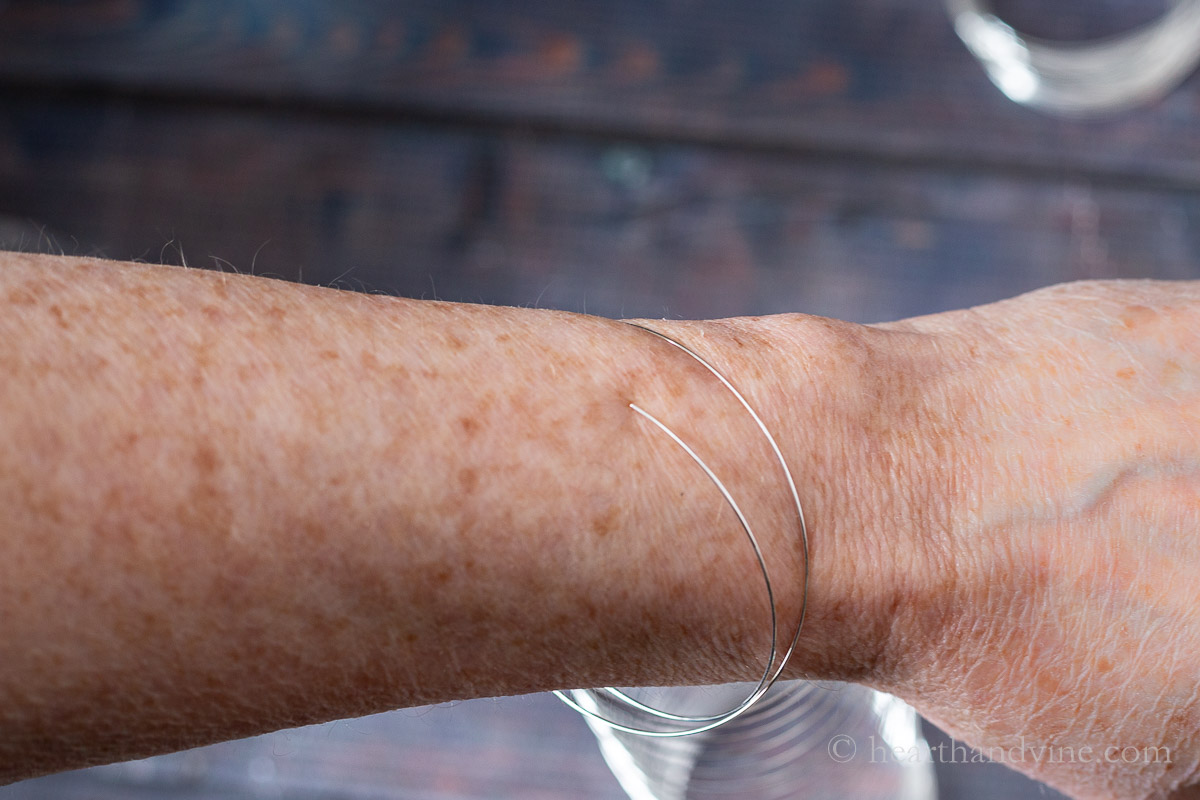
Step 1. To make a single bracelet, determine your size by wrapping the memory wire around your wrist and cutting it a little larger than you need.
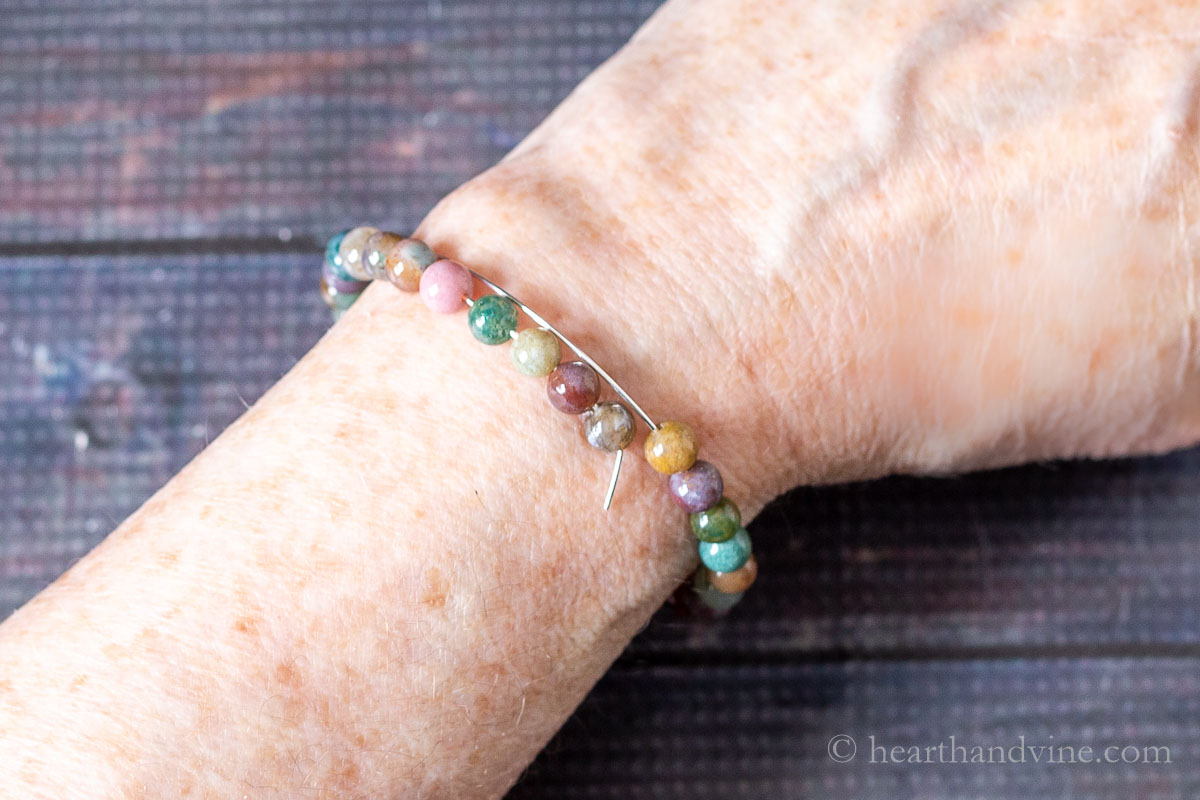
Step 2. Bend the end of the wire with needle nose pliers to help the beads stay on and then thread enough beads to cover leaving about 1/2 inch extra before cutting the wire.
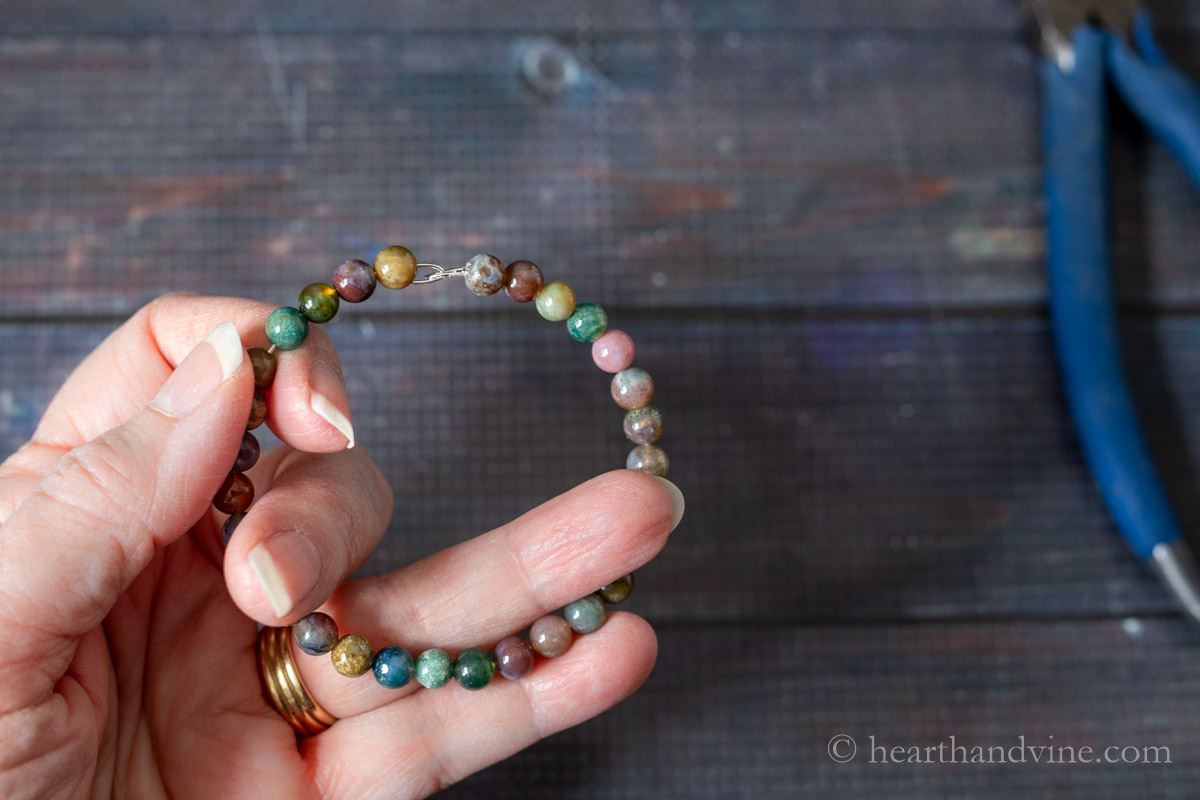
Step 3. Use the pliers to make a loop on one side and a hook on the other for closure.
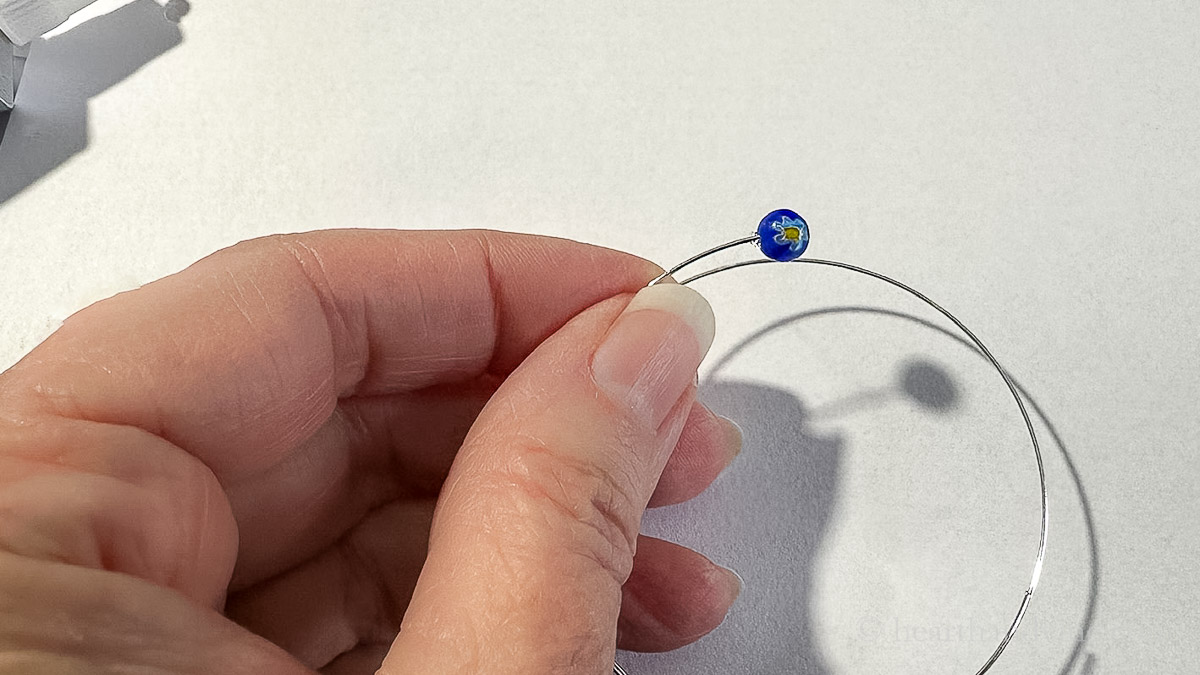
2. Single Bangle with Glue
Step 1. Glue a bead to one end. Let it dry.
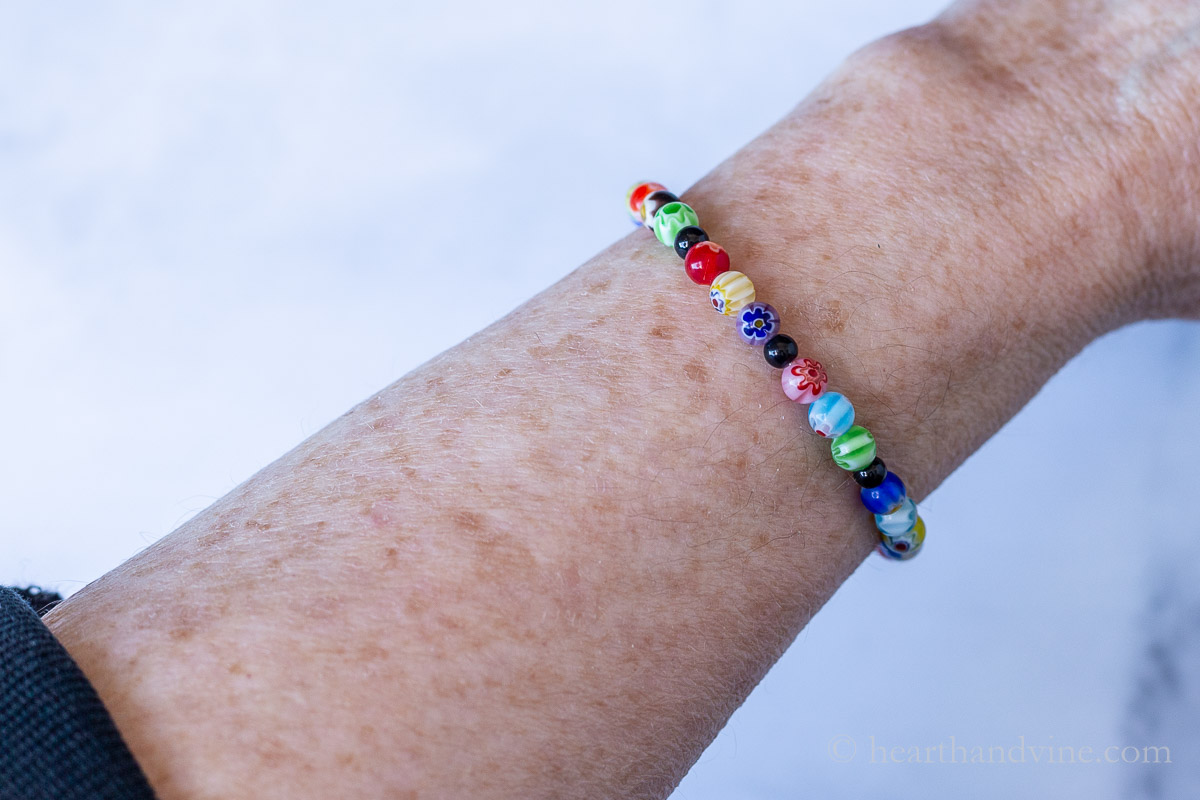
Step 2. Next, create a pattern when threading your beads or use all the same bead. The choice is yours.
Step 3. Cut the bracelet to fit leaving just enough room for a final bead then add a little more glue at the end and attach the last bead.
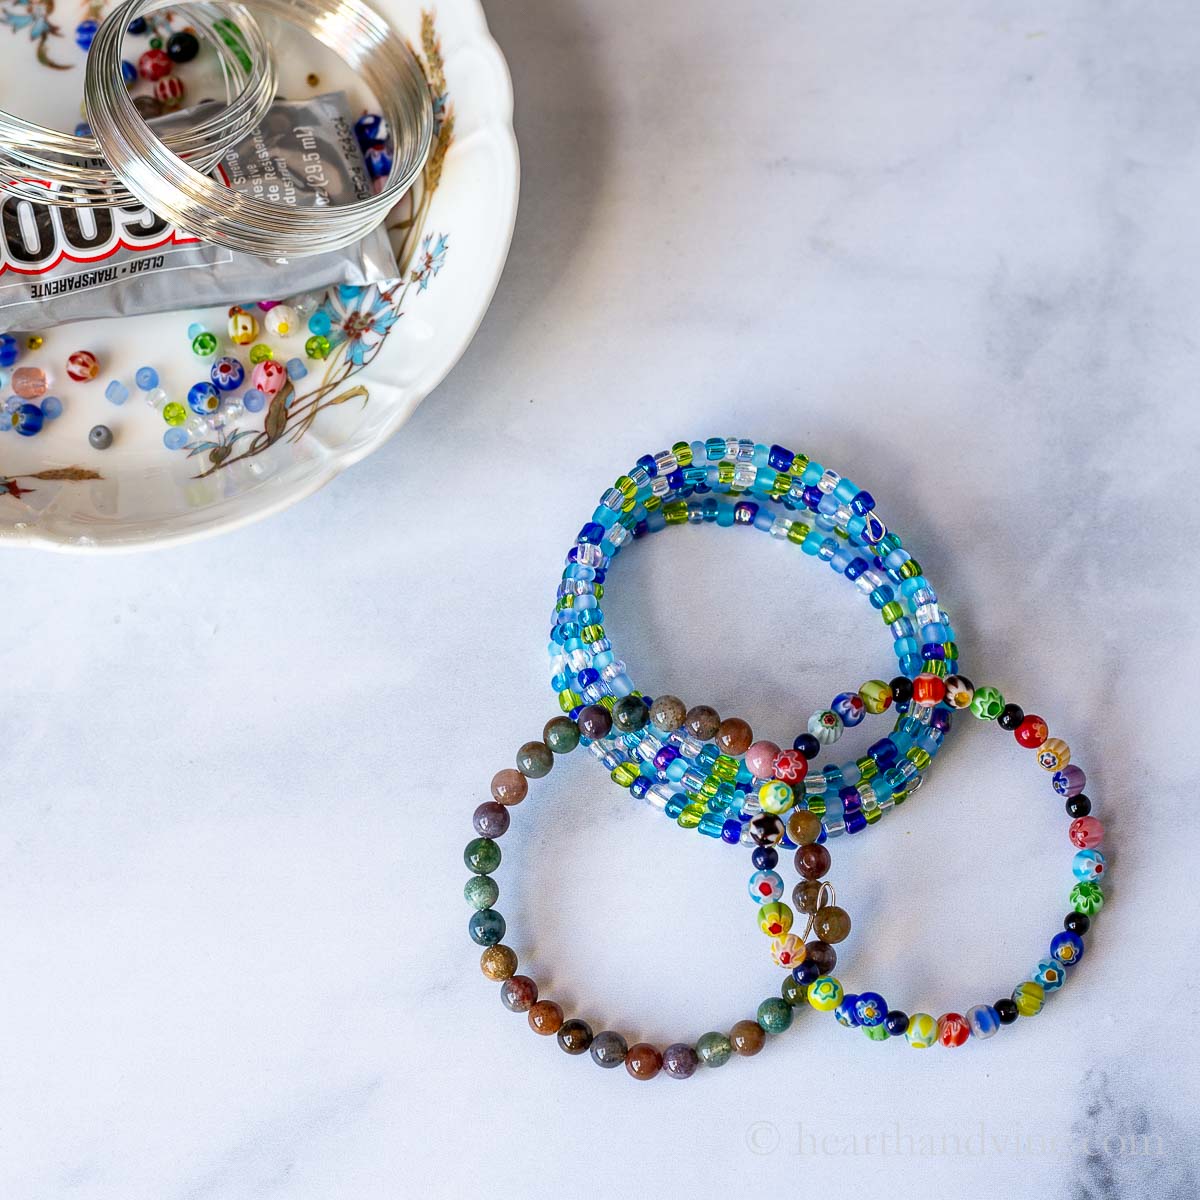
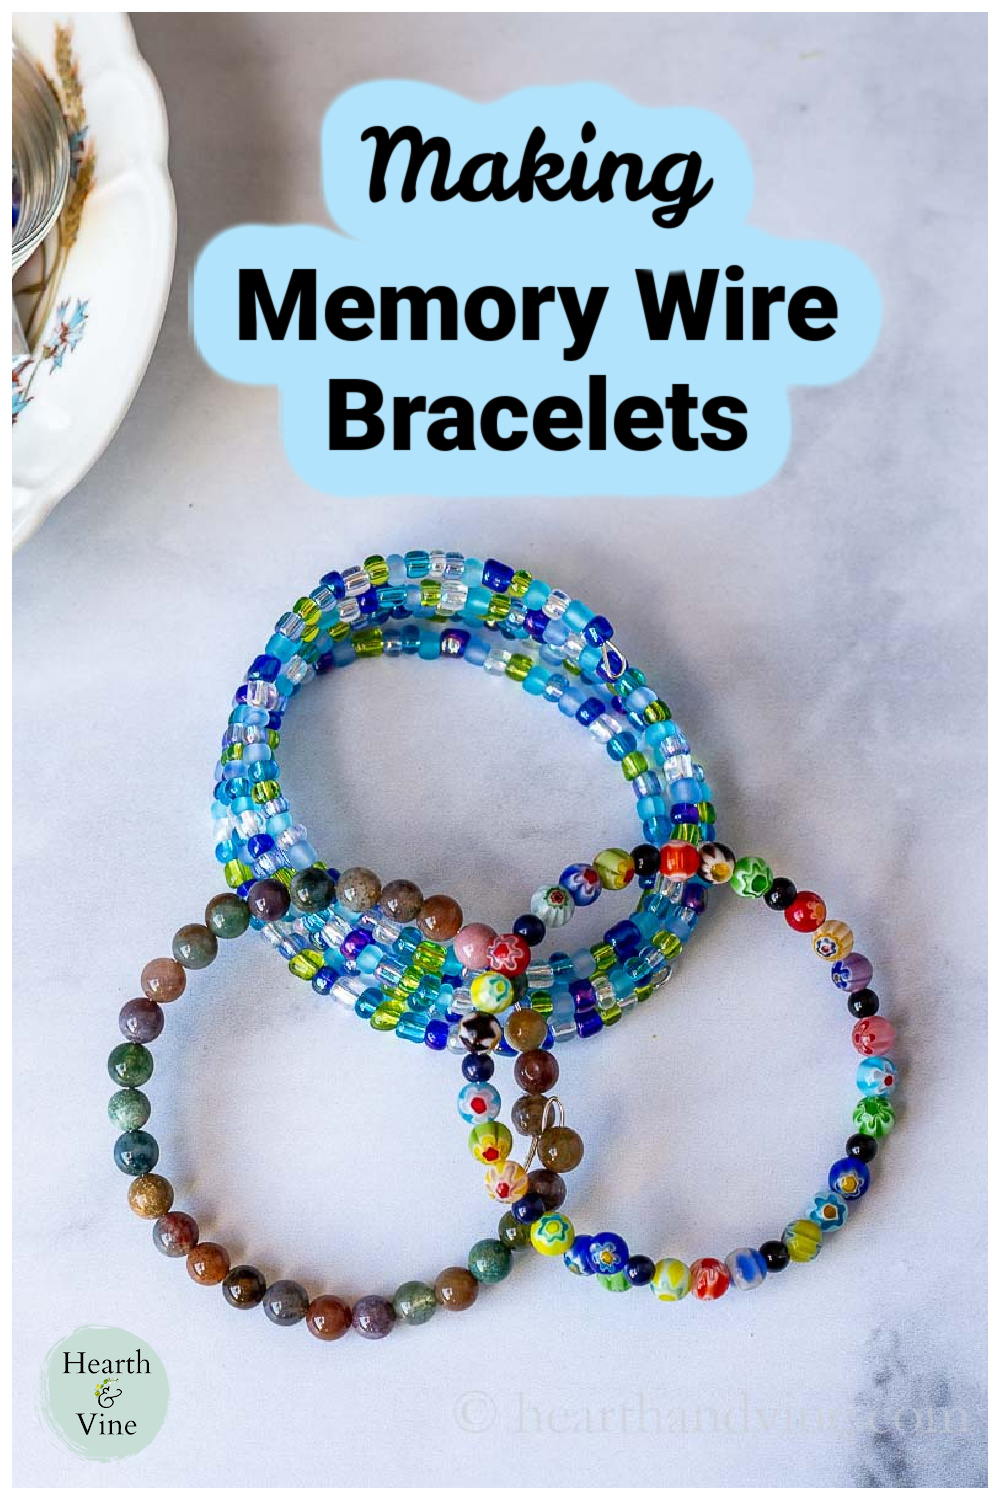
3. Make a Multiple Strand Memory Wire Bracelet
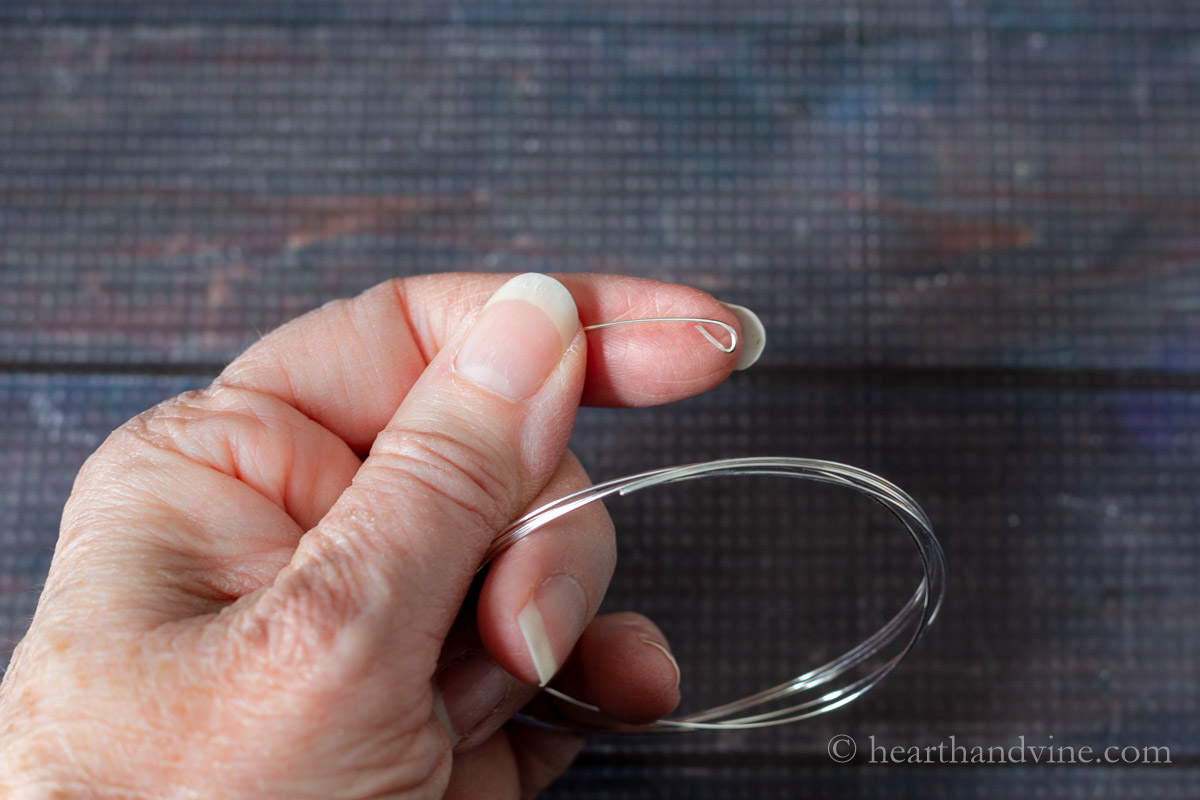
Step 1. Use the pliers to make a small loop on one end.
Step 2. Thread beads (I used seed beads here) onto the entire length of the memory wire coils.
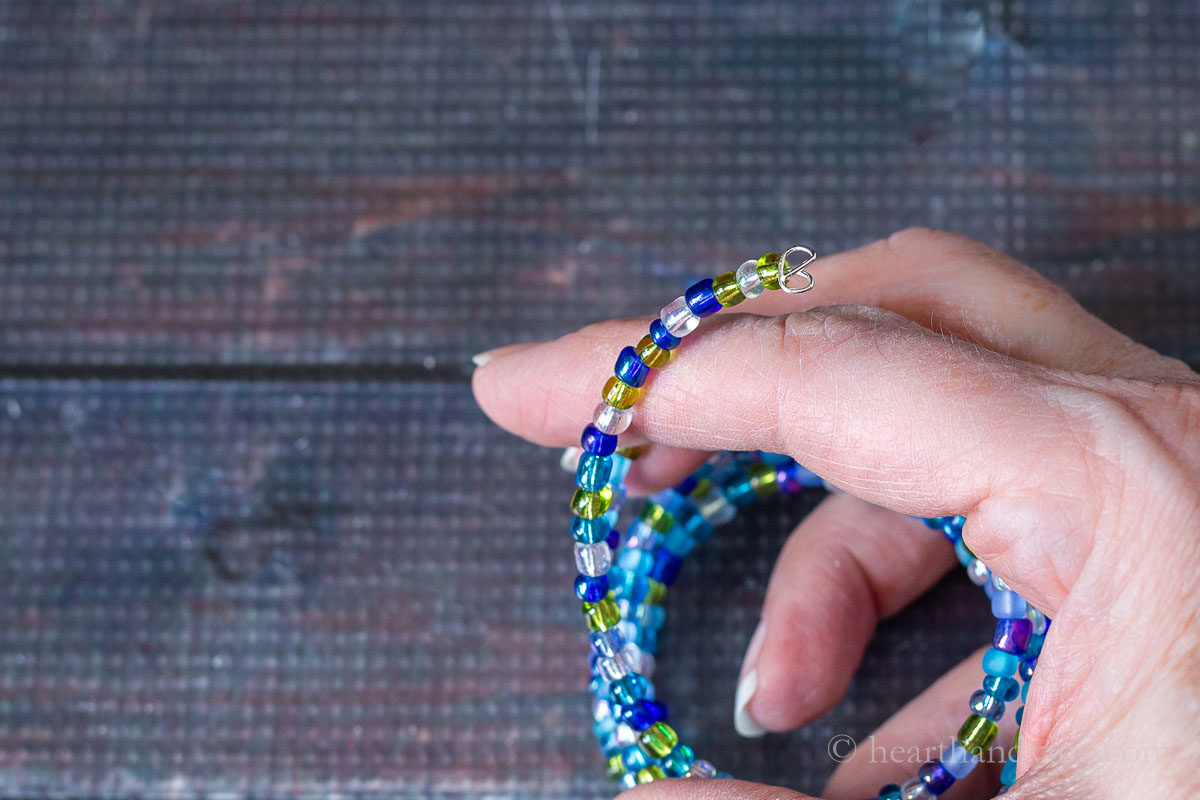
Step 3. At the end twist the wire around itself to create a fancy finished look.
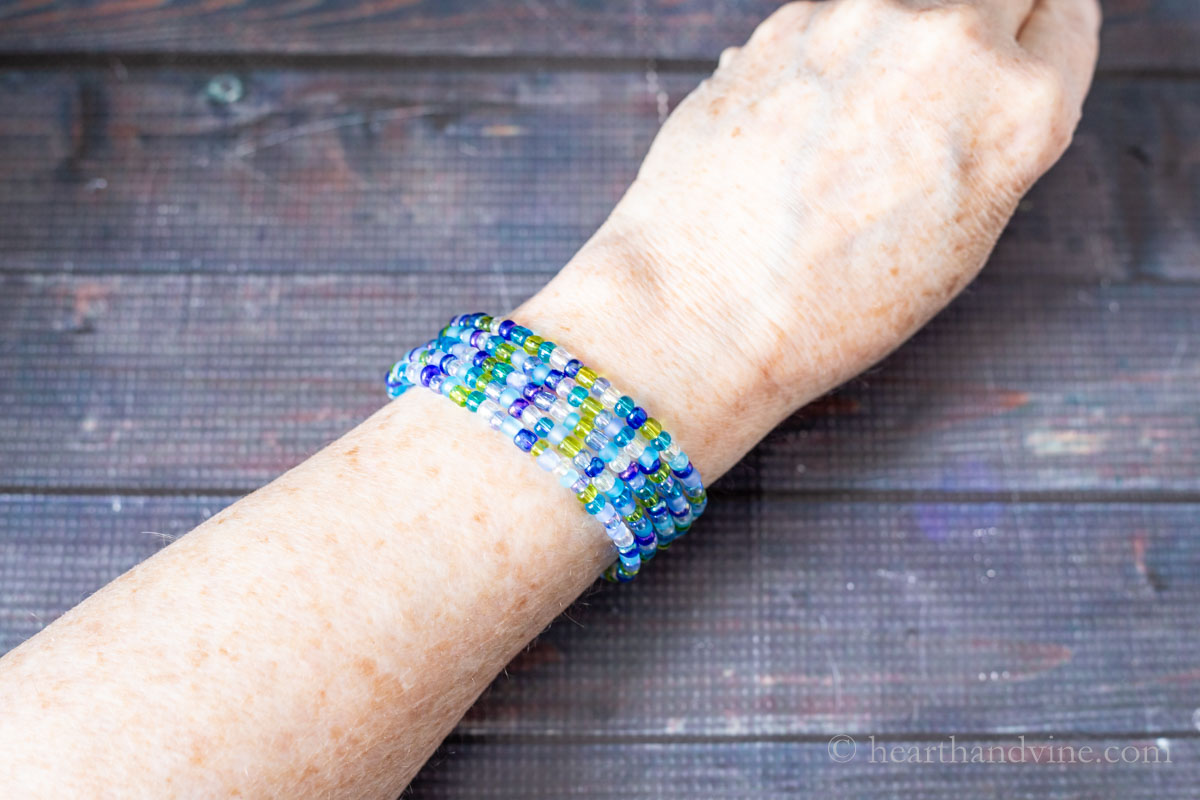
Note: the bracelets only need the ends to be finished so that the beads do not fall off. The "memory" part of the wire does all the work keeping it on your wrist.
I noticed that some people add a little charm to the end of the wire. It's not necessary but it adds something a little extra to the piece.
I had a lot of fun creating these bracelets and thought that they turned out really nice. I can see why someone would want to make and sell these at a craft fair. Maybe that will be my next adventure.

More Bracelet Crafts

Making Memory Wire Bracelets
Equipment
Materials
- Memory Wire
- Beads
- E6000 Glue optional
Instructions
- Decide whether you want to make a single bracelet or cuff. Or a multi-strand memory bracelet.
- Use the inner portion of the needle nose pliers to cut enough wire a little longer than your wrist measurement or as long as you want for the multi-strand wire bracelet.
- Make a loop with the pliers at the end of the wire to keep the beads from falling off. Or place a small drop of glue and attach one bead to the end of the wire.
- If using glue wait until it dries. Otherwise, start adding beads to the wire. Create a pattern if you like or simply thread enough beads on the wire until you are almost at the end.
- Check the size on your wrist and use the pliers to cut and bend the end to close. Or cut to size and add another drop of glue to the end and add one last bead.
Leave a Reply