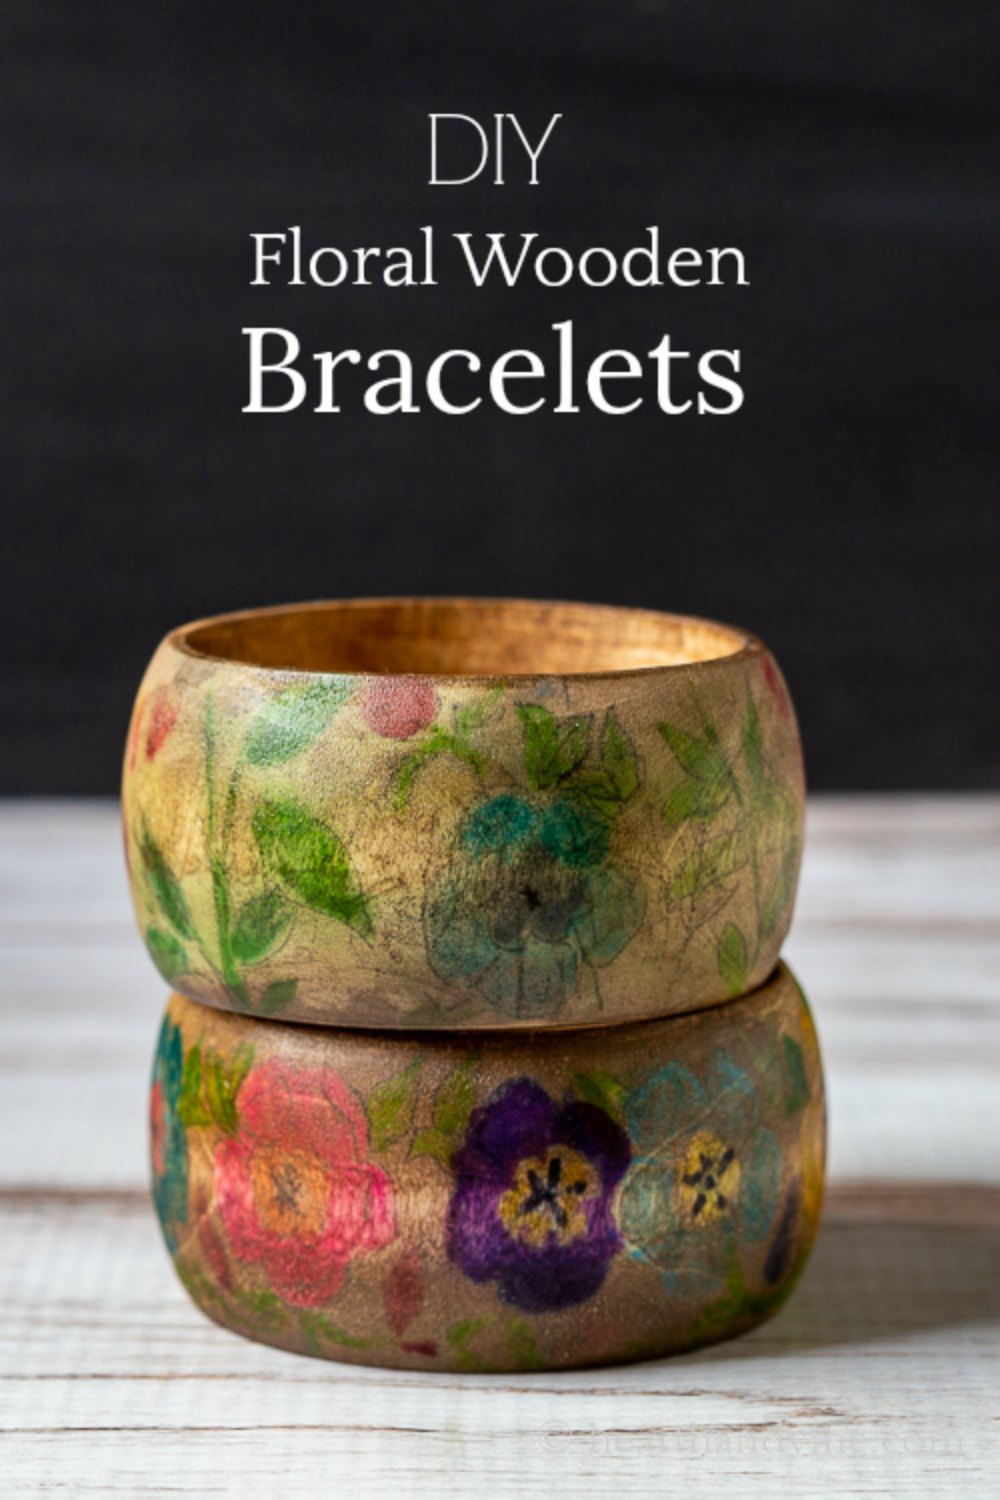
Creating a beautiful floral wooden bracelet can easily be done with coloring pages and markers for a one-of-a-kind piece of jewelry.
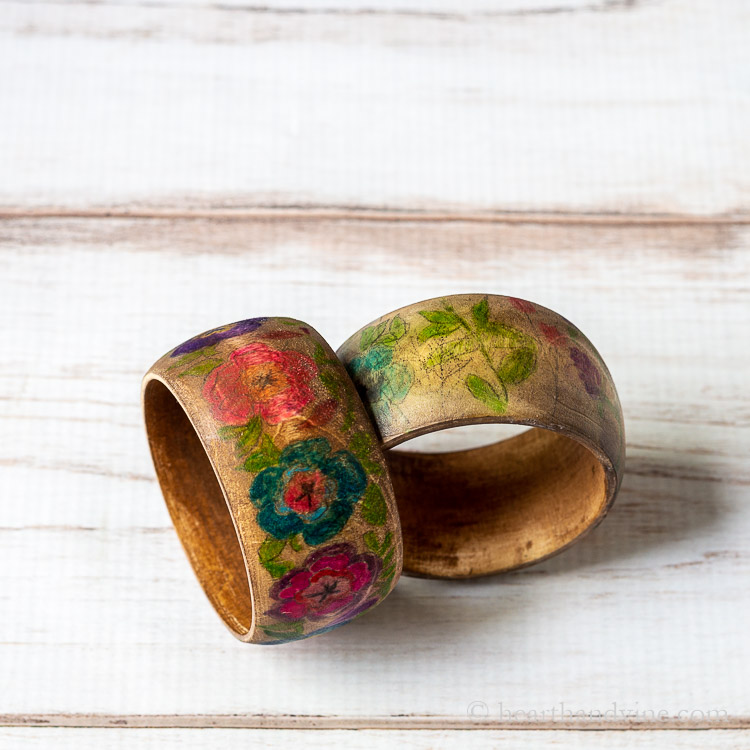
Here's a fun craft that makes a nice gift at any time of year. Using adult coloring graphics that traced onto raw wood bracelets, creating a beautiful floral effect.
This post contains some affiliate links (that means if you make a purchase after clicking a link, there’s no additional cost to you, but I will earn a very small commission. ) i.e. as an Amazon Associate, I earn from qualifying purchases. Click here to read my full disclosure policy.
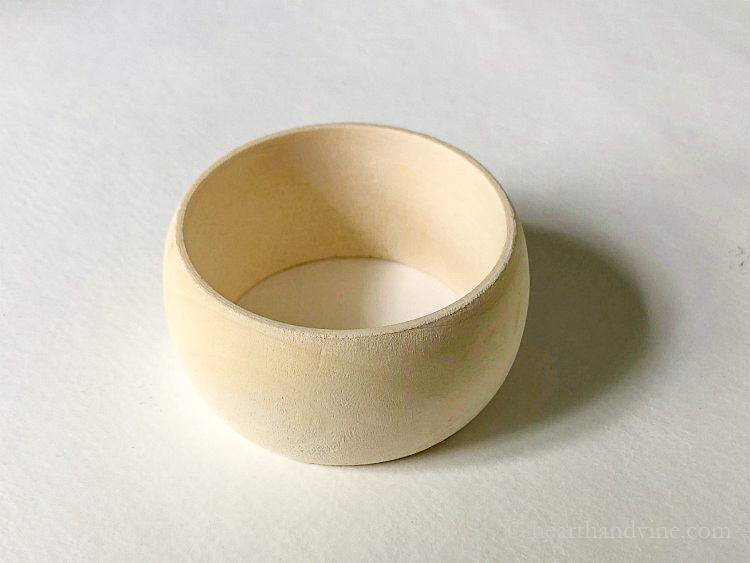
How to Make a Floral Wooden Bracelet
Supplies
Wooden Bracelet
Colored Markers
Carbon Paper
Floral Graphic (see below)
Pencil
Stain or Antique Wax (optional)
Polyacrylic spray or liquid
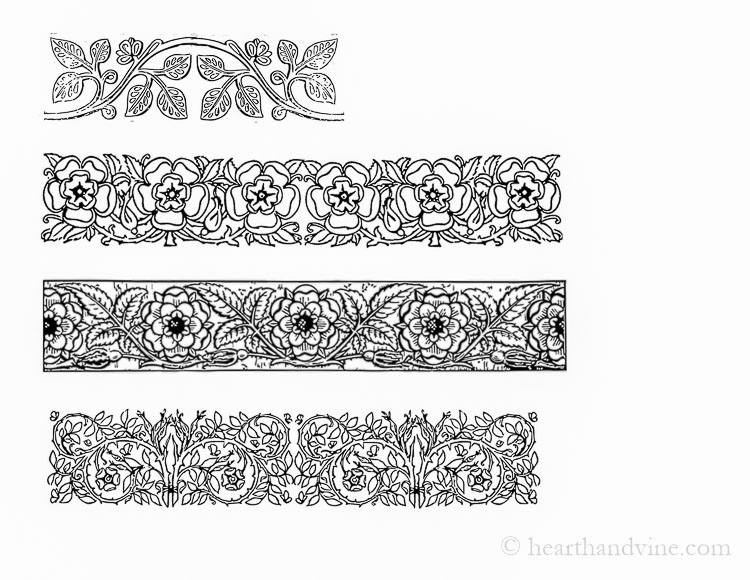
Print out a graphic. You can print out one of the flower strips here as shown above.
You can also print out some of my other coloring pages found in my Adult Coloring Page Bags or my Adult Coloring Page Journals.
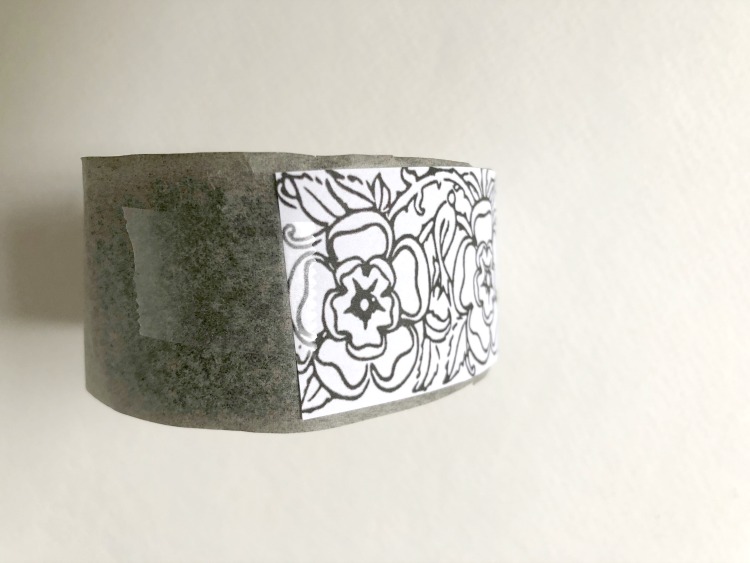
Use a piece of carbon paper placed on the bracelet topped with the floral graphic and trace the pattern on to the wood with a pencil.
I also tried stencils and rubbing pencil lead on the back of the graphic but neither of those options worked as well at the carbon paper.
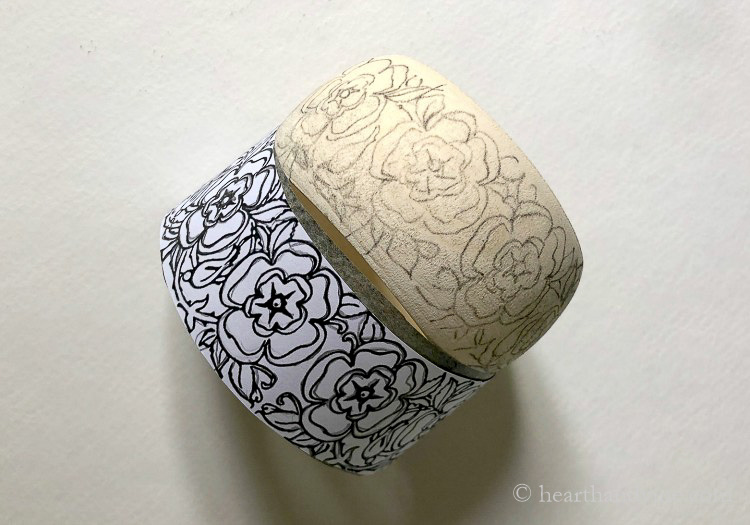
Then enjoy coloring in the flowers and leaves with colored markers. You could also use colored pencils, sharpies or acrylic paints. I used regular colored markers because I have a set of 100 markers so there were many color variations to choose from.
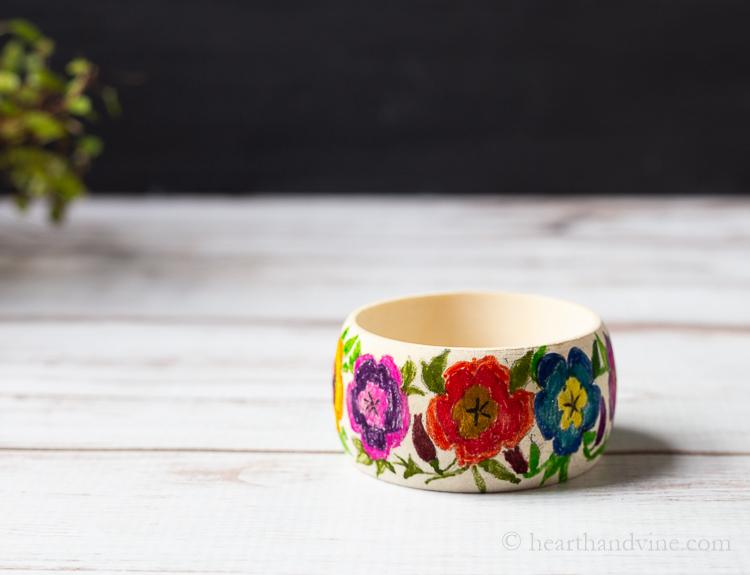
At this point, you can protect the finish with a poly spray or you may want to add a bit of stain or antiquing wax to darken the entire piece.
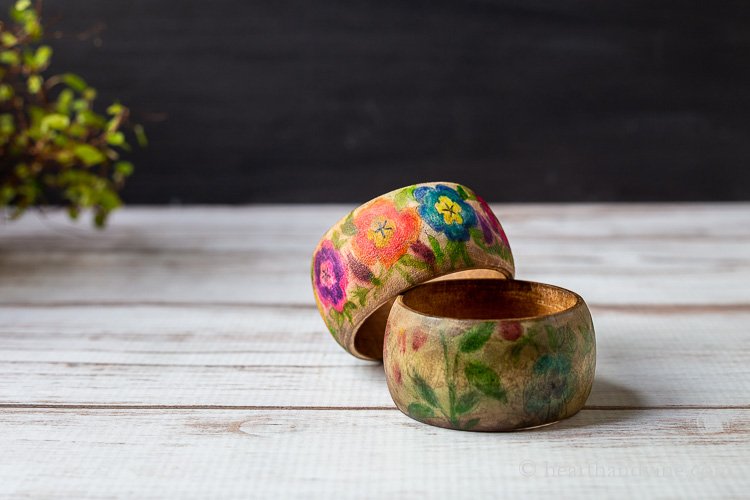
That is exactly what I did. I really like the effect. To me the antiquing gave the piece a more finished look.
Follow with a protective spray or paint on some poly acrylic, just in case you get caught in the rain with your pretty bracelets.
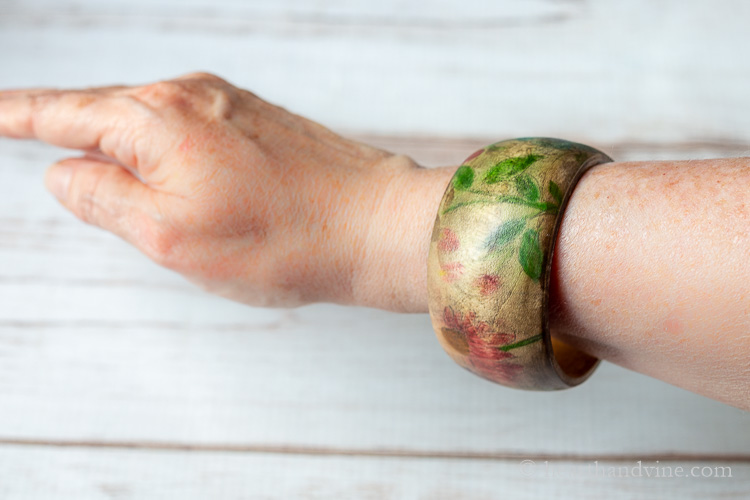
Such a pretty little bangle for the flower lover in your life or maybe just for yourself.

More Accessory DIYs:
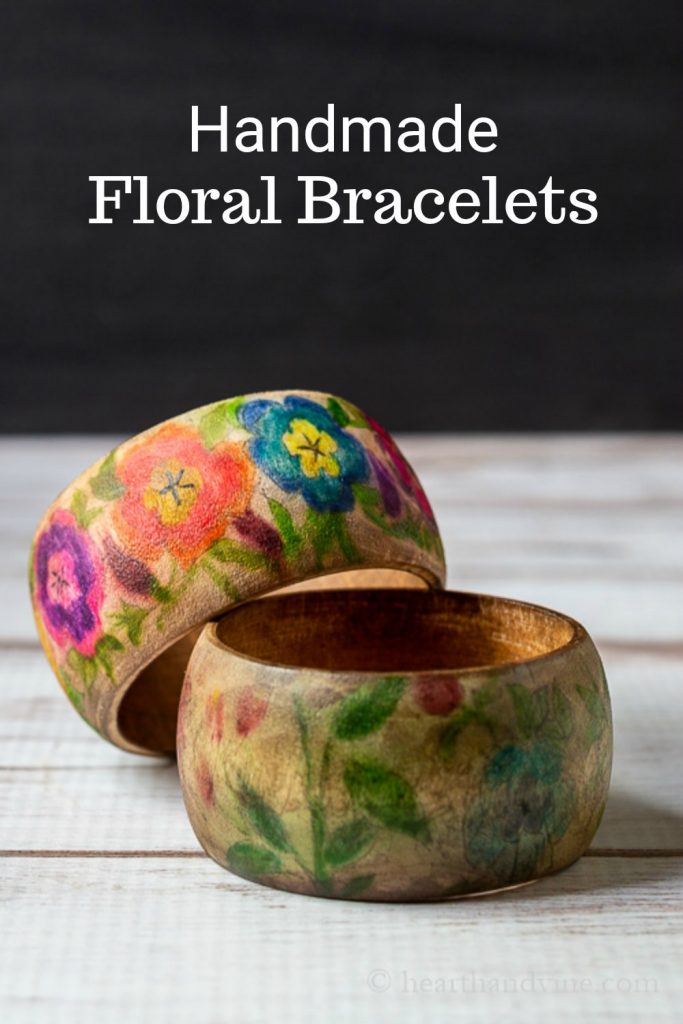
Floral Wooden Bracelet - An Anytime Easy Craft
Equipment
Materials
- Wooden Bracelet
- Colored Markers
- Carbon Paper
- Floral Graphic
- Pencil
- Stain or Antique Wax optional
- Polyacrylic spray or liquid
Instructions
- Print out one of the flower strips here.
- Use a piece of carbon paper placed on the bracelet with the floral graphic.
- Trace the pattern on to the wood with a pencil.
- Color in the flowers and leaves with colored markers.
- Follow with a protective spray or paint on some poly acrylic.




Rachelle
Thanks, Patti, I will email the post when it's out
Rachelle
Rachelle
Patti, such a great idea, and one I have never seen before!
I would love to feature it with a picture and a link back to your site in one of my upcoming posts in July.
Please let me know if you are comfortable with this.
Take care,
Rachelle
Patti Estep
Thanks Rachelle. I'm so glad you like this project and of course, you may use an image on your site with a link back to the original post.
Carole West
This is such a cool idea Patti and outside the box creativity which is right up my road. Smaller rings with this same concept would also make neat napkin ring holders.
Hugs,
Carole
Patti Estep
Thanks Carole, and you are so right. This would be great for wooden napkin rings too.