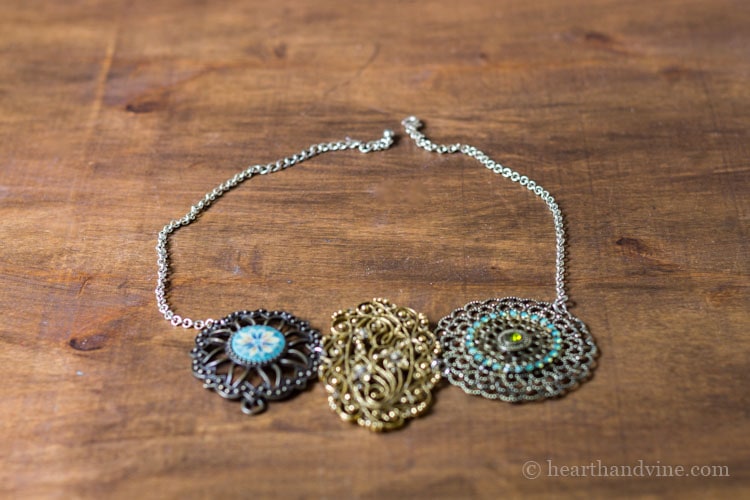
A statement necklace from vintage jewelry, is a super fun way to use old brooches, and pretty items that you might find in a thrift or antique store.
this post contains affiliate links for your convenience. Click here to read my full disclosure policy
The next time you go to an estate sale, flea market, antique or thrift store, take a moment to check out the jewelry. Old brooches, earrings and necklaces can easily be put together to make a great statement necklace for your next big event, or a wonderful gift for a friend.
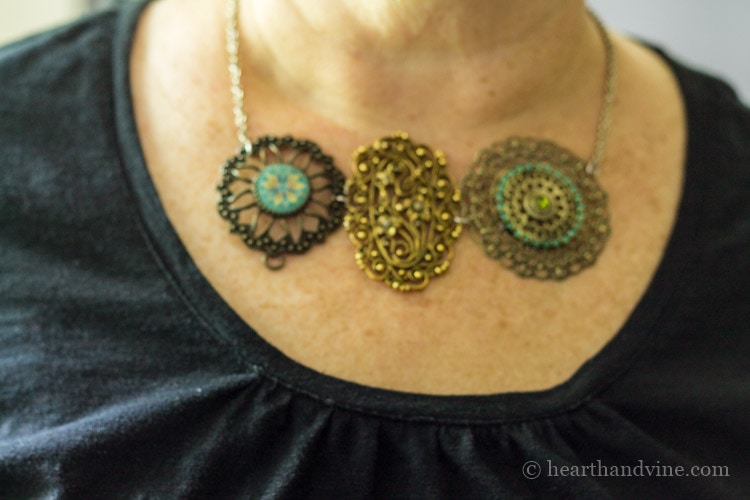
Make Your Own Statement Necklace from Vintage Jewelry
I have been admiring statement necklaces on the market, and while I was antiquing with my girlfriends I got the idea to try and make one. Once you find enough pieces that complement each other, you can begin arranging and creating your necklace.
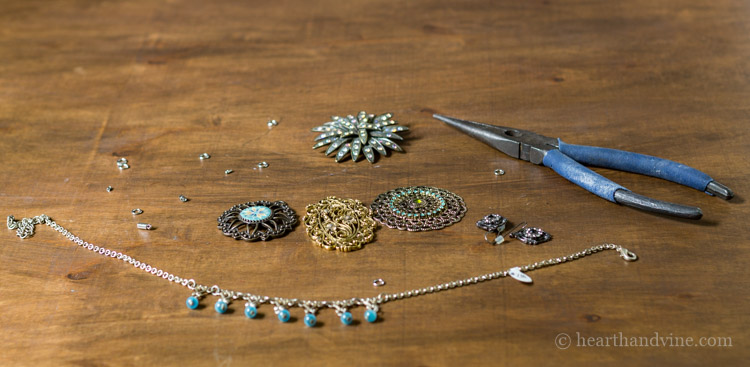
Materials
All you really need is your vintage or thrift purchases, a pair of needle nose pliers and some jewelry jump rings
 . I used silver jump rings, because that is what I had on hand, but you can buy them in gold and other metal tones.
If you don't have or find a chain to use for this necklace, you can purchase one online or at a craft store..
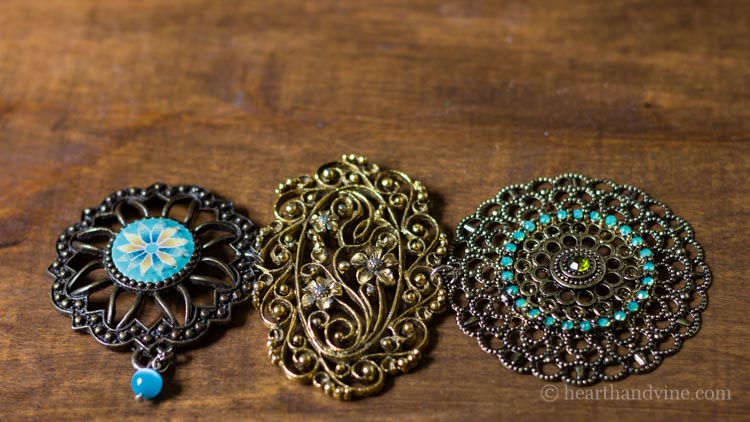
Lay out your pieces the way you want them first. For this one, I thought I needed something a little extra for the piece on the left, so I added the little blue bead that came from the necklace chain.
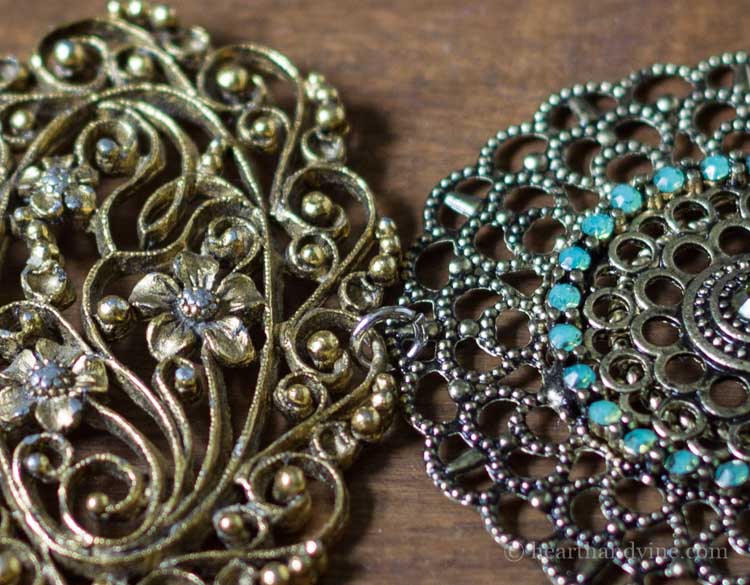
Here's a close up look at the jump ring connecting the pieces together. Of course if you don't have an item that is open, this method will not work. You have the option of using a strong glue like E6000 . I have not tried this but have read that it works well with jewelry repair. In addition, if you are using pins or brooches, try utilizing the pin itself to weave through the chain or the other pieces.
In the end I decided against the blue bead. I'm still thinking about coloring the middle piece with a little paint or Rub n Buff. I think silver or a darker color would make the whole necklace a little more cohesive. I've used the Rub n Buff on mirror frames before and it's so easy and looks great.
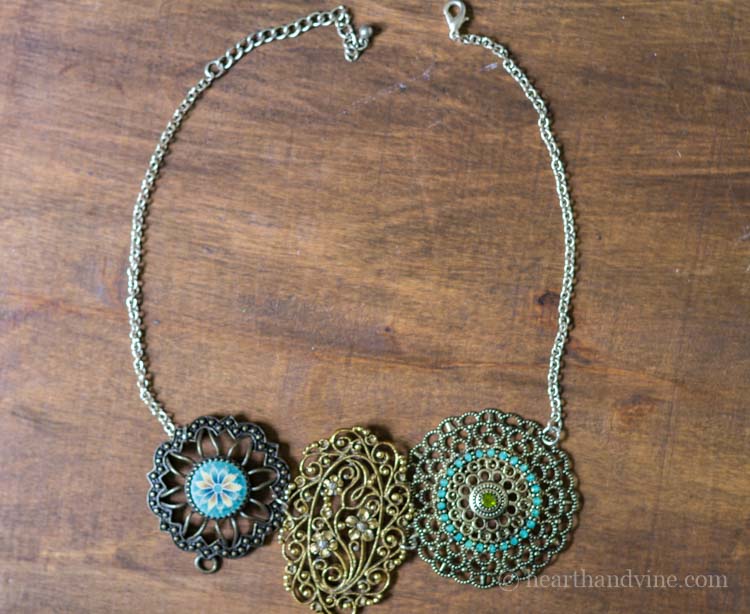
The possibilities are endless and heck, you probably have some great pieces laying around the house. I know the gold piece for mine came off of a mirror, and how many single earrings do you have that could be put to good use.
Though this is a very simple statement necklace, I hope this tutorial gives you an idea of what you can do with jewelry finds and old pieces, to make a new beautiful necklace of your own.
You May Also Like:
KarenDawn
More ideas:
--If you are sure you don’t want to add anything to the piece where you previously placed the blue bead, you can clip off the hole. File down any rough edges and you’ll never know it was there.
--Also, since tassels are popular, you could make tassels from leftover chain and add them to the bottom of any suitable pieces.
Oh the possibilities!
🙂
Patti Estep
Great ideas. Thanks Karen!
Karen
What a fabulous and creative idea, Patti! I love this - and you're spot on: the options are wide open when you shop thrift or antique shops. I'm definitely expanding my vision when I shop to include this project! Thanks for sharing and inspiring.
Patti Estep
Hi Karen,
I'm so glad you like this one. I can totally see you creating something beautiful with antique and thrifted pieces. I always like to have a list of ideas when I go to flea markets and antiquing with the girls. Jewelry is now on it.
Thanks for stopping by,
Patti