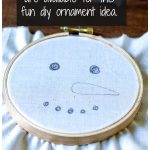
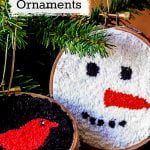
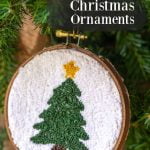
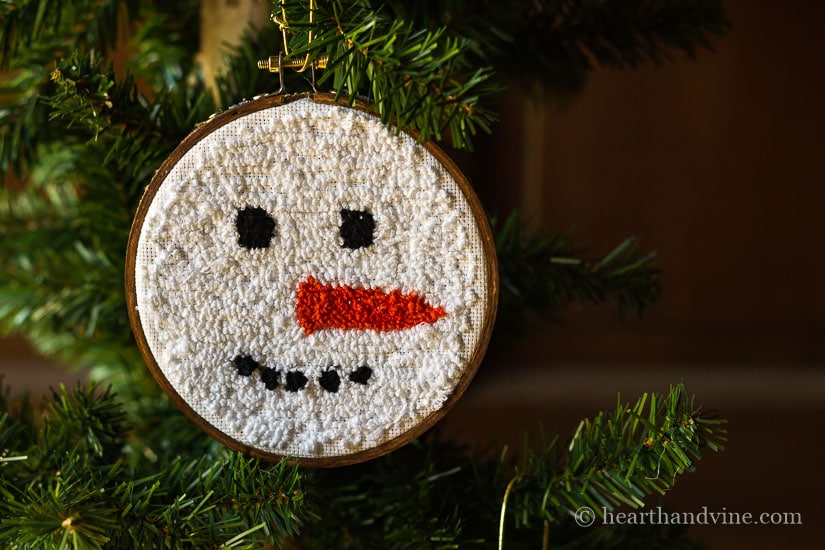
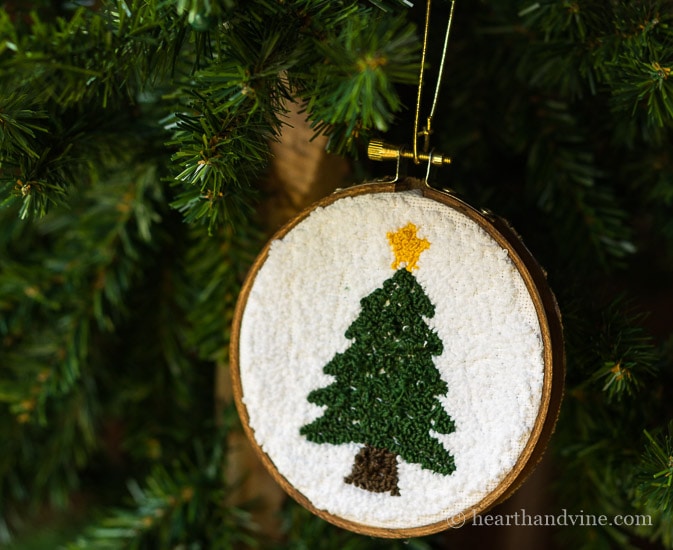
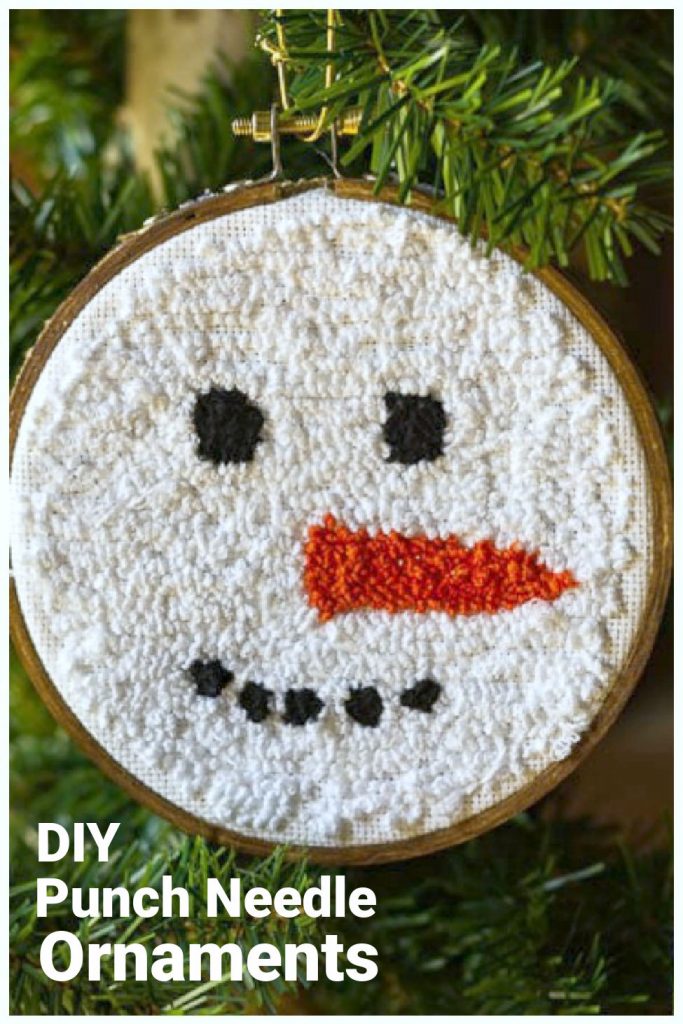
These punch ornaments are a great way to get started with punch needlework using a basic holiday image that you can hang right on the tree.
This year I tried my hand and punch needle embroidery to make these country casual punch ornaments for the tree. If you have experienced working with punch needles then these will be a breeze. However, if it is new to you as it was for me, it may take a little practice and lots of patience. Still, I like the overall effect and plan on creating something larger in the near future.
This post contains some affiliate links (that means if you make a purchase after clicking a link, there's no additional cost to you, but I will earn a very small commission ) i.e. as an Amazon Associate, I earn from qualifying purchases. Click here to read my full disclosure policy.
How to Make Punch Ornaments
Supplies
- Punch Needle

- Embroidery thread
- Embroidery Hoops
- Needle Punch Fabric
- Hot glue
- Extra fabric for the backing
- Cording for hanging


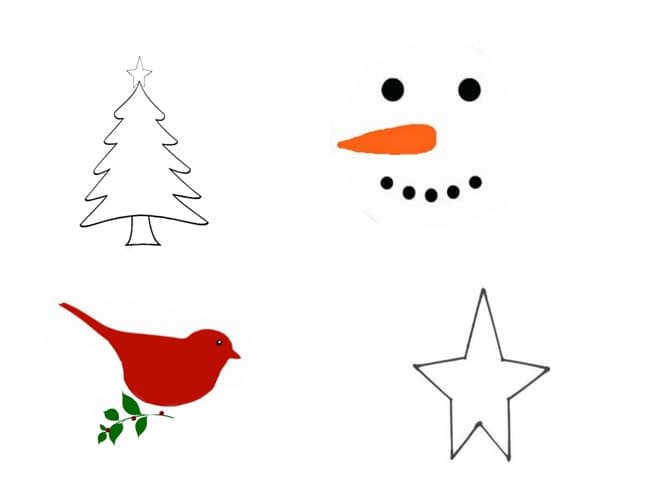
Above is a handy template that you can print out and use to trace a template onto your fabric. I have them in reverse because you are supposed to punch on the backside of your image.
However, some people like the smoother front side for their finished product. And, some like a mix of both to show dimension.
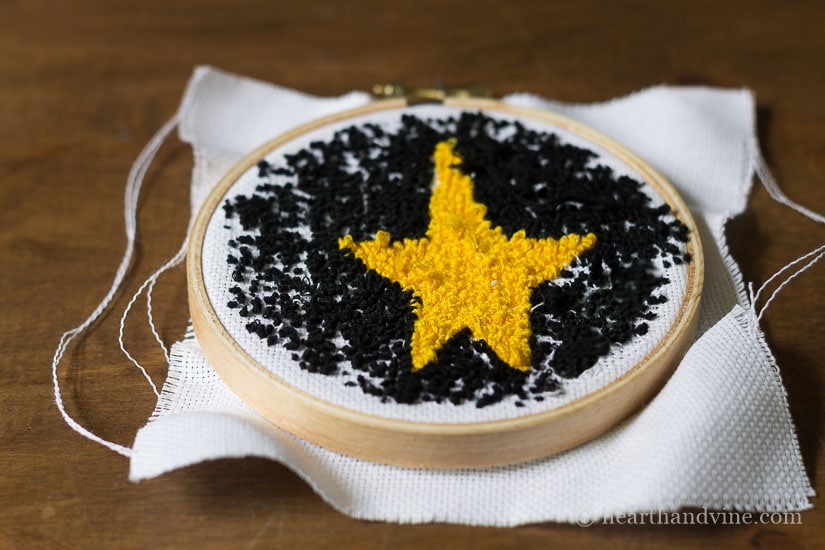
Cut the fabric slightly larger than the hoop and draw the image on the backside. This is where you do the needle punching.
As you can see the first one I created was a little lacking. The needle comes with instructions and there are tons of YouTube videos that show you how to punch. It just takes practice.
Be the first to receive new posts and get access to our Subscribers Only Page.
Once you have finished with the needlework you can cut away the extra fabric, leaving about 1/2 inch all around. Then hot glue the edges onto the inside of the hoop.
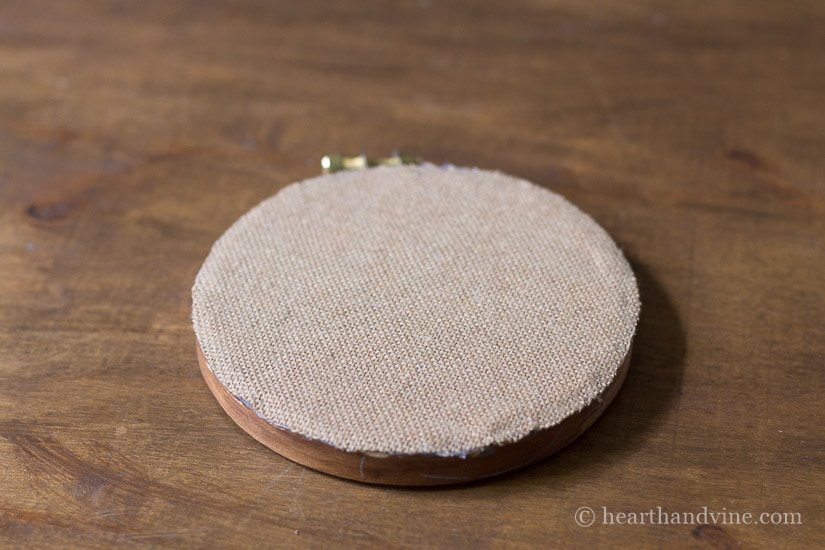
Cut out a piece of complimentary fabric to cover the back.
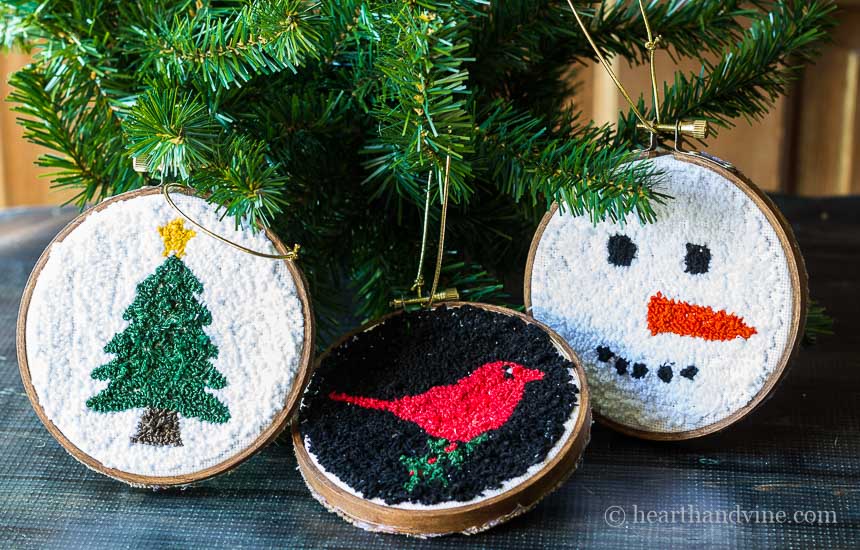
Attach your gold cord to the embroidery hoop screw, and hang on the tree for all to see.
I also stained the hoops to give them a little-weathered feel, but that is totally optional. I think black or white chalk paint would look great too.
The punch needle art was so fun I tried my hand at a punch needle rug hooking pillow that is very similar and had a great result.
The best part of this project; It kept my hands busy in the evening, so I was less likely to snack. 🙂

P.S. You may also enjoy making these Recycled Sweater Ornaments or this Kissing Ball Ornament. See them and much more on my DIY Projects Page.

How to Make Punch Ornaments
Equipment
- Punch Needle tool
- Scissors
Materials
- Embroidery thread
- Embroidery Hoops
- Needle Punch Fabric
- Hot glue
- Extra fabric for the backing
- Cording for hanging
Instructions
- Use the above template to print out and trace the image you want onto the backside of the punch needle fabric.
- Cut the fabric slightly larger than the hoop.
- Secure the image in the center of the hoop making it as tight as possible for needle punching.
- Choose the colors of the embroidery thread that you want to use.
- Follow the directions on the punch needle to start filling in the image.
- Once you finished punching you can cut away any excess fabric, leaving 2 inches around.
- Hot glue the edges of the fabric inside of the hoop.
- Then cut out a piece of complementary fabric to cover the back and glue it into place.
- Add a piece of gold cording to the hoop screw and hang on the tree.
Margaret Gallagher
My daughter bought me a punch needle kit for my birthday. I loved it. I do alot of knitting and crochet but I get tired easily. The punch needling was so good. I must get myself some hoops to do those wee Christmas ones you did. My grandchildren would live them.
Patti Estep
That's so great to hear. Have fun with your grandchildren Margaret.
Julie
I’m very new to this and have been gathering supplies and made a first attempt a few nights ago unsuccessfully. I’ve read that the yarn/thread stays in place once you remove it from your hoop because the weave isn’t stretched anymore so it tightens up around the yarn. How are you keeping the yarn from pulling out from the weave? I’m guessing if someone pulled on a thread it would begin to unravel, right? Still lots to learn and the craft stores near me haven’t even heard of punch needling.
Patti Estep
Julie, I had trouble getting started too. Yes it will unravel if pulled. Watch a few Youtube videos and just practice. Here's one that's pretty good but there are many.https://www.youtube.com/watch?v=hh5gTT8dByY
Katie Mansfield
Adorable. That is a craft I've never tried. The stained hoops are a great idea. Hopping over from Poofing the Pillows.
Susie
Love these, Patti. I've done embroidery for many years, but never heard of a punch needle. Now....I must have one! LOL... ~~ Susie from The Chelsea Project
Patti Estep
Hi Susie,
It was really fun to try and now I'm thinking about making a pillow cover or something more detailed to create. I hope you try it.