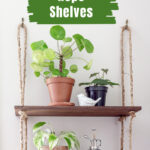
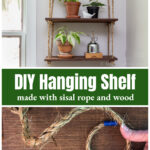
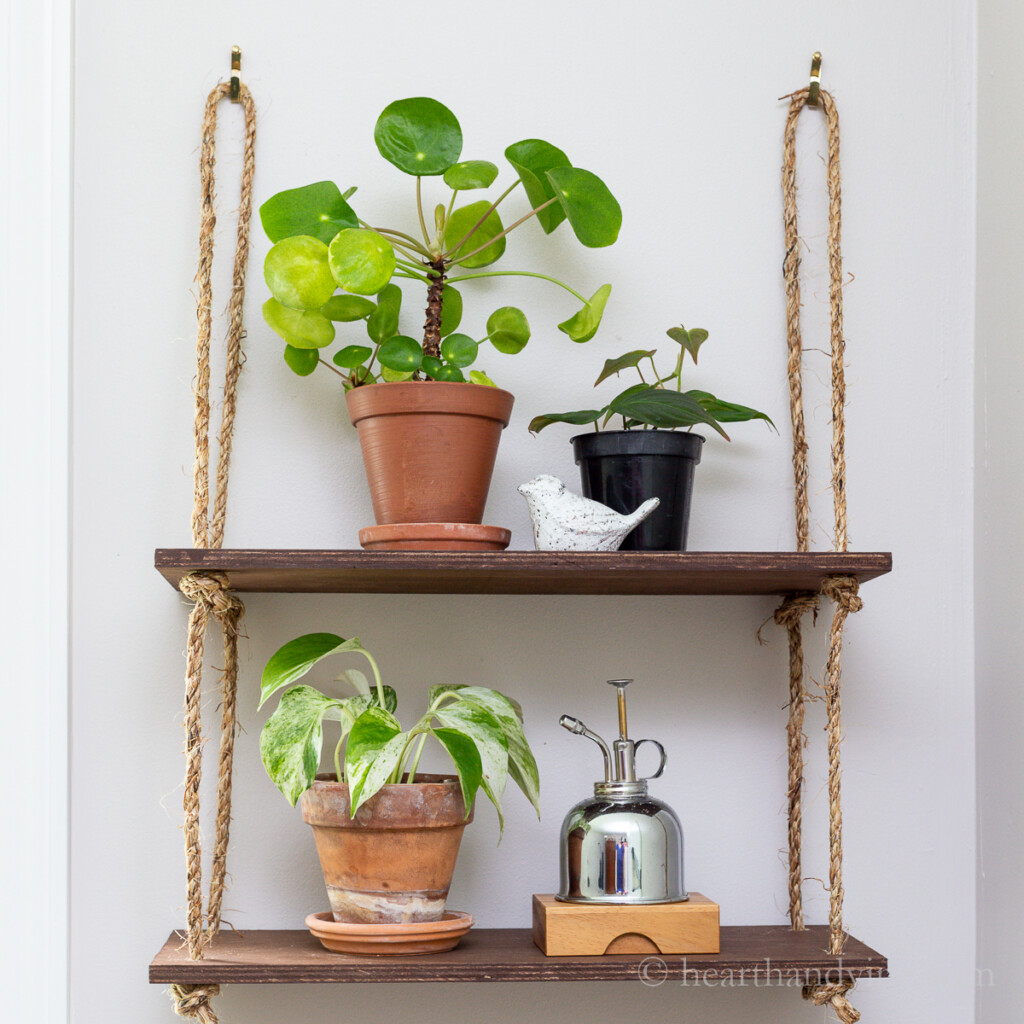
This DIY hanging shelf uses wooden pieces and rope to create a practical, rustic, updated decor statement. Just a few supplies and about an hour of your time are all you need.
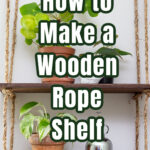
The look of natural wood and rope as a hanging shelf is something I have admired for a while now. Of course, you can buy these floating shelves online, but as it turns out, they are pretty easy to make too.
More Indoor Wood Projects: Wooden Boot Tray for the Foyer.....DIY Wood and Metal Shelves.....Wooden Centerpiece Box
This post contains some affiliate links (that means if you make a purchase after clicking a link, there's no additional cost to you, but I will earn a very small commission), i.e., as an Amazon Associate, I earn from qualifying purchases. Click here to read my full disclosure policy.
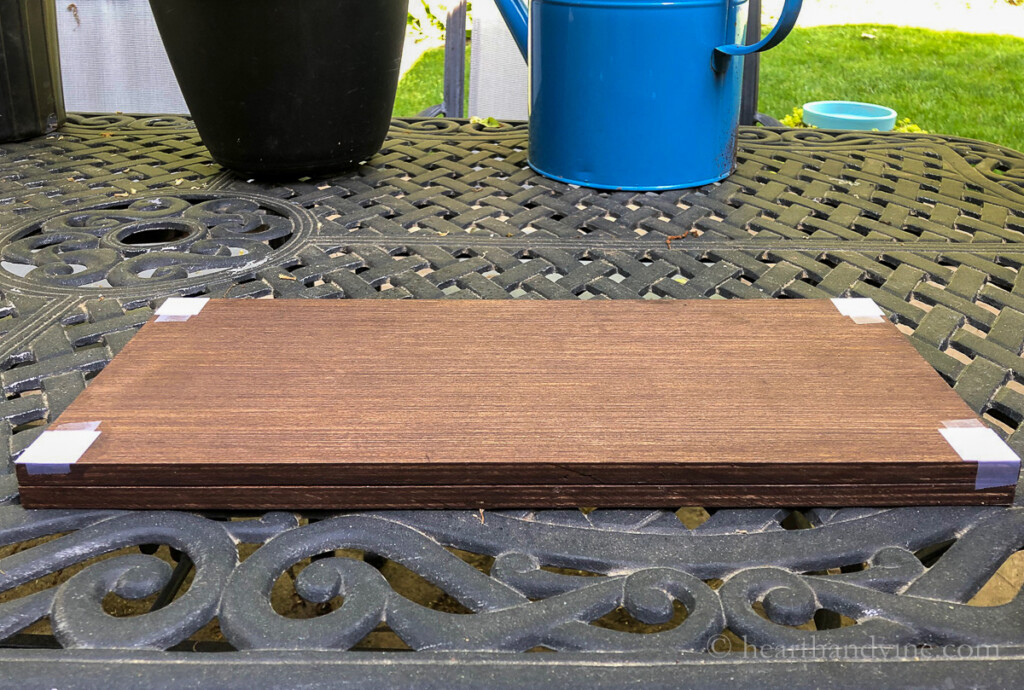
We had some decent looking scrap wood in the garage that was perfect for this project. I did stain it with Old Masters Gel Stain in walnut, though you could paint it or use any number of stains or just a clear coat. If you don't have any wood lying around, you can find something similar at your local big box or hardware store.
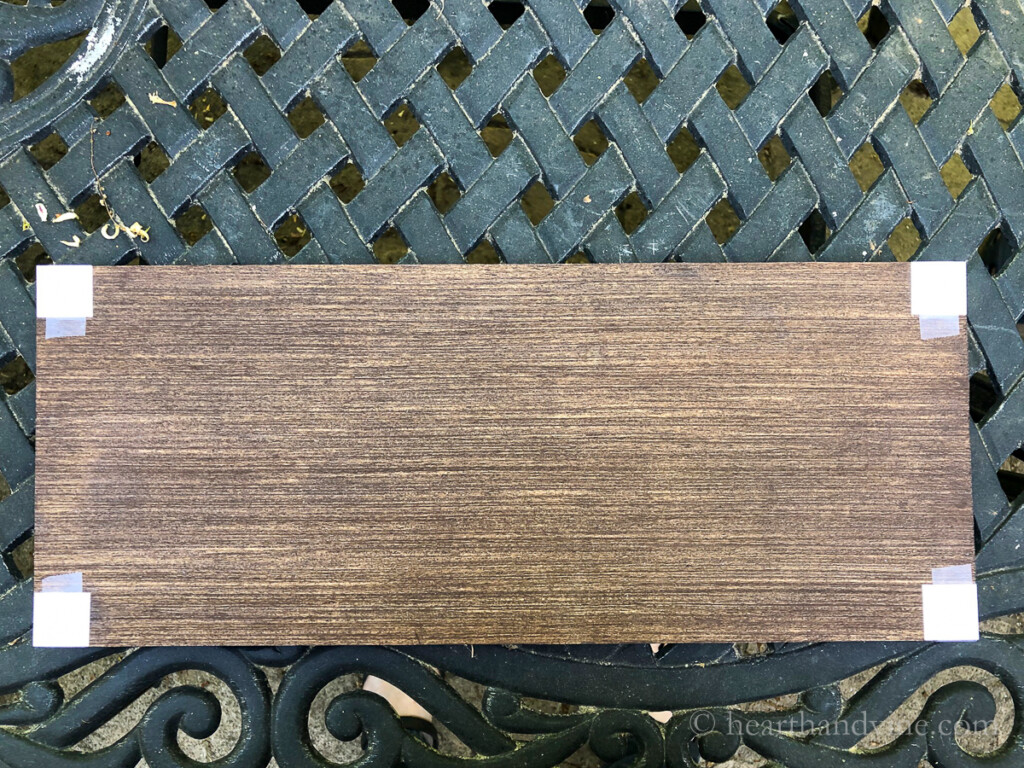
To make it easier to drill the holes in the right spot, I marked each corner with a 1-inch square of paper taped to the top and stacked the two boards on top of each other.
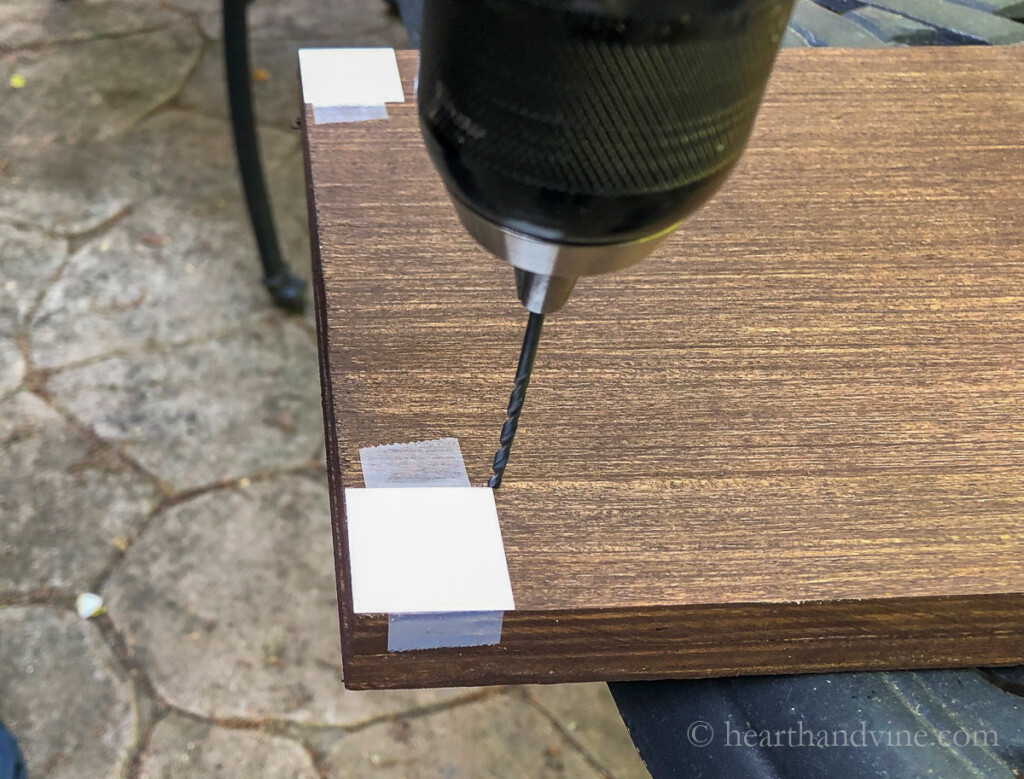
The rope is 3/8 inch thick, so you'll need a 3/8 drill bit. However, to make it even easier, start with a 1/8 drill bit and drill a small hole first. That way, when you drill the large holes, it will be much easier to go through both boards.
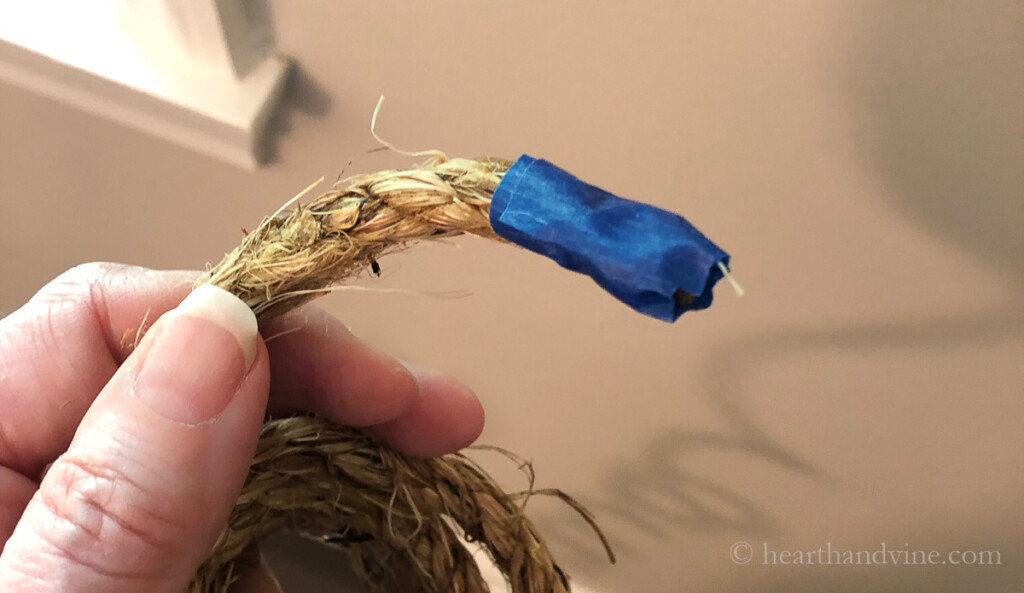
This rope is quick to fray and unravels, so once you cut it, you need to tape the ends. I used painter's tape, but any tape will work.
Decide on the distance you want your shelves to hang from the hooks and the distance between the two shelves. I used 8 inches as the distance between my shelves.
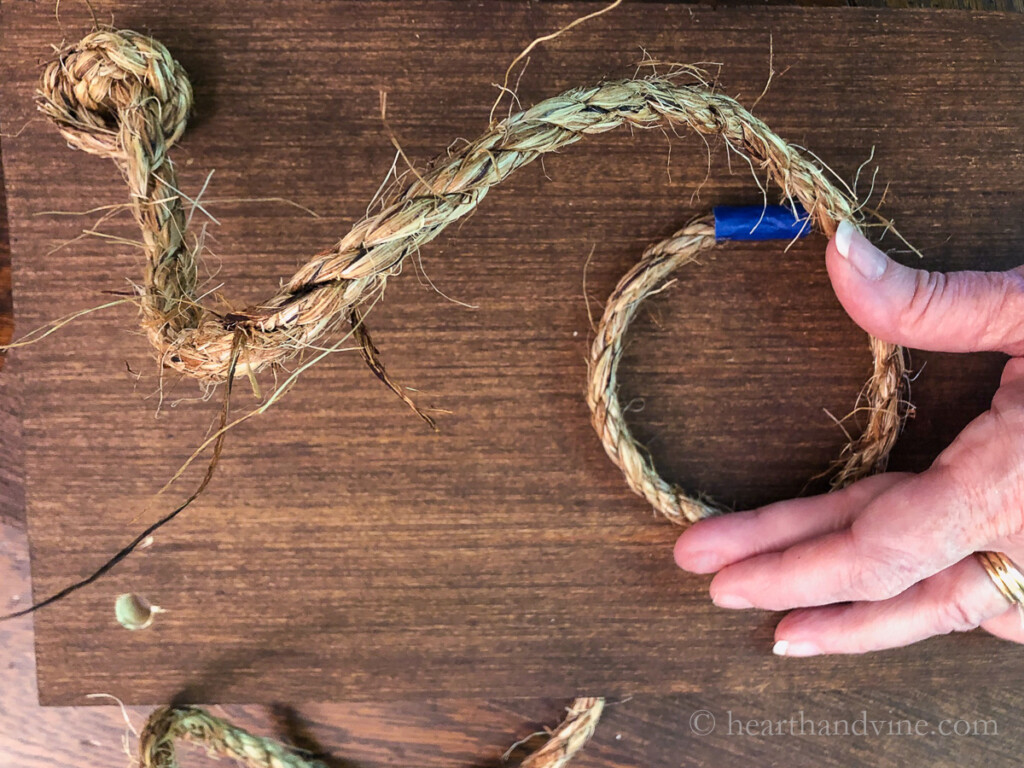
Also, when you cut the two lengths of rope, make sure that you give yourself way more than you need, at least an extra foot. This way, you will have plenty to work with and can cut away the extra rope when the shelves are complete.
How to Hang the Wood Rope Shelf
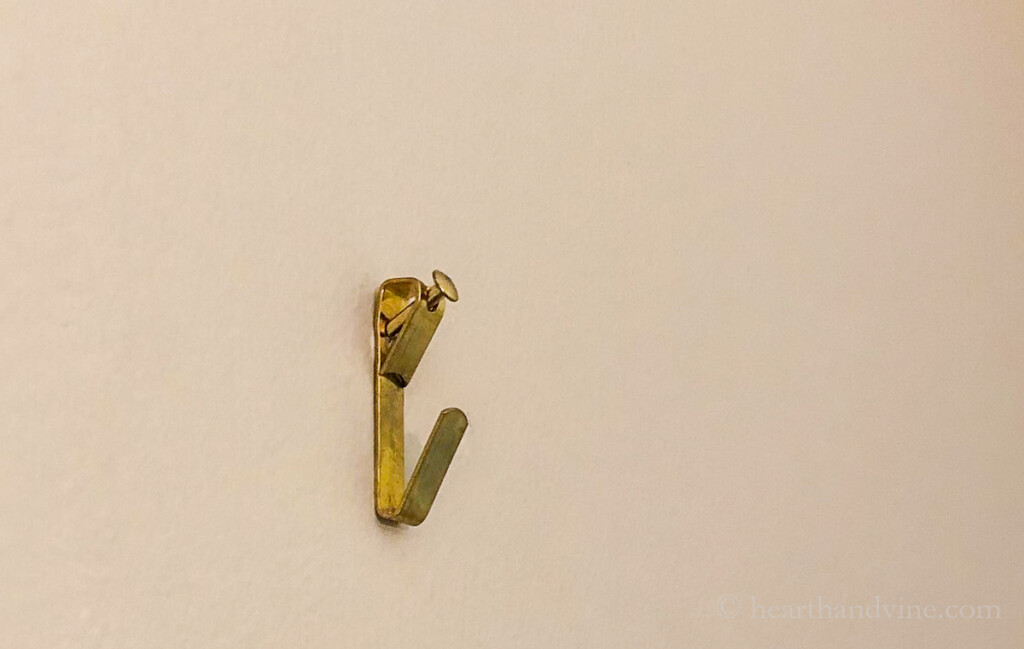
I used 10-pound picture hangers for this project. You can use other kinds of hooks, just be sure that they can hold a fair amount of weight so that they not only hold the shelves, but also anything you might place on them.
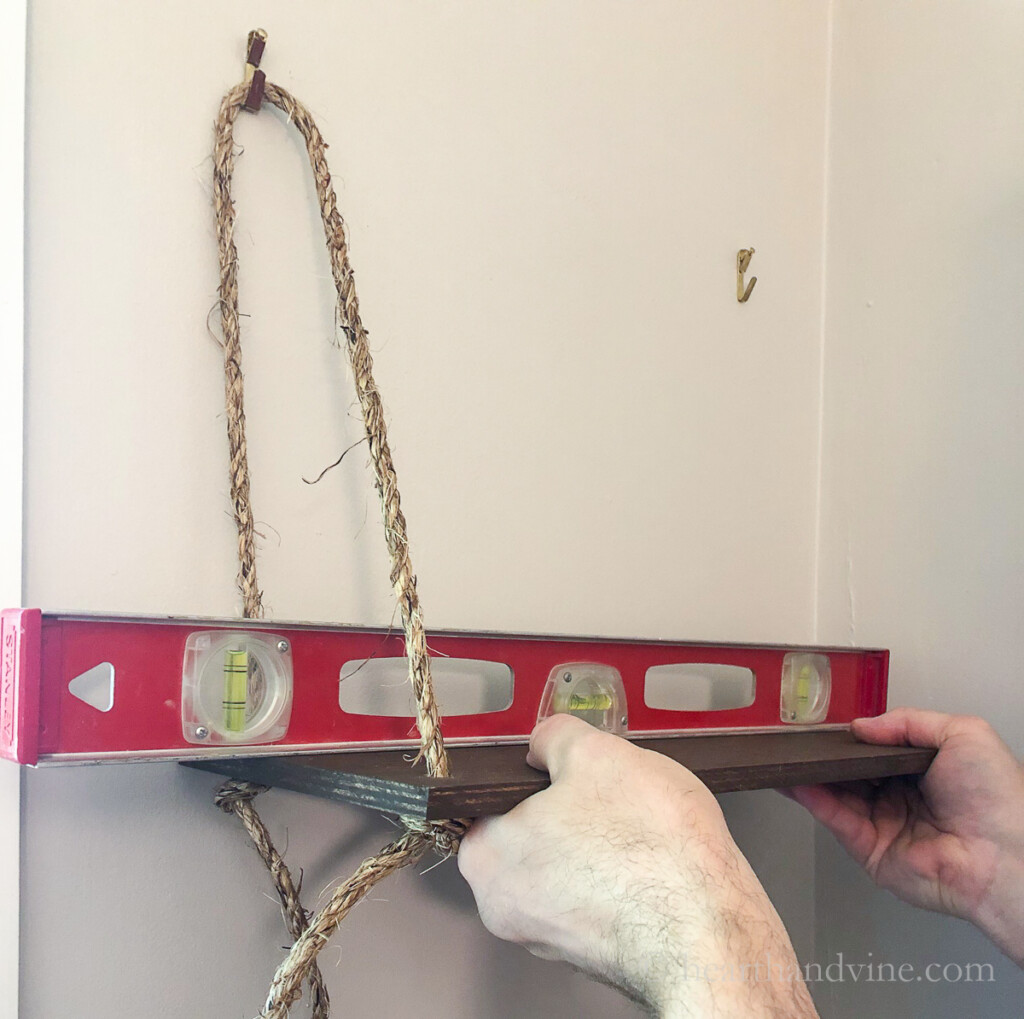
My husband helped me with this project, as he has done with so many. Those are his hairy arms holding the level so we could see if the first shelf was hanging straight. It's so nice to have an extra pair of hands, however, I do think you could do this on your own.
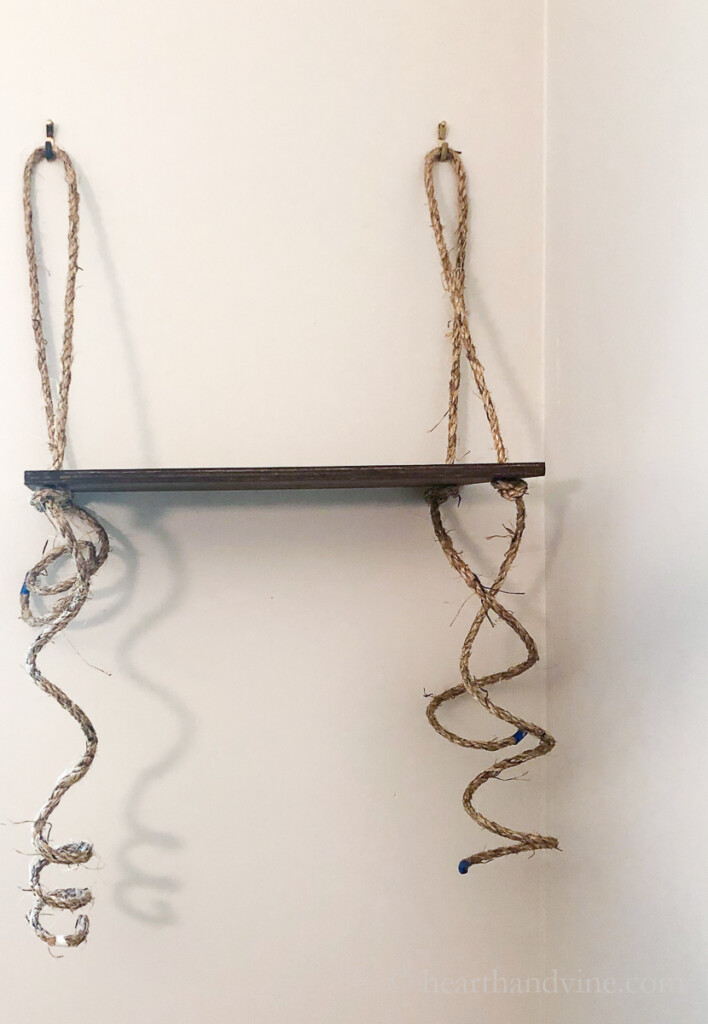
Once you get the top shelf level, you can repeat the process to hang a second or third shelf if you like. Then cut off any excess rope at the end.
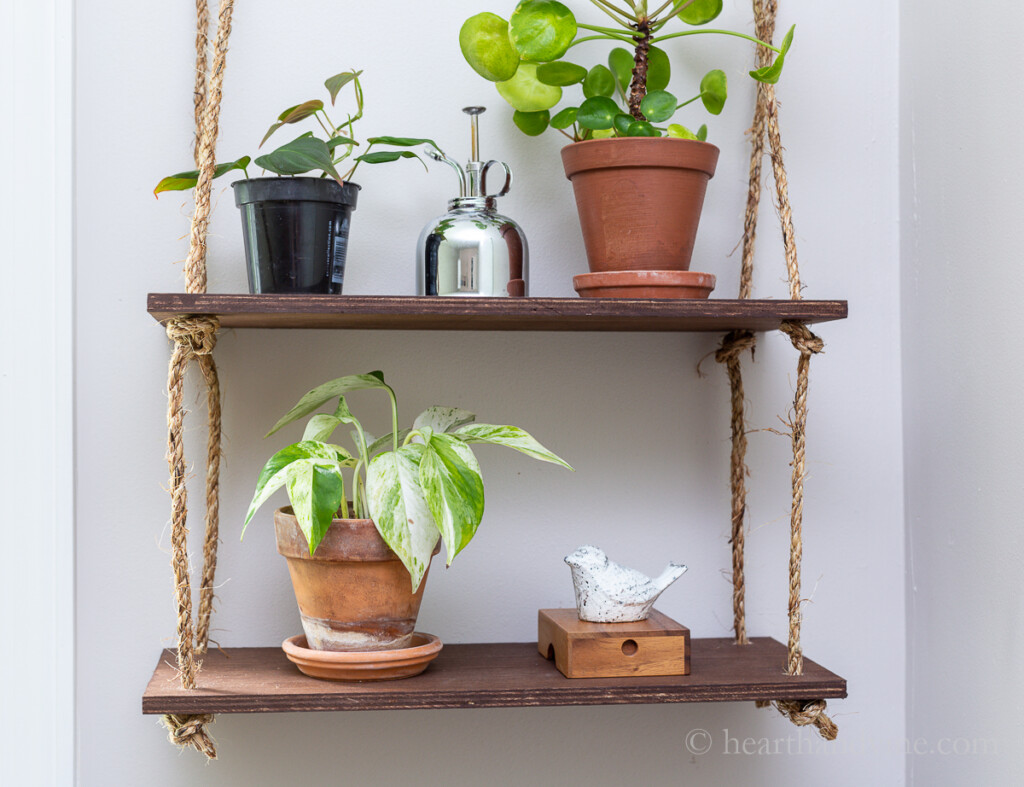
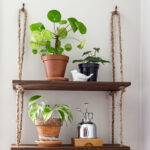
Then comes the best part. Decorating the shelves. I added a couple of plants, a fun ceramic bird on a box, and a silver mister. The natural terra cotta and pretty green foliage from the plants look perfect on these natural shelves.
The rope shelf is hanging next to a window in my husband's office. Prior to this, his wall was totally bare. The addition of the shelf and plants made a huge difference. Just a small reward for all his help.


DIY Hanging Rope Shelf
Equipment
- Electric Drill (1/8 bit and 3/8 bit)
- Scissors
- Hammer
- Level
Materials
- 2 pieces of wood 7 in. x 18 in.
- Manila rope 3/8 thick
- Picture hangers - 10 pound
- Paper
- Pen
- Tape
- Wood stain or paint
Instructions
- Buy or cut two pieces of wood the length and width you like. Mine are 7 inches deep by 18 inches wide.
- Stain or paint both sides of the wood. Let dry.
- Stack the wood boards on top of each other.
- Cut four 1 inch squares of paper and tape them to the corners on the top board.
- Use a 1/8 drill bit and drill through the corners of the 1 inch paper squares.
- Then use the 3/8 drill bit to drill through the same holes.
- Measure out enough rope for the height you want plus extra to be safe. I used 2 pieces of rope at about 7 feet each. Tape each cut end to help with threading.
- Measure the distance between the holes on the long side and hang the picture hangers on the wall at the height you want.
- Open the picture hangers to fit the rope.
- Start with one board and thread the rope through long enough for the second board and extra for tying knots. - I left about 12 inches or so.
- Tie a knot under the board.
- Then use the other side of the rope and hang it on the picture hanger at the length you like and thread it through the other hole on the same side and knot it underneath.
- Repeat on the right side of the same board using a level to make sure it hangs straight.
- Then add the second board, by threading the remaining rope, tying knots underneath and using a level to keep them straight.
- Trim the ends of the rope.
- Decorate as you wish, keeping in mind the weight limit of your hooks.
Leave a Reply