Learn how we made these beautiful wood shelves to hang on the wall as part of our month long budget bathroom makeover.
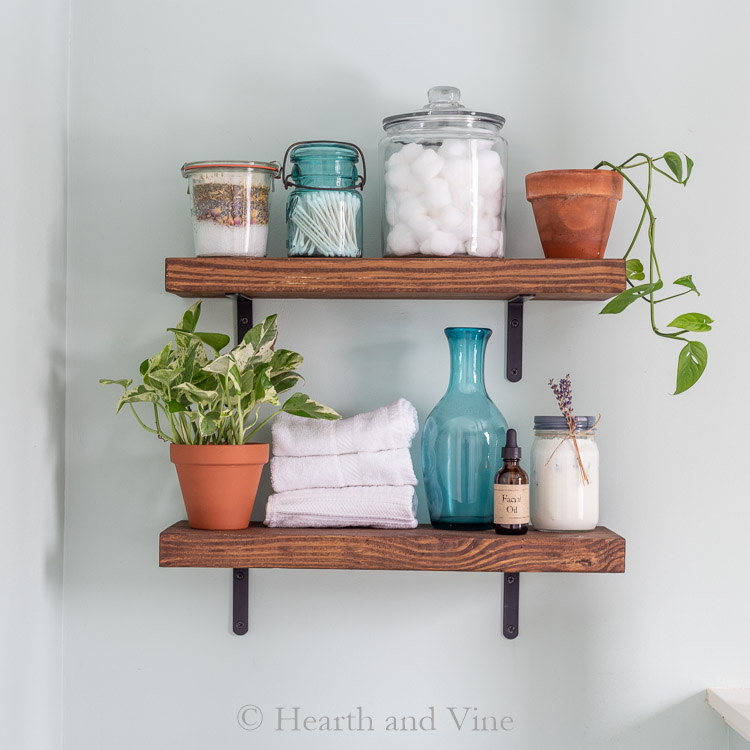
It's week four of the $100 Room Challenge. Today I'm showing how to make these beautiful wood shelves that add lots of texture, warmth and extra storage to the room.
If this is your first time here, Welcome! You can catch up by reading the previous posts of this bathroom makeover and the $100 room challenge below.
This post contains some affiliate links (that means if you make a purchase after clicking a link, there's no additional cost to you, but I will earn a very small commission. ) Click here to read my full disclosure policy.
Staining the Wood Shelves
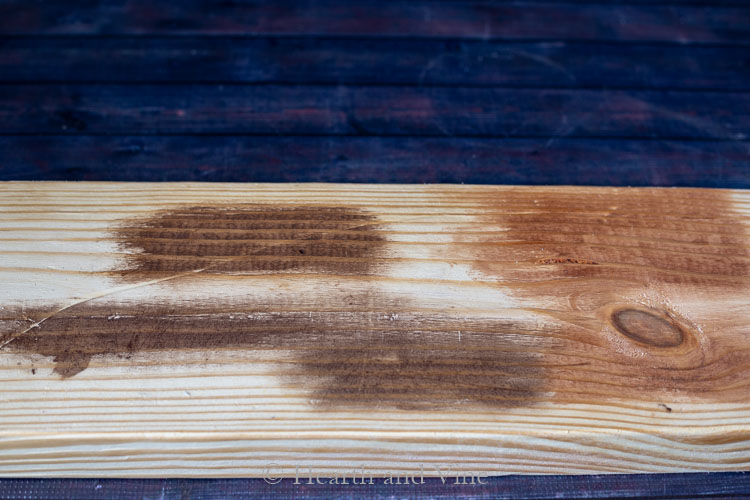
We purchased a 2" x 8" x 6 ft pine board at Lowes and cut it down to two 20-inch boards. Then I experimented with three different stains we had in the basement.
- First I tried a light walnut on the right. I thought it was a little too light and maybe a little too orange.
- On the top left side, I used a bit of dark walnut. I liked it much better.
- Then I tried a gel stain (bottom left side). It's an Old Masters Special Walnut Gel Stain
 and I decided to use it on the shelves.
 and I decided to use it on the shelves.
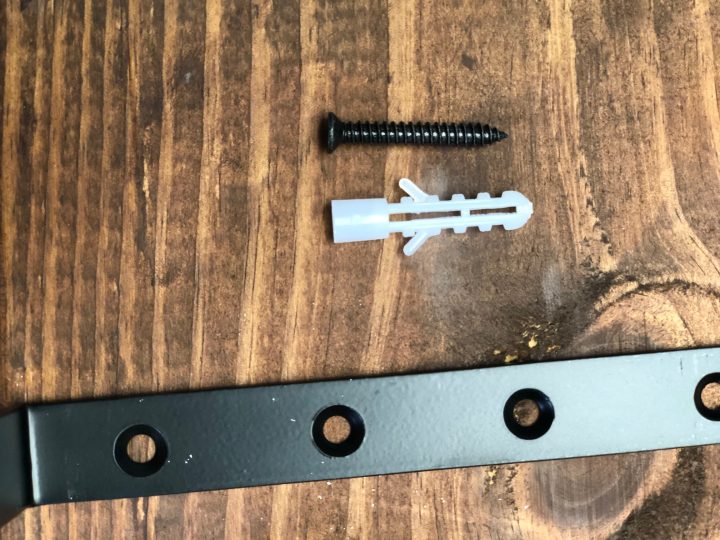
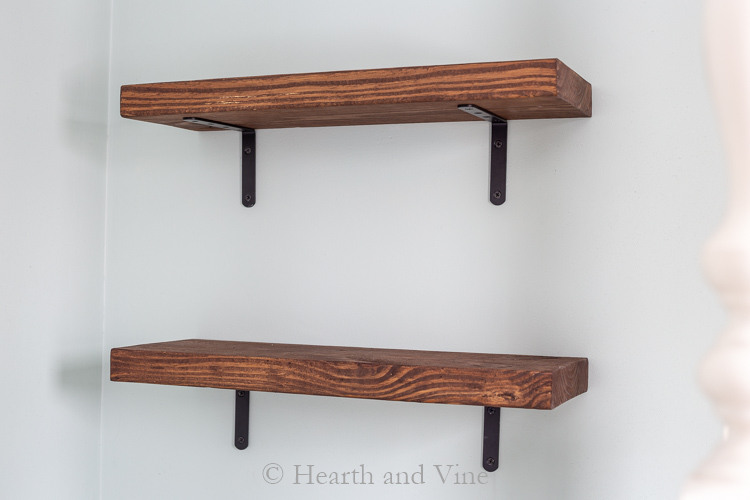
After the boards were cut and stained my husband helped me attach them to the wall.
I purchased a set of 4 black brackets from Amazon. They came with wall anchors and two different sized screws. The longer screws were used for the wall side and smaller screws for the wood side.
The website said these brackets could hold about 20 pounds which seemed like more than enough for a few bathroom accessories and decorative items.
Attaching the Wood Shelves to the Wall
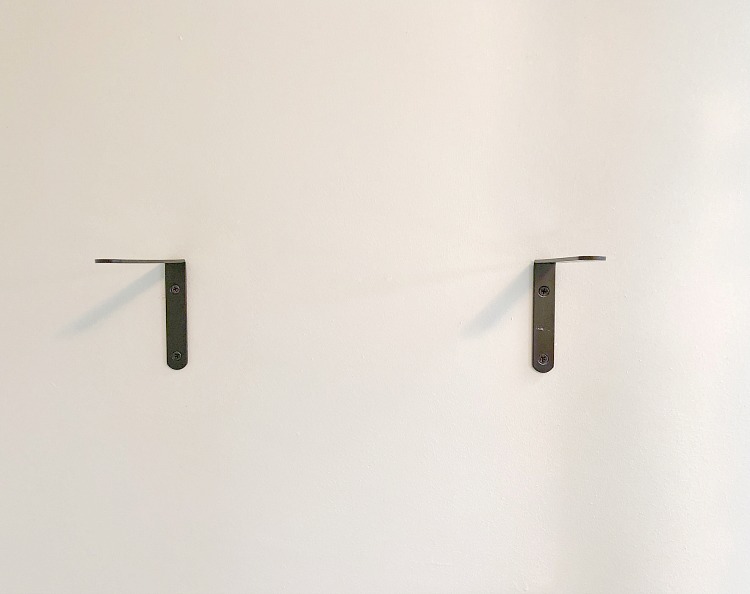
- Using a level we attached the brackets to the wall so that the wood shelf would extend just a few inches beyond.
- First, drill a hole into the wall and hammer the plastic wall anchor in.
- Then screw one of the large screws through the bracket and into the anchor.
- Repeat this process on the other hole, and repeat on the second bracket.
- Once the brackets are on the wall place your wood on top and drill pilot holes (smaller holes than the screws) before screwing the brackets onto the wood.
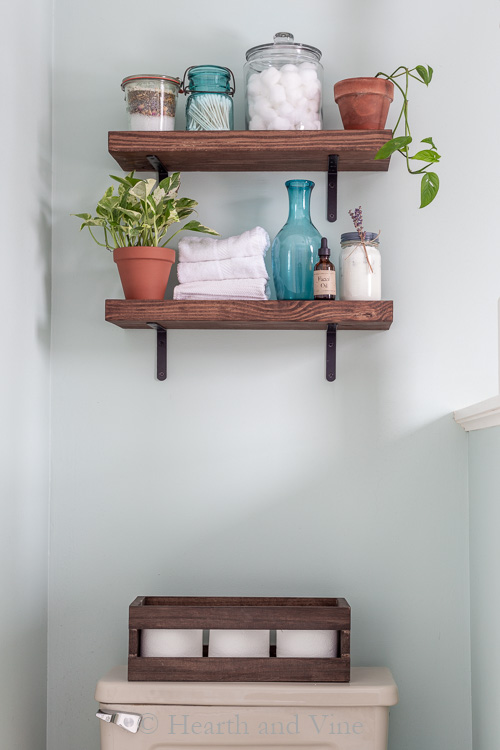
The distance between the two shelves is totally a matter of preference.
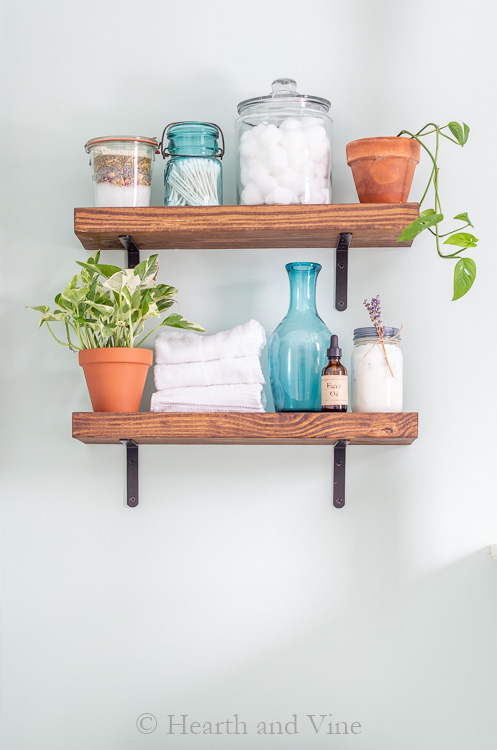
Dressing them was the fun part. I used lots of glass from my own stash of projects and collectibles, including some vintage blue pieces to add a calming pop of color.
Last but never least are a couple of low maintenance plants. While we were shopping for wood I picked up a Pothos Pearls & Jade, (bottom left shelf). The other came from cuttings that my daughter gave me when she visited on Thanksgiving. It's a Monstera Vine that I had rooting in water. It now has had enough roots to plant in its own pot. I can't wait to see how they grow and spread and trail over the shelves.
Project Costs for Wood Shelves:
- Lumber - $6.71
- 4 Shelf Brackets - $10.99
- Wood Stain - $0.00
- Pothos Pearls & Jade - $3.48
- Total for Shelves - $21.18
 - $10.99
Makeover Cost Update:
- Prior Expenses - $12.69
- Total Expenses - $33.87
- Remaining budget - $66.13
I still have to purchase a new shower curtain, bath rugs, and maybe a few more accessories for this room.
Will $66.13 be enough? Stop back next Wednesday for the big reveal.


Wood Shelves You Can Easily Make on a Budget
Equipment
- Drill
Materials
- 2 " x 8" x 6 ft pine board
- Old Masters Special Walnut Gel Stain
- 4 Black Brackets
Instructions
- Cut the pine board down to two 20-inch boards.
- Stain the boards in your choice of stain.
- Use a level to attach the brackets to the wall.
- Drill a hole into the wall and hammer the plastic wall anchor in.
- Screw one of the large screws through the bracket and into the anchor.
- Repeat this process on the other hole, and repeat on the second bracket.
- Place your wood on top and drill pilot holes before screwing the brackets onto the wood.
CareyC
Beautiful and thrifty! What color and paint brand are on your walls? I'm having a hard time finding fing the right color and tone. Thank you and keep up the good work!
Patti Estep
Thanks Carey. The wall color is Benjamin Moore Padallian Blue. Good luck. Finding the right color can be such a challenge.
Jennifer Meyers
These are so cute! I need to redo my shelves in my kitchen a more natural color. This is good inspiration!
Beth
Love the shelves, and your vintage blue pieces are just beautiful! I need to take lessons from you on styling shelves ☺️ I can't wait to see the reveal next week!
Patti Estep
Thanks Beth, I'm looking forward to next week as well.
Kelli
I have never heard of gel stain and love how the shelves turned out. The blue looks amazing against that color of stain. Very pretty.
Patti Estep
Thanks Kelli. I'm loving the blue too but then I have a thing for blue glass.
Jen @Jenron Designs
I am loving those thick cut shelves they are lovely and look great plus they provide you so much more storage space.
Patti Estep
Thanks Jen. They turned out even better than I thought.
Rebecca | R&R at home
LOVE these shelves!! I need to make some!!
Patti Estep
Thanks Rebecca. Now that we found how easy they were you can bet there will be more.
Sherry
I am loving watching the process of this room makeover and I can't wait to see your final reveal! I know it is going to be great.
Carole
This project has been so fun to follow. I love the shelves, this is what I want to do in our Tiny House in the kitchen. Because I don't have a lot of stuff it will work perfectly for our dishes. Great instructions too - made it look so easy. Love that natural stain!
Patti Estep
Carole, you are such a pro at woodwork that you will be able to make these shelves in no time. I'll be curious to see exactly how they turn out and if you stain or paint them. We thought about using thinner boards but I wanted something chunkier for this narrow spot and this board was less money so that was key for the challenge.
Nicki
I love the stain you chose for the shelves! They look really nice! Can't wait for reveal day!
Patti Estep
Thanks Nikki. I'm with you. Next week is going to be so fun seeing what everyone's completed rooms look like.