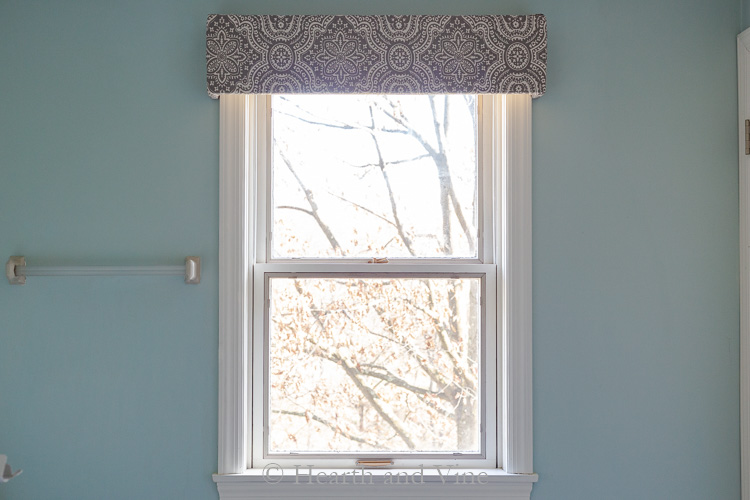
Making a fabric covered window cornice is fairly easy and can end up being a very affordable and pretty way to dress up a window in any room.
It's week three of the $100 Room Challenge.
If this is your first time here, Welcome! You can catch up by reading the previous posts (or jump ahead) of this bathroom makeover and the $100 room challenge here.
Intro and Before Pics - Week 1
Bathroom Vanity Makeover - Week 2
How to Make a Window Cornice - Week 3
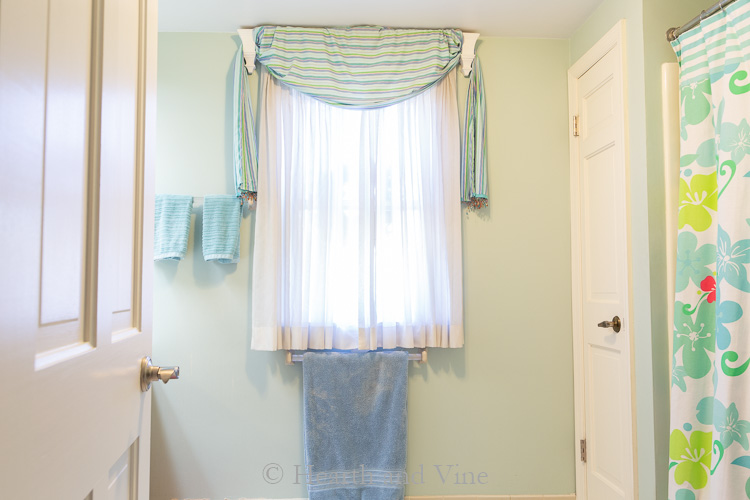
Here's a before picture of the bathroom window. We had old pinch pleat drapes with screwed in hardware that came with the house. At some point, I added the sconces and some bright colored fabric to dress it up.
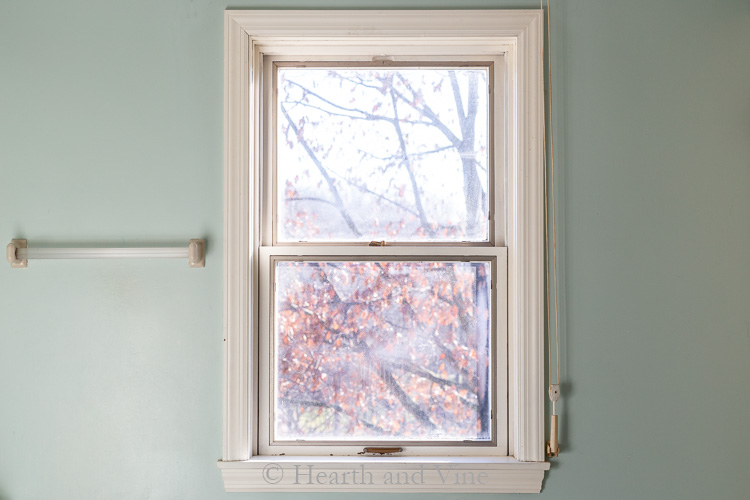
Here's what the window looks like without the drapes and valance before we removed the drapery hardware.
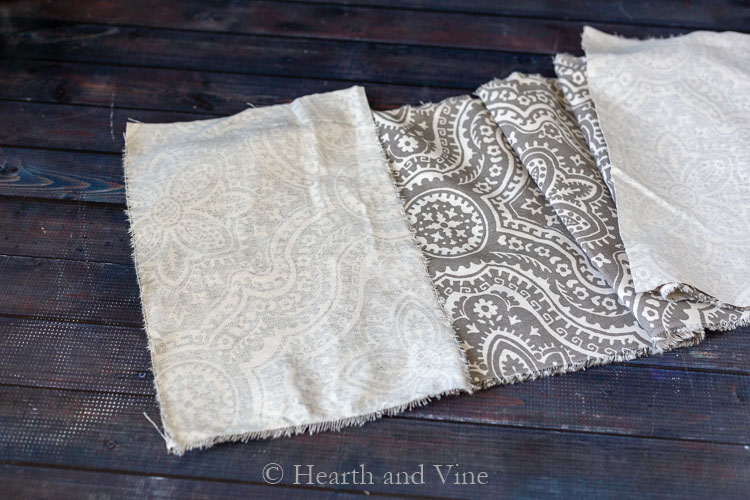
I found some fabric in my stash that I thought would look great with the new gray vanity. The only problem was I didn't have very much of it. The width only measured 36 inches wide. This would cover the front of the window but not the sides so I had to add a piece of fabric to each side.

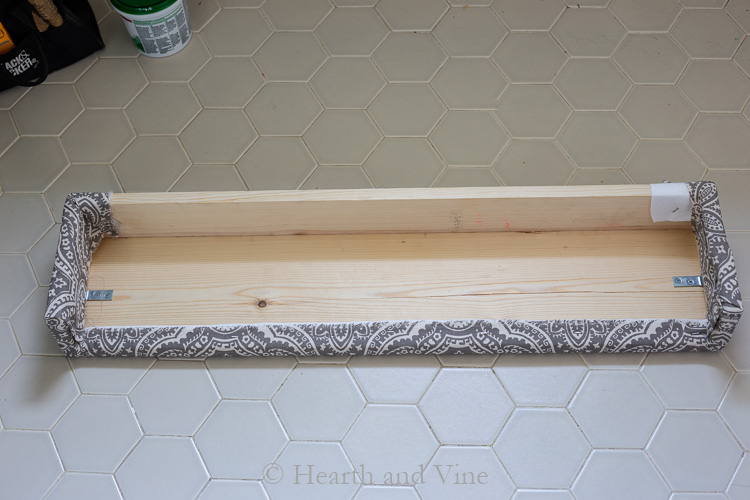
My husband made a box from a 1" x 8" x 8' piece of lumber. Just big enough to cover the window.
The face was 35 inches wide and 8 inches long and the sides were 4 inches deep. Another piece to cover the top was nailed to the front and side.
We bought a four-pack of corner braces; 2 for stability and 2 to attach to the window frame.
Then I covered the box with some quilt batting, followed by the fabric using a staple gun.
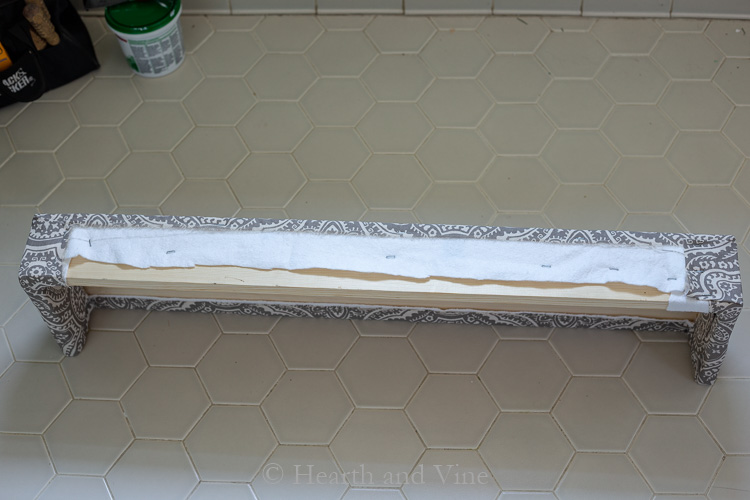
Here's the top of the box which will not be seen once it is attached to the window.
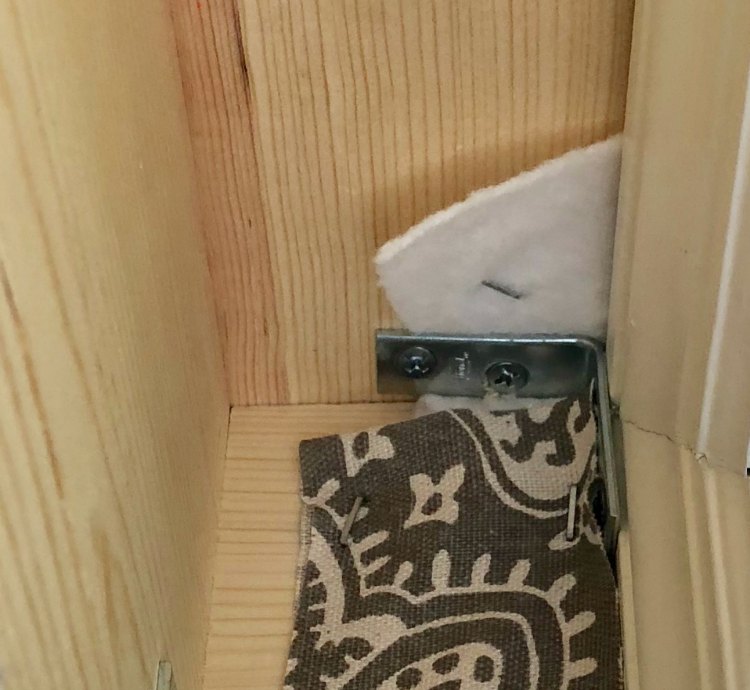
Here's a view of the corner braces attached to the box and then to the window frame.
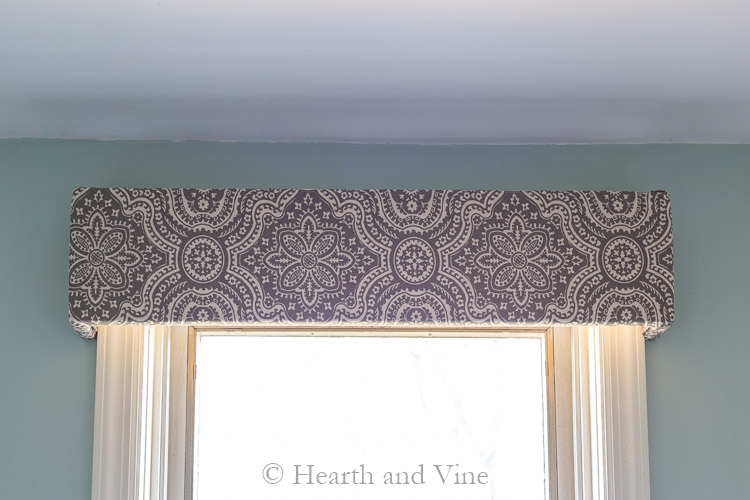
I like the way it looks but we still had one problem. No privacy. Most of the time no one is using this bathroom. However, when our girls visit or when we have company they will need some privacy as this window faces the street.
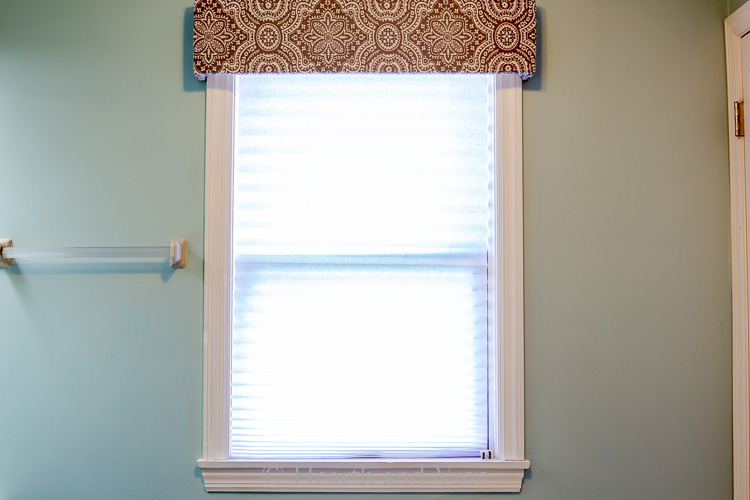
To solve this problem we picked up a paper shade. It works but it's very cheap and I regret this purchase. I paid over $7 for this blind and I know I could have bought a set of white mini-blinds for the same price. Oh well, it will have to do for now.
Project Costs for Fabric Covered Window Cornice:
- Lumber - $10.21
- Corner Braces - $2.48
- Batting
 - $0.00
 - Fabric - $0.00
- Total - $12.69
- Remaining budget - $87.31
 - $0.00
I still have over $87 to spend on this bathroom. However, I need to purchase a new shower curtain, bath mats, add shelving and decorate. Stop by next week to see the last stage of the makeover before the final reveal.
For now, stop by and see all the other wonderful progress my friends are making to their rooms below.

P.S. If you like to read about budget makeovers I have two other $100 makeovers. The first time I participated in this challenge I updated our master bedroom. The second room I tackled was my home office. They both turned out great and still look good today.

Erin- Lemons, Lavender, & Laundry
This is such a great idea!!! Every house we've lived in has terrible valences with awful fabric, but this allows you to choose whatever works in your space. Pinned so I can remember this one for later 🙂
Kristen
Oh super cute! I like the cornice and the fabric is cute! Nicely done!
Patti Estep
Thanks Kristen. When you have so much fabric around as I do then you are bound to find something that works. However, I was a little constrained by the amount of that print I had. I guess that's what the challenge is all about.
Rebecca | R&R at home
I love this fun tutorial!! Can't wait to see it all come together!!
Patti Estep
Thanks Rebecca. I love this challenge at the beginning of the year. Very motivating after all the chaos of the holidays.
Beth
Love how this cornice turned out! And you are doing an amazing job with your budget!
Patti Estep
Thanks Beth. Don't worry. I plan on spending every penny. 😉
Julie Briones
Nice! I'm seriously thinking of doing a box for MWA's windows... even maybe taking it all the way to the ceiling. I'm still pondering that. For privacy, would have privacy film worked on the window? I was recently staying at a home where they did not have window coverings on the bathroom window, and the window faced to neighbors' homes! I was super glad that the steam covered the windows after a shower! But, I was also glad no one was watching the tricky moves I made to get INTO the shower! Awkward!!! LOL!
Patti Estep
Oh, Julie, that's too funny. What are they thinking? I've never used privacy film. I did mention it to my husband but he was worried about resale?? You may be able to find some that is removable. Anyway, I also had to be very careful with the pricing because $100 doesn't go far. The paper blind works well for now but I do plan on replacing it with a mini-blind in the future.
Marly @ A Brick Home
Love that window cornice, Patti! It makes such a difference. I’m feeling inspired and want to add some to the windows in my daughter’s room now. Great job!
Patti Estep
Marly, You should definitely do it. It's kind of minimal but I like the fresh look it gives to the room.
Jen @Jenron Designs
Oh I love that cornice it looks amazing! Great fabric and wonderful you already had it, excellent job cant wait for the reveal!
Patti Estep
Thanks Jen. I have a pretty big fabric hoard. 🙂
Nicki
Cornice boxes are so pretty on windows! Yours looks great, and the fabric is pretty! Can't wait to see the finished space.
Patti Estep
Thanks Nikki!
Elizabeth Jones | Jonesville
It looks great Patti!
Kelli
Really like that print. Perfect against the paint color. I want to do something with the ugly cornices that are in our RV and am thinking this may be just what I do. Thanks for the inspiration!
Patti Estep
Thanks Kelli. It was pretty easy. You should do it.
Carole
You are rocking this room challenge and that fabric is perfect. Spot on option to complement that awesome vanity you updated. You have a gift for putting things together my friend.
Patti Estep
Carole, you are too kind. I know this project is right up your alley. I did help with the wood box but most of it was my husband's handiwork.