

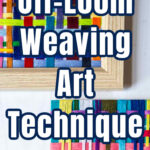
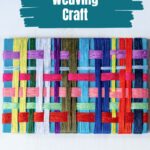
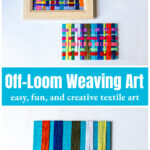
Off loom weaving is an easy and gratifying craft. It's a great way to get creative and enjoy a relaxing art form without a lot of expense or skill.
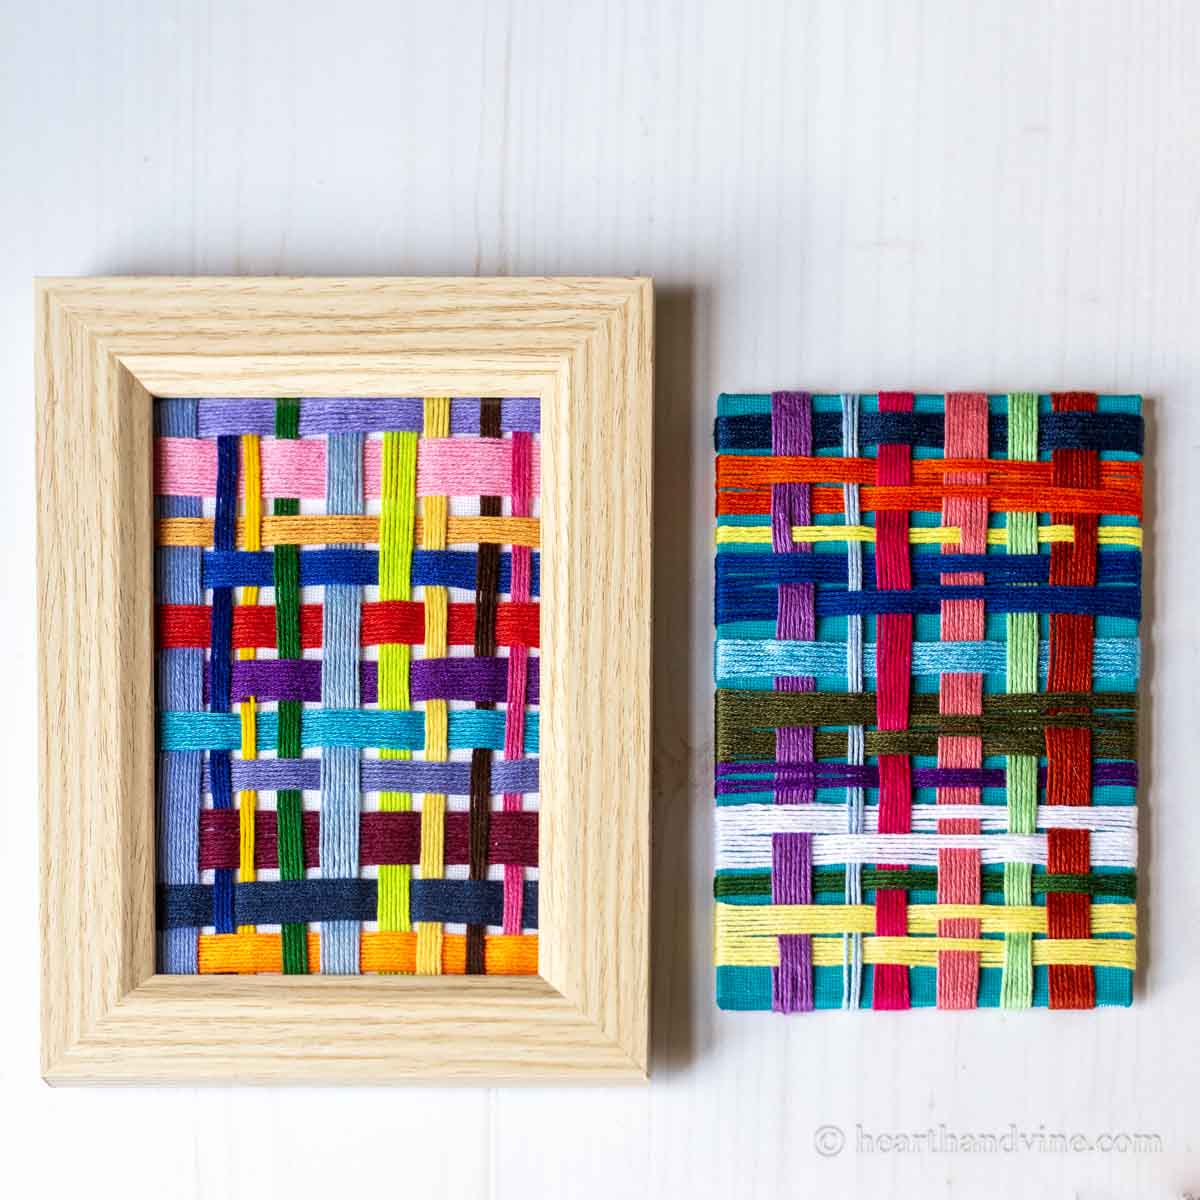
I saw someone making this pretty textile art on Instagram and had to try it. This is my interpretation. I didn't follow any tutorials, mainly because I couldn't find many. Some people referred to this art as off loom weaving, and some called it yarn wrapping. I call it fun!
In fact, I'm going to bring the supplies with me for one of our friends' getaways as an art activity. You see, this does not require many supplies, and it's something anyone can do.
More Textile Crafts: Punch Needle Rug Pillow.....Coiled Rope Basket.....DIY Fabric Owls.....Fabric Twine Potholders
This post contains some affiliate links (that means if you make a purchase after clicking a link, there’s no additional cost to you, but I will earn a very small commission. ) i.e. as an Amazon Associate, I earn from qualifying purchases. Click here to read my full disclosure policy.
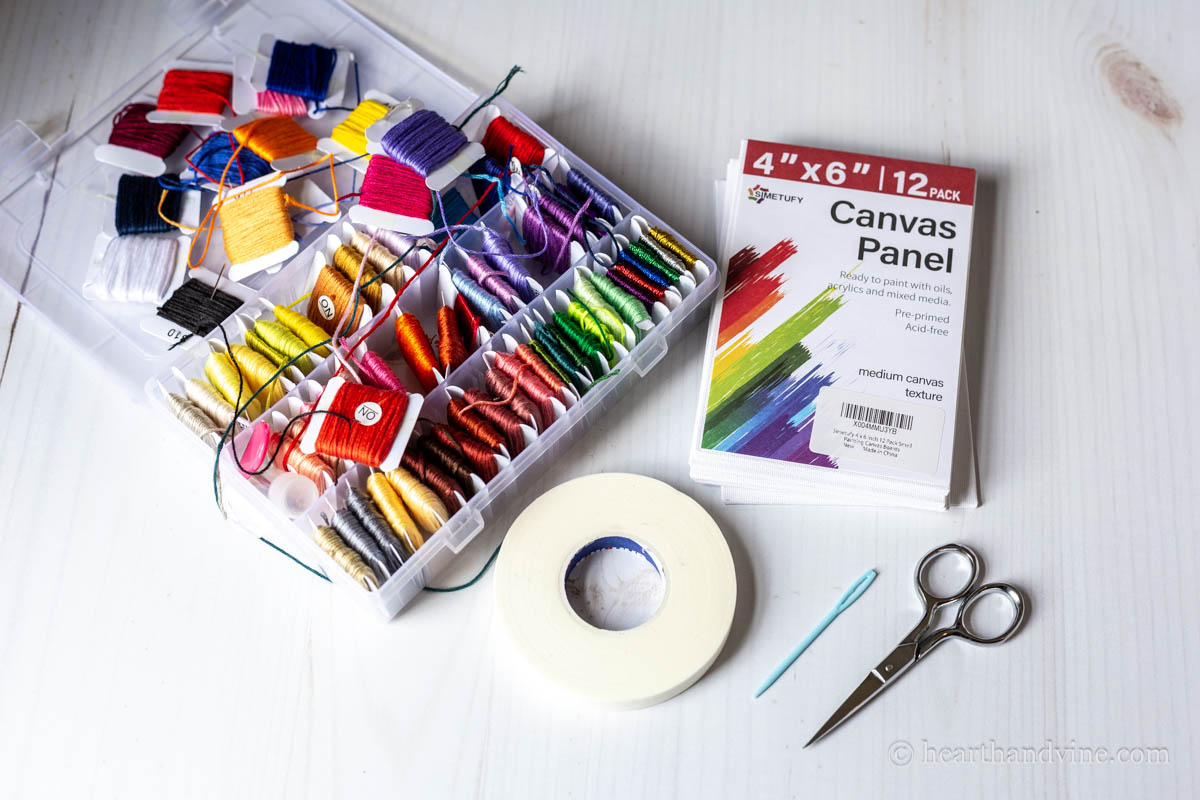
Supplies
- Scissors
- Paintbrush
- Large Blunt Embroidery Needle or Tapestry Needle
- Canvas board
- Embroidery thread
- Masking Tape
- Craft paint - optional
How to Make Off Loom Weaving Art
This is how I made my art. I'm sure that there are many ways to do it.
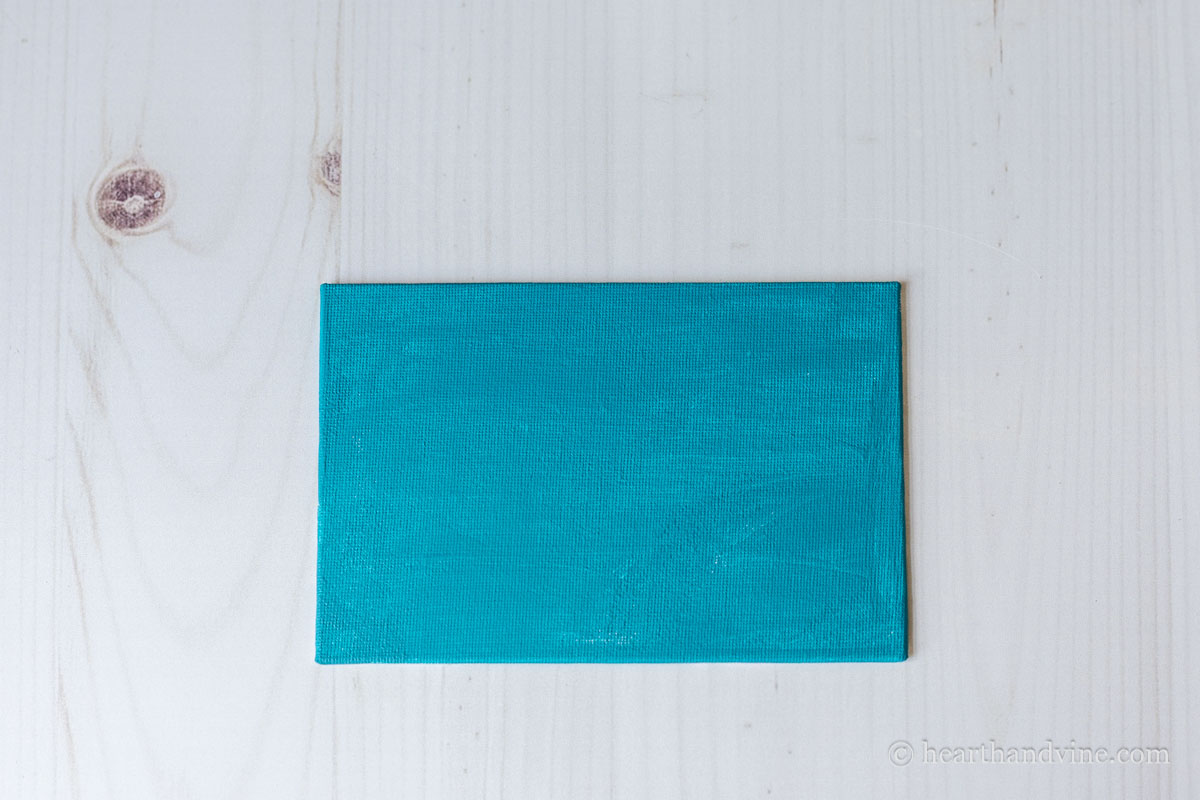
Step 1. Paint a canvas board with your favorite color. This is totally optional. Chances are good that not all of the board will be covered, so you will either have some white showing or the color you paint it.
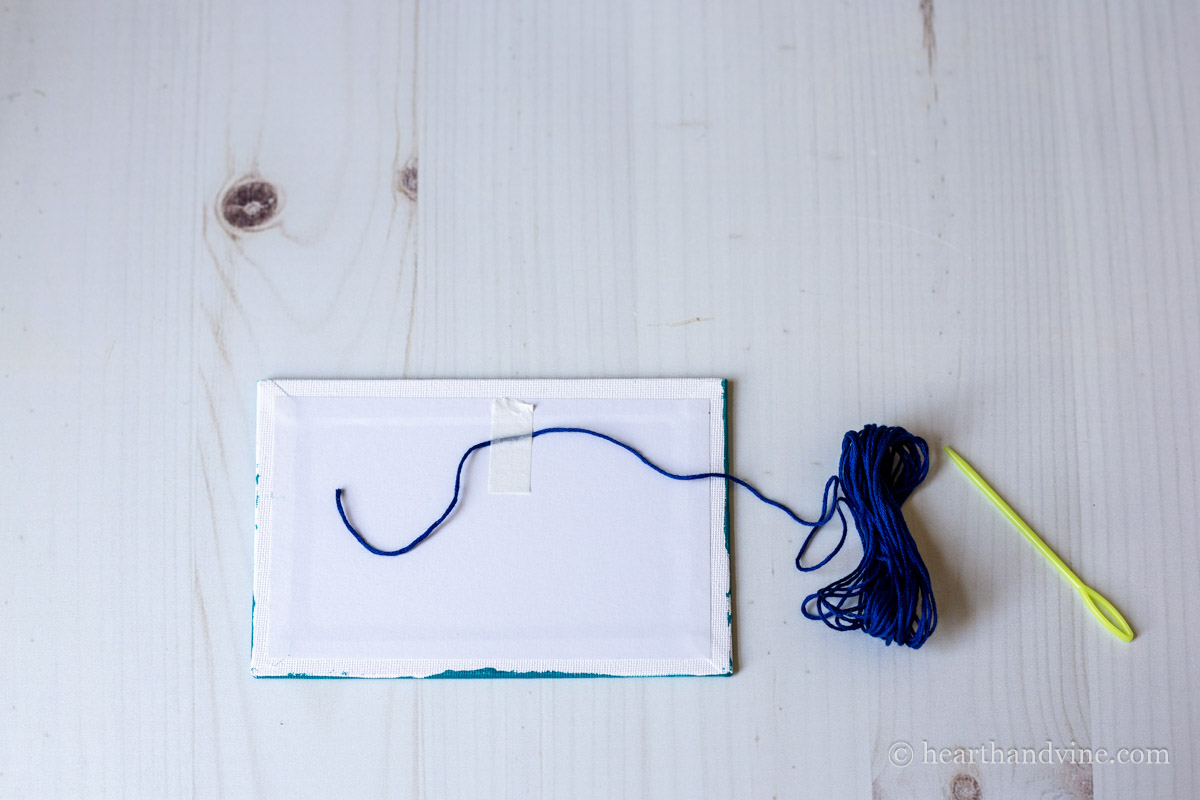
Step 2. Use masking tape to attach embroidery thread to the back of the board. Be sure to leave a few inches before the tape so you have plenty to work with when you tie it off later.
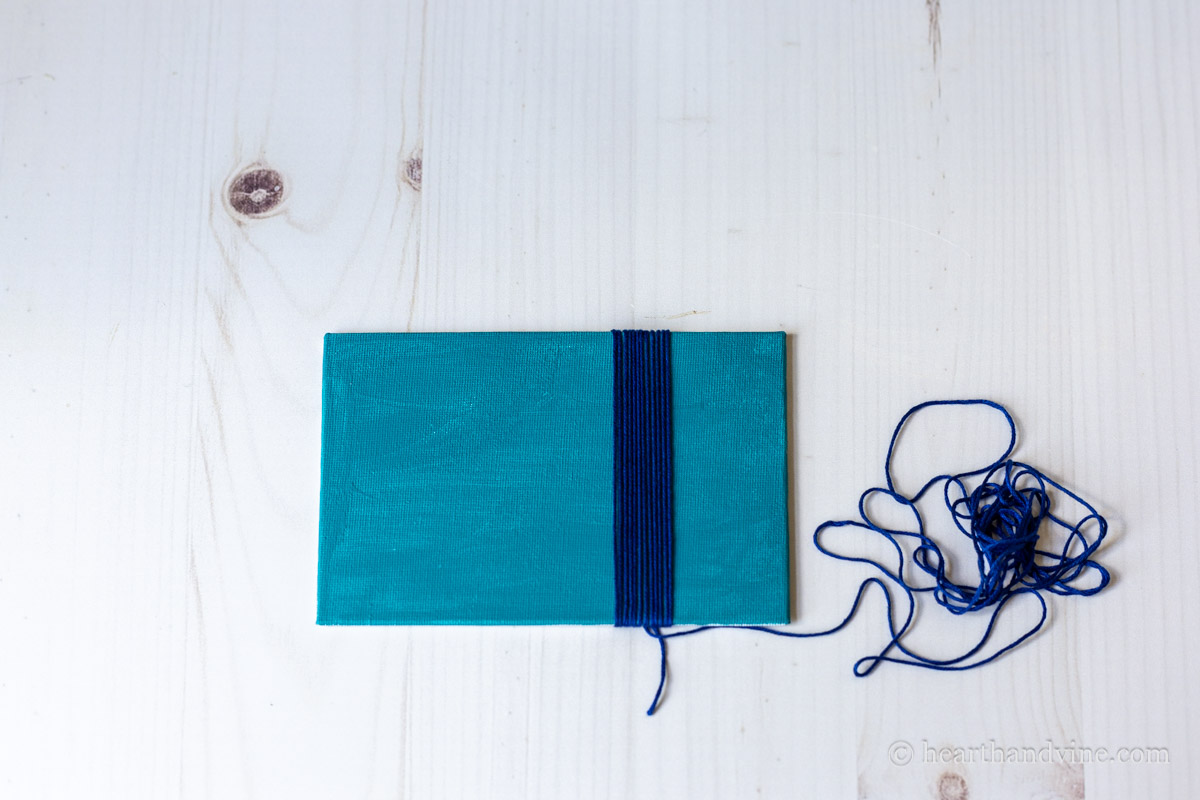
Step 3. Wrap the thread around the canvas close together. Make sure that you wrap it with some give, not too tightly, as you will be weaving through these same strands later.
Note: Here you can see I had the canvas in a horizontal position. However, you could start vertically as well.
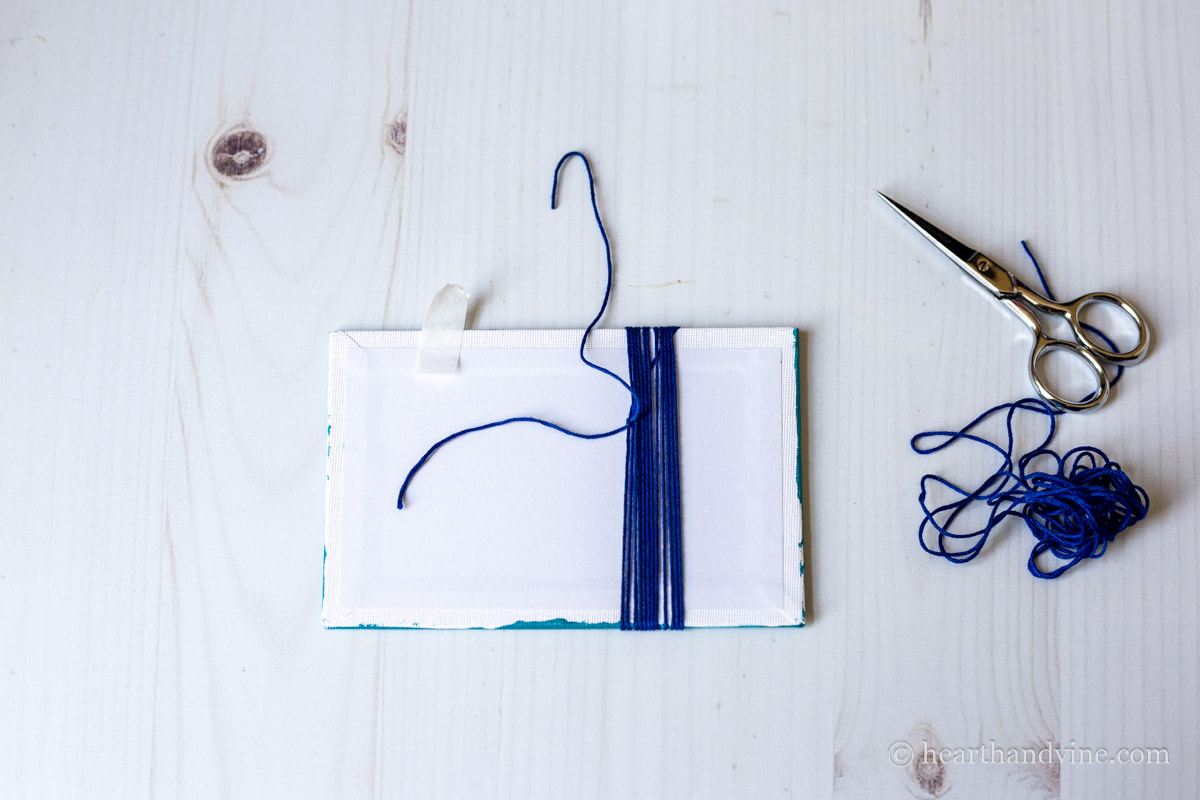
Step 4. Continue wrapping as much as you like, then on the back cut the thread, remove the tape, and tie the two ends in a double knot. Trim the excess.
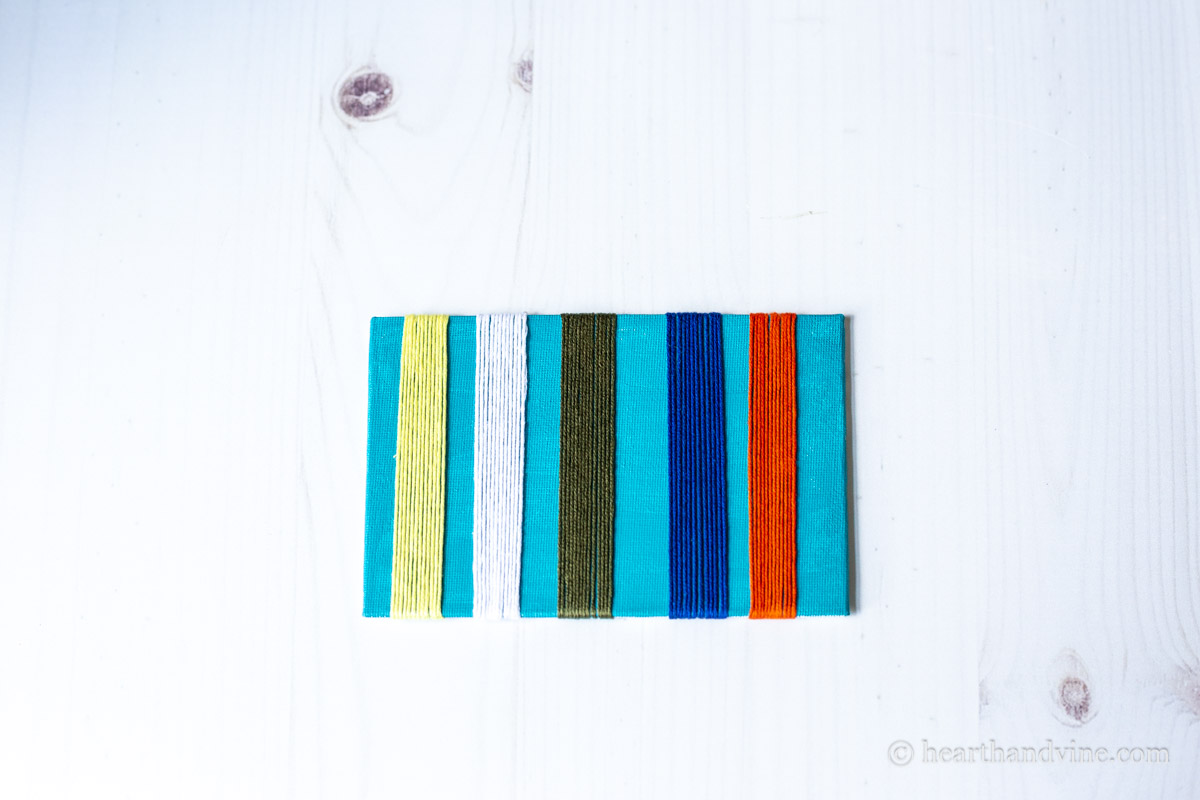
Step 5. Use different colors in the same manner. Or use the same color. It's your choice. I kept mine about the same width and spaced them in a similar way. However, you can try all sorts of widths, spacing, and colors.
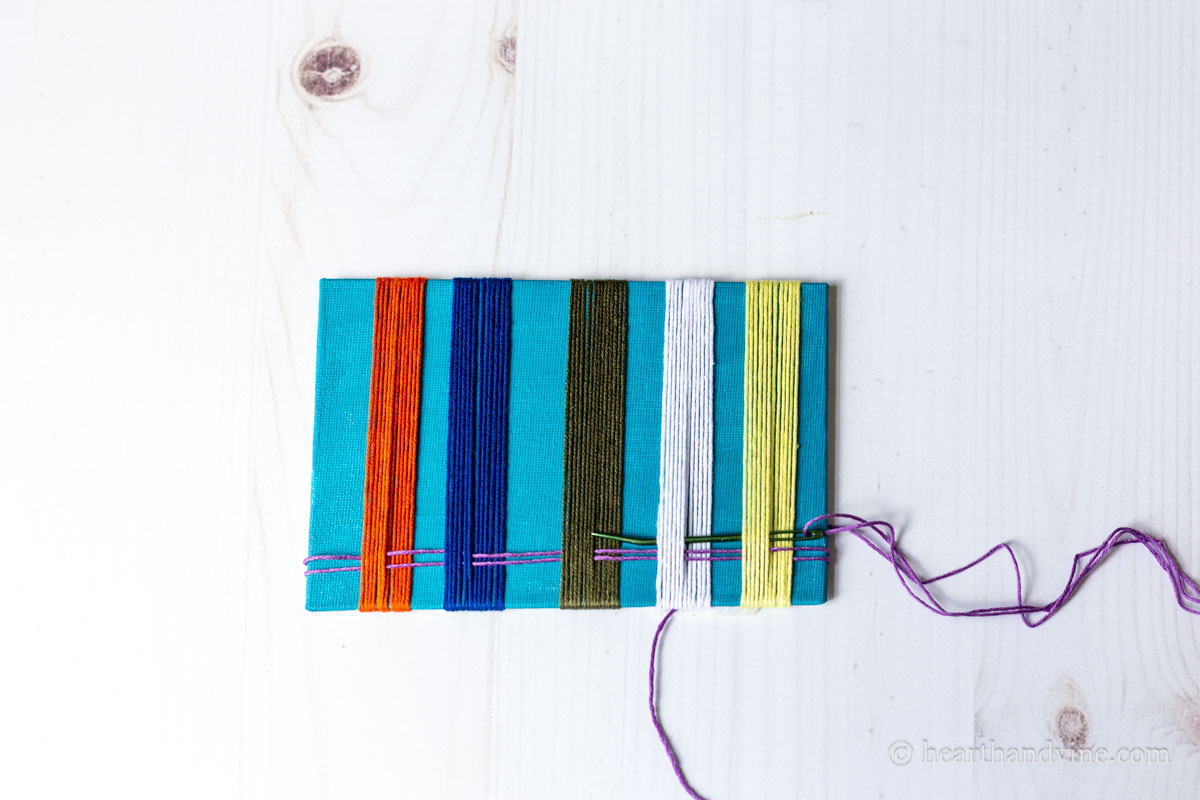
Step 6. Here's where the weaving comes in. Tape the end of a thread onto the back as before, but this time thread a large needle that you can weave over and under threads on the top. You will need to decide how much thread to use before threading the needle. I used a few yards each time.
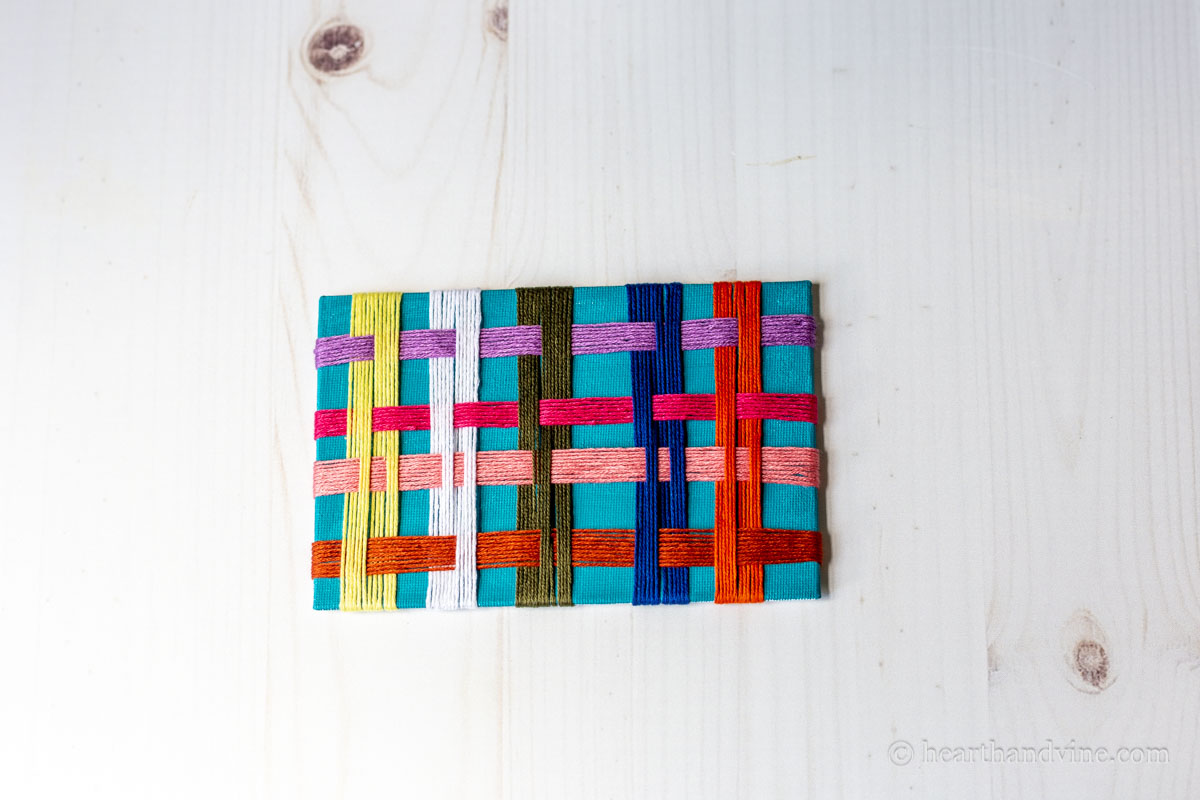
Step 7. Play around weaving with different colors and patterns. You can also go back to the other direction and weave more threads.
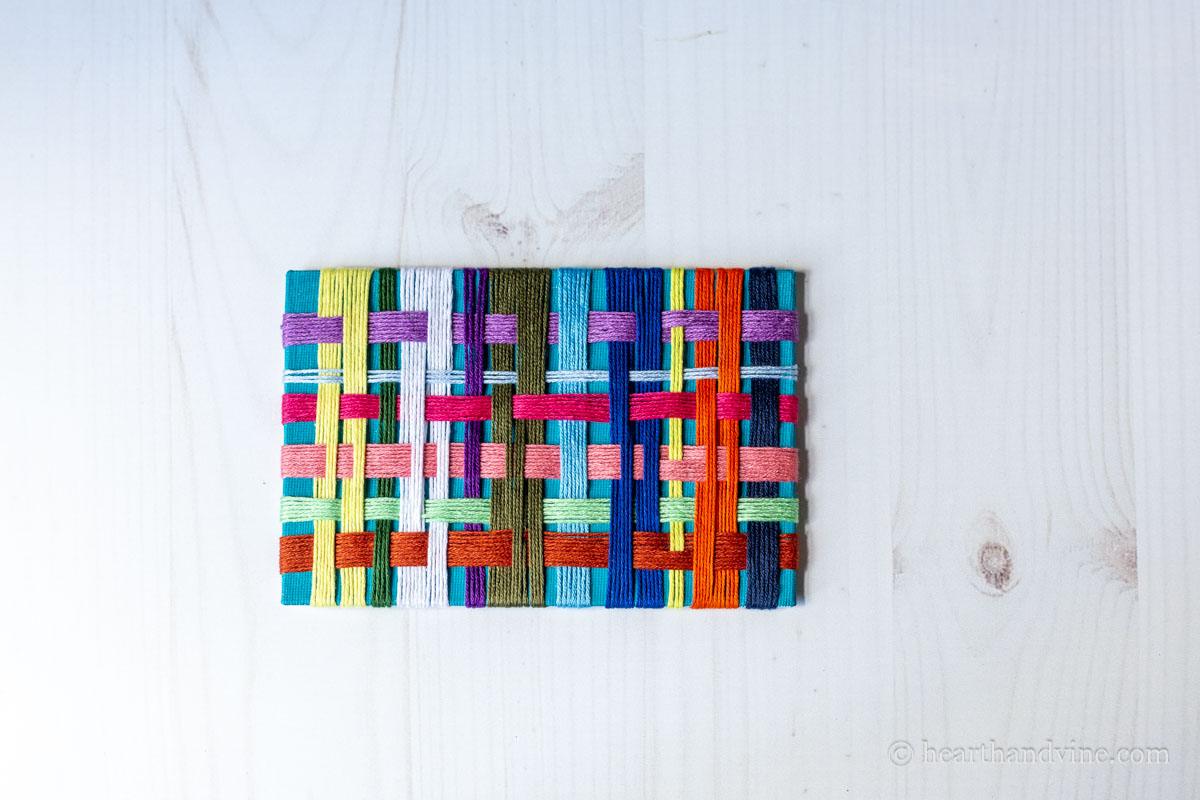
Here's where I decided the art was finished.
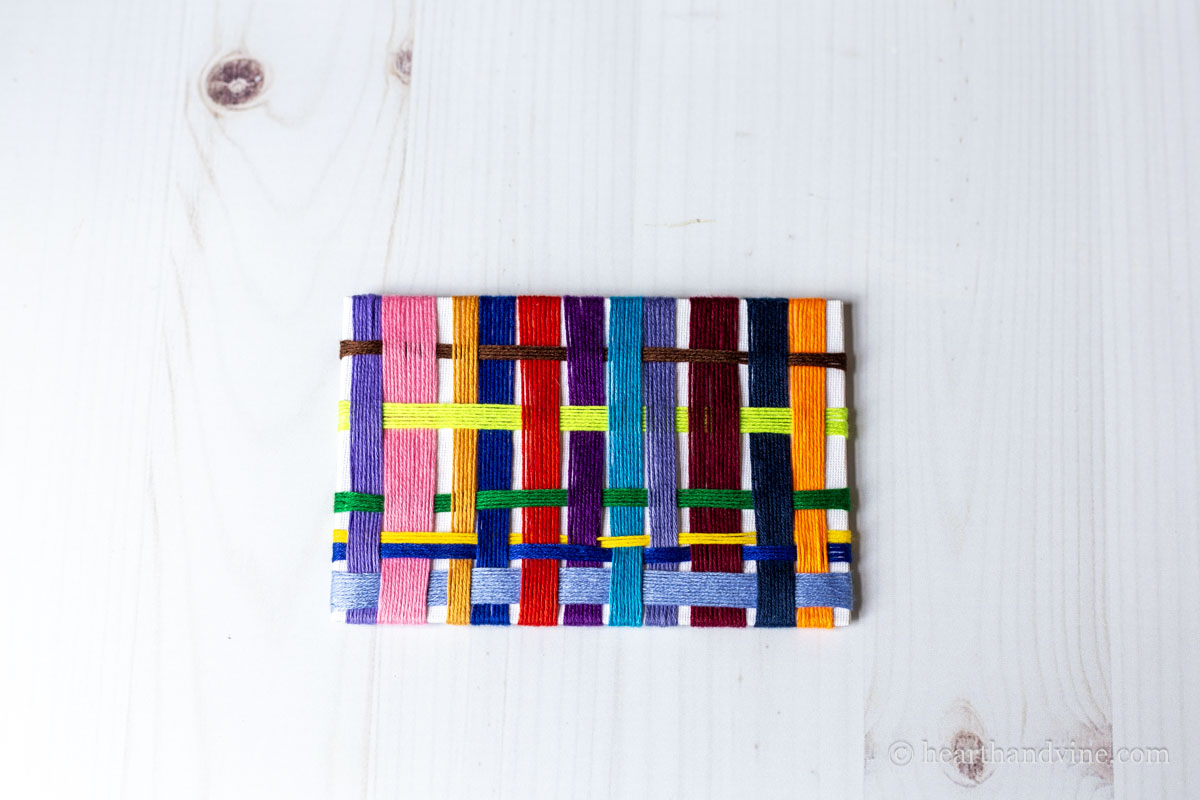
This is one that I did without painting the background.
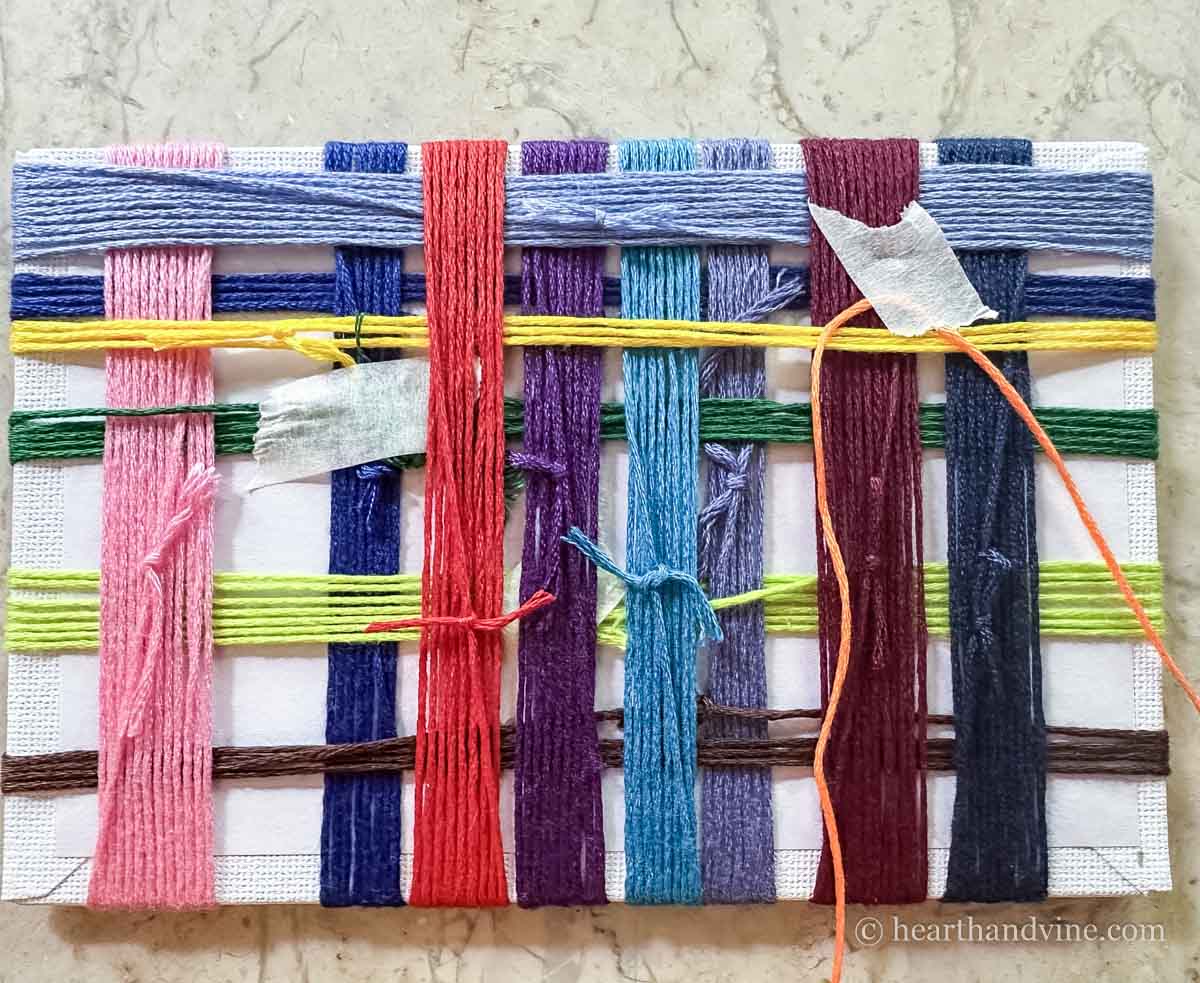
Here's what the back looks like in process.
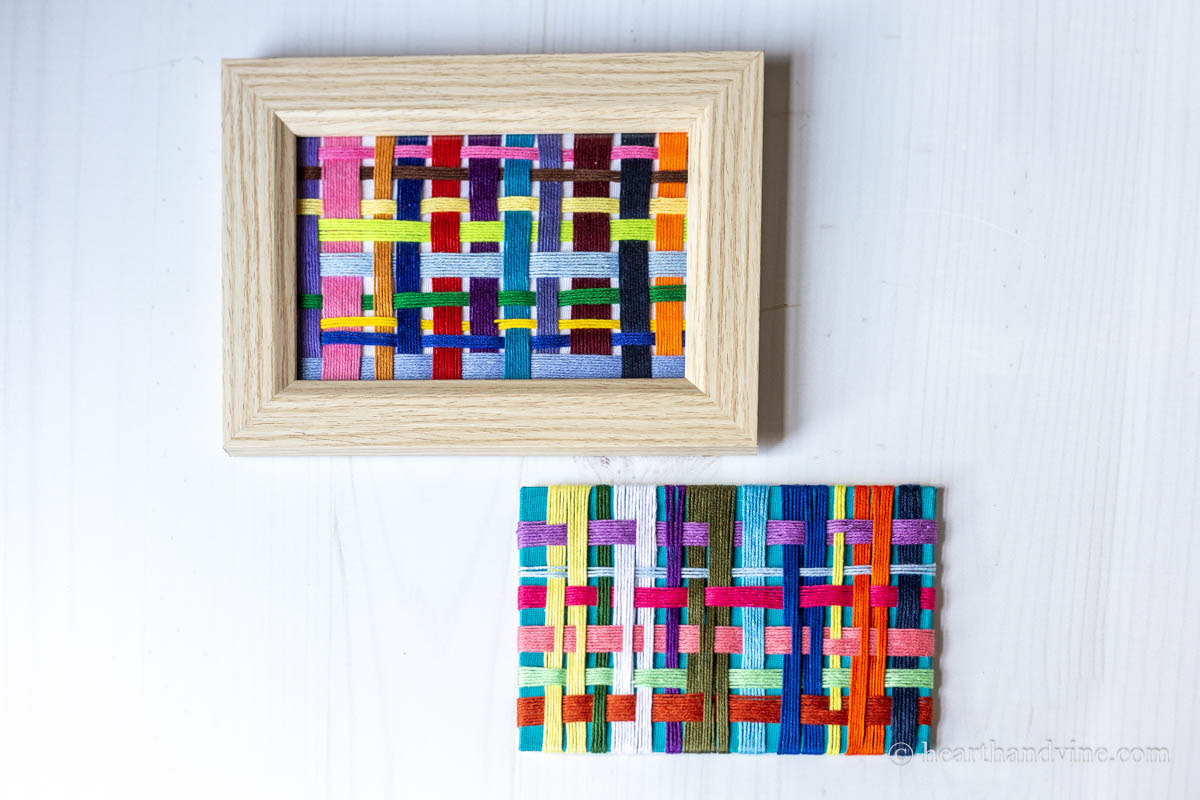
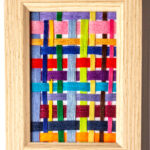
You can frame the art in a standard frame. The only problem is that the weaving art is thick, so the back of the frame may no longer fit. However, you can add a wire or some type of hook with glue to be able to hang it on the wall.
So relaxing and fun. I really don't think you can go wrong with this one. Just imagine the possibilities.

Off Loom Weaving - Yarn Wrapping Art
Equipment
- Scissors
- Paintbrush
Materials
- Canvas Board
- Embroidery Thread
- Low Tack Masking Tape
- Craft Paint optional
Instructions
- Paint the canvas with craft paint for the background if desired. Leaving it white is always an option.
- Choose a color thread to start with and tape the end to the back of the canvas board. Be sure to leave a few inches out from the tape for tying later.
- Start wrapping the thread around the board as many times as you like to create a band. You can do this vertically or horizontally on the board.
- Finish the color by coming to the back of the board, removing the tape, and tying a double knot with the beginning end.
- Continue with more colors in the same direction.
- Once you have filled the canvas somewhat, you can then start in the opposite direction.
- For the weaving, you will need to cut a long piece of embroidery thread first. Tape one end to the back as before, but this time thread the other end with a large needle and weave through the bands of thread on the canvas.
- Continue adding more threads, weaving as you like, until you feel like the project is complete.
- Place your art in a frame to hang. You may need a bit of wire or other hanging attachment, as the original backing of the frame may no longer fit with the weaving.
Leave a Reply