

• Skip to primary navigation
  • Skip to main content
  • Skip to primary sidebar
  • Home
  • DIY Projects
    • Homemade Bath and Body
    • Sewing - Fabric Crafts
    • Flower Crafts/Decor
    • Thrift Store/Vintage
  • Gardening
    • Flower Gardens
    • Container Gardening
    • Houseplants
    • Indoor Gardening
    • Landscaping
    • DIY Garden Art
  • Decorate
    • Spring Decor
    • Summer Decor
    • Fall Decor
    • Winter Decor
    • Home Decor Projects
  • Recipes
    • Breakfast Recipes
    • Lunch Recipes
    • Dinner Recipes
    • Dessert
    • Salad Recipes
    • Soups and Stews
    • Side Dish Recipes
    • Appetizers and Snacks
    • Healthy Recipes
  • Holidays
    • Valentine's Day
    • Easter
    • Mother's Day
    • Halloween
    • Thanksgiving
    • Christmas
Hearth and Vine
menu icon
go to homepage
  • About
  • DIY
    • ...Flower/Gardening Crafts
    • ... Bath and Body
    • ...Sewing/Fabric Crafts
    • ...Thrift Store/Upcycle
  • Gardening
    • ...Flower Gardens
    • ...Container Gardening
    • ...Indoor Gardening
    • ...DIY Garden Art
  • Decorate
    • ...Home Decor Projects
    • ...Spring Decor
    • ...Summer Decor
    • ...Fall Decor
    • ...Winter Decor
    • ...Room Makeovers
  • Recipes
    • ...Appetizers and Snacks
    • ...Dinner Recipes
    • ...Side Dish Recipes
    • ...Salad Recipes
    • ...Dessert
    • ...Drinks
  • Holidays
    • ...Valentine's Day
    • ...Easter
    • ...Mother's Day
    • ...Halloween
    • ...Thanksgiving
    • ...Christmas
  • Subscribe
  • Instagram
    • Facebook
    • Instagram
    • Pinterest
    • Twitter
  • subscribe
    search icon
    Homepage link
    • About
    • DIY
      • ...Flower/Gardening Crafts
      • ... Bath and Body
      • ...Sewing/Fabric Crafts
      • ...Thrift Store/Upcycle
    • Gardening
      • ...Flower Gardens
      • ...Container Gardening
      • ...Indoor Gardening
      • ...DIY Garden Art
    • Decorate
      • ...Home Decor Projects
      • ...Spring Decor
      • ...Summer Decor
      • ...Fall Decor
      • ...Winter Decor
      • ...Room Makeovers
    • Recipes
      • ...Appetizers and Snacks
      • ...Dinner Recipes
      • ...Side Dish Recipes
      • ...Salad Recipes
      • ...Dessert
      • ...Drinks
    • Holidays
      • ...Valentine's Day
      • ...Easter
      • ...Mother's Day
      • ...Halloween
      • ...Thanksgiving
      • ...Christmas
    • Subscribe
    • Instagram
    • Facebook
    • Instagram
    • Pinterest
    • Twitter
  • Ă—
    Home » DIY Projects

    Coffee Filter Flowers

    by Patti Estep · Aug 10, 2026

    Jump to How-to Card
    Pink and purple coffee filter flowers in a white vase.
    A white milk vase with three colorful coffee filter flowers.

    Learn how easy it is to create beautiful coffee filter flowers with limited supplies that you can use for all types of decor in your home.
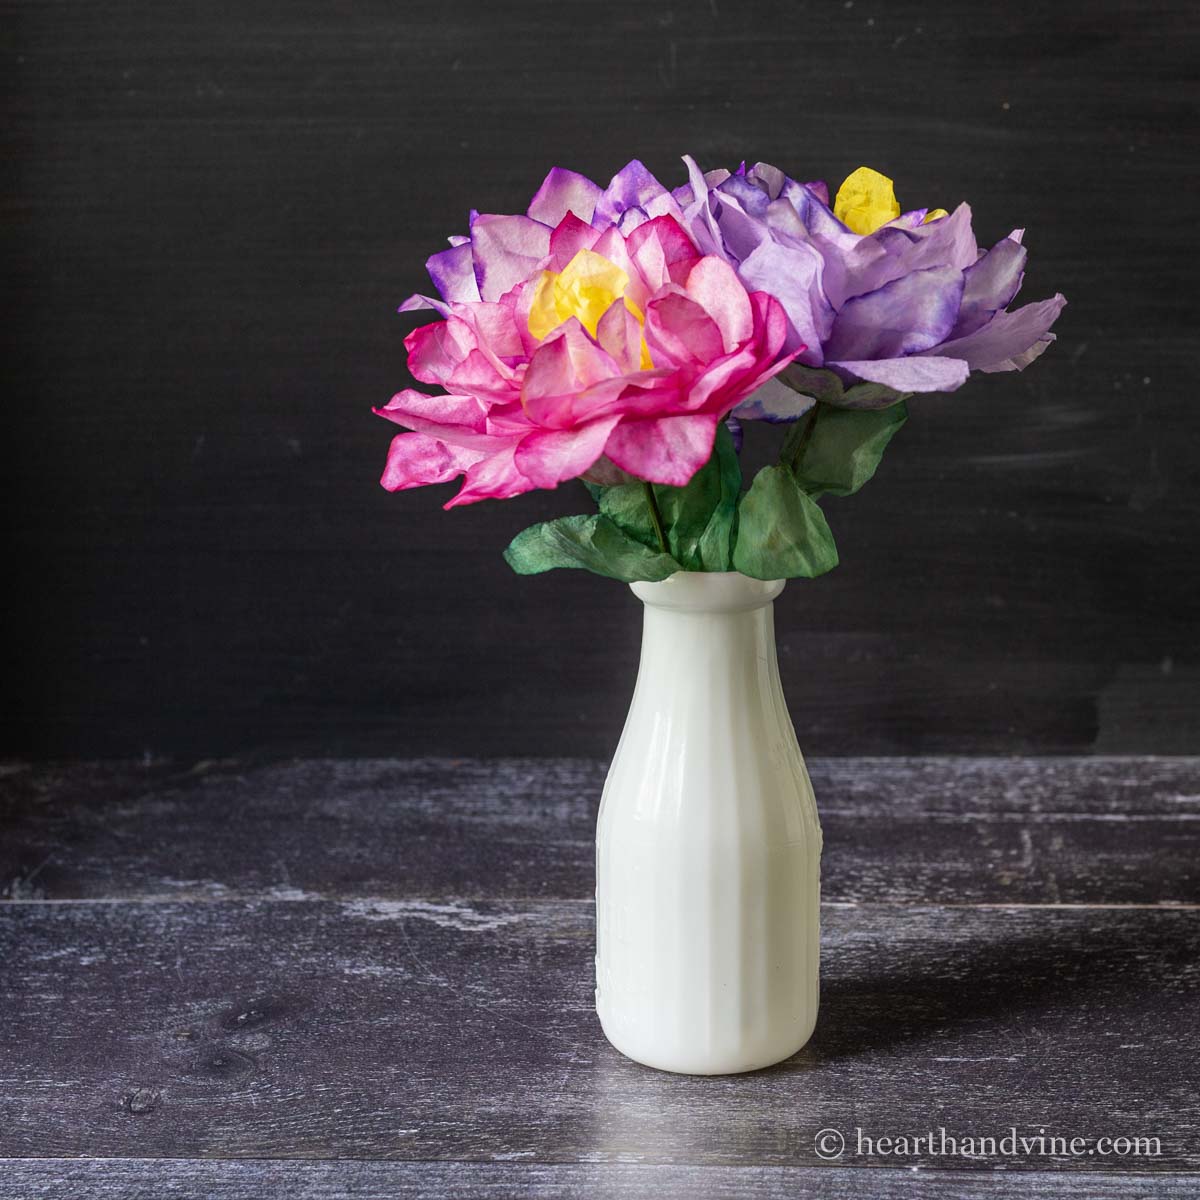
    Coffee filter flowers in a white milk vase.

    Paper flowers have never been so easy with this fun coffee filter craft. The magic of water-soluble colored markers and water on the filter paper is amazing, giving the flowers a translucent effect. Follow my basic example and then go to town with your own creative choices.

    More Flower Crafts: Felt Succulent Planter.....Paper Flower Garland.....Dried Hydrangea Flower Wreath.....Pressed Flower Jewelry Dish

    This post contains some affiliate links (that means if you make a purchase after clicking a link, there’s no additional cost to you, but I will earn a very small commission. ) i.e. as an Amazon Associate, I earn from qualifying purchases. Click here to read my full disclosure policy.
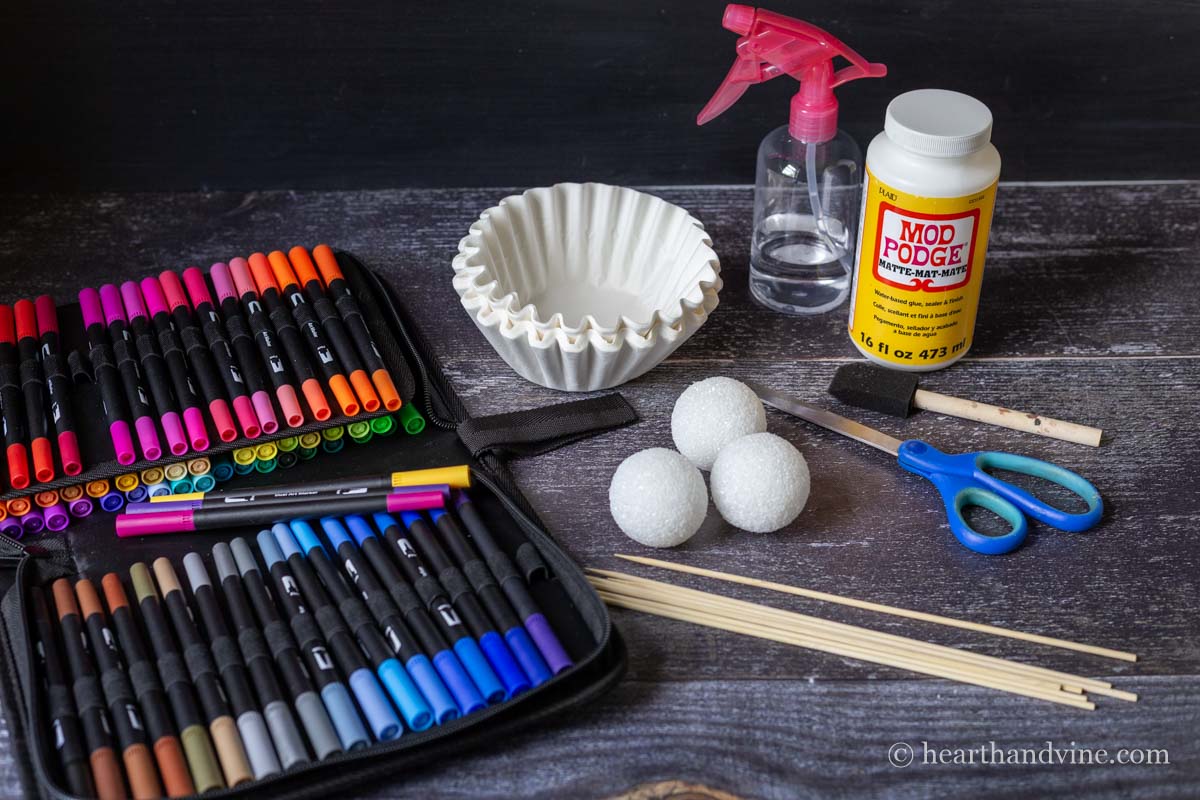
    Supplies for coffee filter flowers including markers, foam balls, scissors, mod podge, skewers and a spray bottle with water.

    Supplies

    • Scissors
    • Sponge brush
    • Spray bottle
    • coffee filters
    • water-based colored markers
    • mod podge or white glue
    • styrofoam balls 2 inch
    • wooden skewers
    Coffee filter folded in half.

    Making Coffee Filter Flowers

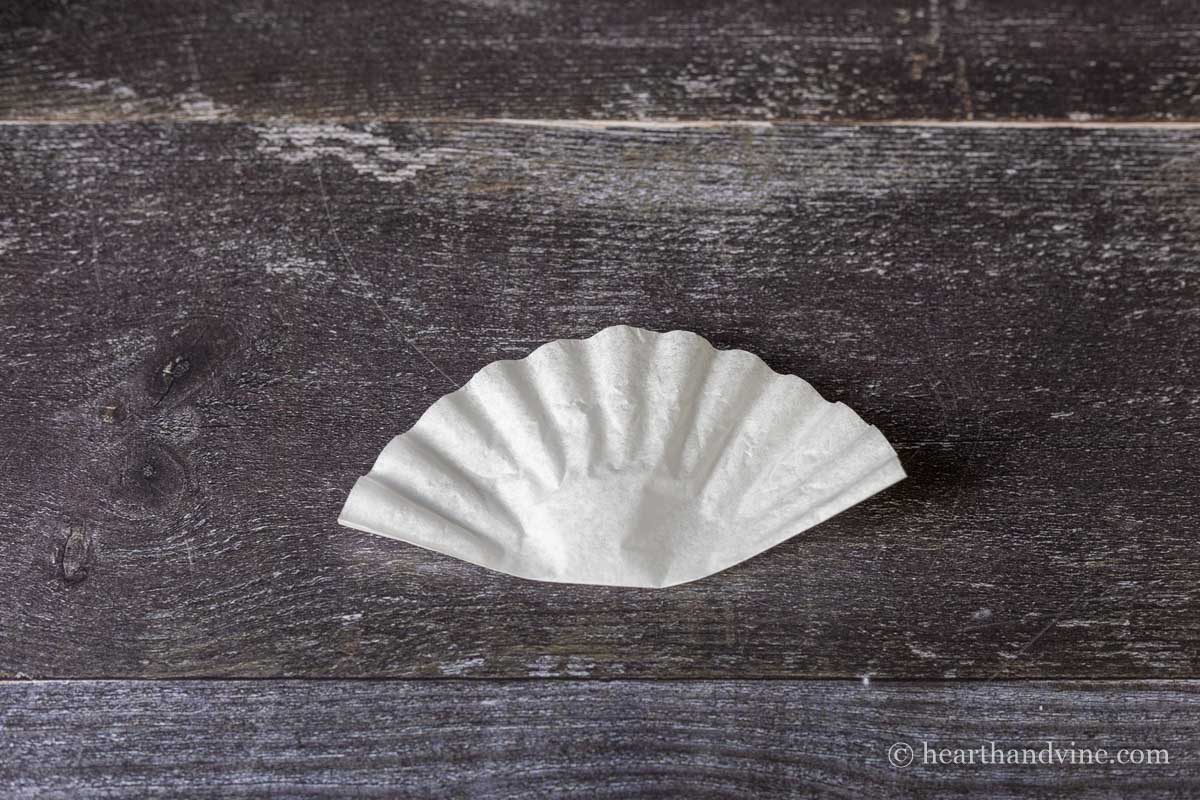
    Step 1. Fold a white coffee filter in half. This is a standard coffee filter that you can buy anywhere. I got mine from the dollar store.
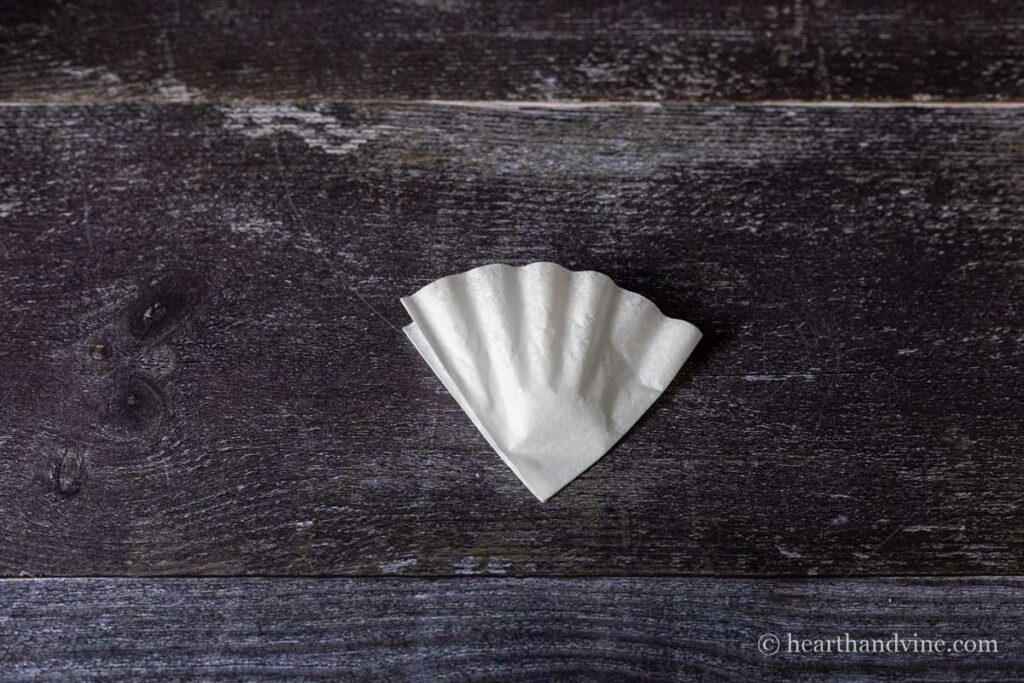
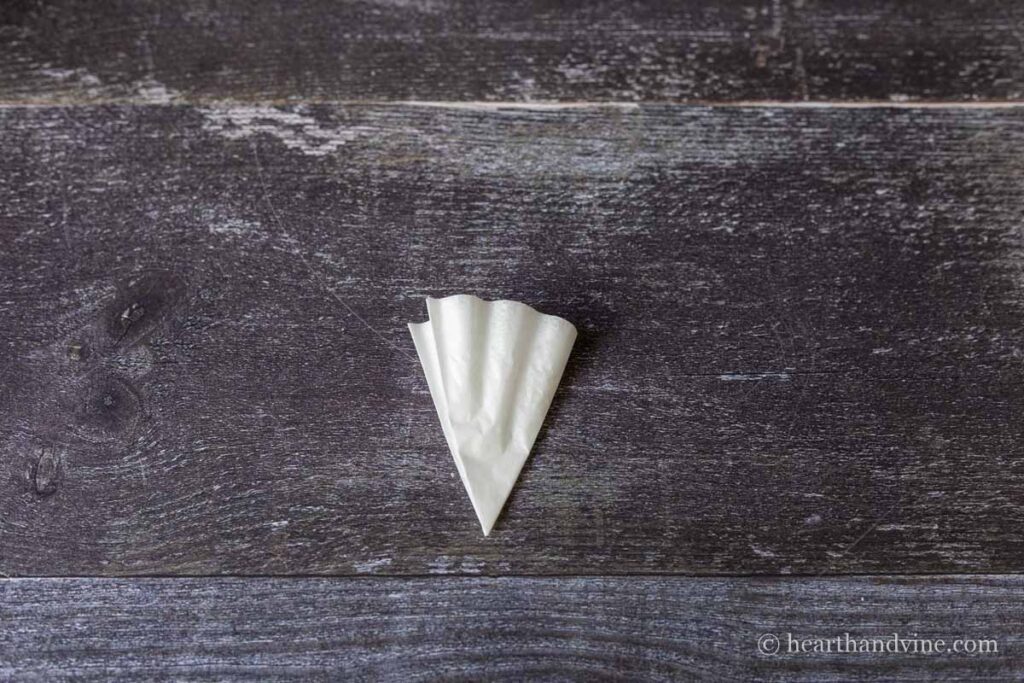
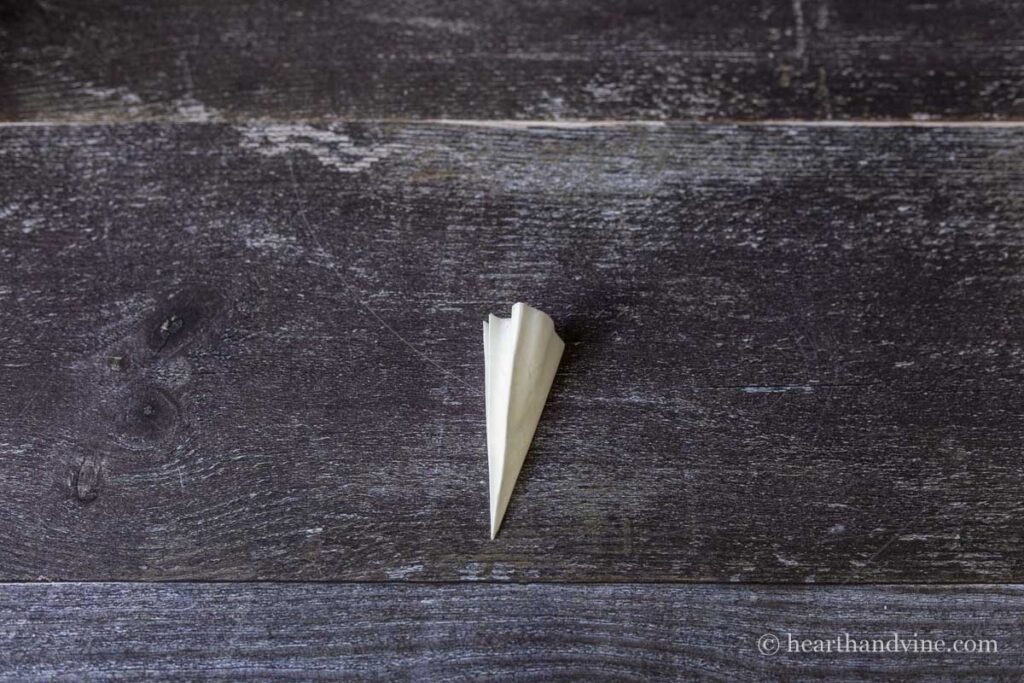
    Step 2. Fold the coffee filter in half again three more times.
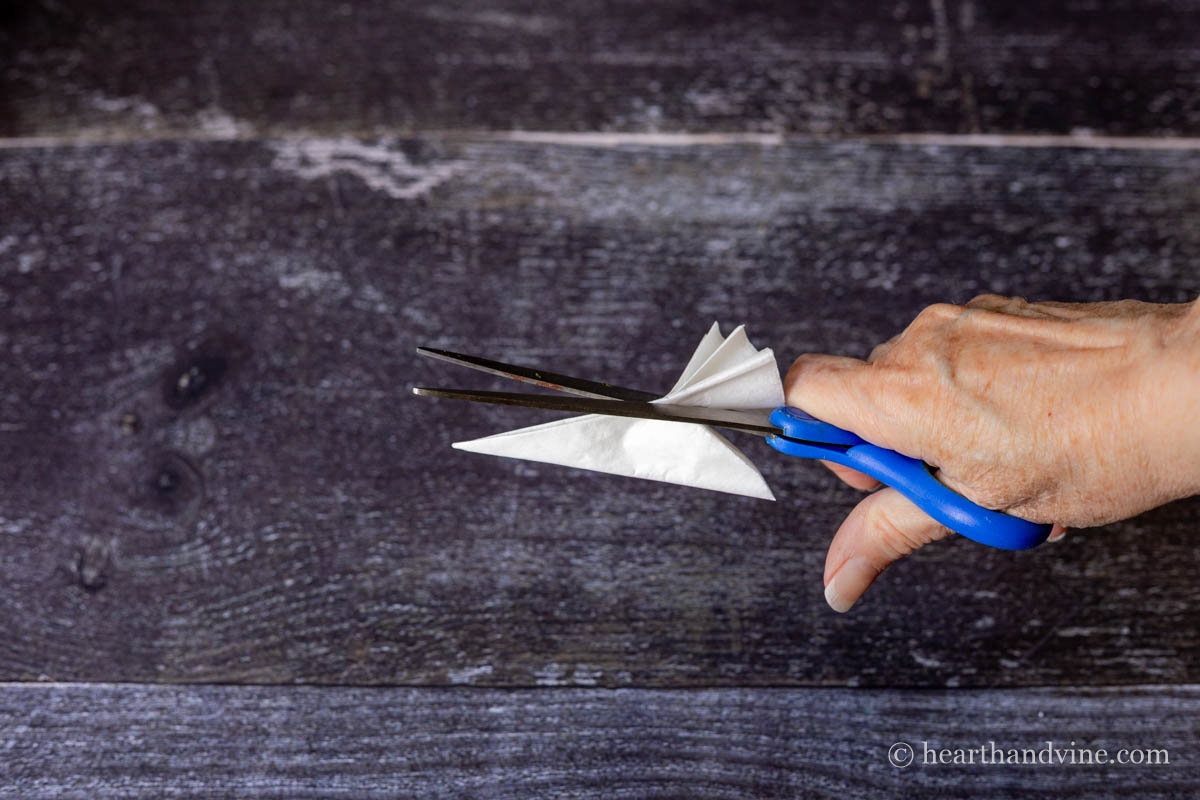
    Scissors cutting a curve on the folded coffee filter.

    Step 3. Cut the top wider portion on a curve.
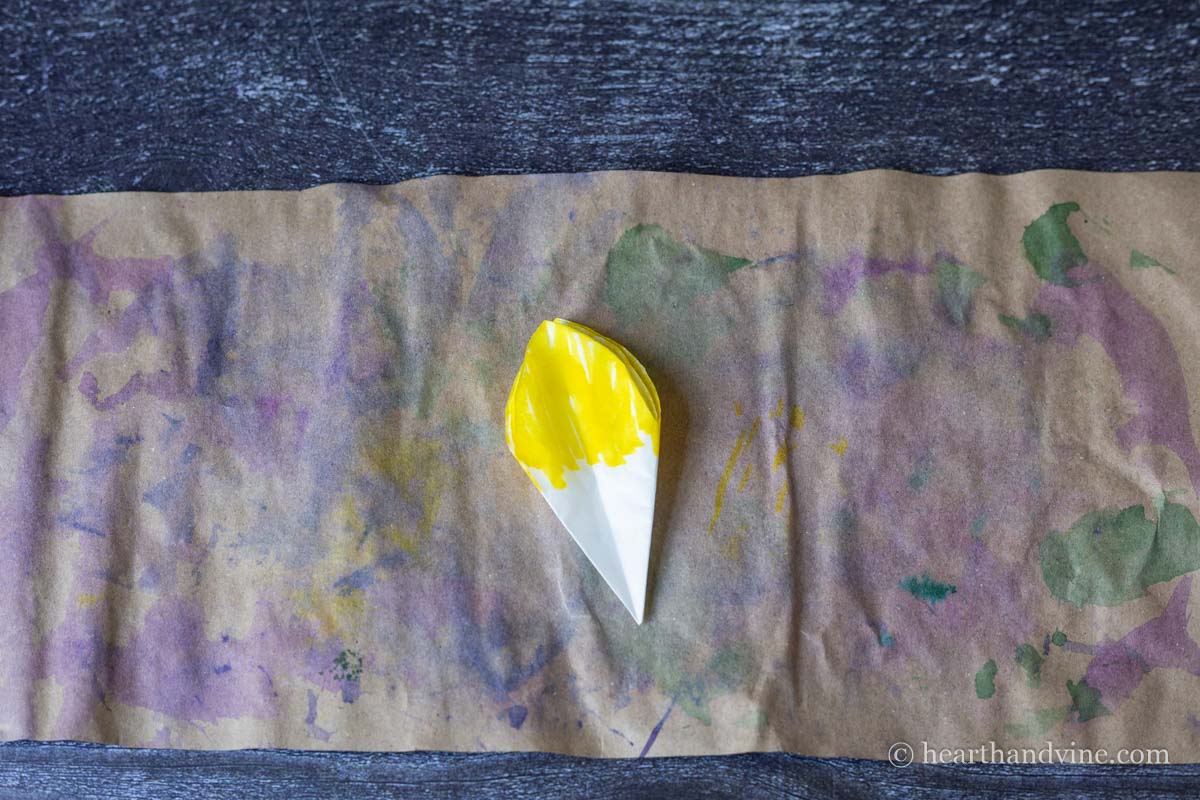
    Top of folded coffee filter colored in yellow.

    Step 4. Color the top of the cut coffee filter yellow. This will be the center of the flower.
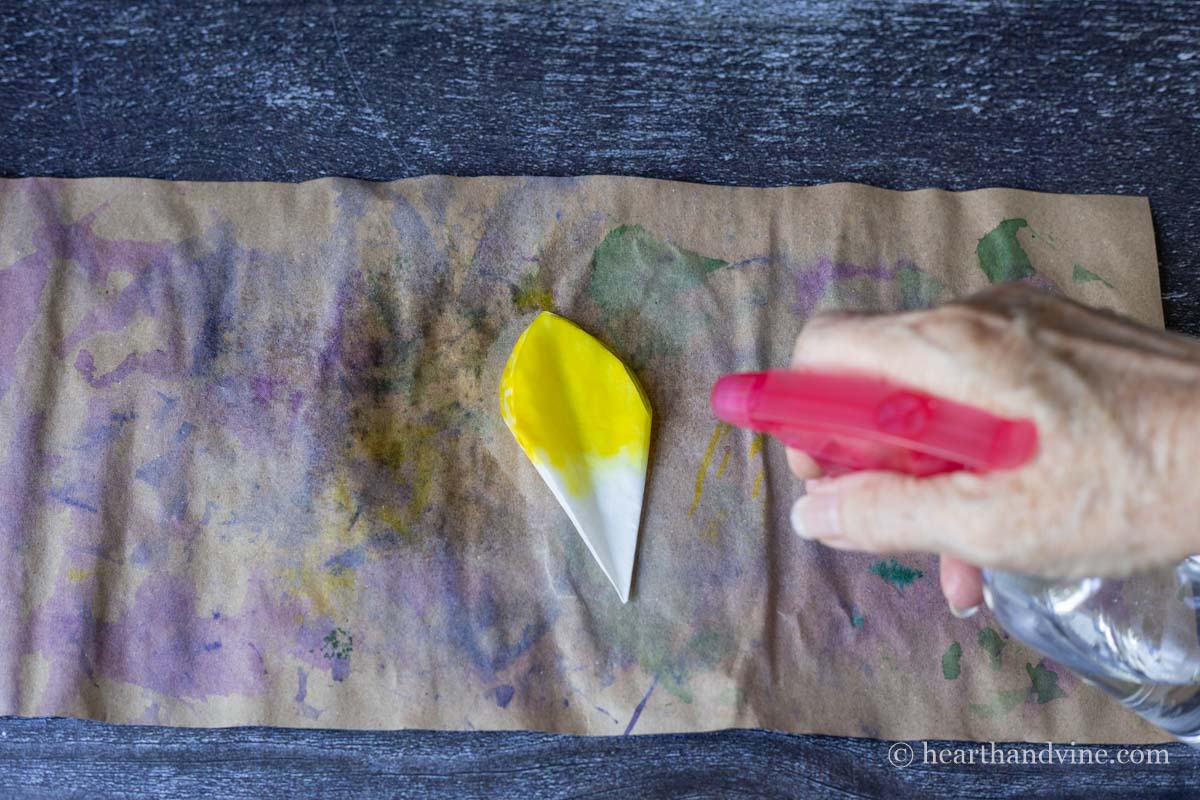
    Spraying water on yellow coffee filter.

    Step 5. Spray the yellow portion thoroughly with water. You will notice that the color spreads and fills in any gaps.
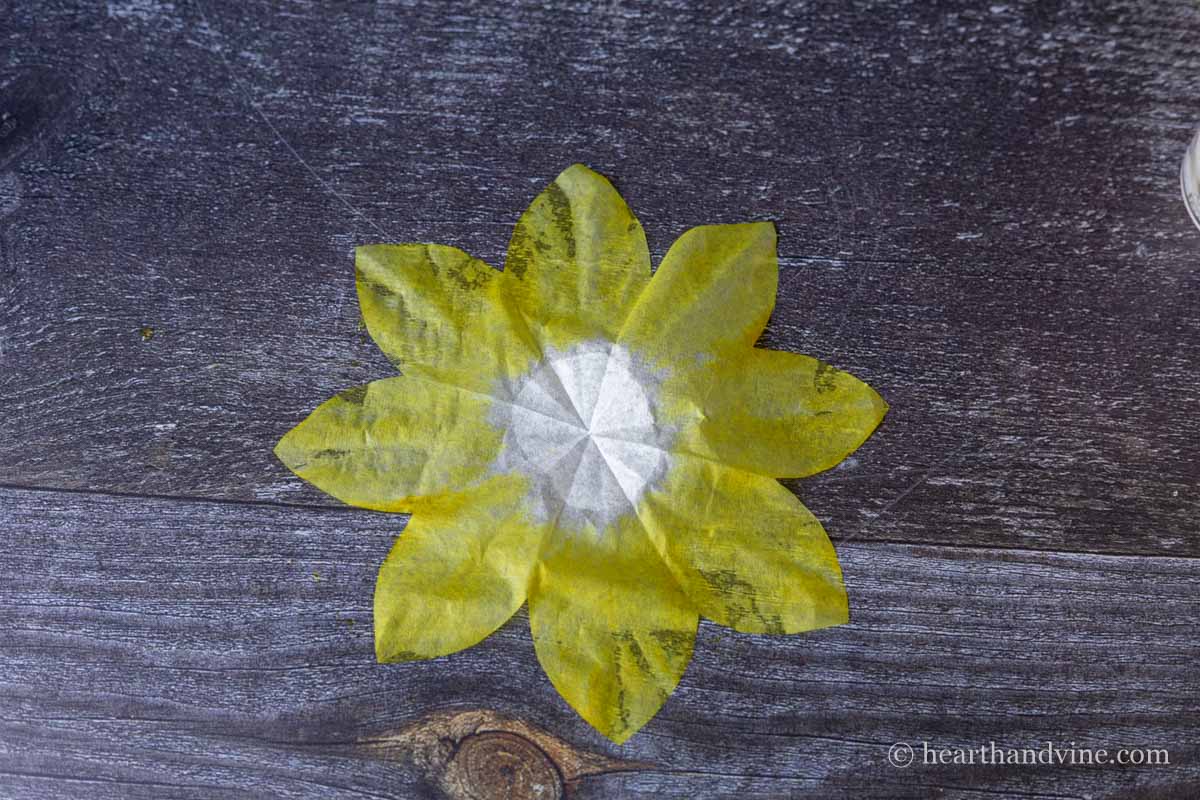
    Coffee filter flower open in yellow.

    Step 6. Open the filter. You now have an 8-petal flower shape. Let it dry.
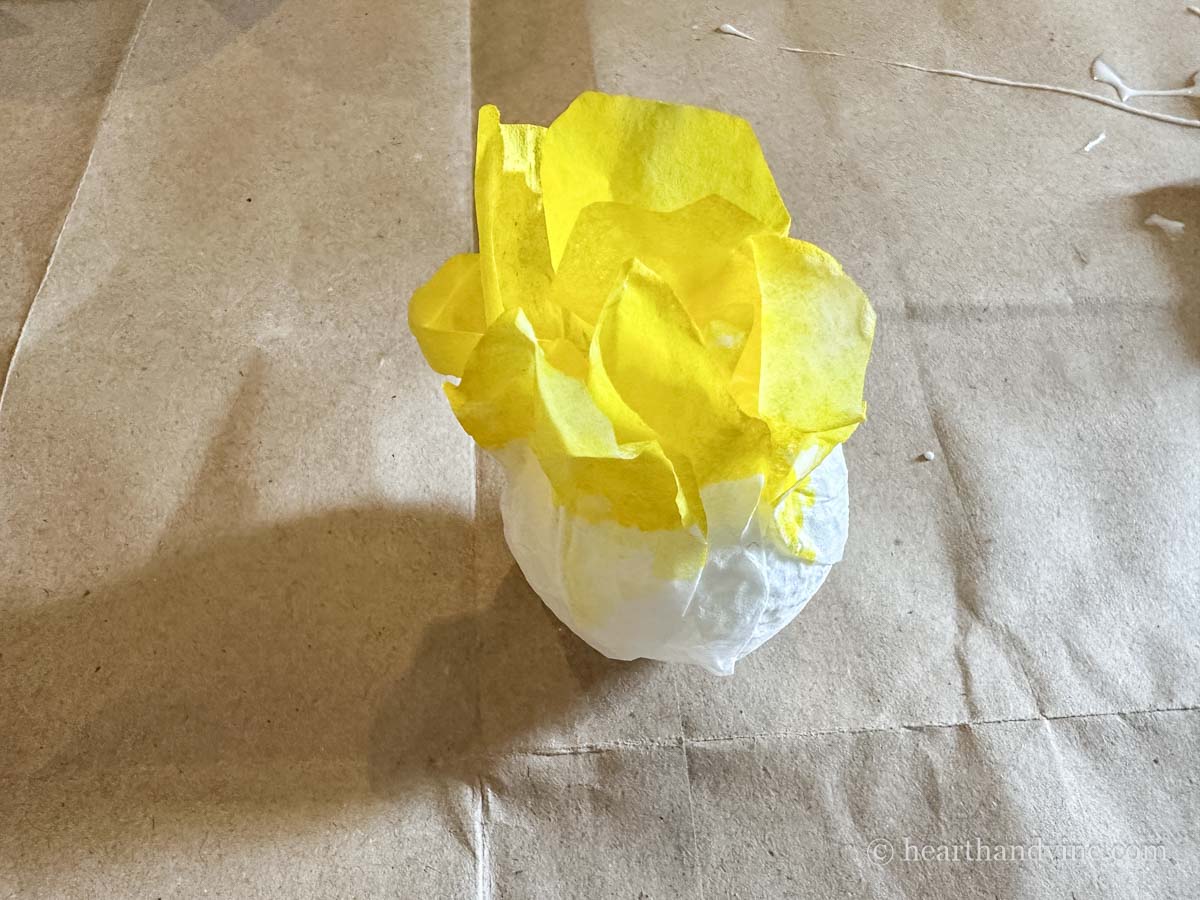
    Yellow coffee filter flower glued to a styrofoam ball.

    Step 7. Once dry, glue the center to a foam ball, combining the yellow petals at the top center.
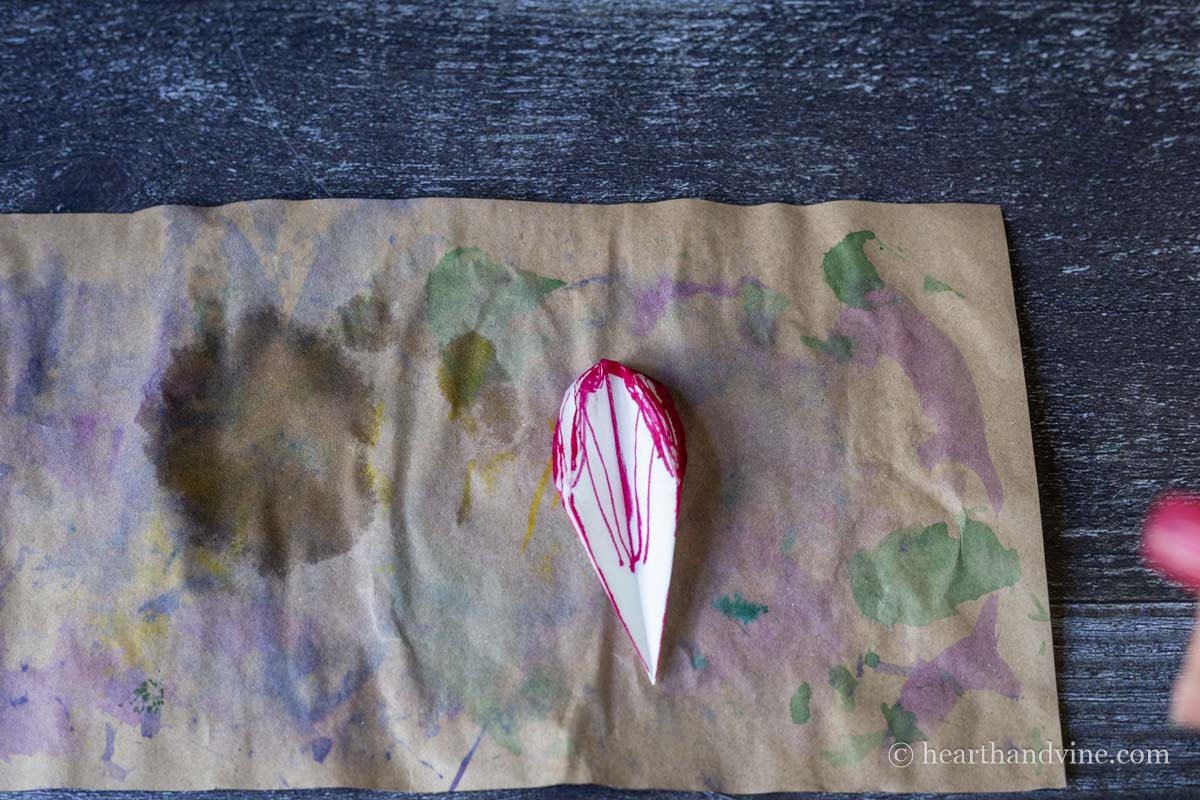
    Folded coffee filter colored edges with pink marker.

    Step 8. Now create the outer petals. Fold a new coffee filter the same way. This time use a different color. Note: If you color the edges as shown above, you get a different effect after spraying it with water.
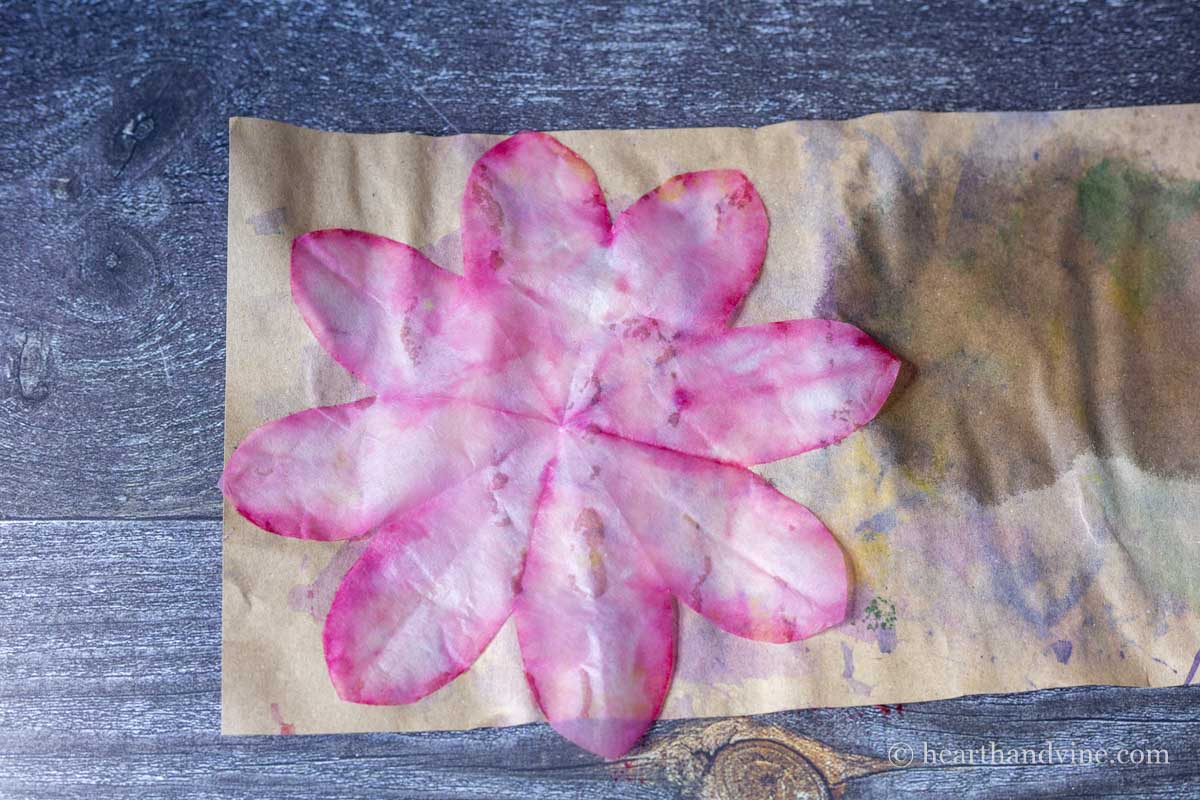
    Pink coffee filter flower drying.

    Once it dries, the color is stronger on the edges. You can play around with various color placement, including dots, to see what you like.
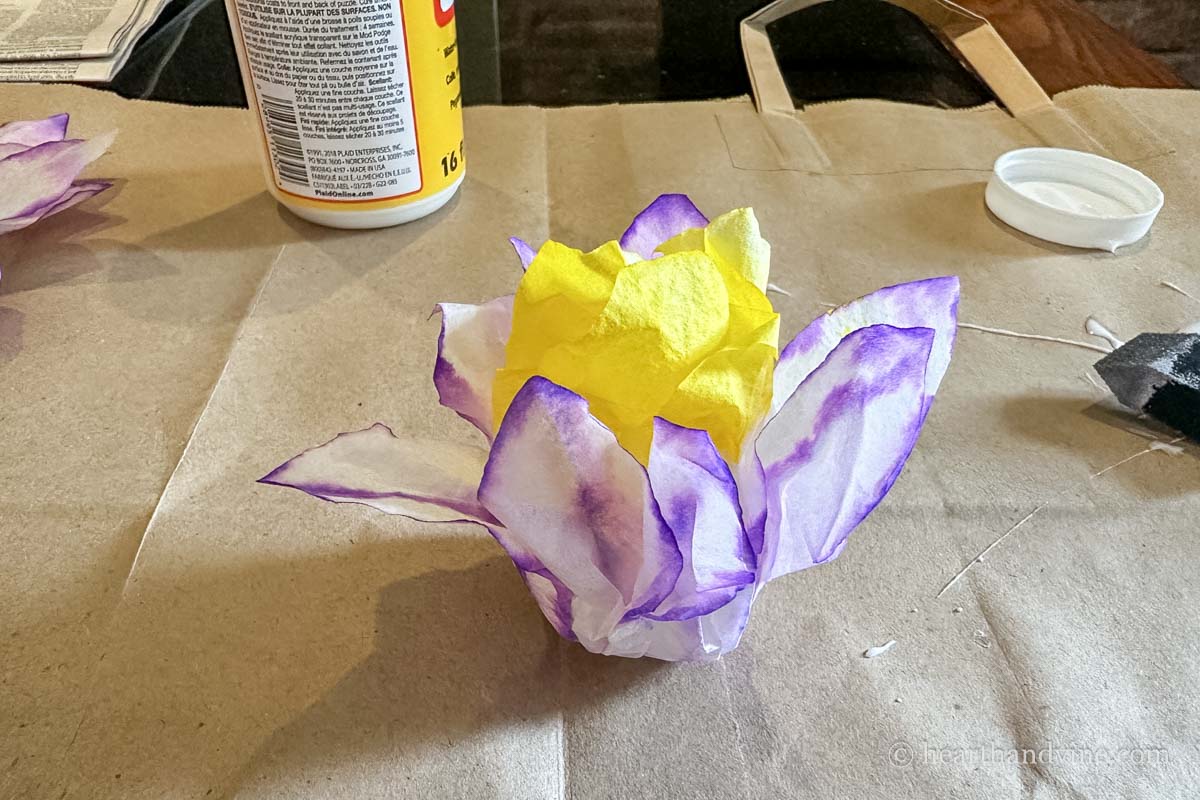
    Purple edged coffee filter flower glue onto ball with yellow center.

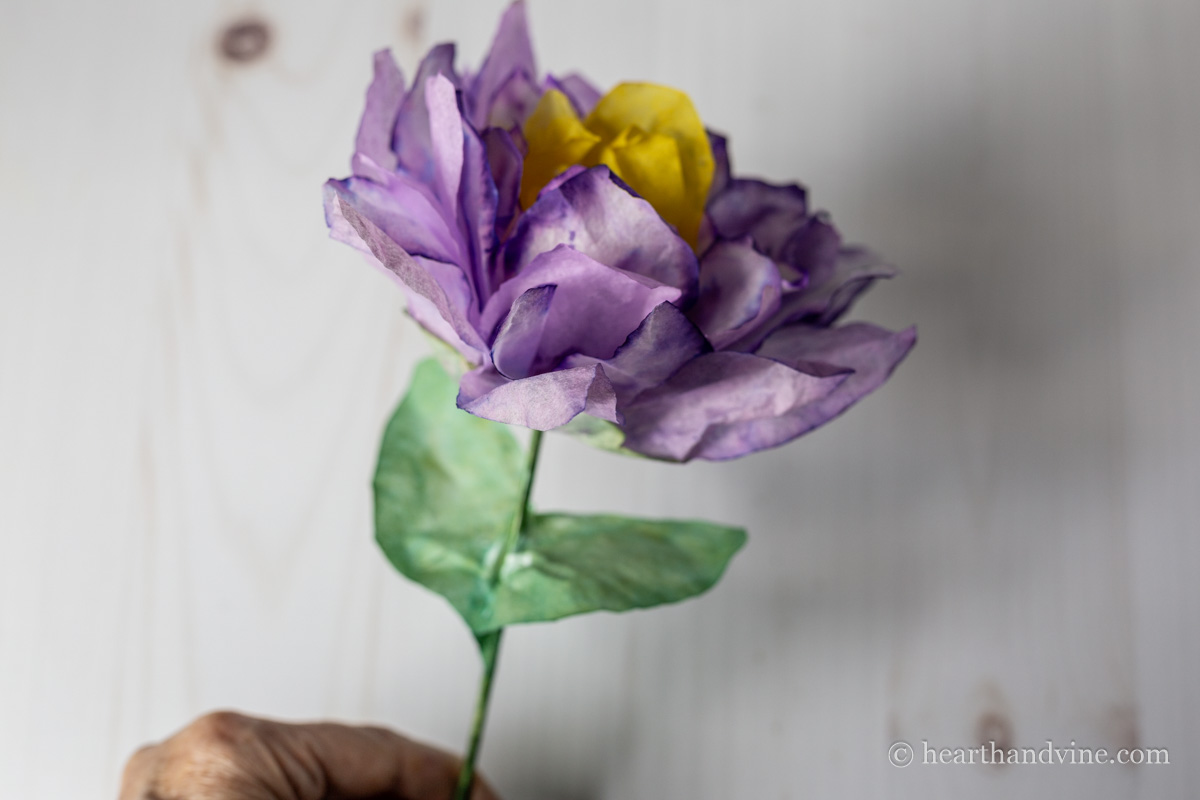
    Step 9. Add these filters to the bottom of the ball with more glue.

    Continue adding petal filters until you get the result you like. I used about 3 petals for my flowers.
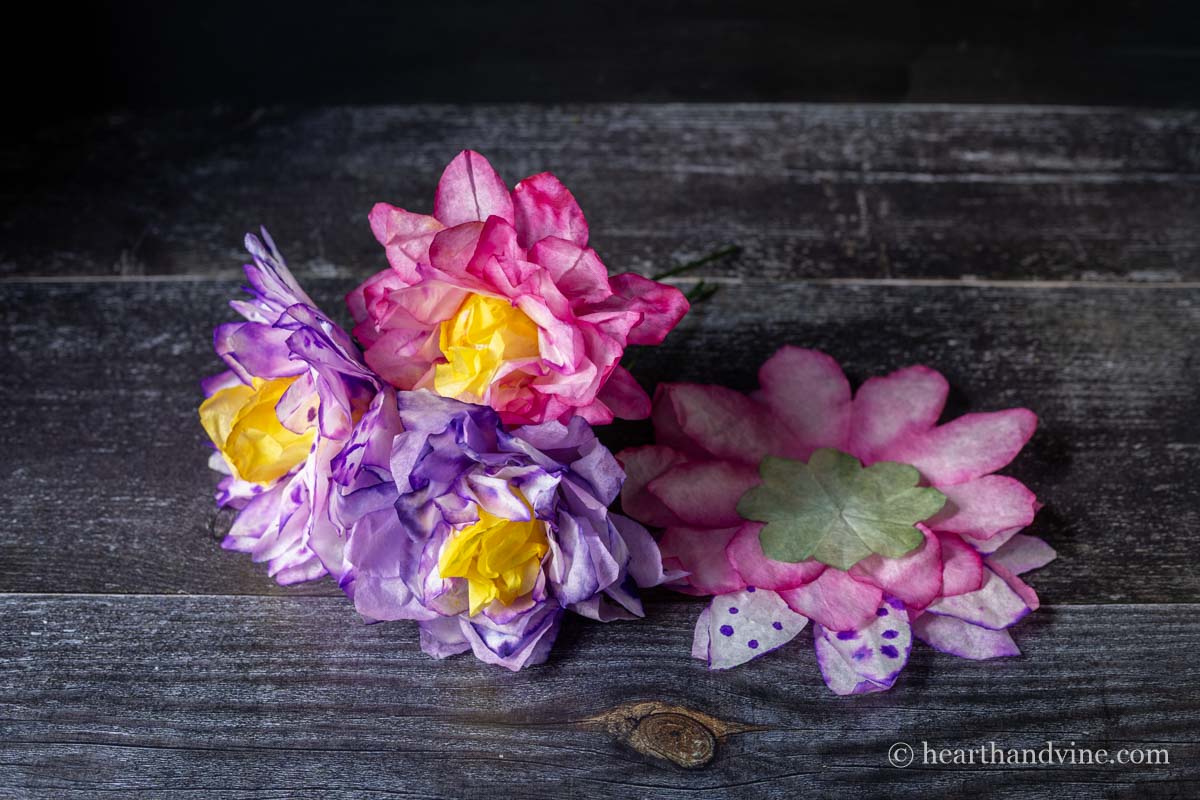
    Coffee filter flowers with a few sections on the side.

    Play around with different levels of saturation and different colors. I also made one with dots like a lily flower.
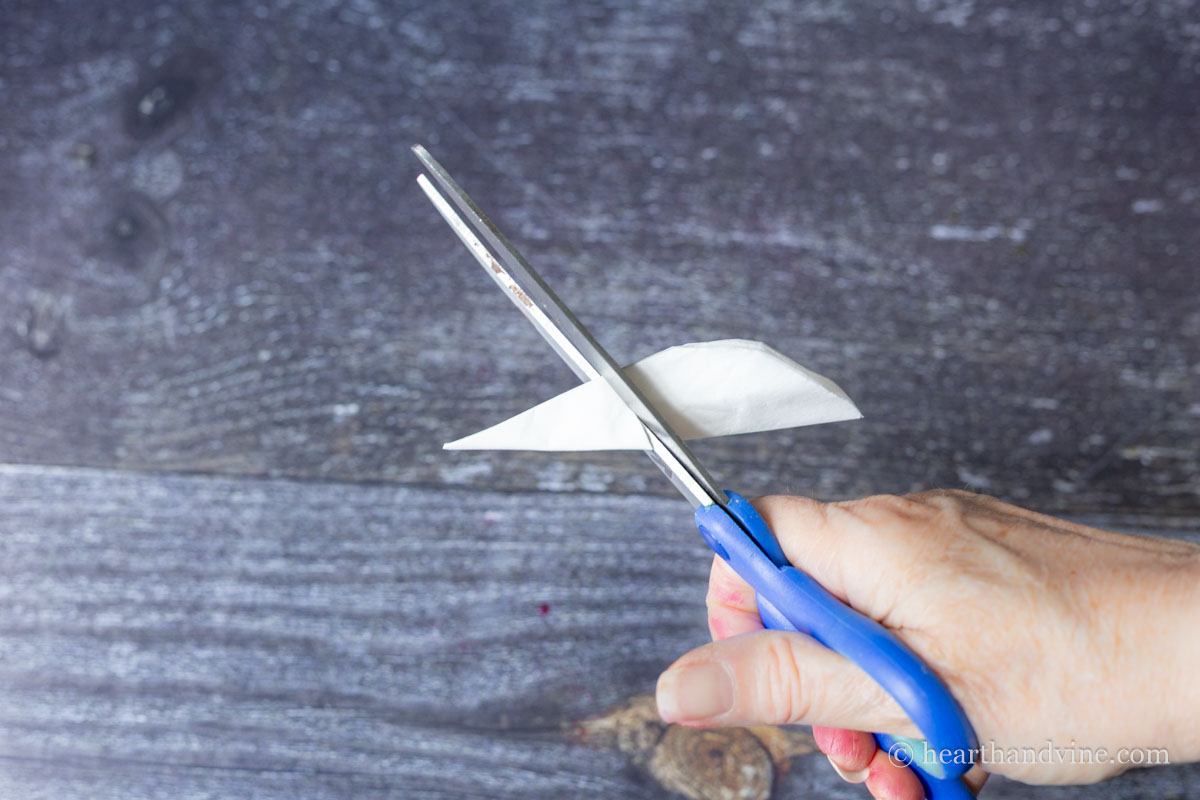
    Cutting a small flower.

    Step 10. Make sepals at the bottom by cutting the folded filter smaller (see above) and coloring it green.
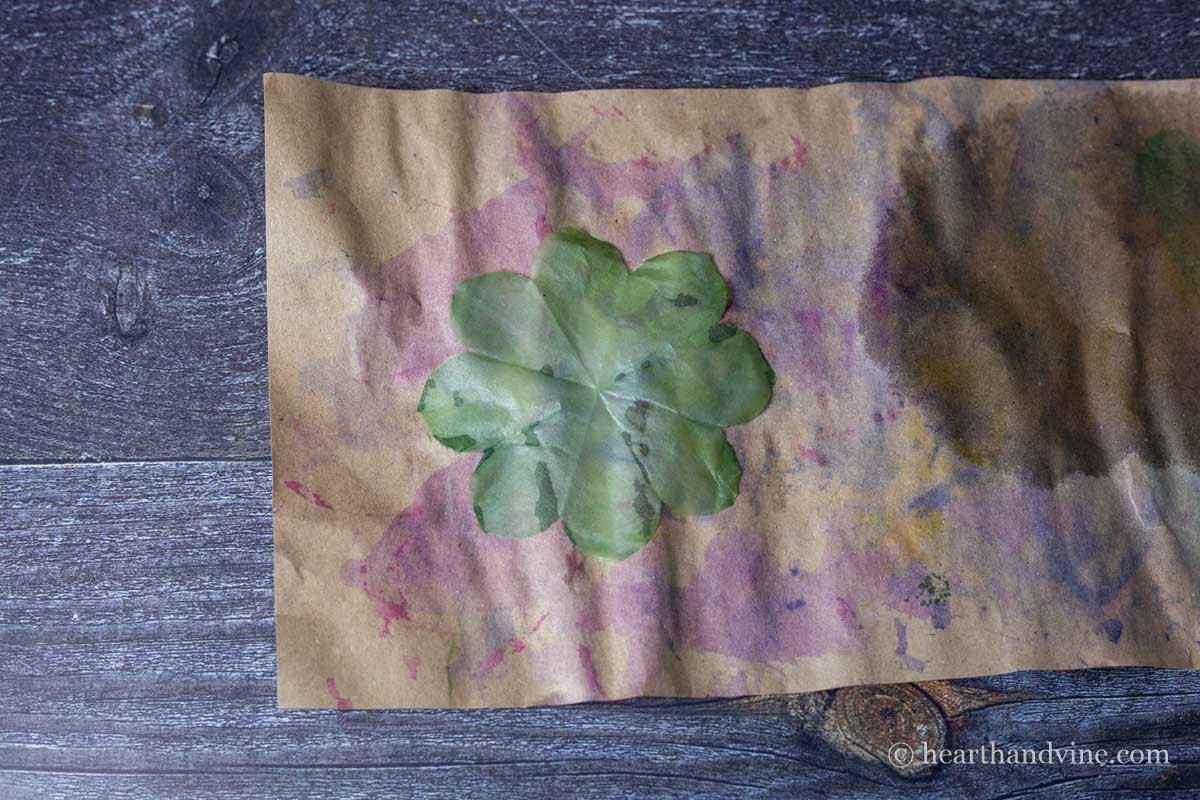
    Green smaller coffee filter flower drying.

    It's basically the same shape but smaller.
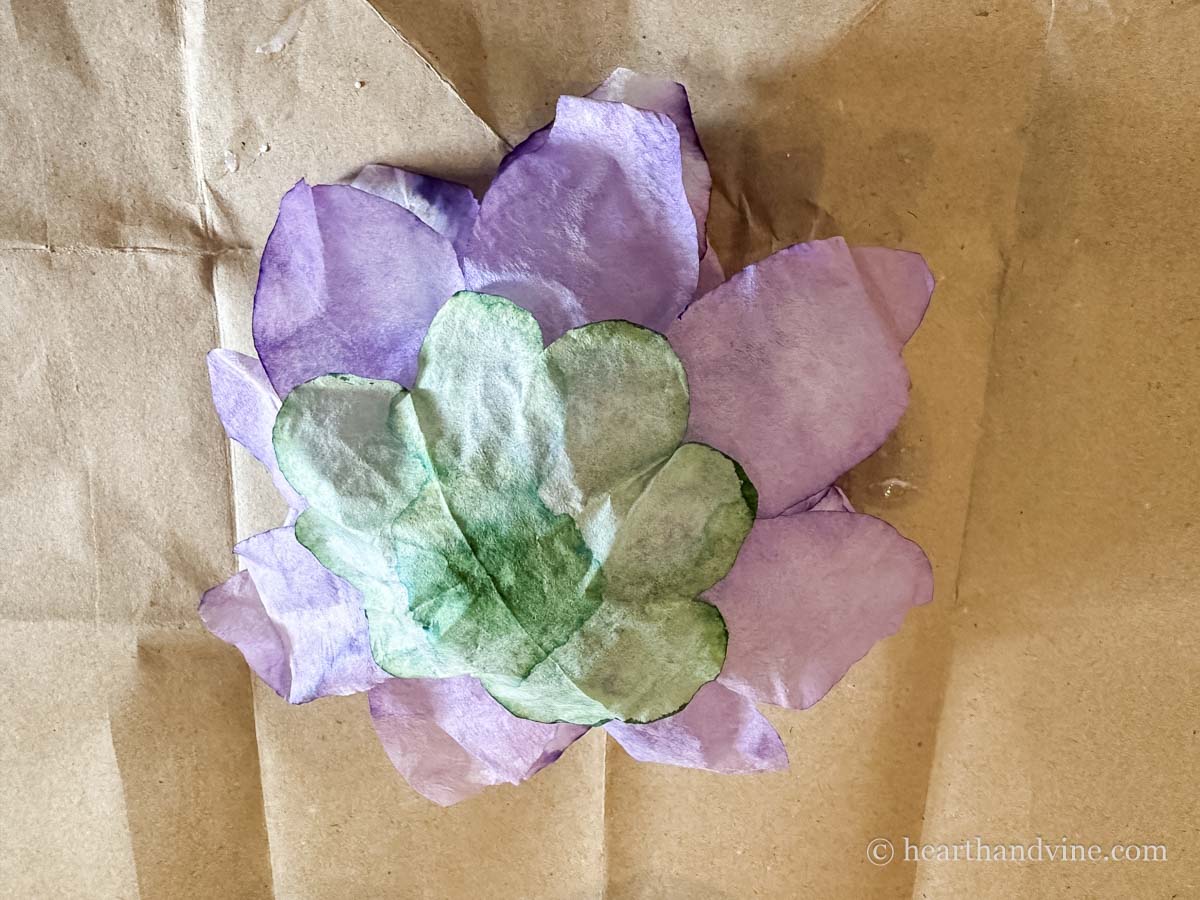
    Green flower glued to the base of the flower.

    Step 11. Glue the green part (sepals) to the bottom.
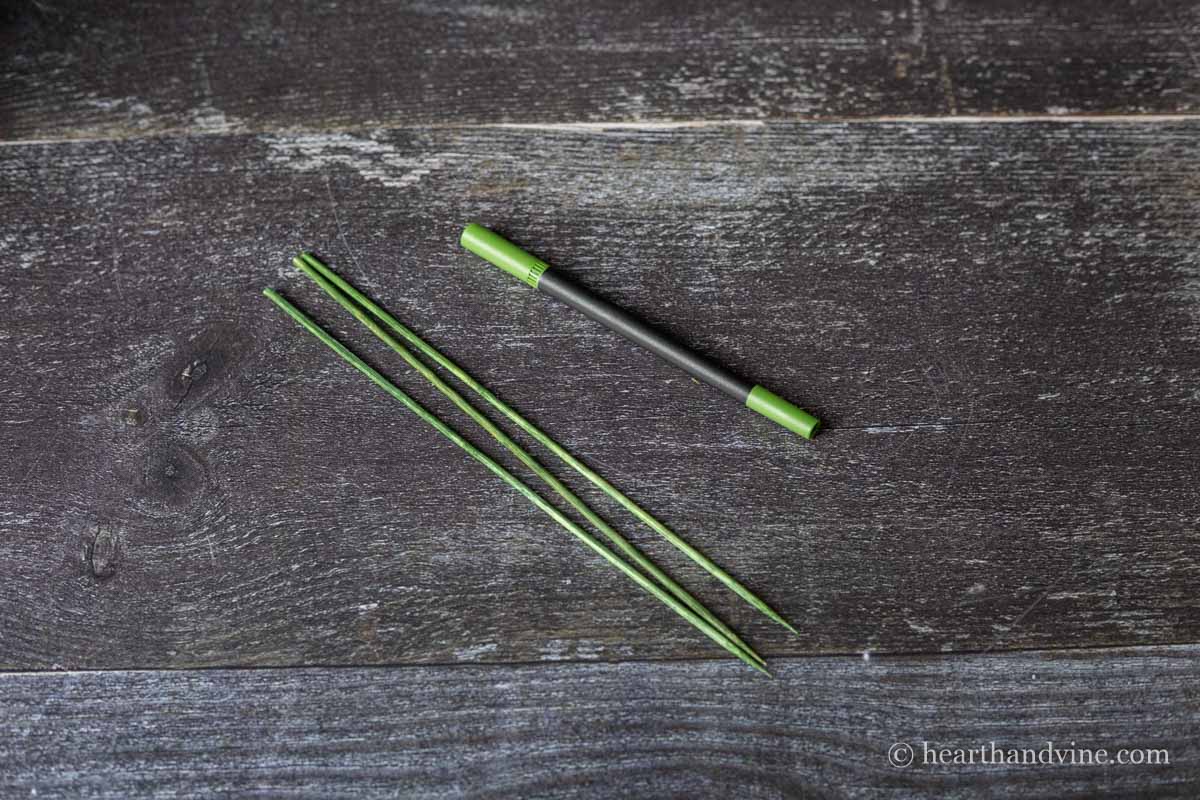
    Wooden skewers colored green with a marker.

    Step 12. Color wooden skewers with a green marker. Push one into the bottom of the flower to act as a stem.
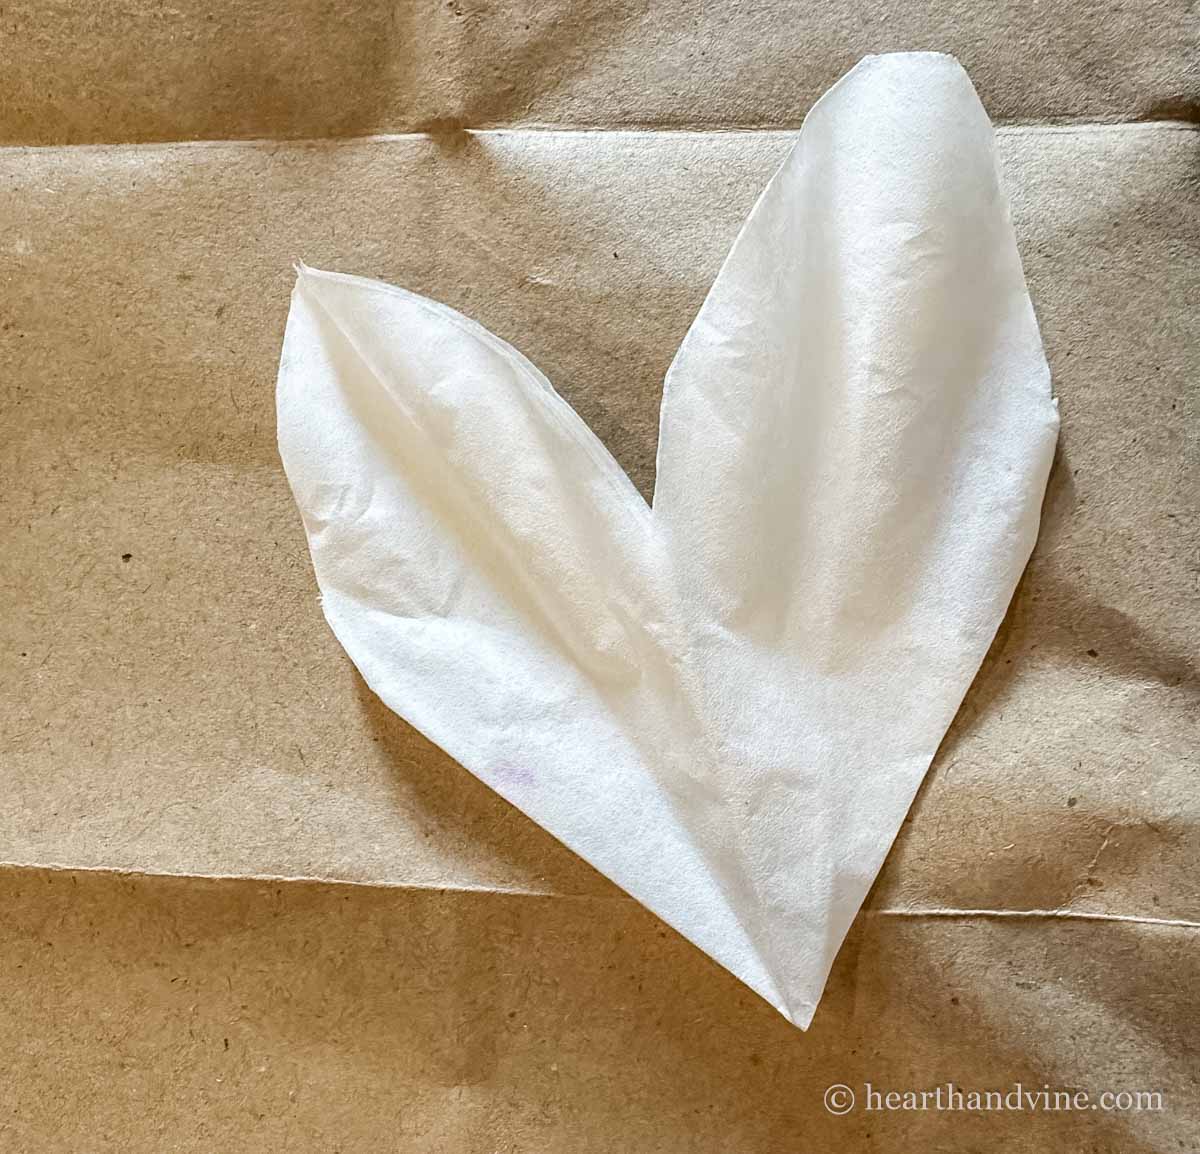
    Coffee filter flower cut into segments.

    Step 13. Separate a folded coffee filter to make leaves.
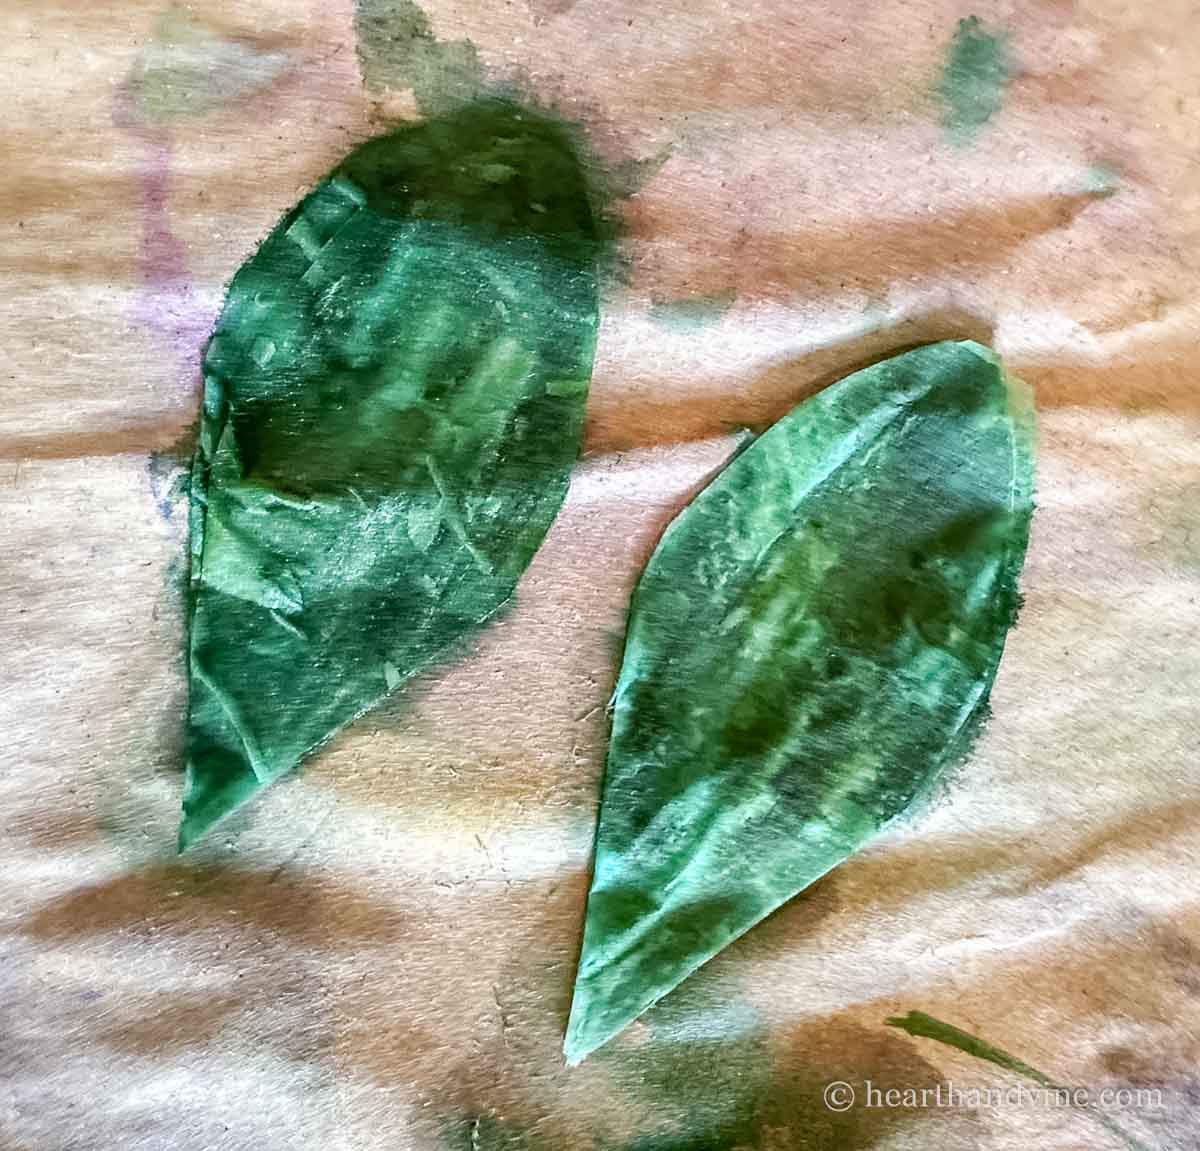
    Green coffee filter leaves.

    Step 14. Color them green.

    Green coffee filter leaves glue to skewer.

    Attach the leaves with more glue to the skewer.
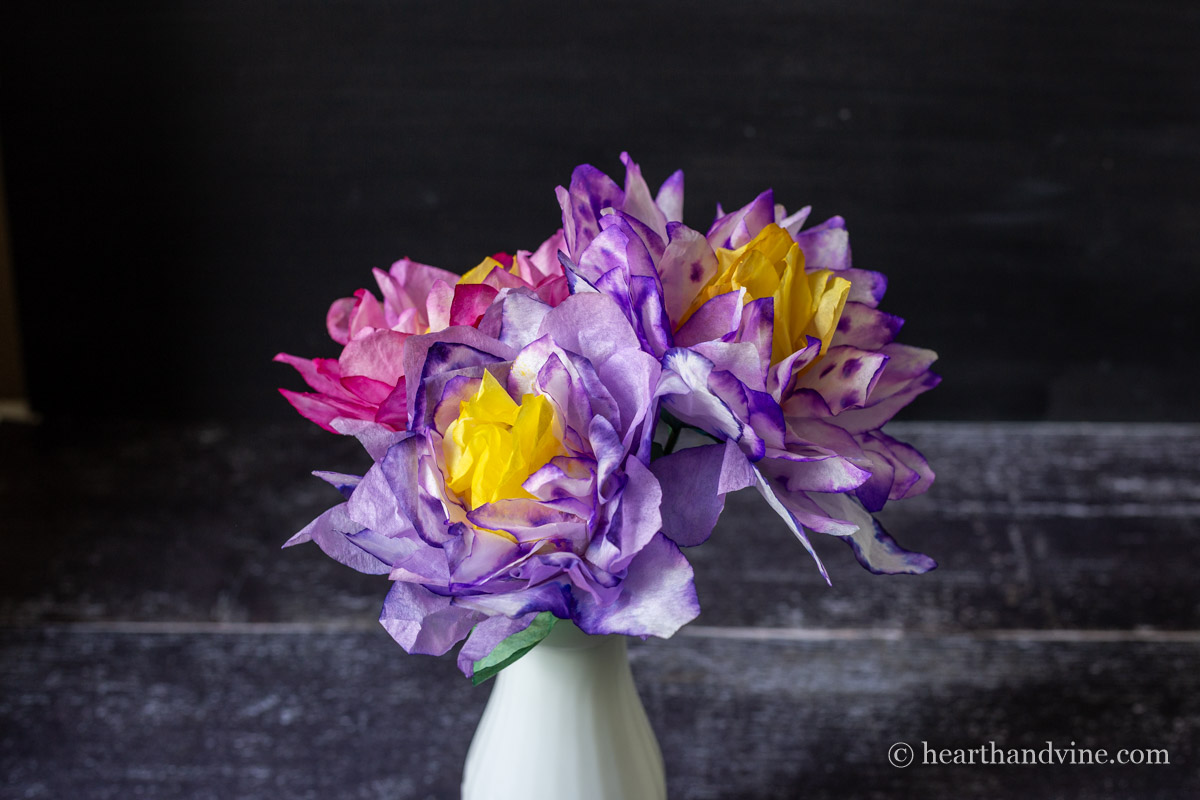
    Three coffee filter flowers in a white milk vase.

    So fun and so easy. Pretty enough for adults but easy enough to do with kids. In fact, I really think if you took your time and worked with different combinations, you could make flowers pretty enough for a sustainable wedding arrangement or bouquet.


    Patti signature
    Coffee filter flowers in a white milk vase.
    Print
    5 from 1 vote

    How to Make Coffee Filter Flowers

    Learn how to make beautiful paper flowers from coffee filters with this easy to follow tutorial.
    2 hours hrs
    Course: Crafts, Flower Crafts/Decor

    Equipment

    • Scissors
    • Sponge brush
    • Spray bottle

    Materials

    • coffee filters
    • water-based colored markers
    • mod podge or white glue
    • styrofoam balls 2 inch
    • wooden skewers

    Instructions

    • Fold a coffee filter in half. Then fold it in half 3 more times.
    • Cut the wide end on a curve.
    • Color the top half with a yellow marker or any color you want for the center of the flower.
    • Spray the colored, folded coffee filter with water.
    • Open the filter and let it dry.
    • Center and glue the dried yellow flower around a styrofoam ball.
    • Make several more flowers with coffee filters with colors you want for the petals.
    • Glue them onto the ball with the yellow filter and add as many as you like.
    • Make another filter flower, but this time cut the curve shorter.
    • Color the smaller one in green for the base of the flower and glue it on top.
    • Color wooden skewers green for stems.
    • Press the skewers into the bottom of the ball covered in filter flowers.
    • Add green leaves by cutting a green filter flower apart and gluing them to the skewer.
    Tried this project?Tag @hearthnvine on Instagram
    « Easy Chicken Piccata Without Capers

    About Patti Estep

    Patti is the creator of Hearth and Vine, a home and garden blog filled with projects to inspire your creative side. She loves crafting, gardening, decorating and entertaining at her home in Pennsylvania. When she is not working on a project at home or searching for treasures at nurseries and thrift stores with her girlfriends, you’ll probably find her with family and friends, at a restaurant, or home party enjoying new and different food adventures.

    Reader Interactions

    Comments

    1. Eva Toole

      August 10, 2026 at 6:58 am

      5 stars
      These are beautiful!

      Reply
      • Patti Estep

        August 10, 2026 at 7:14 am

        ​Thanks Eva. You should try them. They were so fun and easy.

        Reply
    5 from 1 vote

    Leave a Reply Cancel reply

    Your email address will not be published. Required fields are marked *

    Recipe Rating


    Primary Sidebar

    Patti Estep Profile Picture

    Hi!

    I'm Patti

    Join me to create lots of fun DIY projects, including crafts, gardening, home decor, and tasty recipes

    More about me

    Popular Posts

    • Pressed flower are in two dark frames.
      DIY Pressed Flower Art
    • Pilea peperomioides
      Pilea Plant - The Pass It On Friendship Plant
    • Serving of cream of crab soup in a red bowl.
      Easy Cream of Crab Soup
    • Small indoor water fountain
      DIY Indoor Water Fountain
    • Chicken oscar on a plate
      Easy Chicken Oscar Recipe Made with Hollandaise Sauce
    • Fabric bowl covers in 3 prints
      How to Make Fabric Bowl Covers

    Footer

    ^ back to top

    About
    Contact
    Privacy Policy
    Disclosure Policy
    Terms of Service

    Sign Up Here!
    for our
    newsletter &
    special offers

    Follow Me

    facebook
    Pinterest
    instagram

    As an Amazon Associate, I earn from qualifying purchases. i.e. as an Amazon Associate, I earn from qualifying purchases.

    Copyright © 2026 Hearth and Vine

    Rate This Recipe

    Your vote:


    A rating is required
    A name is required
    An email is required

    Recipe Ratings without Comment

    Something went wrong. Please try again.