Learn how to decoupage on wood slices with pretty napkins to create beautiful coasters for your home or use as pretty handmade gifts.

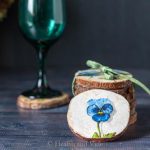
During the holidays I made decorative wood slice tree ornaments and had several slices remaining. One of my friends pointed out that they would make great coasters. At first, I didn't think that they were large enough but when we placed a wine glass on top it was easy to see that they were a perfect fit.
This post contains some affiliate links (that means if you make a purchase after clicking a link, there’s no additional cost to you, but I will earn a very small commission. ) i.e. as an Amazon Associate, I earn from qualifying purchases. Click here to read my full disclosure policy.
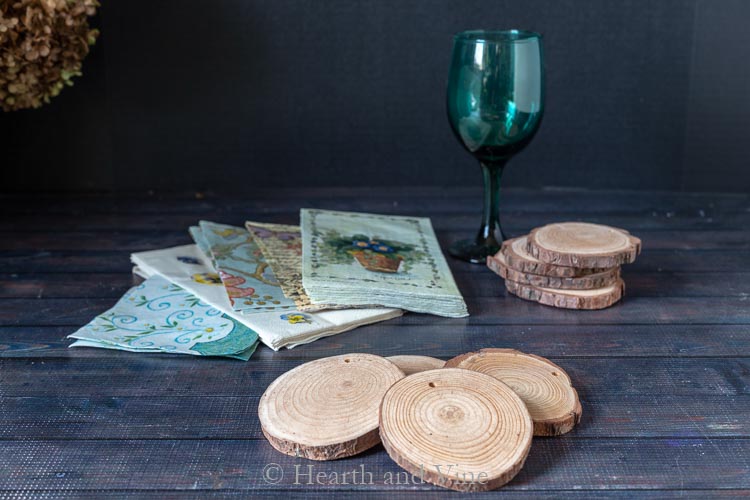
Supplies
Decorative napkins
Wood Slices
Mod Podge
Sandpaper
Dremel 2050-15 Stylo+ (optional)
How to Decoupage on Wood
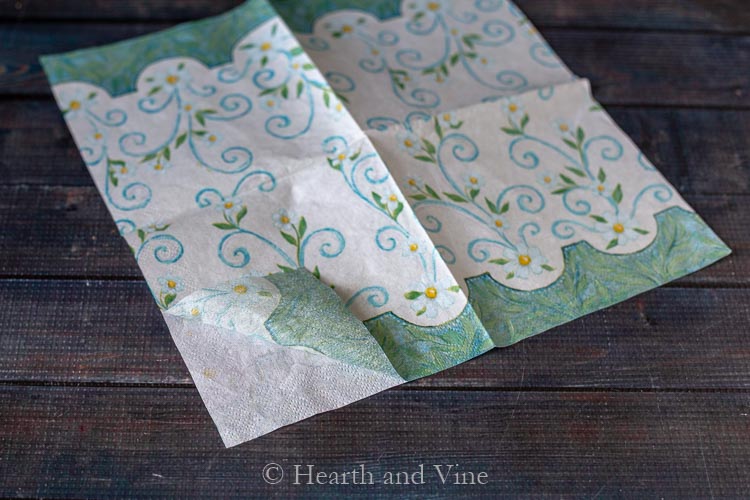
Take any decorative napkin and pull apart the layers using only the top printed layer. This top layer is very thin almost like tissue paper.
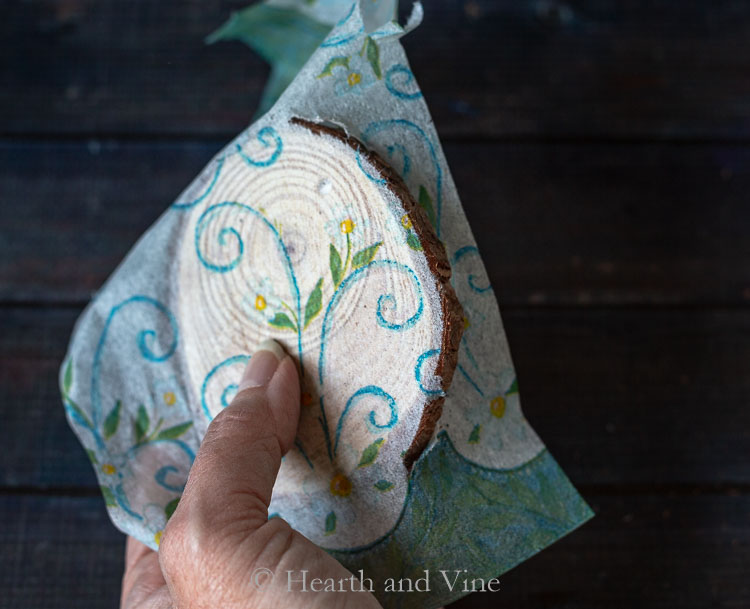
Brush a layer of Mod Podge on the wood.
Position the napkin over the wood slice to cover the area of the print you like best.
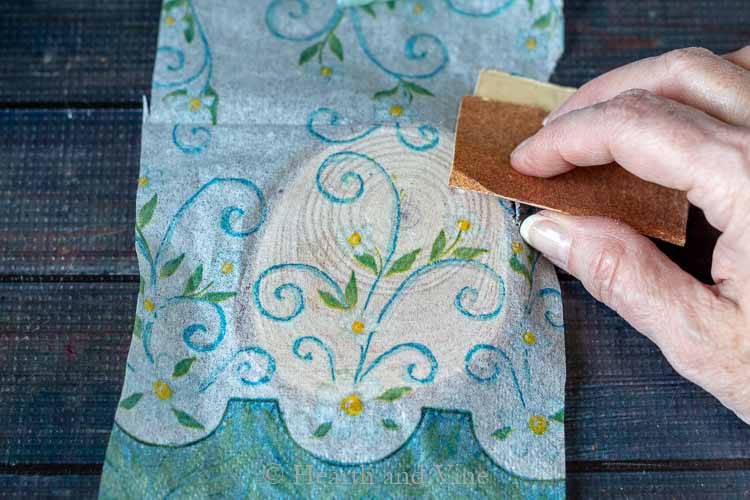
Use a piece of sandpaper to sand the napkin on the edges to remove the excess.
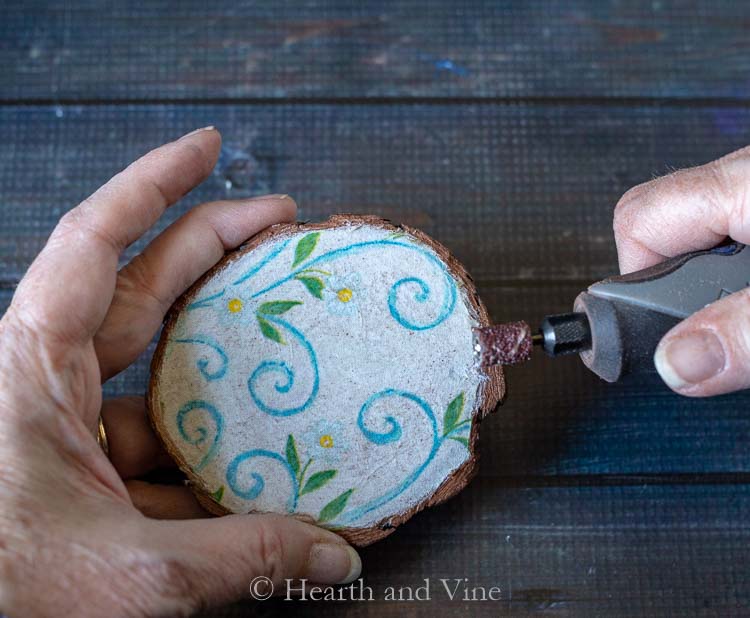
You can also use a Dremel tool with the sanding attachment to further sand the edges or random areas of the top to give the coaster a rustic look.
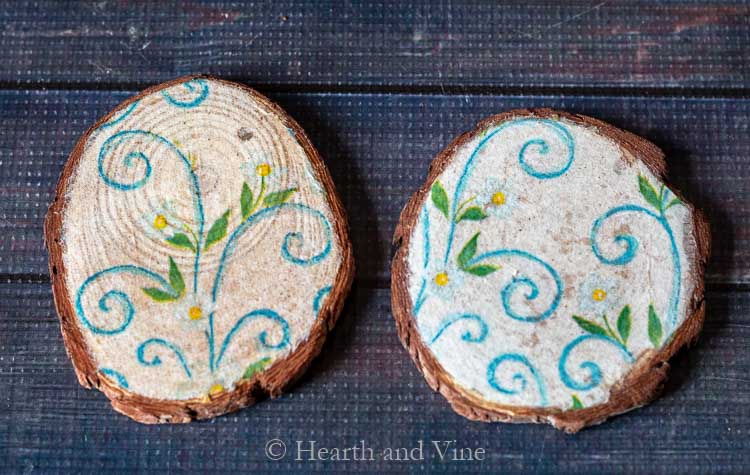
Here's the difference between using the top layer of the napkin and one with the plain backing and the top layer.
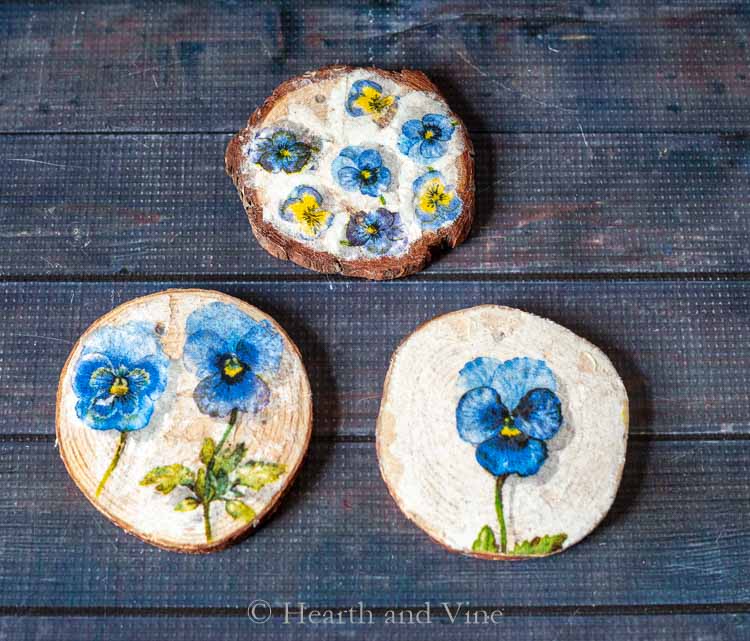
In this group, the top and left decoupage coasters were pieced together from different parts of the napkin. Sanding the edges removes some of the obvious breaks in the overall look.
When you are finished with sanding add another coat of Mod Podge to seal the top.
Other Wood Decoupage Materials
I really like the lightness of napkins but you can use other things materials as your decoupage paper.
- Tissue paper
- Wrapping Paper
- Scrapbook Paper
- Wallpaper
- Old Book Pages
- Image printed on an Inkjet Printer
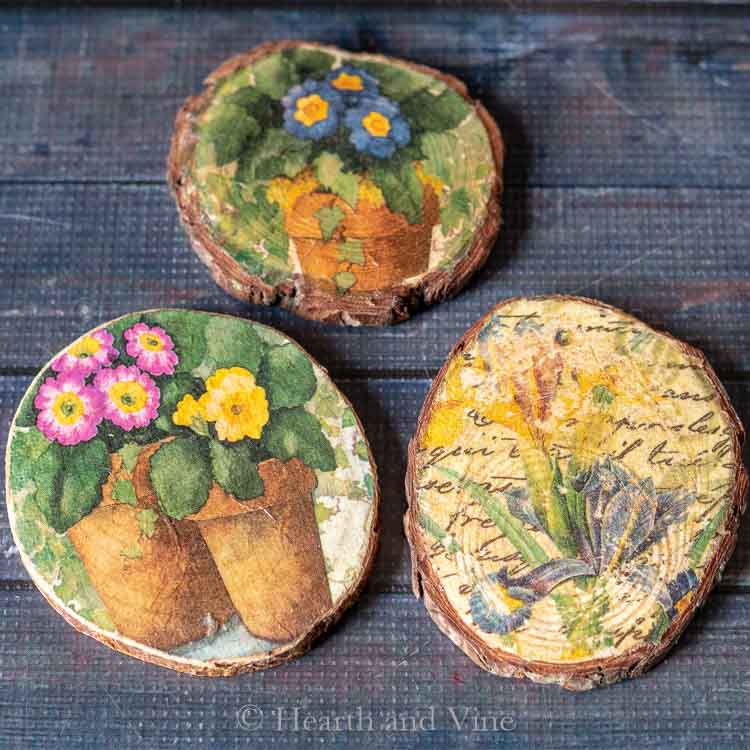
Tie a bunch of them up to give as a gift.
Wouldn't these make nice favors for a rustic wedding or shower?

More Decoupage Crafts

Wood Decoupage Coasters with Napkins
Equipment
- Mod Podge CS11303 Waterbase Sealer, Glue & Decoupage Finish, 32 oz, Matte Finish
- Paint Brush
Materials
- Decorative Napkins
- Wood Slices
- Mod Podge
- Fine-grit Sandpaper
- Dremel 2050-15 Stylo+ optional
Instructions
- Take any decorative napkin and pull apart the layers using only the top printed layer.
- Brush a layer of Mod Podge on the wood surface.
- Position the napkin over the wood slice to cover the area you want.
- Use a piece of sandpaper to sand the napkin on the edges to remove the excess.
- You can also use a Dremel tool with the sanding attachment to further sand the edges.
- Add another coat of Mod Podge to seal the top.
Bettsi
This is darling! I'll definitely try this craft- thank you!
Patti Estep
Thanks Bettsi. So glad you like it.
Denise
Those are so cute! Where do you come up with these ideas!