

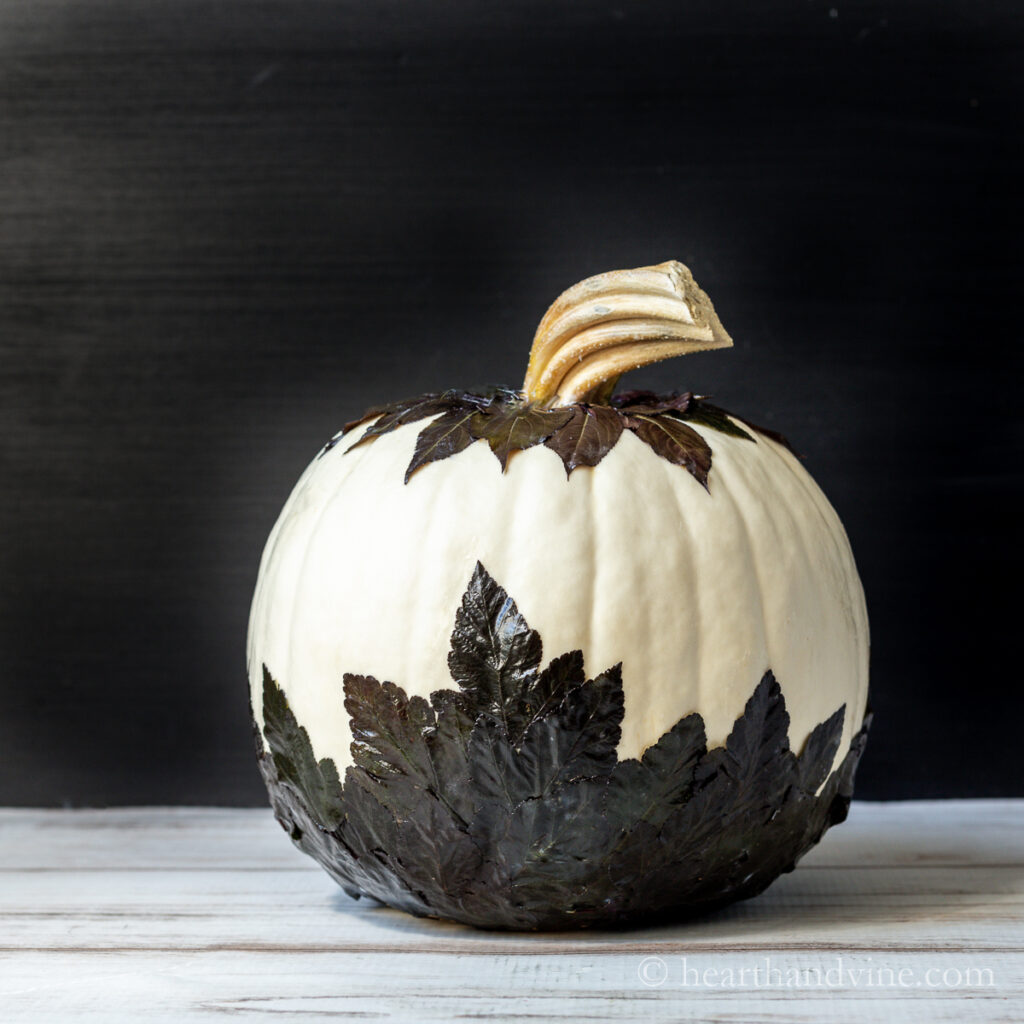
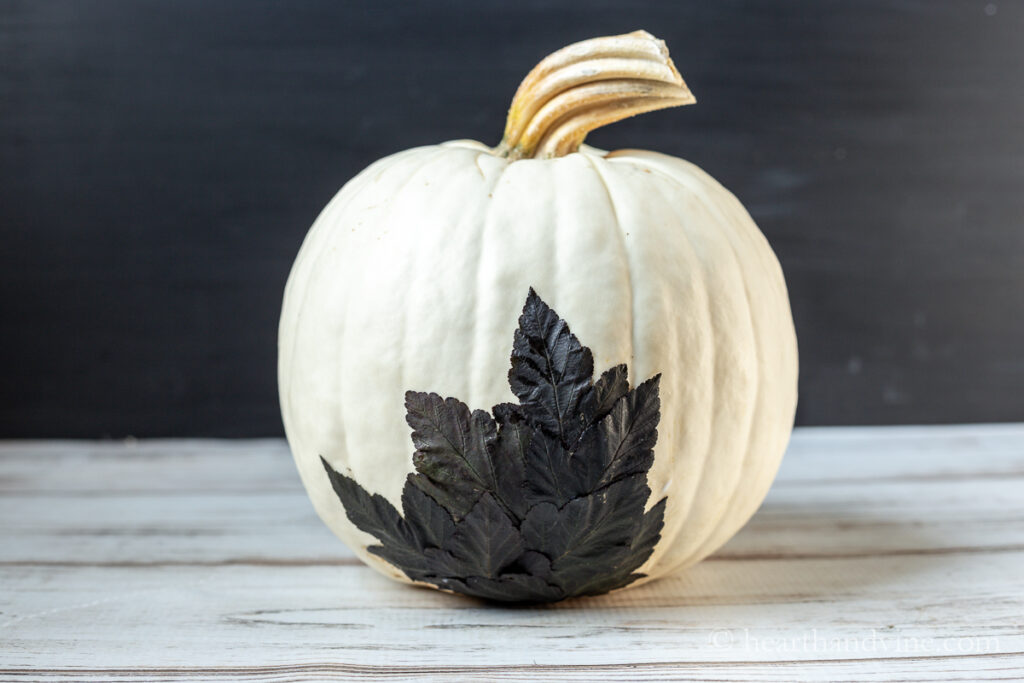
Decorating pumpkins with leaves from the garden is easy and creates a beautiful accent for your fall decor that will last several weeks.
It's that time of year well before Halloween when there are so many beautiful pumpkins on the market just about everywhere you go. This year I thought I'd try decorating a pumpkin with leaves for a no-carve look.
Carving pumpkins can be gorgeous but it can be difficult and the result doesn't last long as the pumpkin will rot fairly quickly. No carve decorated pumpkins should last for several weeks.
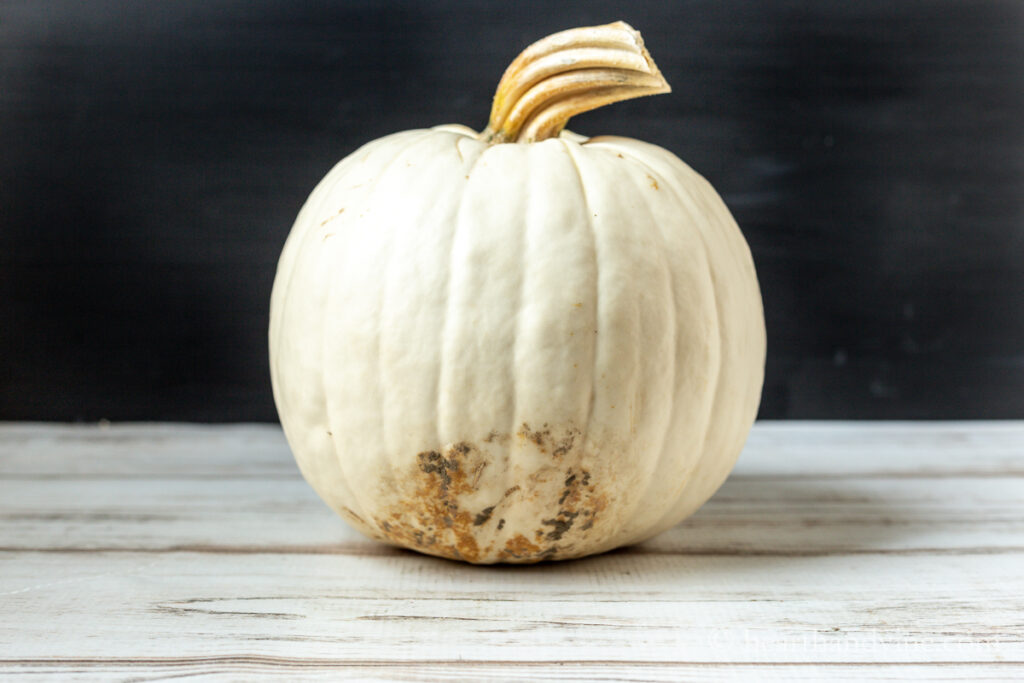
This pretty creamy white pumpkin I picked up had a big blemish area. I'm sure it's from the way the pumpkin sat in the garden patch. The unsightly area is what brought me to the idea of decoupaging some leaves on the pumpkin to hide the area and make the pumpkin look fun and festive.
This post contains some affiliate links (that means if you make a purchase after clicking a link, there's no additional cost to you, but I will earn a very small commission. ) i.e. as an Amazon Associate, I earn from qualifying purchases. Click here to read my full disclosure policy.
How to Decorate a Pumpkin with Leaves
I used leaves from my Ninebark 'Diablo' and Weigela 'Wine and Roses' shrubs. They both have beautiful dark leaves and give the pumpkin a pretty contrasting neutral look. However, you can use any leaves you want. In fact, I think fall colored leaves or pressed flowers would be gorgeous.

Step 1. Start by pressing your leaves to flatten them. Use some wax paper to protect the leaves and add some weight to the top of a sheet pan, books, or whatever you have on hand. I used the pumpkin for weight but food cans or anything heavy would work.
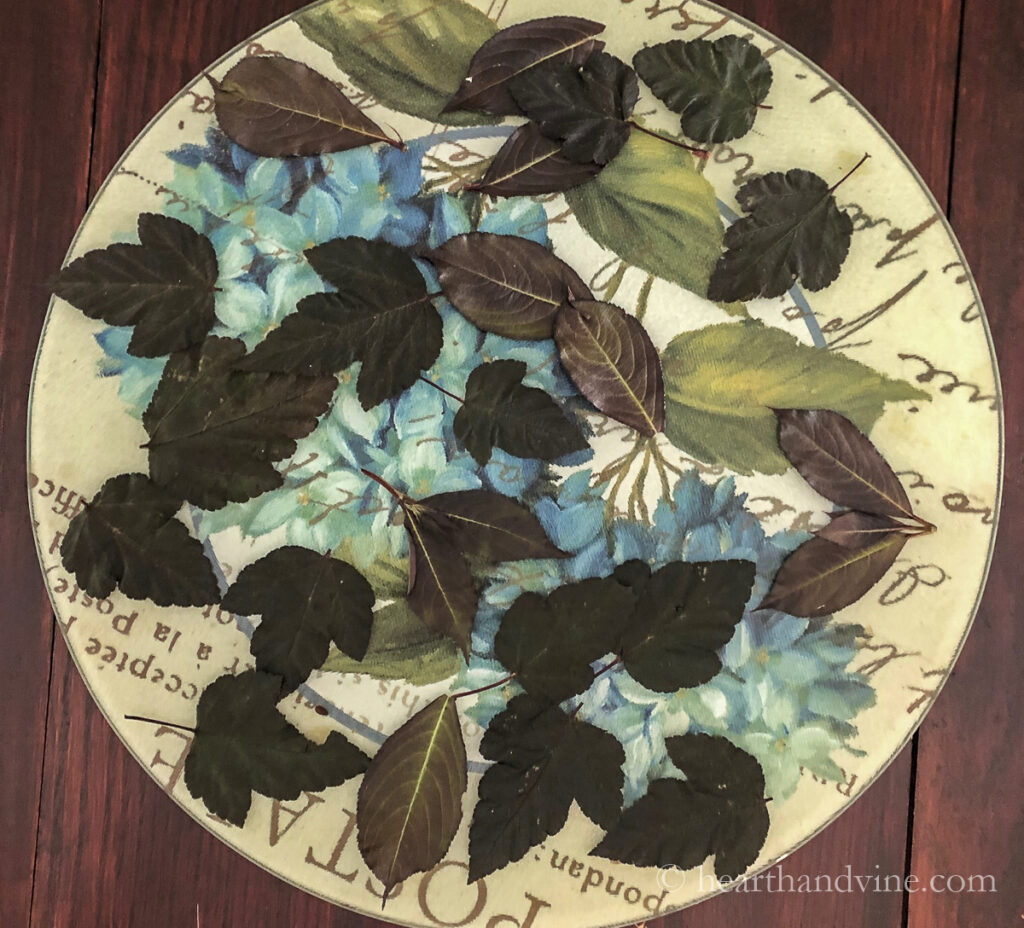
This will make the leaves easier to work with.
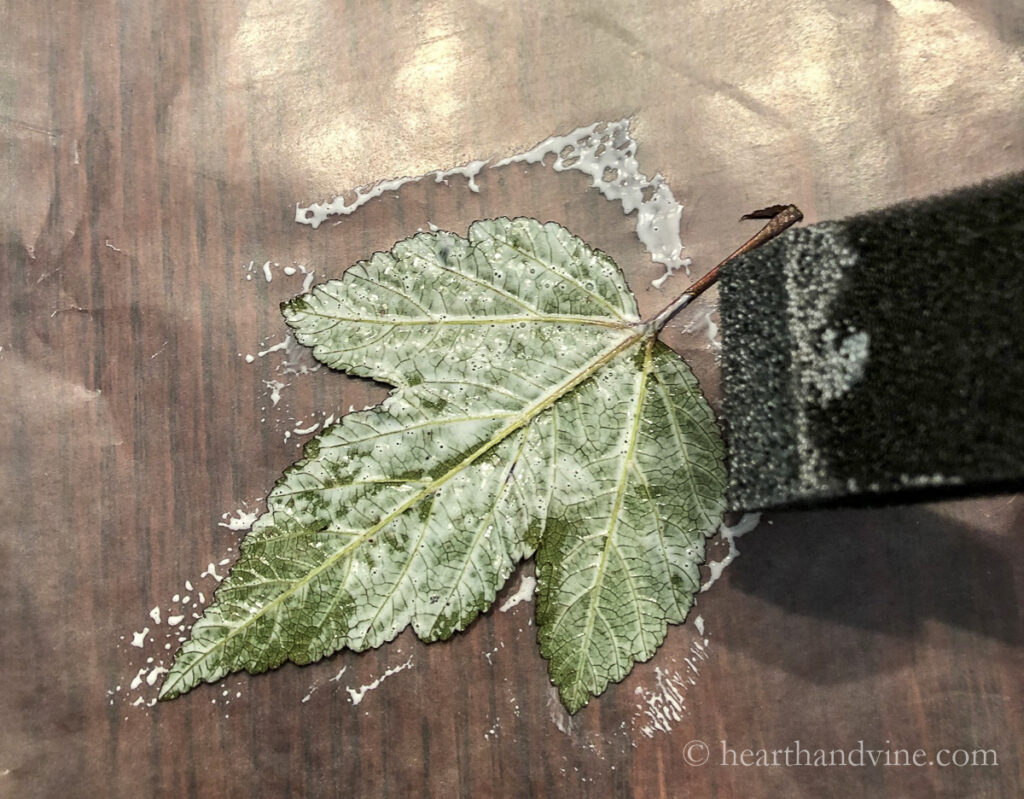
Step 2. Next coat the back of a leaf with Mod Podge using a sponge brush.
Step 3. Place the leaf on the pumpkin. Start with some of the larger leaves and overlap them as you cover the area.
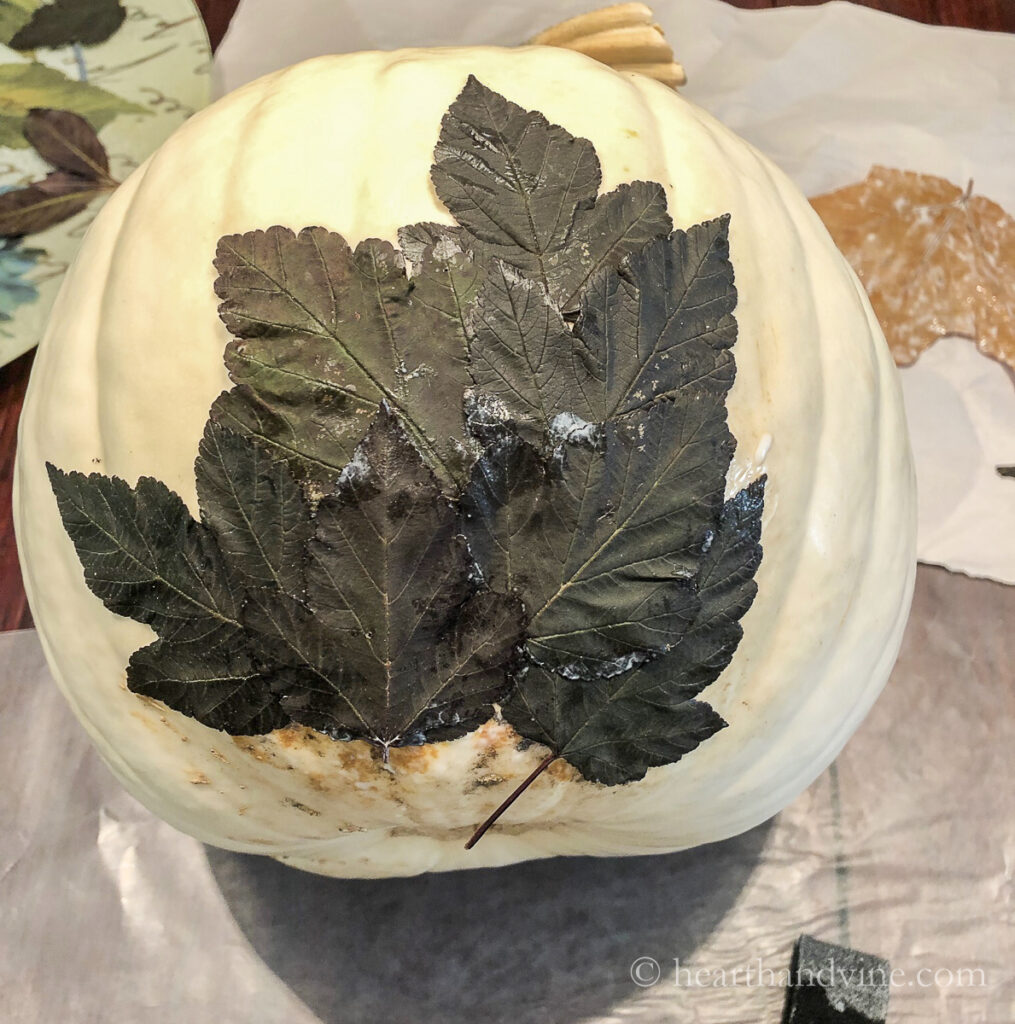
Step 4. Continue around the bottom of the pumpkin covering as much as you like.
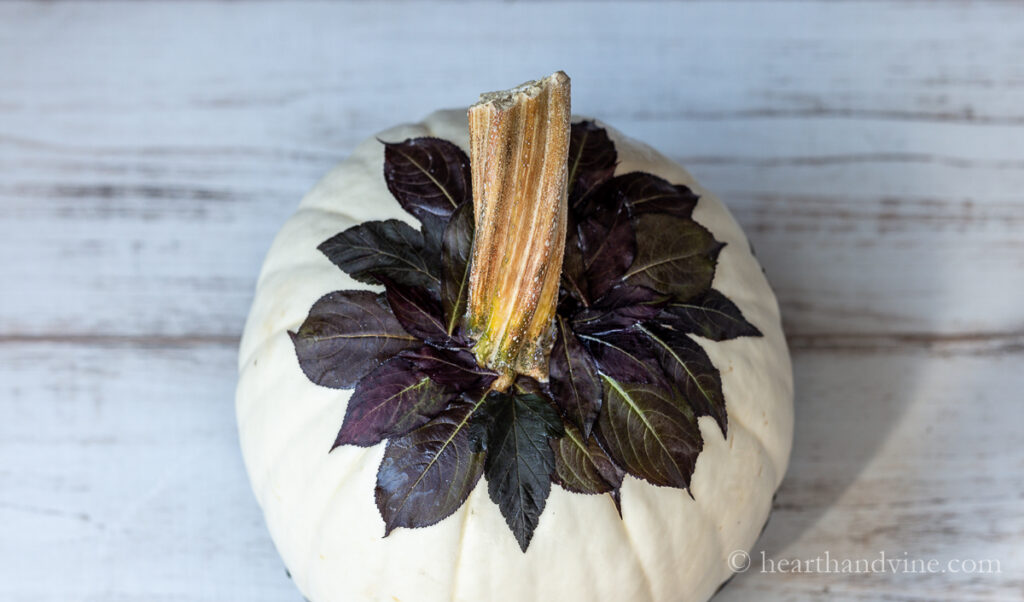
Step 5. Add some leaves to the top of the pumpkin too if you like in the same manner.
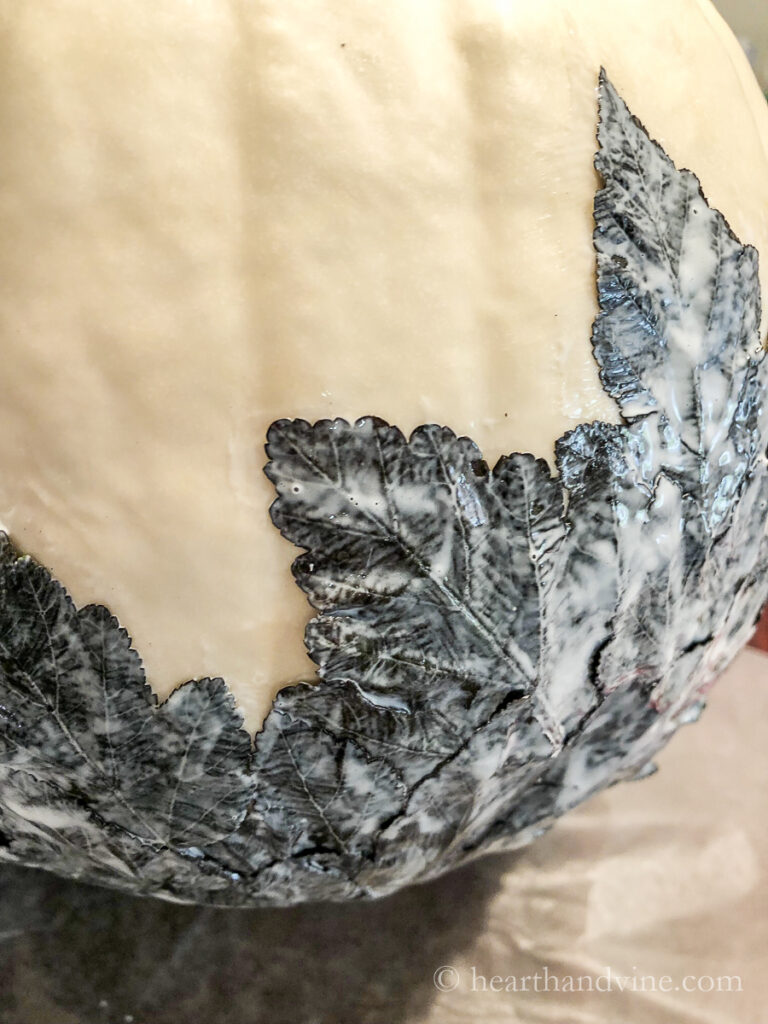
Step 6. Once you have your leaves in place let them dry a little (about 20-30 minutes.) Then completely coat the top of the leaves with more Mod Podge.

Step 7. Once the glue dries completely set it anywhere you'd like. Don't you think it would make a beautiful fall centerpiece?
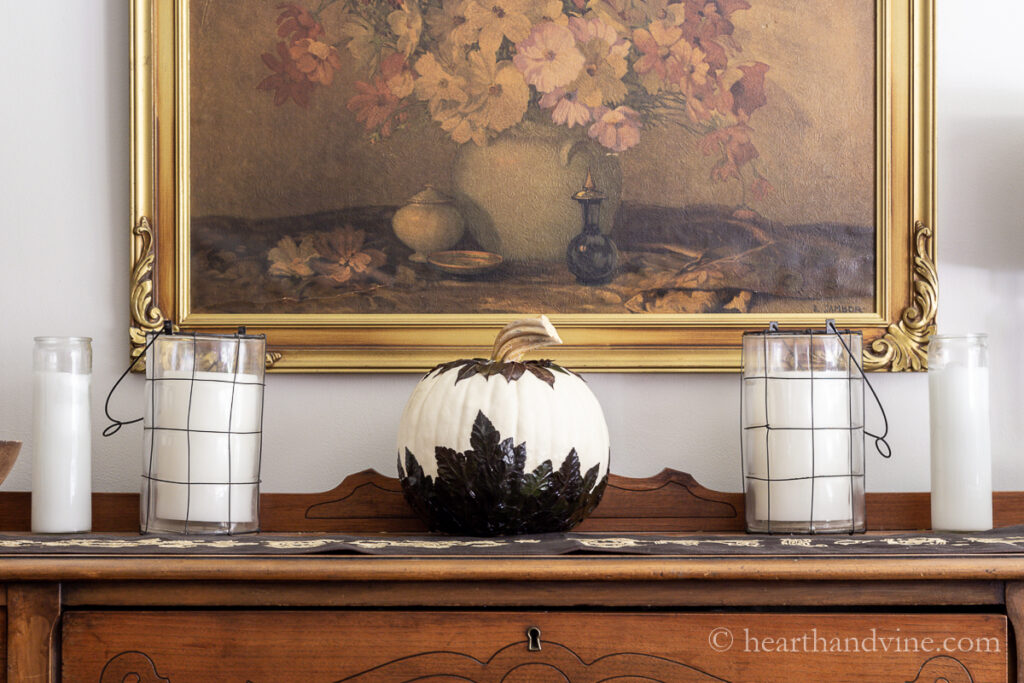
For now, I have it on my dining buffet with some candles.
This easy DIY project is one that you could do with kids but is interesting enough for adults. So invite some family and/or friends over and make it an afternoon of fall crafting fun and great conversation.

More Fun Pumpkin Crafts

Decorating Pumpkins with Leaves
Equipment
- Sponge brush
Materials
- 1 white pumpkin
- leaves from the garden or collected fall leaves
- mod podge
- wax paper
Instructions
- Clean your pumpkin
- Press leaves on a hard surface covered with wax paper. Place a flat object or pan on top and weigh it down with cans or anything heavy.
- Start covering the pumpkin by spreading mod podge on the backs of the leaves and placing them along the bottom of the pumpkin all around.
- Make a ring of additional leaves around the stem.
- Allow the leaves to set up for a little while maybe 20-30 minutes.
- Then coat the entire leaf area with additional mod podge to seal and protect.
Notes

Dj
how long did you press the leaves for?
Patti Estep
Just a few seconds, long enough to flatten them.