

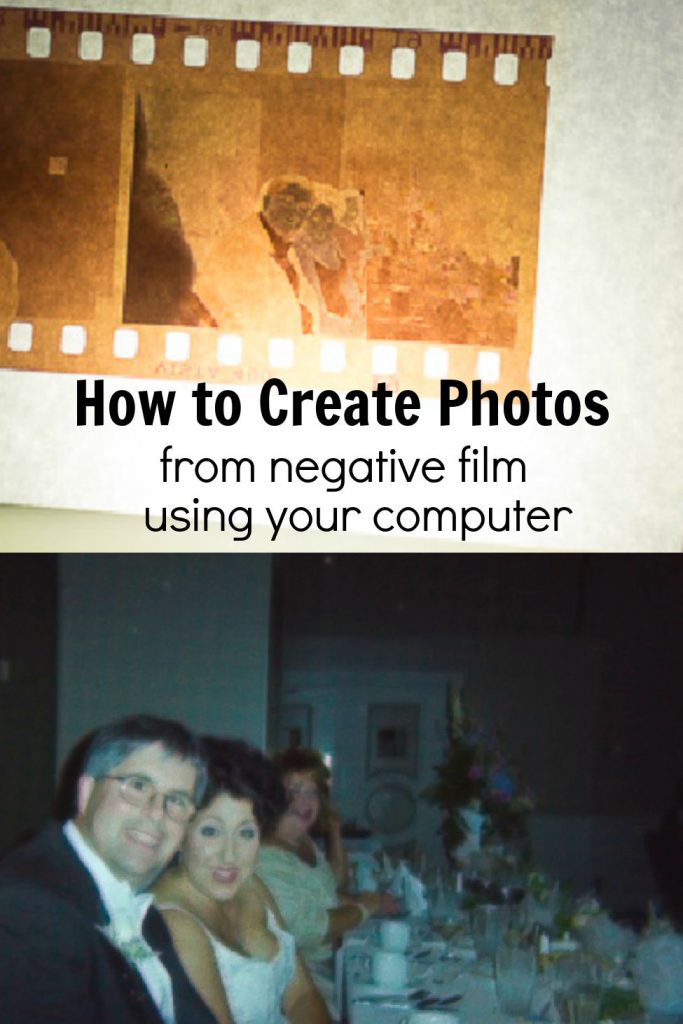
Learn how to digitize old negatives basically for free by utilizing items you may already have on hand and editing them online.
When we moved the side table, from our basement to our bedroom, in the $100 Room Challenge, we found some old negatives in one of the drawers. Since this end table came from my parents house, both of whom are now deceased, I was curious about how I might digitize old negatives like these, so we could see what was on them.
DIY Digitize Old Negatives
Who knows what kind of gems you might find, right?
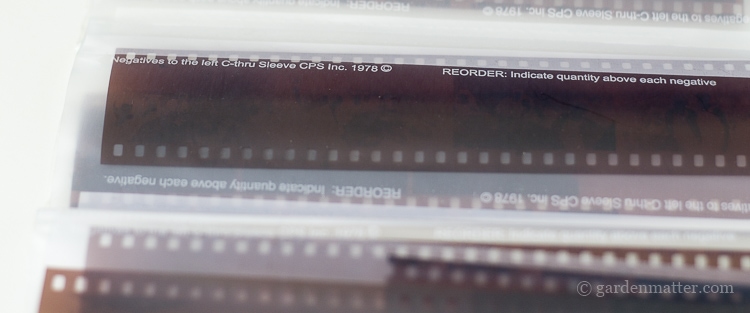
The date on the sleeve said 1978 and one of the pics showed a glimpse of a sign that said Waiting for The Monorail. I was pretty sure that we went to Disney World in the late sevenites, so I was pretty excited to see pictures of my family from that trip.
Finding a Light Source
You might be surprised at how many videos and techniques are on the web showing you how to digitize old negatives. The basic process is pretty easy, however there are many contraptions you can build and detailed options too.
First you need to light the negatives from behind. I tried two methods.
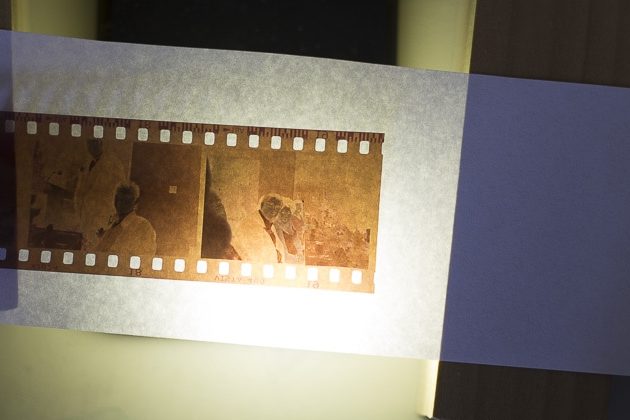
First I used the flashlight from my iphone and placed the negative in a piece of paper above it using a couple of wood blocks.
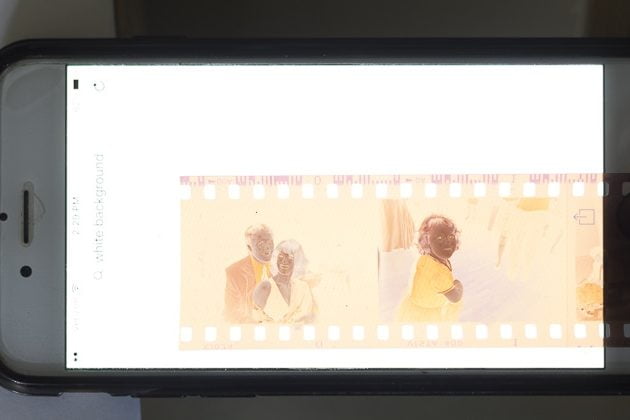
The other method was placing the negative strip directly on top of the iphone. Here you need to go into safari and get a white background. Also, make sure the brightness setting on the phone is set to the highest level. Then take a photo of the lit negative. I used my DSLR camera but you can also use another iphone to take the picture. You could also use an ipad to light the negative, and take a photo of the negative with your iphone.
The first method using the phone flashlight and blocks did not work as well and left a grainy texture.

The second method of laying the negative directly on the phone worked much better.
Editing the Photo of the Negative
Once you take a picture of the negative you need to upload it to the computer. Then you can use photo editing software to turn the negative into a positive. I use Adobe Lightroom, however, you can use other free photo editing software such as picmonkey, fotor, or pixlr.
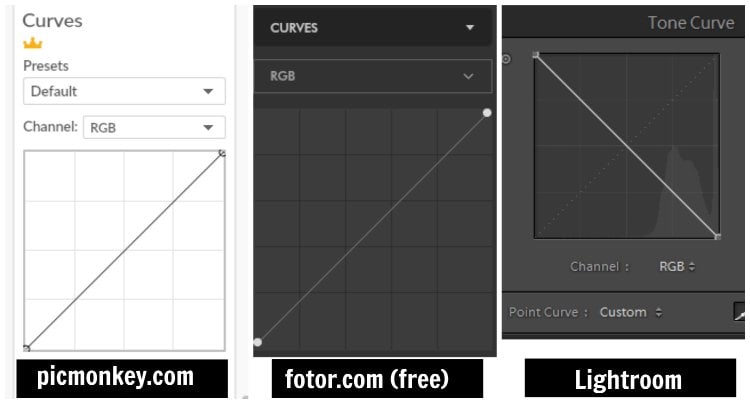
The Key Editing Tool
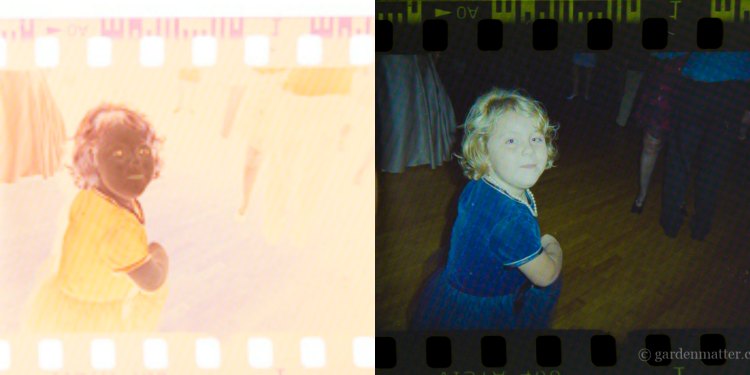
Look for the tool called Curves or Tone Curve. If you have the option called Invert just choose that and your negative will turn positive. If not, then drag the lower left point of the line all the way to the top, followed by dragging the upper right point, dragged to the bottom right. You can see in the graphic above the first two have a diagonal line going uphill. That's what they all look like at the beginning. You need to drag the points to make the tool look like the last image. This will invert the image, turning it from negative to positive.
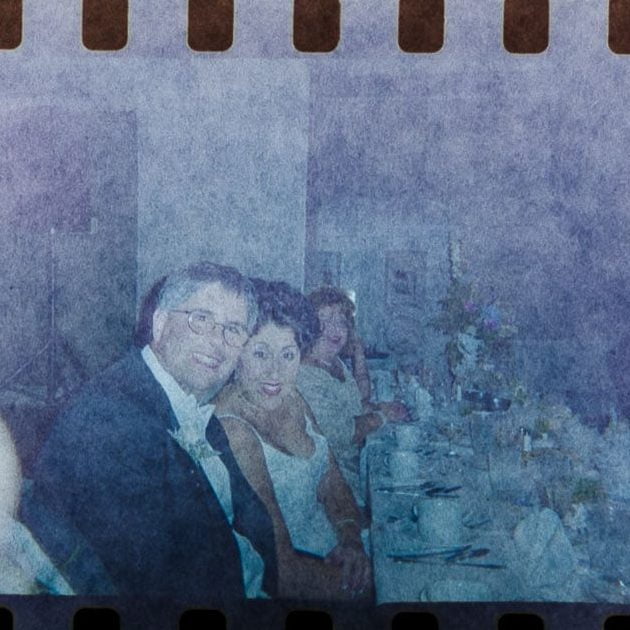
After that you can play with the other settings to get the best possible picture. This set of photos had a cool tone, so I warmed them up with the color tool.
If you don't have access to Lightroom or Photoshop, you can use Fotor.com or Pixlr.com. Both are free, including the curve tool. Picmonkey is another great option, but their curve tool is part of the paid plan, but they do have a free trial option.

Editing software also lets you convert pictures to black and white, and have other interesting effects using filters.

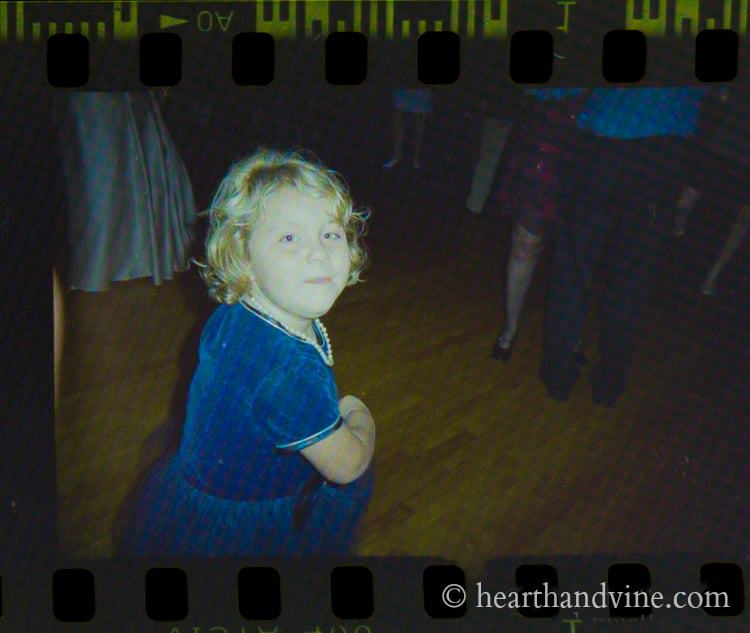
Oh yeah, I almost forgot. These negatives were obviously not from Disney World. The Monorail photo was from my brother's trip to Seattle, and there were only a few of those. The other pictures were taken at my sister's wedding reception in 2002. That's her and her husband at the head table in the photo above, and the cute little girl is my niece Gabby.
The 1978 date was simply a copyright date from the photo processing company. Still, it was fun learning how to digitize old negatives, and now I know just what to do.


How to Digitize Old Negatives
Materials
- Camera phone - 2 phones or 1 phone and a digital camera
- Computer
- Printer
Instructions
- Go into your settings on your phone and increase the display to the lightest setting.
- Find a white background on safari or google.
- Place the negative on the white background on the phone.
- Take a picture of the negative using another phone or digital camera.
- Send the picture to your computer via email or other methods.
- Upload the image to any image editing software. Fotor is free. I use Lightroom and Picmonkey is another good option.
- Look for a tool called Tone Curves or Curves.
- If you have the option called Invert just choose that and your negative will turn positive. If not, then drag the lower-left point of the line all the way to the top, followed by dragging the upper right point, dragged to the bottom right.
- Play around with the other tools such as color adjustments to warm up the color and get the best possible image.
- Save your creation, print it, or share with others,
Pam
I digitized slides using a homemade light box and a digital camera. Why wouldn't that work with negatives?
Patti Estep
Pam,I've never tried that but it sounds like a good idea.Thanks for sharing.
Len Sr.
Going to try this one!
Barbara
If using apple, one does not need editing apps to turn the negative into a positive, one just needs to go to accessibility under settings, go to accessibility shortcut and select classic invert, pressing the home button three times changes whatever is showing on the screen-if a negative into a positive. As article describes 2 devices easiest-one to provide the light source, 2nd to take photo of negative-then once taken use accessibility shortcut to change negative into positive, take screen shot, and edit any other preferences from there-as would do with any photos
Patti Estep
Great information Barbara. Thanks for sharing.
Bliss
Pinned! So do you think laying the negative on the iPhone and doing a screen shot with the phone would also work for taking the picture?
Patti Estep
That's a good idea Bliss. I haven't tried it but it's definitely worth a try.
Diane W
this is an awesome tutorial. I have a lot of "rolls" of film that i would love to know what might be on them, but processing and printing becomes expensive, and can be wasteful if the photos are not great. This way i can have the negatives processed more inexpensively and play with them by scanning. thanks so much!
Patti Estep
That's great to hear Diane. Have fun!
Denise wright
How cool! I will have to try because I have a ton of negatives from my dad.
Wendy Knotts
1This is Wonderful. I have several slide boxes of negatives from when my mom was a kid...she passed at 46. Would love to see more of her life as a child!
Patti Estep
That's great Wendy. It will be fun to see them all.
Carole @ Garden Up Green
This is neat; I didn't realize this was possible. I still have my wedding negatives and I think many others. Wasn't sure what to do with them so I just boxed them up with everything else. This would be a fun project later in life as I think I'm going to take my favorites photos and put them into one of those digital frames. I never sit down to look through photos anymore unless I'm packing or unpacking. Great tutorial!
.
.
Patti Estep
Hi Carole,
Definitely try it with your wedding pics. That would be fabulous. I have one framed photo of us from our wedding day. I have not idea where the others are. Probably in those boxes we never unpacked from our last move 12 years ago. Sheesh!
Have a good one,
Patti
Ella
Thanks Patti, I learn something from you everyday what a great idea.
Patti Estep
Hi Ella,
I'm so glad you like it.
Thanks for stopping by,
Patti