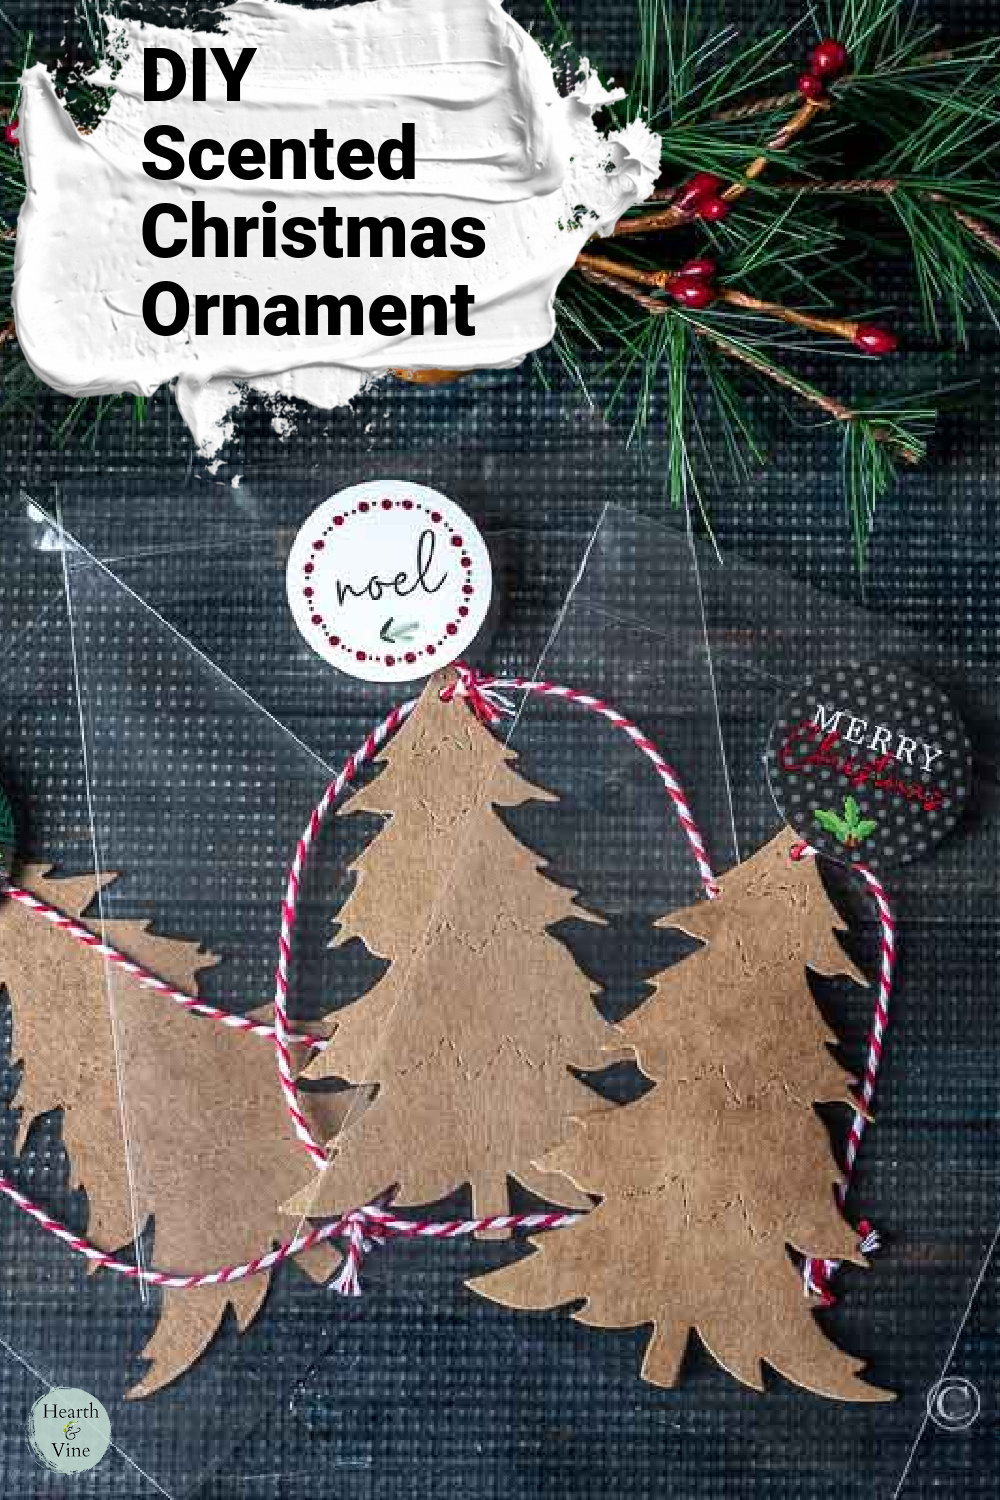
These DIY scented Christmas ornaments are perfect for hanging on artificial trees to make them smell like a freshly cut tree.
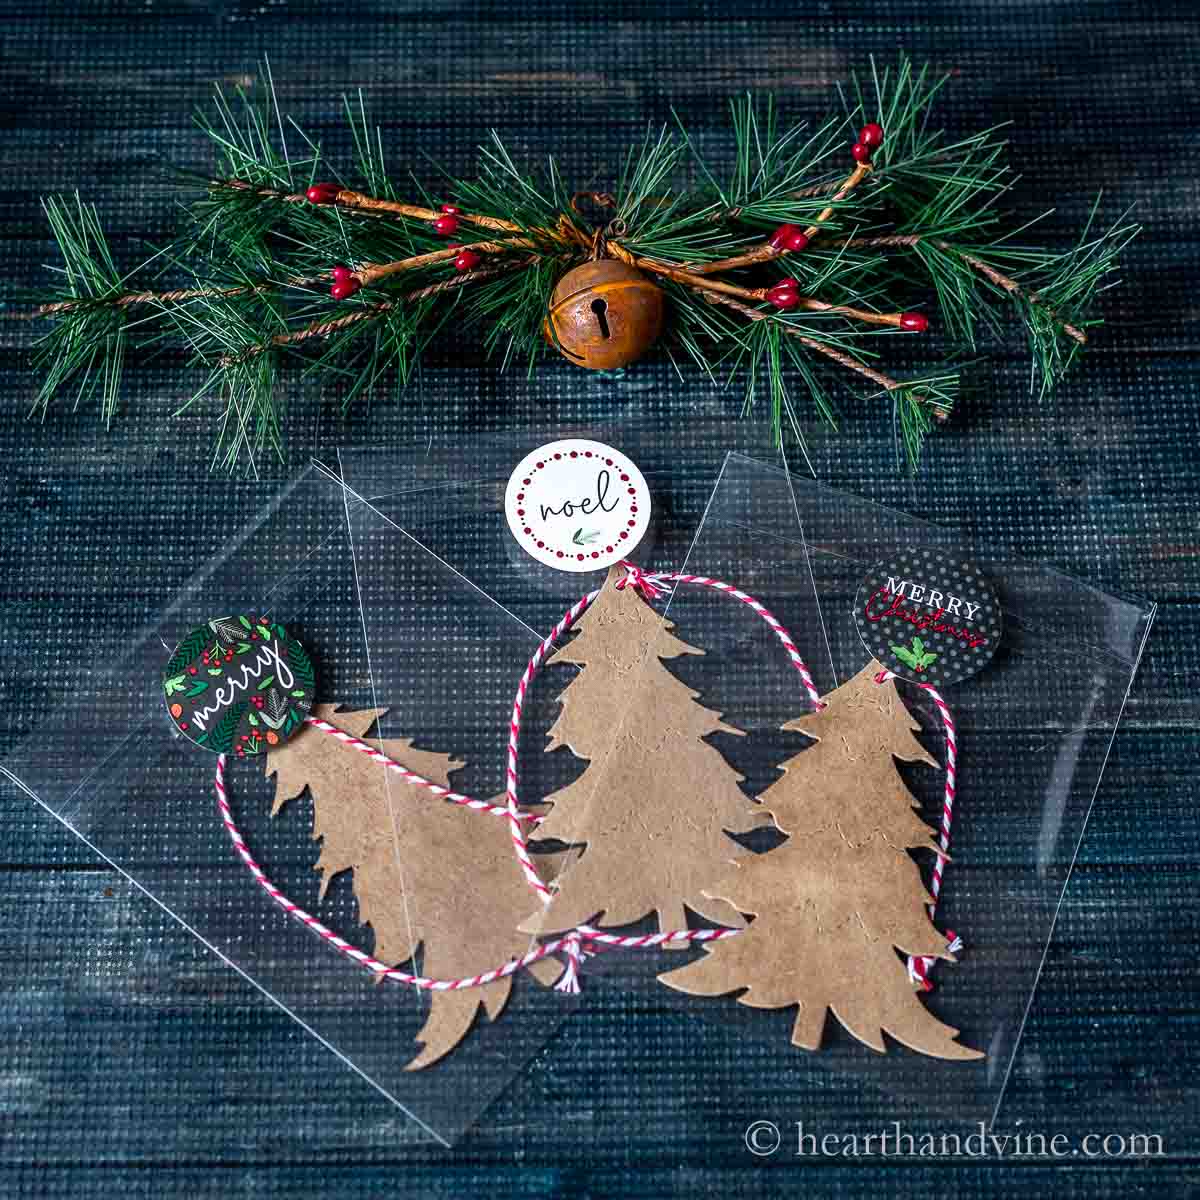
I love making small gifts at Christmas time. This year we are hosting a family and friends party so I wanted to have a fun favor for all who attend. I decided to go with a hanging scented ornament that you can hang on an artificial tree to help it smell a little like a freshly cut tree.
This post contains some affiliate links (that means if you make a purchase after clicking a link, there’s no additional cost to you, but I will earn a very small commission. ) i.e. as an Amazon Associate, I earn from qualifying purchases. Click here to read my full disclosure policy.
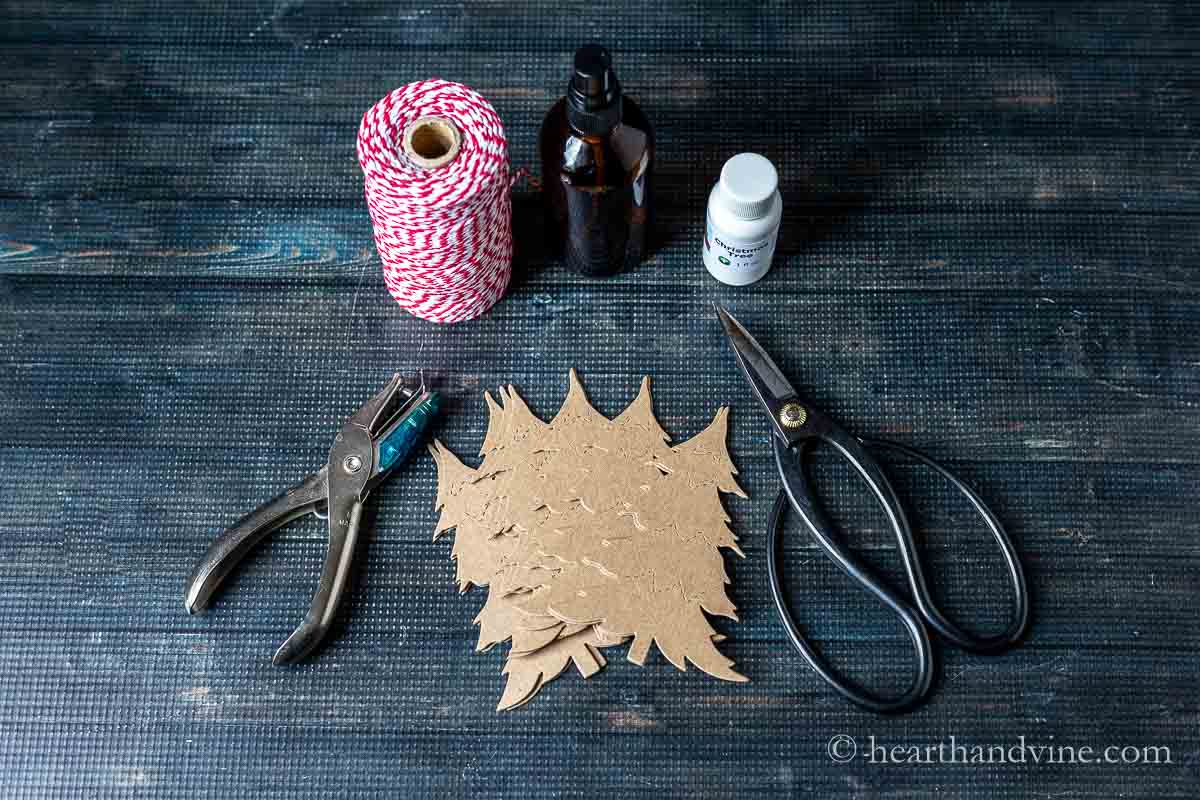
Supplies
- Chipboard trees, or cardboard/heavy paper cut-out trees
- Fragrance oil or a combo of essential oils that smell like a fresh evergreen tree - or whatever you like.
- A fine mist spray bottle.
- A small hole paper punch.
- Scissors
- Twine or ribbon to hang the ornament.
- Cellophane bags
- Christmas stickers - optional
How to Make Scented Tree Ornaments
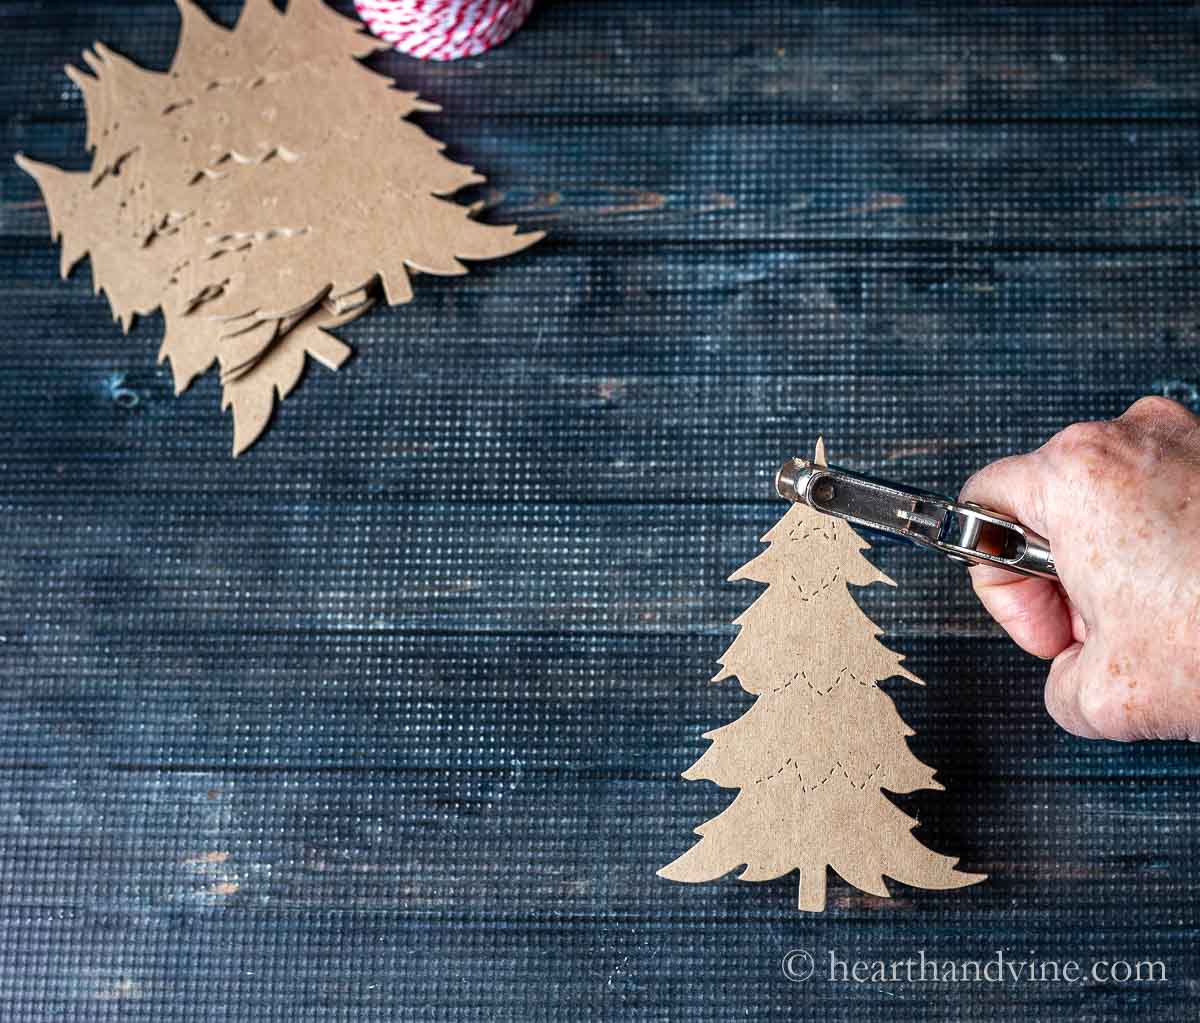
Start by punching a small hole in the top of your tree.
I purchased these pretty chipboard trees on Etsy. However, you can cut out trees from thin cardboard or cardstock. You can also find wooden ornaments at craft stores that would work for this craft.
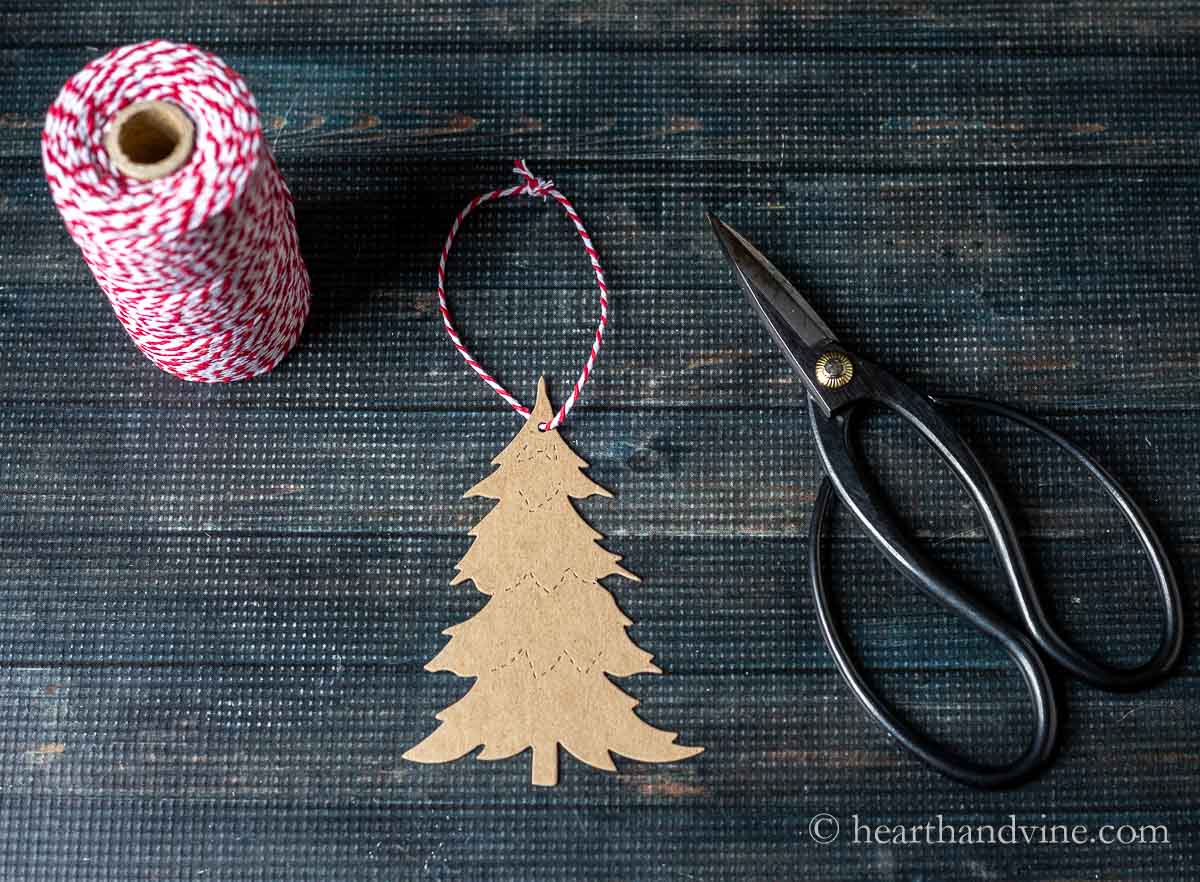
Add a piece of twine or ribbon to use as a hanger.
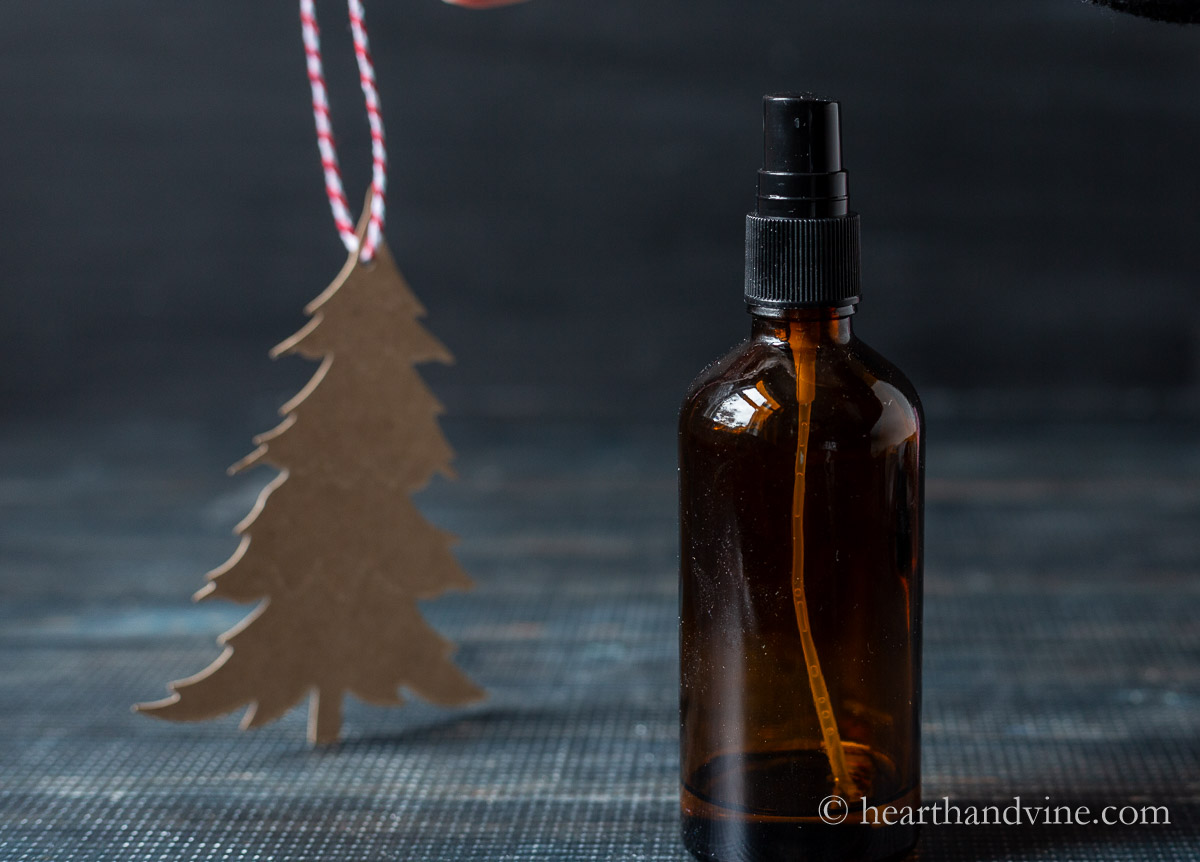
Pour some of the scented oil into a bottle with a fine mist spray cap.
Spray both sides of the tree and set it down on a covered surface using a disposable plastic liner or bag for a few minutes.
What Kind of Oil to Use?
You can use fragrance oils or essential oils.
- Use a fragrance oil that is already blended with a scent you like. I used a fragrance oil called Christmas Tree but there are many on the market.
- If you are into essential oils you can try blending a few such as balsam, fir, pine, cedar, and juniper berry.
- If you like you could add or make a different blend of warm and homey scents such as cinnamon, apple, clove, and orange.
Safety Note: If you plan on making many of these be sure to work in a well ventilated area as the scent may overpower you and can irritate your nose and throat. Also, watch the overspray and the area you set the trees on while they are wet. The oil can ruin or damage surfaces.
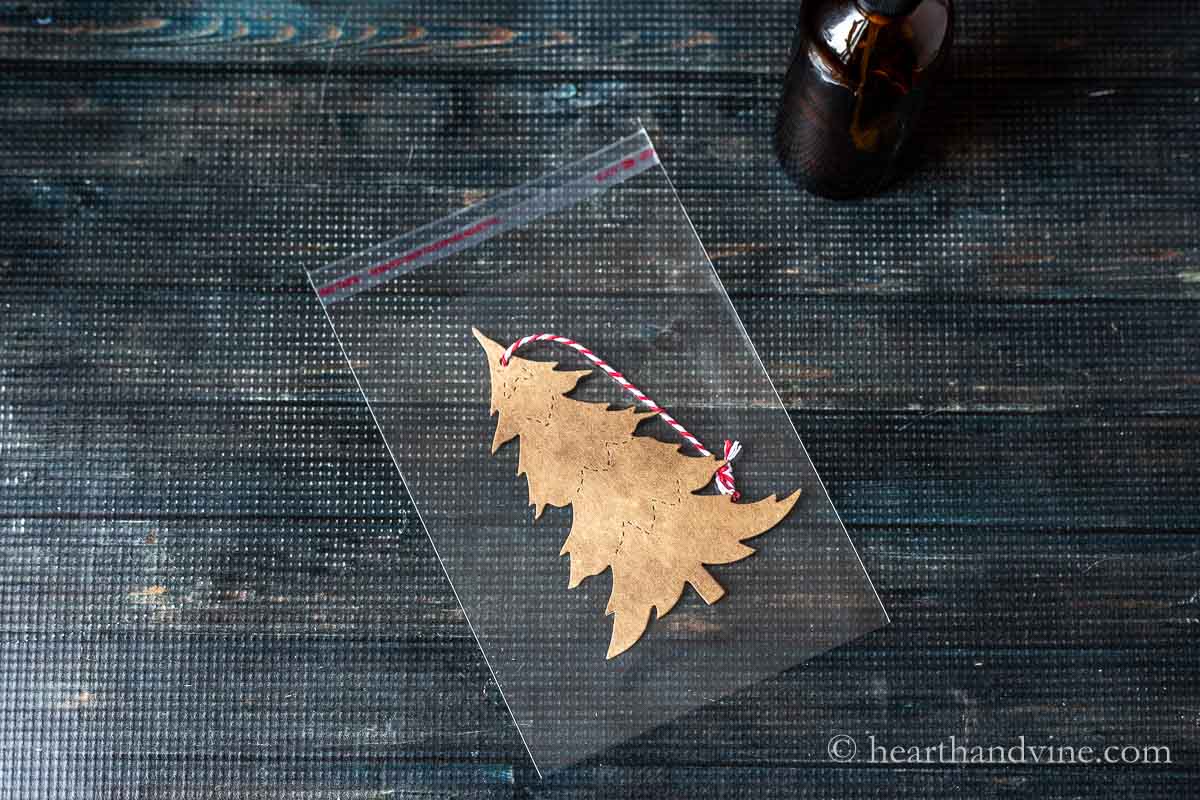
Then place the tree in a cellophane bag. This will help it keep its scent longer.
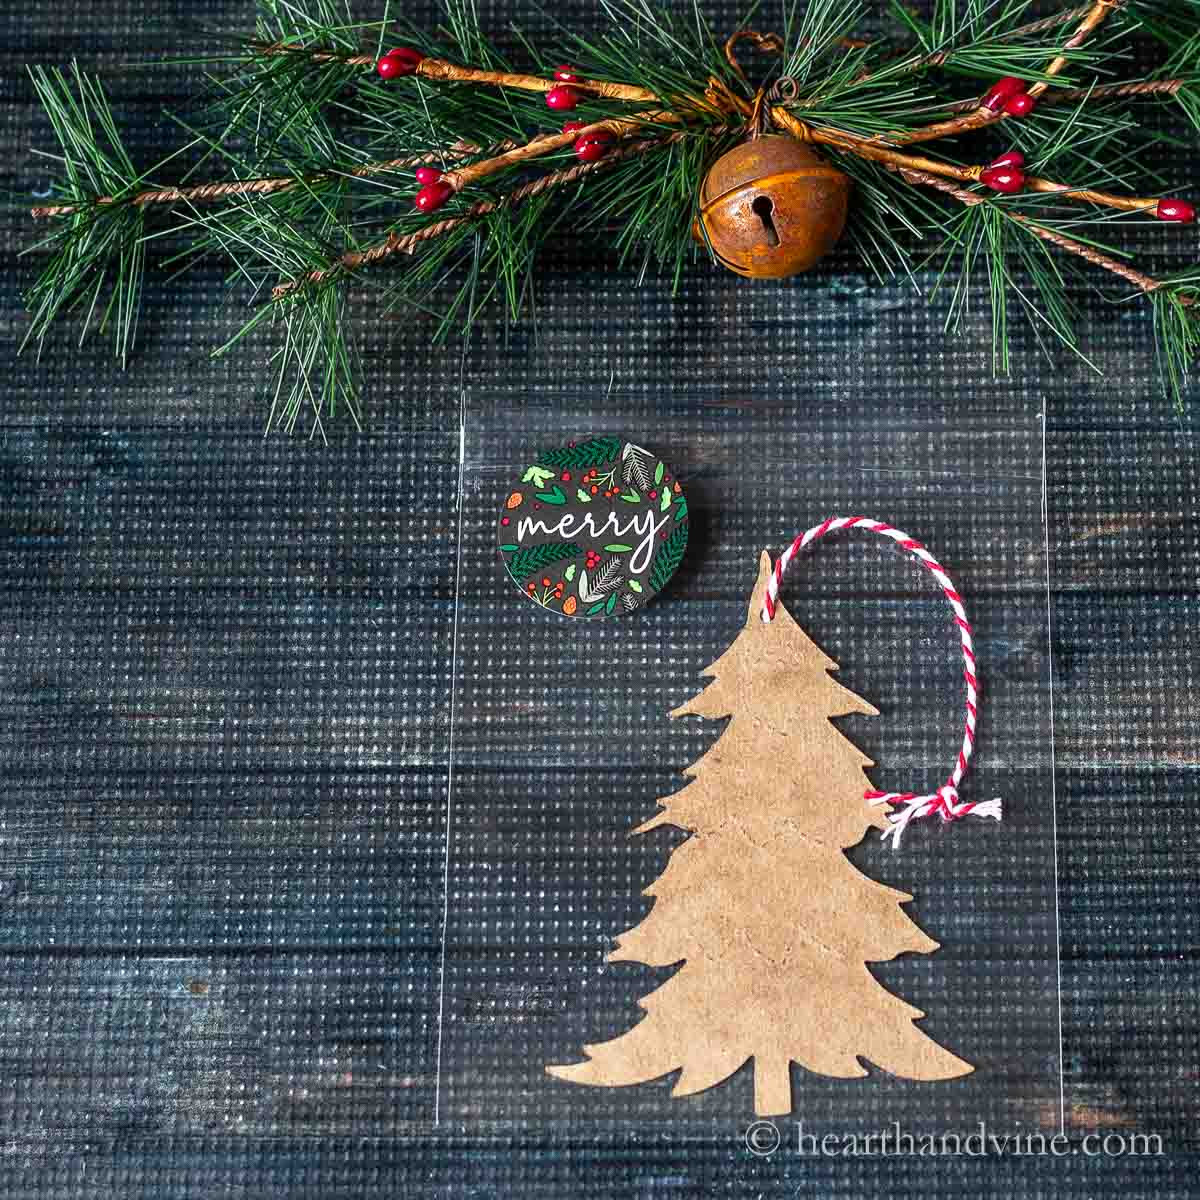
I also used a cute Christmas sticker on my bags for a little extra charm. However, the bags are already sealable so the stickers are purely for decorative purposes.
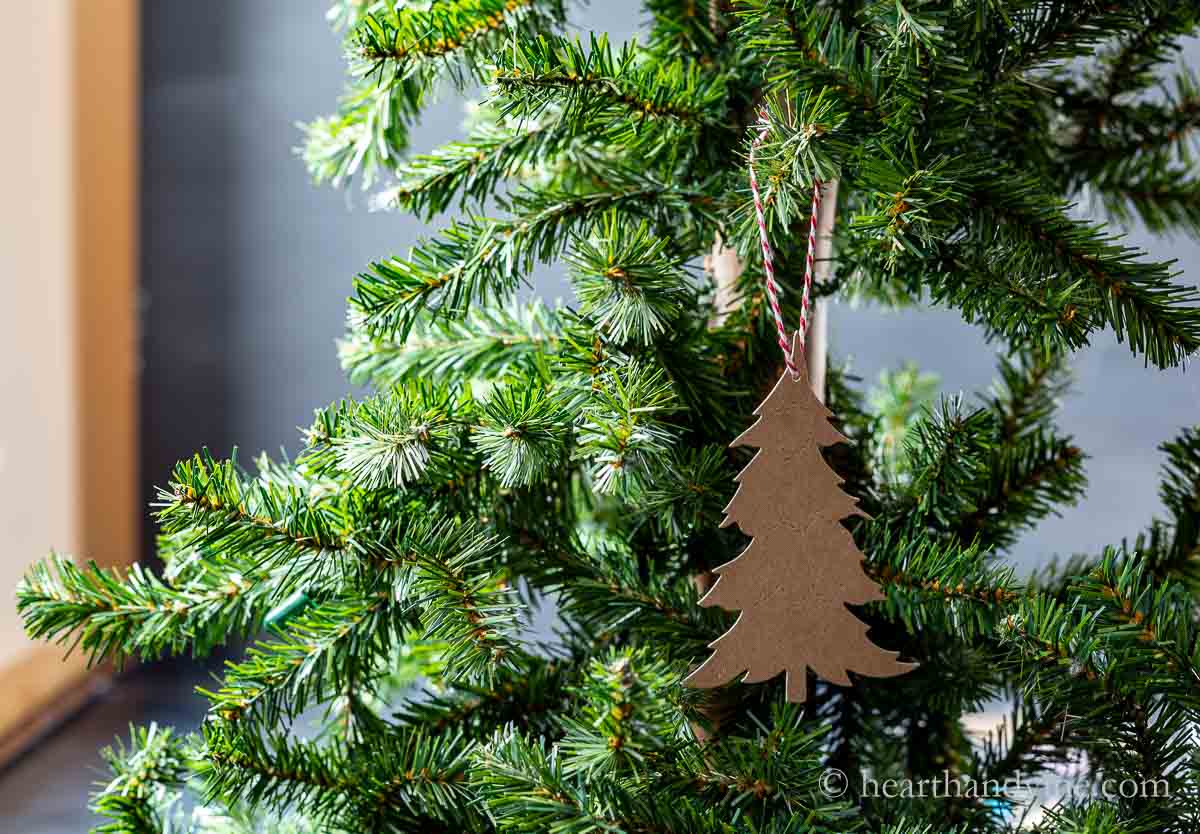
Here you can see what the scented ornament would look like on a pencil Christmas tree. I think it's pretty cute though you could hang it anywhere in the house or perhaps in your car.

More DIY Scented Christmas Ornaments
DIY Christmas Tree Scented Ornaments
Equipment
- Scissors
- Small Hole Punch
- Fine mist spray bottle
Materials
Instructions
- Create a small hole at the top of each tree with a small hole punch.
- Thread a 10 inch piece of red and white twine through the hole and tie a knot to form a loop.
- Add fragrance oil to a small fine mist spray bottle.
- Spray both sides of the tree with the fragrance oil.
- Let sit for a minute on some plastic, parchment, or newspaper.
- Place the scented ornament in a cello bag and add a fun Christmas sticker.
Notes
- You can find all kinds of recipes using essential oils for Christmas on the web. I used a fragrance oil blend and there are many of those out there too.
- You can use any type of ribbon or natural twine for your hanger.
- You can cut out thin cardboard shapes of a tree or try a thin wooden ornament instead of the chipboard trees.


Carole West
I love this idea and your timing is perfect because I am headed to the craft store later today. Thank you for this project sweet friend. Thinking a peppermint or citrus essential oil...
Carole
Patti Estep
Sounds great. Have fun Carole!
Mary
My daughters and I have an annual Christmas craft party - a tradition my mom started when I still lived at home. Now we meet and encourage my granddaughters to join us. I've gotten so many great ideas from your blog. Thank you!
Patti Estep
So glad you it Mary. Thanks for the kind comment.