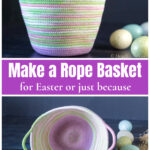
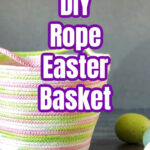
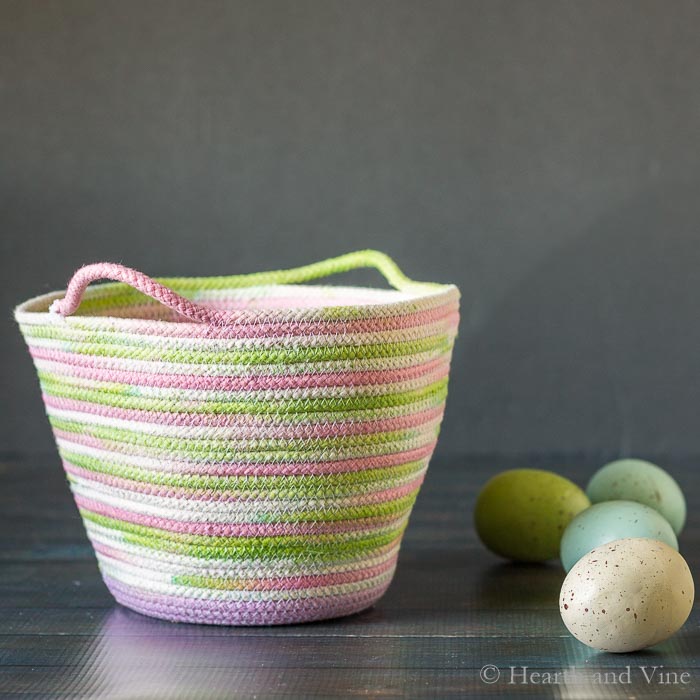
This dyed Easter rope basket is a great beginner sewing project. One that you can easily create in an afternoon and use for an Easter egg hunt or to hold all your Easter treats.
If you have a sewing machine or access to one, then you can make this beautiful dyed rope basket. I made this one with Easter in mind, but you can dye it any color you wish and use it for any purpose.
This post contains some affiliate links (that means if you make a purchase after clicking a link, there's no additional cost to you, but I will earn a very small commission.) i.e. as an Amazon Associate, I earn from qualifying purchases. Click here to read my full disclosure policy.
More Easter Projects & Ideas: Easter Centerpiece.....Natural Easter Egg Dying.....Clay Easter Egg Planters.....Eggshell Candles
Dyed Rope Basket for Easter
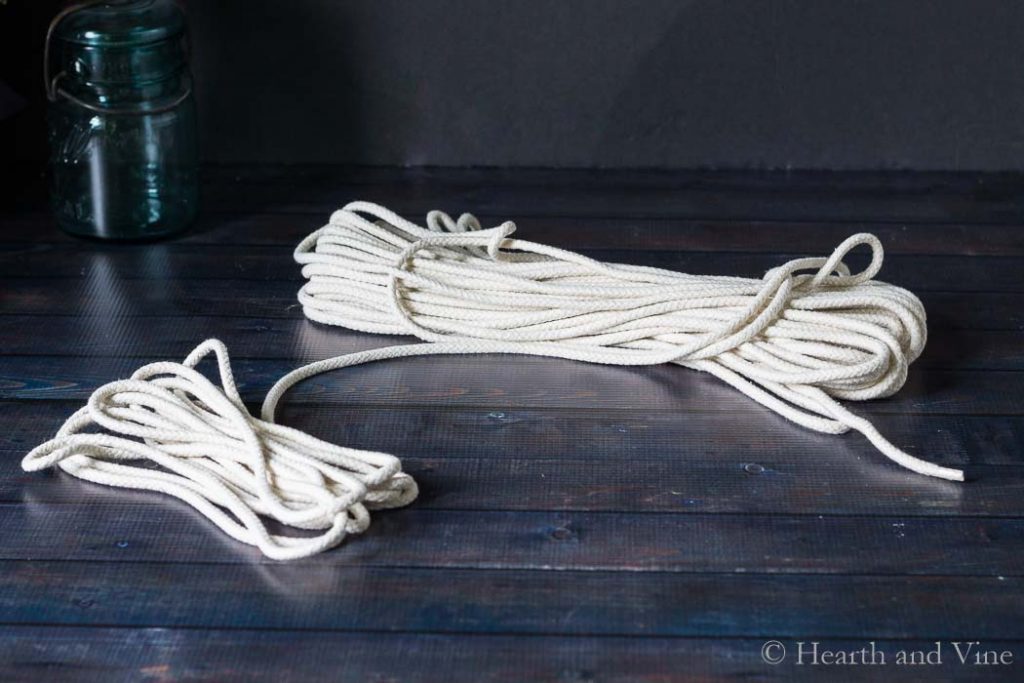
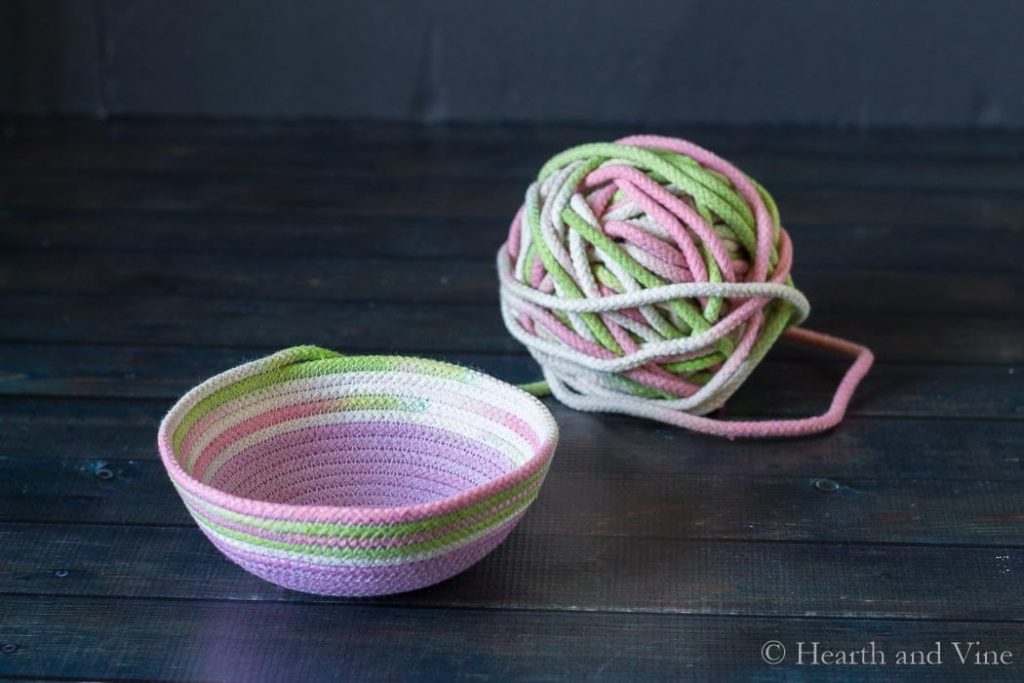
It all starts with a simple cotton clothesline rope . The basket above was dyed with three different colors. To recreate this look, separate some of the beginning of the rope for the first color. This will be the bottom of the basket.
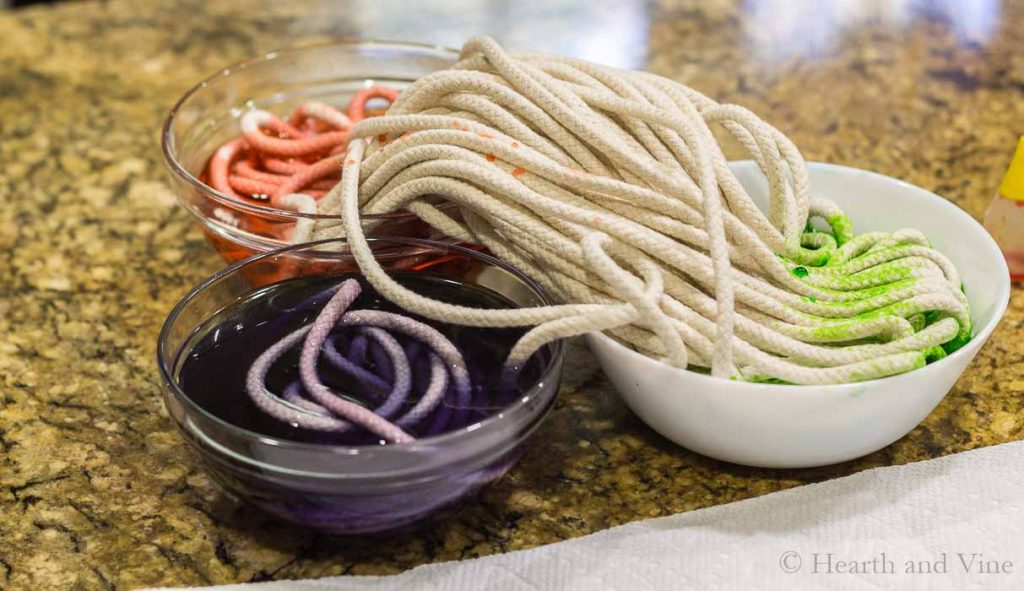
Prepare three bowls using grocery store food coloring and white vinegar.
Just like dying Easter eggs. Combine 2 teaspoons of white vinegar with 1 cup of boiling water and about 40 drops of dye.
Tip: cut a few small pieces of rope to test out your colors first.
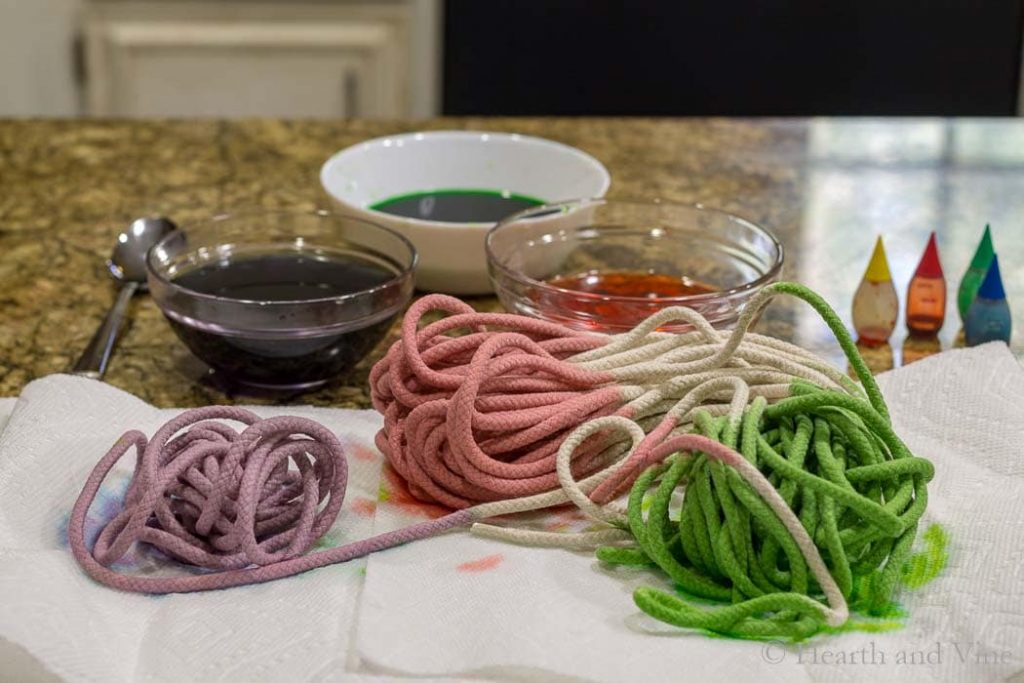
Let the rope sit in the dye for about 20 minutes. Then remove the rope and allow it to dry on some paper towels.
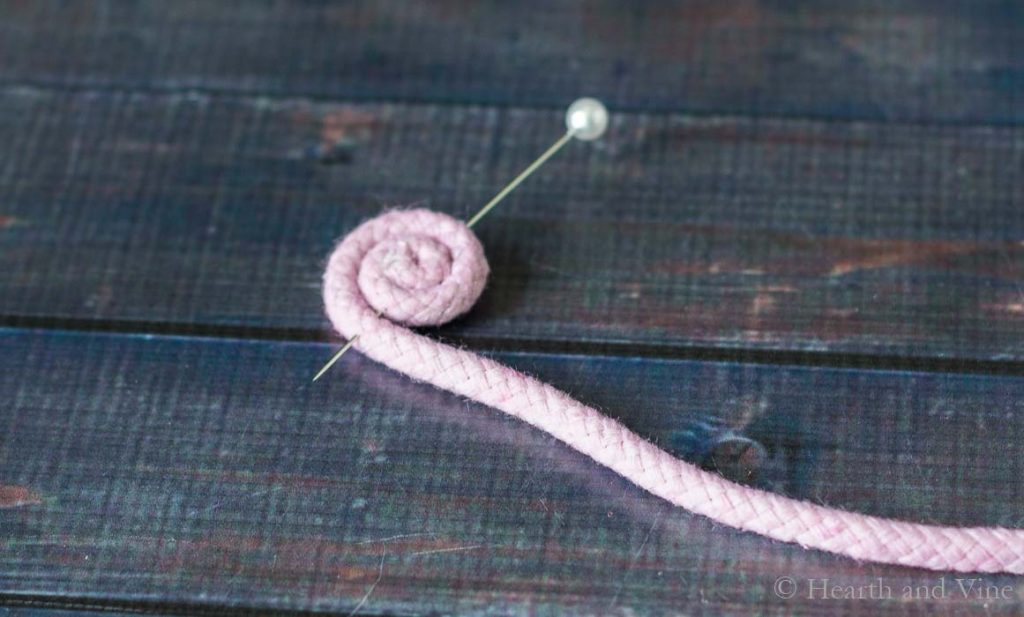
Begin creating the basket by making a coil at one end of the rope and using a large pin to hold it in place.
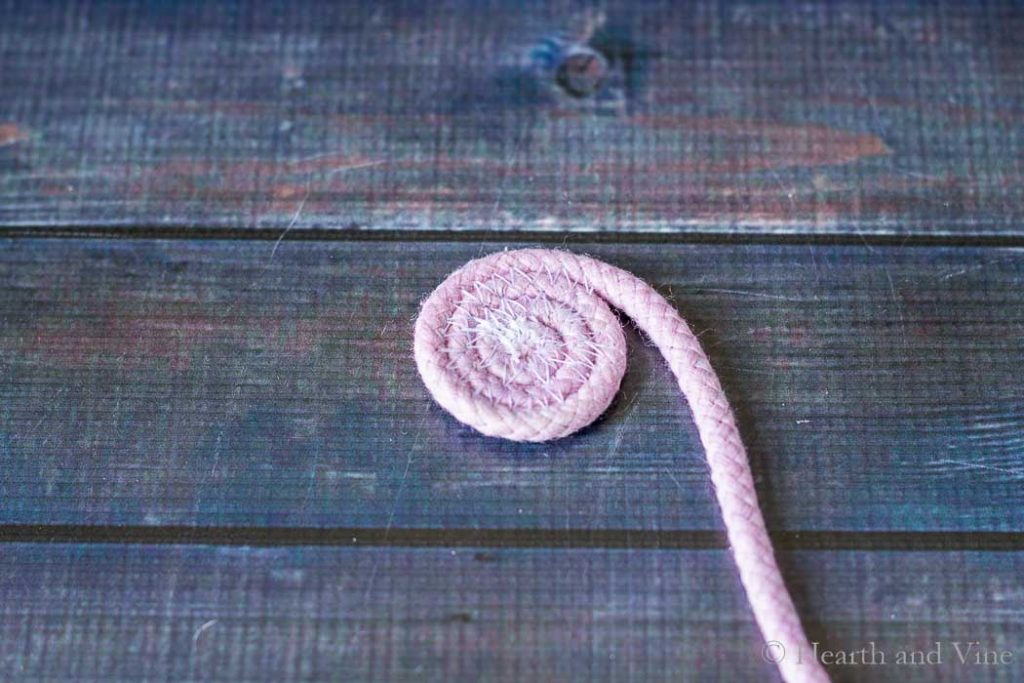
Use a zigzag stitch connecting two pieces of rope as you go to hold the coil together.
Tip: Use a piece of scrap fabric to get the width and length of the zigzag stitch you need. It needs to be wide enough to cover some of the two pieces of rope, and you don't want it too long. Also, if you make the stitches very close together, it will take a long time to sew, and it's not necessary.
Keep your coil flat, and sew as much as you want to create the bottom of the basket. A larger coil will create a larger basket in the end.
For the sides, just turn the coil 90 degrees and continue sewing, just as you did before.
Tip: This one uses white thread, but you could use different colored threads to give the basket an even more colorful look.
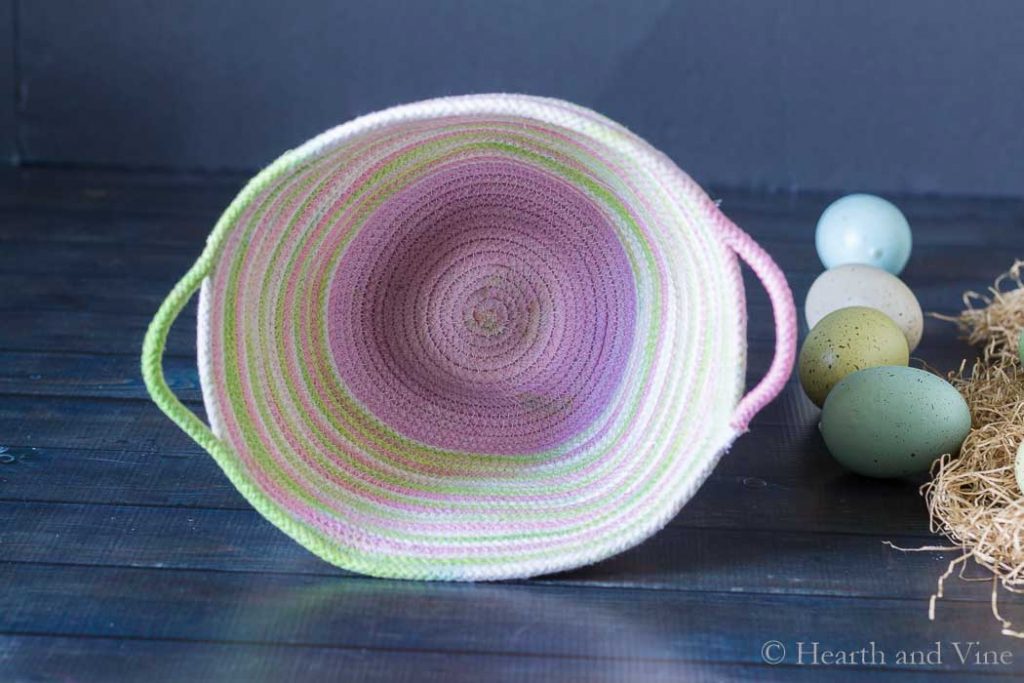
When you get to the height you want, stop to make handles. Do this by simply leaving sections of rope untouched for a couple of inches, and then start sewing again at the end of the handle, making sure to back-stitch or double stitch to secure the ends.
Finish the basket at the end of the second handle.
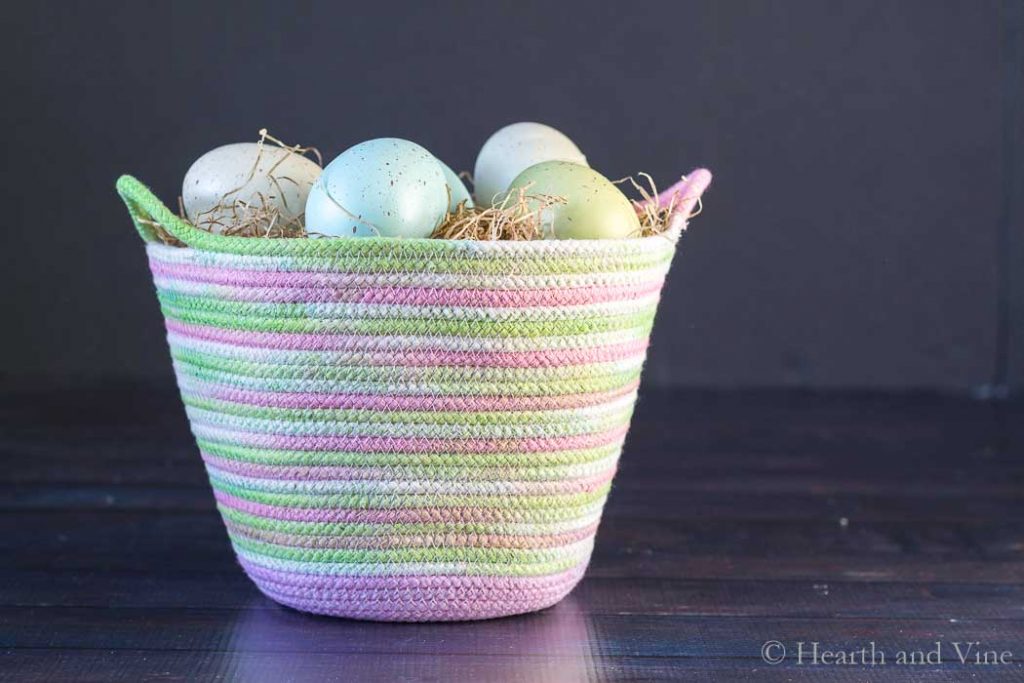
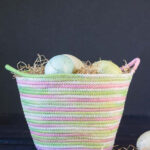
This dyed rope basket measures approximately 5 inches tall by 7 inches wide. I only used a little more than half of the skein of rope. To use more of the rope, I would have needed to make a larger bottom, which would have made the entire basket larger. I could have made it slightly taller, but I'm pretty happy with how it turned out. Maybe I'll make another one to give as a gift.
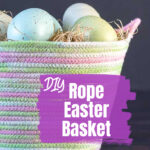
Fill it with candy, crafts, naturally dyed eggs, or little gifts. I could see a pretty Easter lily in this basket. Wouldn't that be a special Easter gift?

DIY Dyed Easter Rope Basket
Equipment
- Sewing Machine
- Scissors
Materials
- Cotton clothesline rope
- Food coloring
- Vinegar
- Thread - white or any color
- Large hat pin
Instructions
- Pre-dye sections of the clothesline rope with food coloring and vinegar, just like easter egg dyeing.
- Let dry.
- Make a coil at one end of the rope using a large pin to hold it in place.
- Use a zigzag stitch to hold the coil together.
- Keep your coil flat, and sew as much as you want to create the bottom of the basket.
- Then turn the coil 90 degrees and continue sewing, just as you did before, to create sides.
- When you get to the height you want, stop to make handles. Do this by simply leaving sections of rope untouched for a couple of inches, and then start sewing again at the end of the handle, making sure to back-stitch or double stitch to secure the ends.
- Finish the basket at the end of the second handle.
Deborah
This looks great and I want to try it. Was wondering if the dye holds it colour over time and if you had to spot clean or was the bowl, would the dye run?
Thank you for the tutorial.
Patti Estep
Deborah, the dye has not faded but I have never tried spot cleaning it. You could try using fabric dyes. I believe you can heat set them for permanency.
Rita
The basket is adorable. I like everything about it. Was it difficult sewing with the thickness of the roping?
Patti Estep
Rita, it really wasn't. Maybe that's because you just catch some of the rope with the zigzag stitch, or it could be the cotton roping I used. I don't know what it would be like on a different kind of rope but you have me thinking about trying it.
sue
love, love, love this basket - definitely going to give it a try for my grand-daughter
many thanks Patti and Happy Easter to you and yours 🙂
Patti Estep
I'm so glad you like and a very Happy Easter to you too!
Nikki Gwin
I love it! I've been looking to buy some similar but larger baskets and they are not cheap! Do you think it would need some kind of support if it was made bigger? I want big enough to sit on the floor and hold pillows are something. Pinned and shared!
🙂 gwingal
Patti Estep
You'll need to make the base larger to increase the size. I'm not sure but I would imagine that the pillows would act as a stuffing for a bag like this one. The rope is pretty inexpensive, so if you have the time you should try it.
Susie
WOW, Patti! This is amazing. You are such a crafting pro. LOVE this project. ~~ Susie from The Chelsea Project
Patti Estep
Thank you so much Susie! You are too kind.
Pamela
This turned out so cute and I have some of that rope I bought to make macrame plant hangers. A fun project!
Patti Estep
I could not believe how easy it was to make Pamela. You can change it up with colored thread too. And I noticed someone even wrapped the rope with pieces of fabric to give the basket even more color.
Carole
So clever love that you died the rope first. These would be so cute on a spring table as a centerpiece in different sizes. How long did it take you to make that?
Patti Estep
So glad you liked this Carole. The dying part was just like dyeing eggs. Boiling water and then letting the rope sit in the dye for a few minutes. Then you need to wait for the rope to dry. The sewing only took a hour or so. I'm not the fastest sewer, so I would sew a little and then take a break and do something else.
Shirlene Weber
Very pretty and practical. Thanks for sharing.
Patti Estep
Thanks Shirlene. It was so fun to make.